|
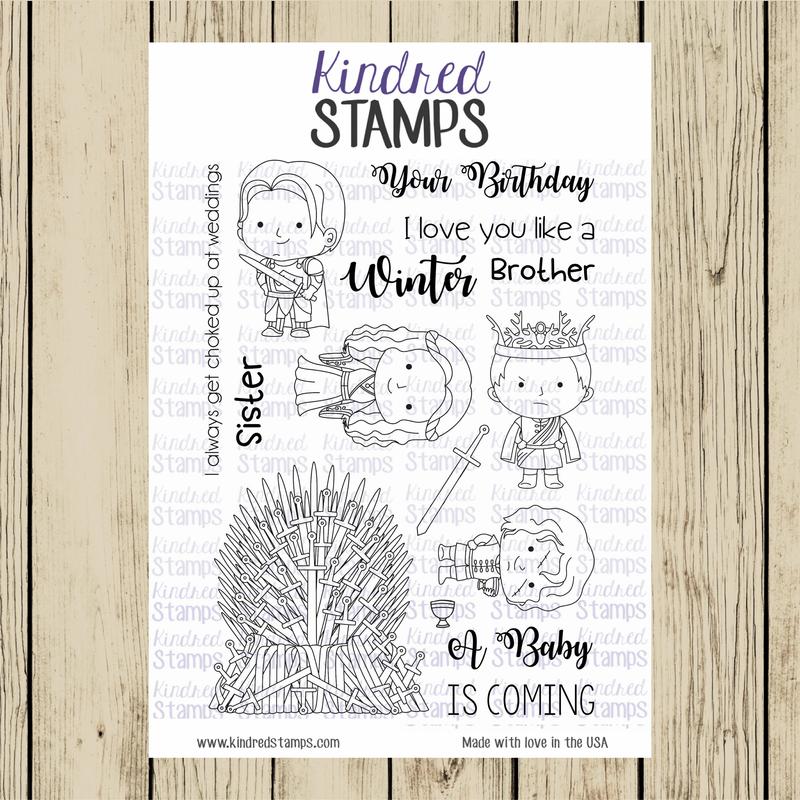
Have you guys checked out KINDRED STAMPS yet? If not, you are missing out! This company has some amazing and unique stamp sets that your SciFi and Pop Culture lover will adore! I am so excited that I am able to participate in the new release from Kindred Stamps! If you are following along on the hop, welcome! If you aren't following the hop and would like to jump in, just follow the links at the end of the post. KINDRED STAMPS is releasing a number of stamp sets, and I got to work with two of them- ROYAL THRONE and HEIRS TO THE THRONE Take a look! Now that you've seen the images, you can see why I was so excited to work with them! I made a number of projects with this release. I'll show you what I've been working on!
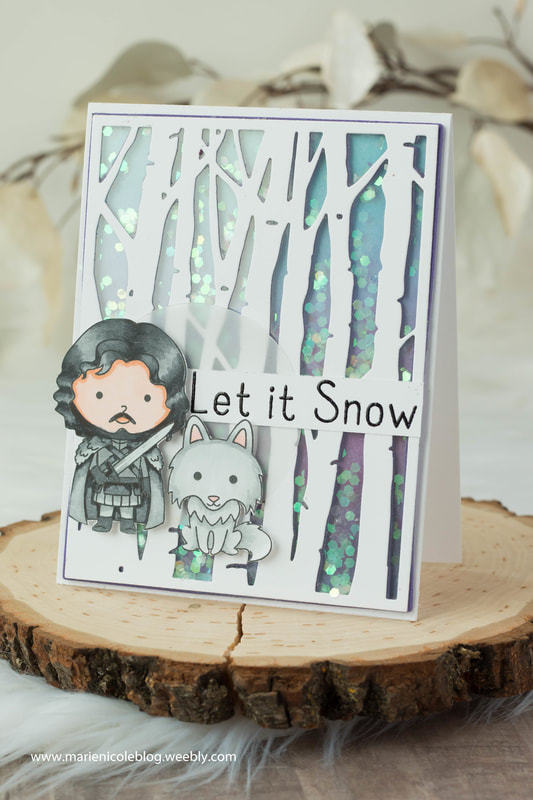
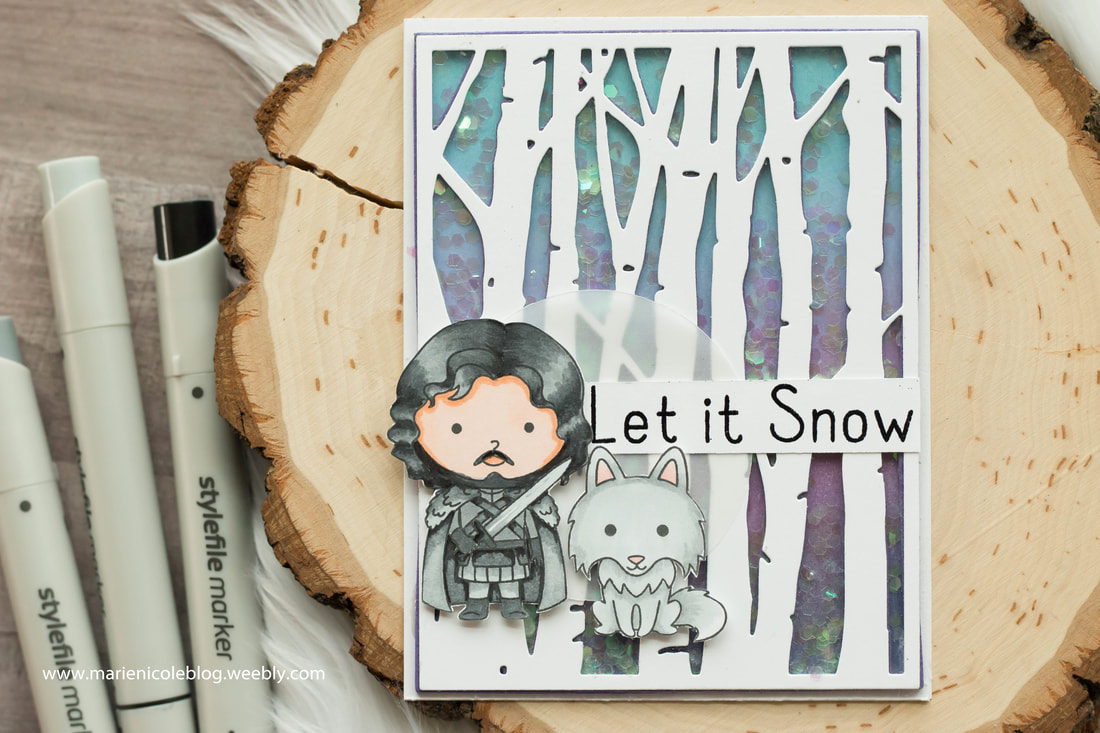
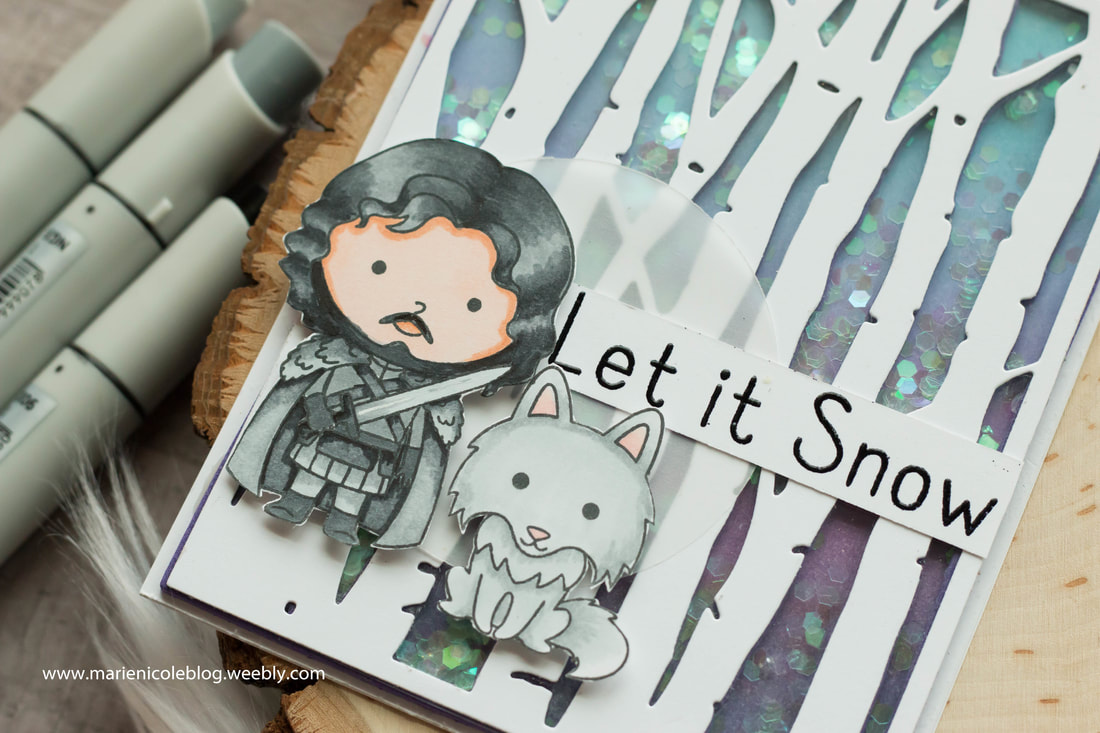
First up is this fun shaker card I created by first coloring in the images with my STYLEFILE alcohol markers. Then, I fussy cut them out. To create the background I used a birch tree die that I cut out with white cardstock. I again cut the die out of some craft foam so I could pop it up perfectly and then fill in the gaps with some glitter. The purpley-blue sky in the background is Distress Ink that I blended together to make it look like a cold, SNOW-y day. Get it? ;) 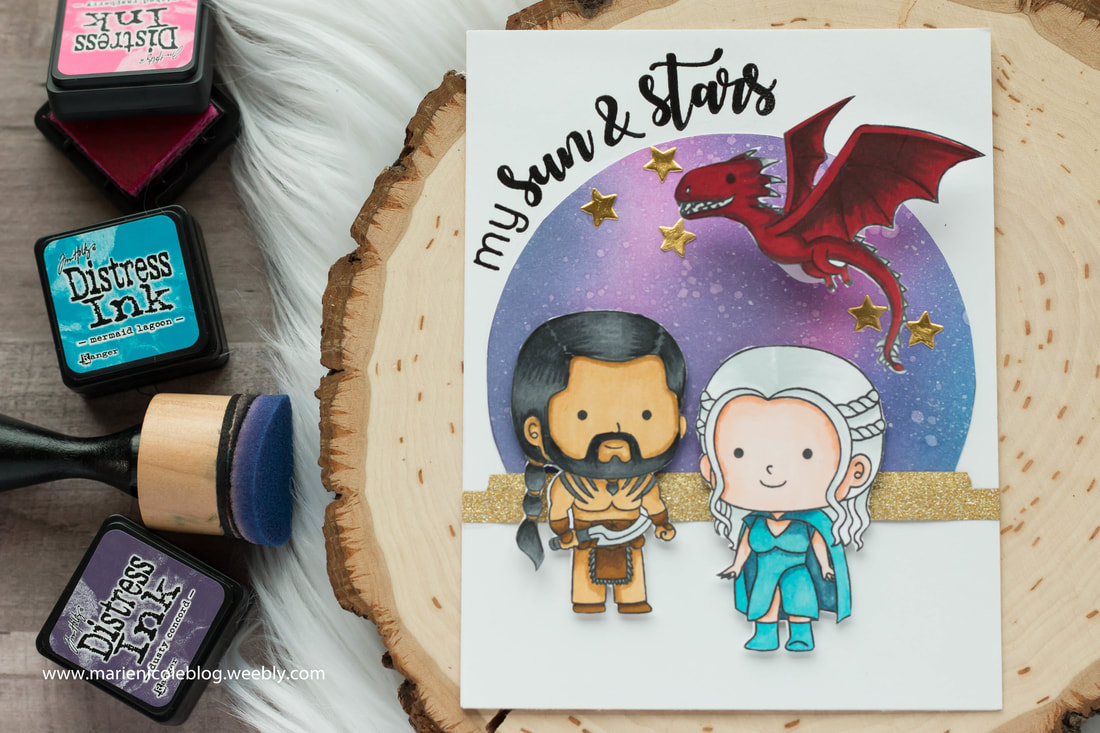
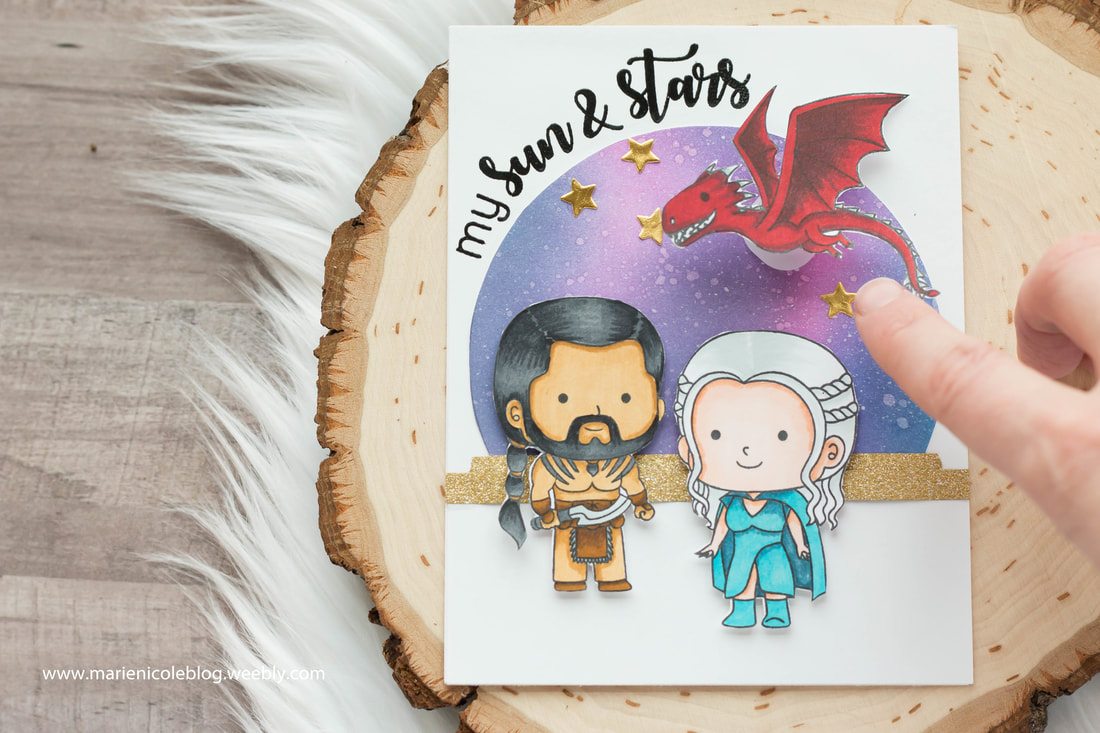
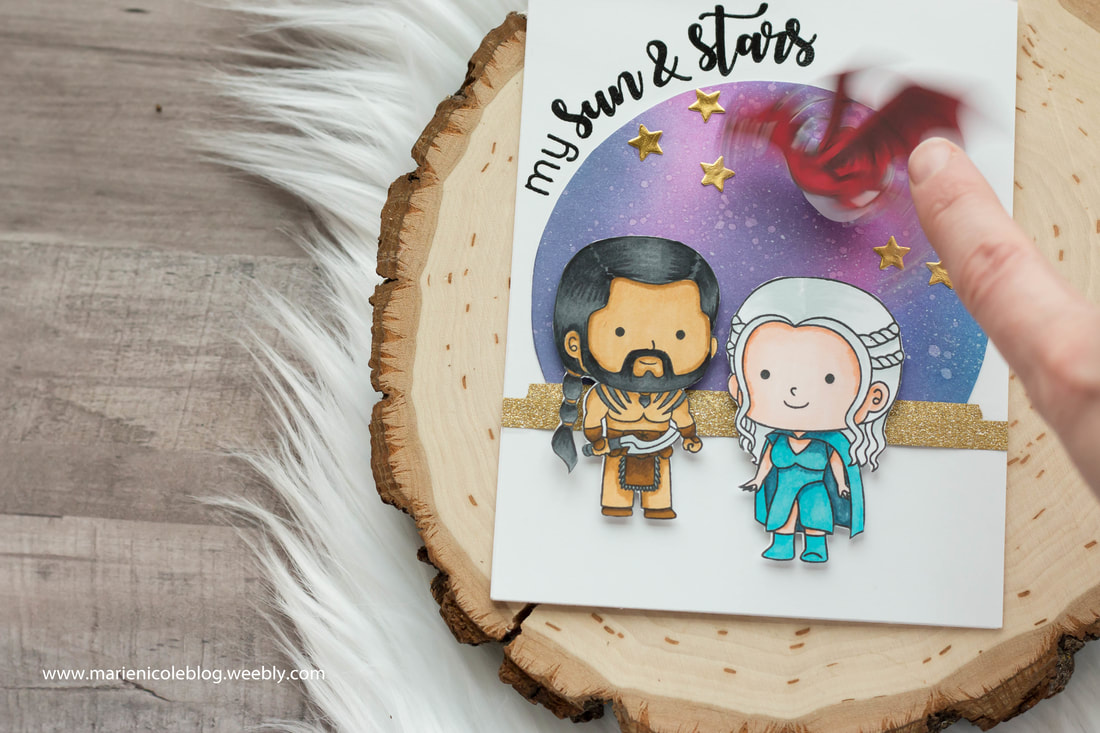
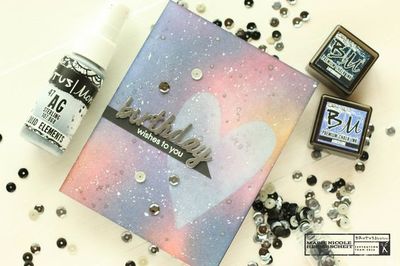
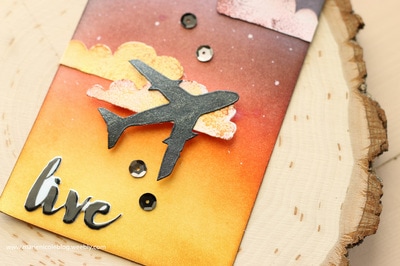
This next card I wanted to look a little more cutesy. It would be a great Valentine's card for a guy OR gal! I ink blended a galaxy sky behind our characters, and then popped them up on foam adhesive in front of it. For the sentiment, I curved the stamps around the sky using my MISTI and then stamped them in RAVEN BLACK ink and embossed them with clear embossing powder. Lastly, I added the dragon on an action wobbler. I think its so fun to see him flying above our characters!
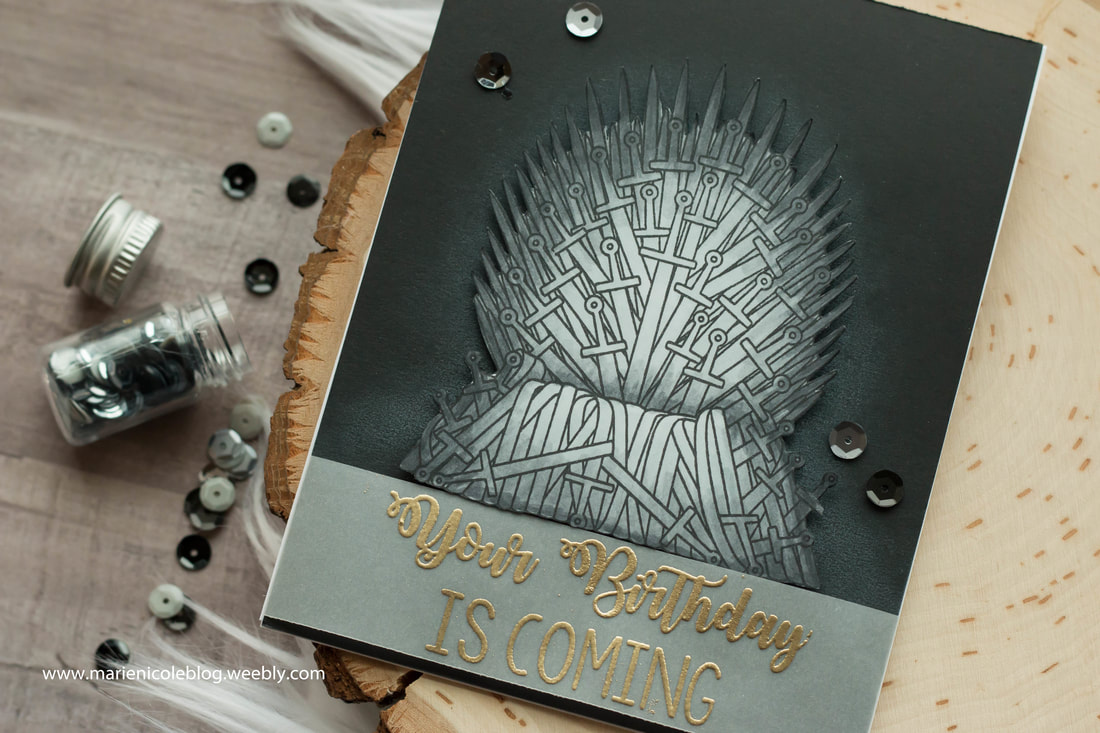
This next card is such an epic birthday card! Wouldn't you or someone you know just love to receive this in the mail? I stamped out the throne and again colored it in with my STYLEFILE MARKERS. Then, I fussy cut it out. I took a piece of black cardstock, cut it down to size, and then blended on some WHITE PIGMENT INK behind where the throne would be adhered. That just gave it the look of fog behind and also made the throne stand out a bit from the background. Lastly, I stamped and embossed the sentiment and added a few sequins. Pretty simple, but I could totally seeing this being the perfect masculine birthday card! 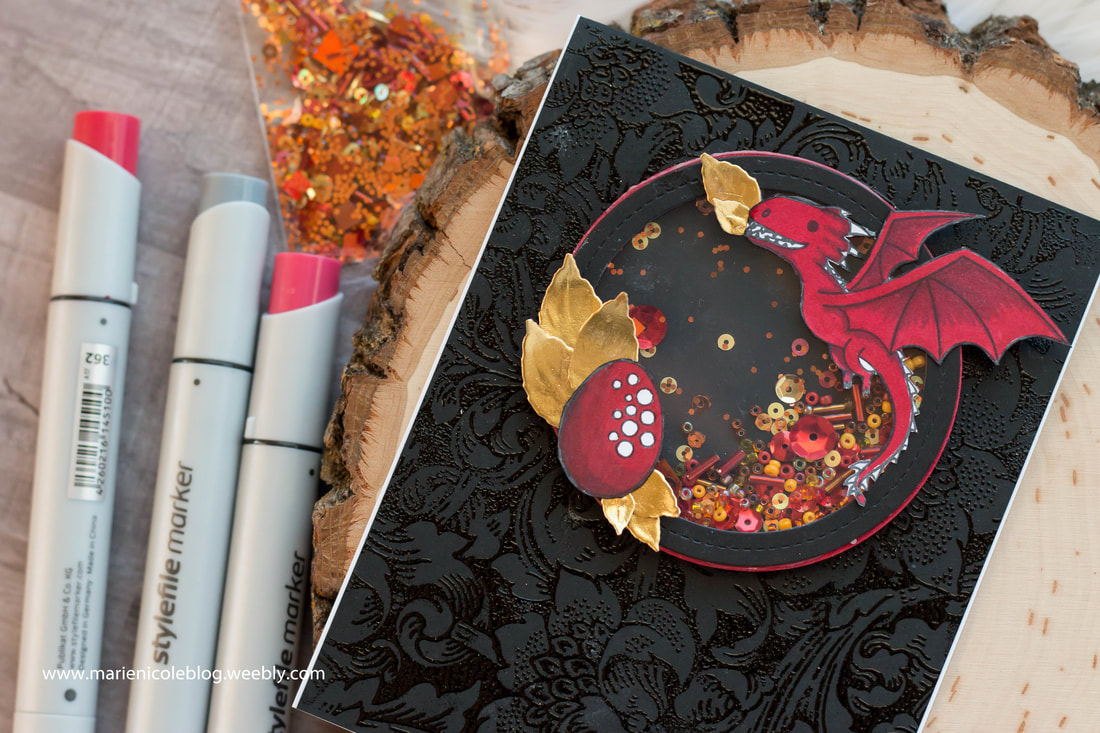
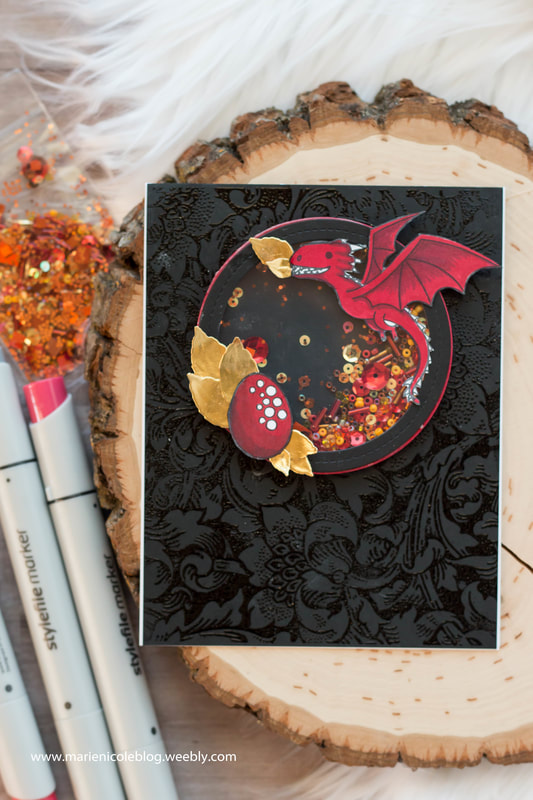
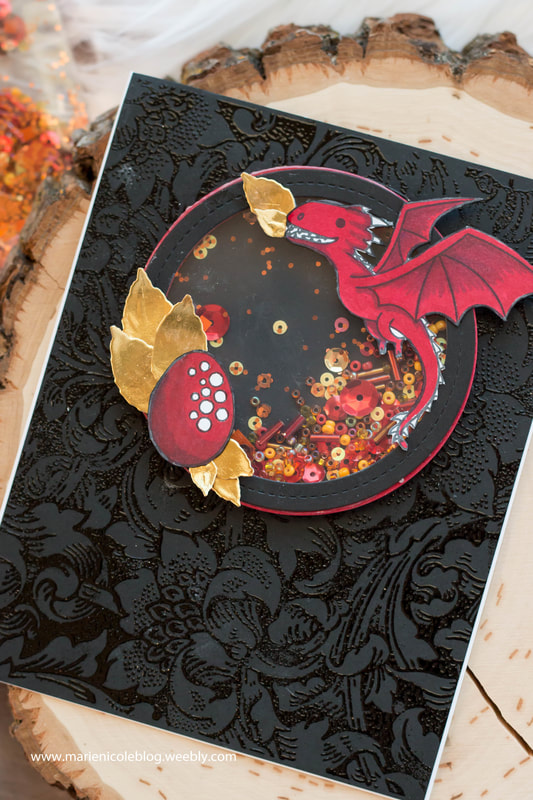
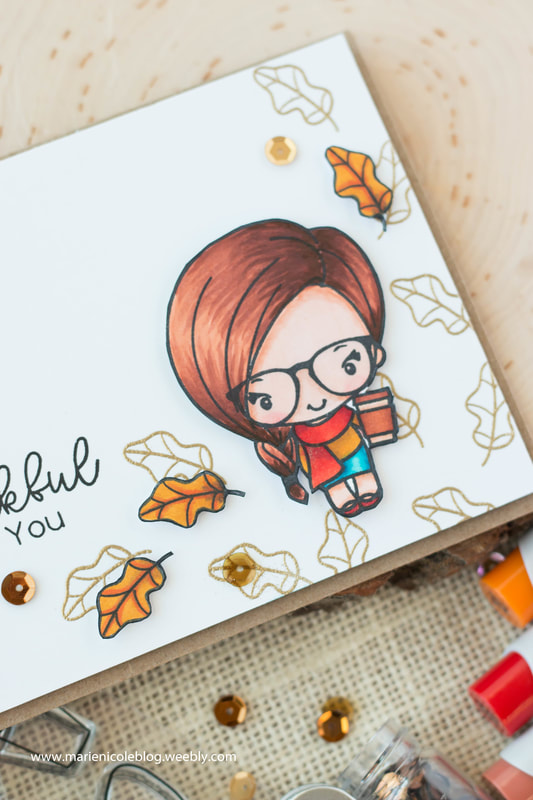
This last card for today is another shaker and perhaps my favorite of the bunch! I knew I just HAD to do a fire-y dragon with this gorgeous shaker mix, so I cut out a circle frame from my dies, and then cut out two more frames with some red craft foam. I stacked and glued them over the background that I created using a background stamp from Brutus Monroe and some RAVEN EMBOSSING POWDER. I love the tone-on-tone texture going on! I then filled the foam circle with the shaker bits and sealed it up with some acetate. In the front, I added the dragon, an egg, and some gold leaves that are meant to look like fire. I left a sentiment off since I'm not sure if I want to use it as a birthday card, a thank you card, or something else yet. Sometimes I just love to create, and then I add a sentiment right before I send it out. This way, it gives me a little more freedom when choosing a card to mail. There you have it! Several cards using the new stamps from KINDRED STAMPS. NOW FOR MORE INFO ON OUR BLOG HOP, AND A WORD FROM KINDRED STAMPS: Thank you for joining us in celebrating this month's release! We know a lot of you have been hoping for sets inspired from times when dragons wandered the earth freely and dire wolves once again moved amongst this land. We brought that to you, and then some. We brought spooky things from the deepest depths of the oceans, and we captured the night sky for you. All you need to do now is to let your inspiration reign! Where will these stories take your crafting? Before your craft table takes you to the many planets of our solar system, let us take you to the blogs for our Creative Team Members and that of our Guest Designer. Everyone is excited to provide you with a sample of their work and to talk about some of the products they used as well as their thought process. On your journey, if you comment on each person's blog post, you will be eligible to win store credit for a future purchase! You must comment on each person's blog, as well as the blog post for Kindred Stamps. The winner will be chosen Friday night, 1-12-18, around 9 pm EST. We thank you so much for your enthusiasm! We can't wait to see what you're inspired by, but remember, if you are inspired by something pop culture related, please refer to our stamp set names on social media and avoid using the actual show or character names. It is very important that we do not step on copyright toes! Thank you ever so much! Now, for the hop! Follow these links! Kindred Stamps Marie Nicole Designs (YOU ARE HERE) R. Winn Creates Dagg Designs Blog Fanciful Spaces The Frolicking Fairy
39 Comments
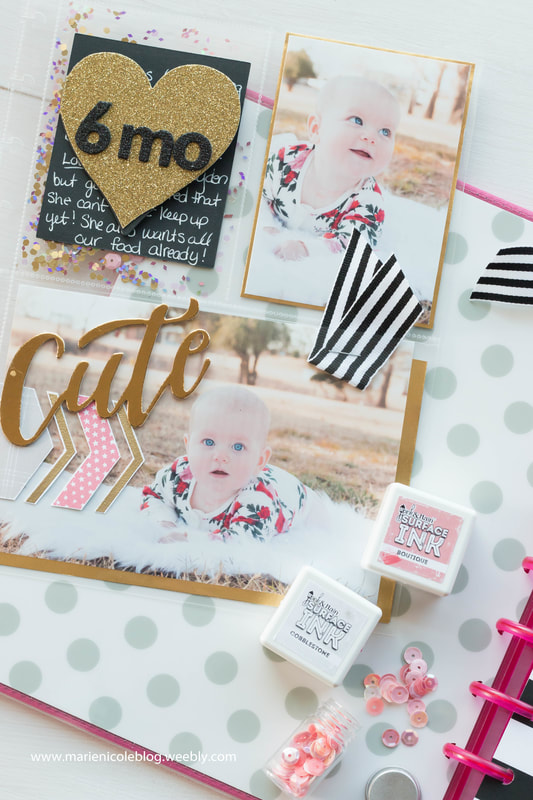
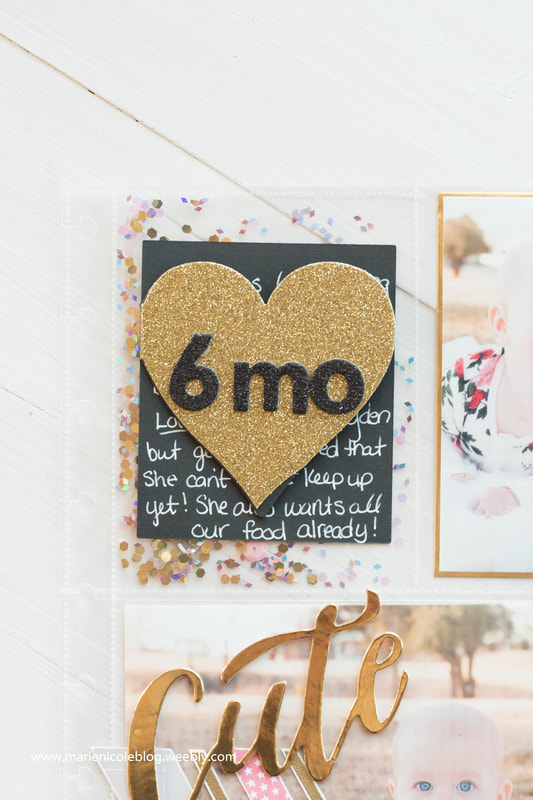
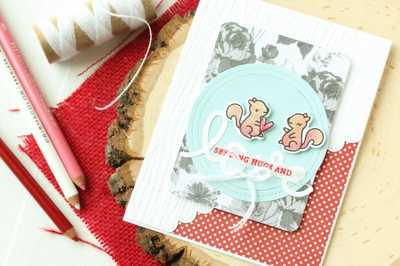
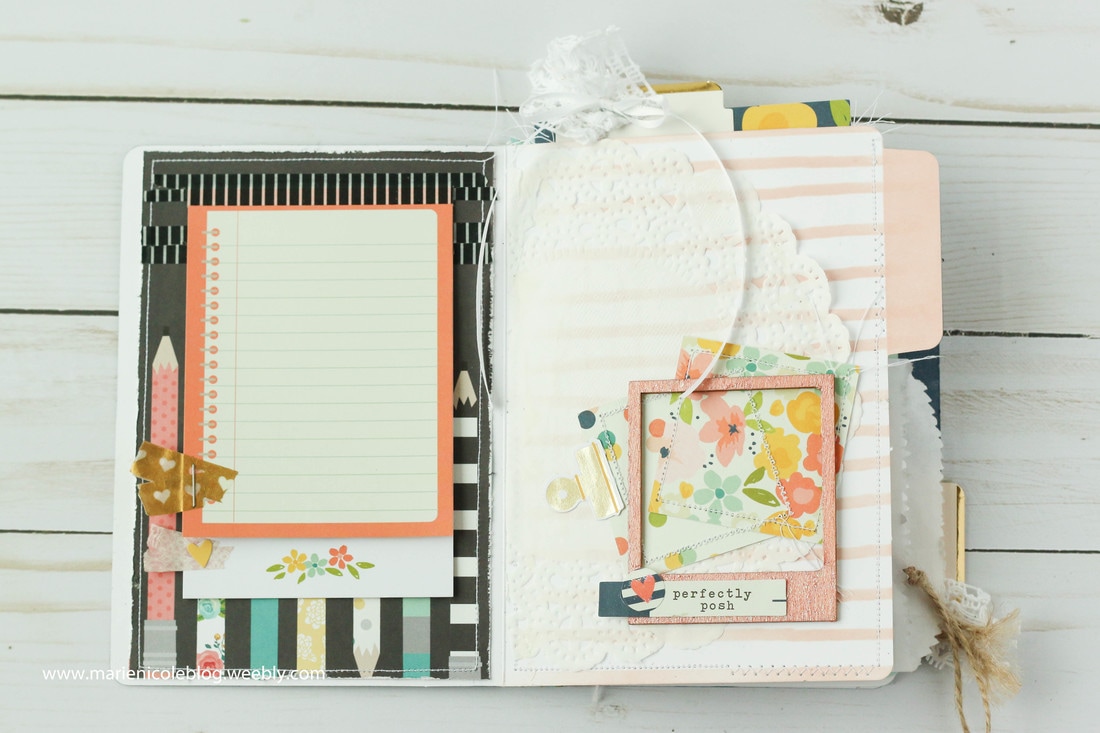
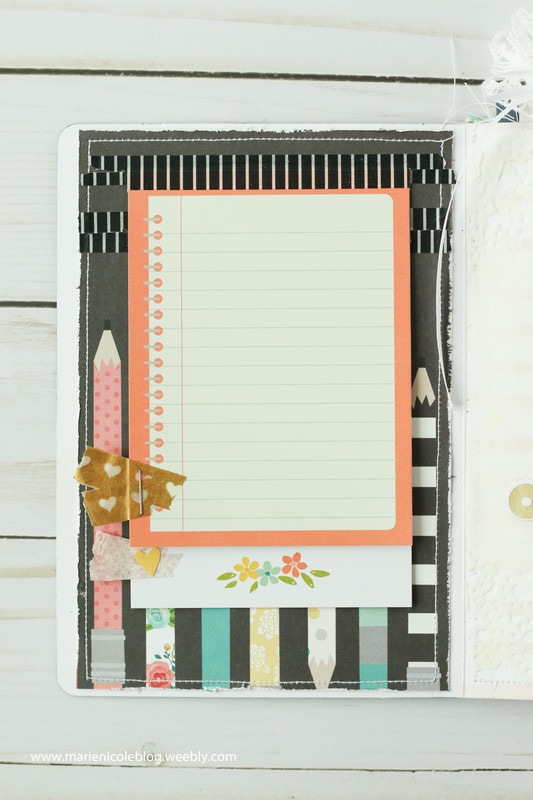
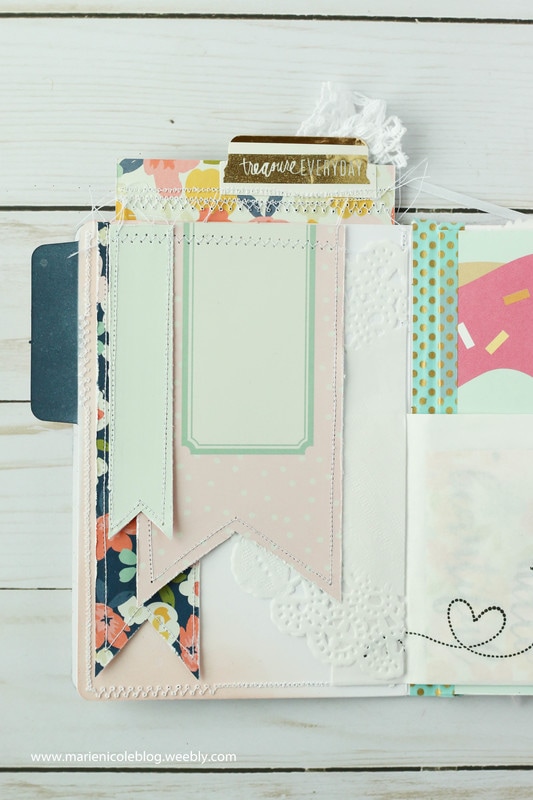
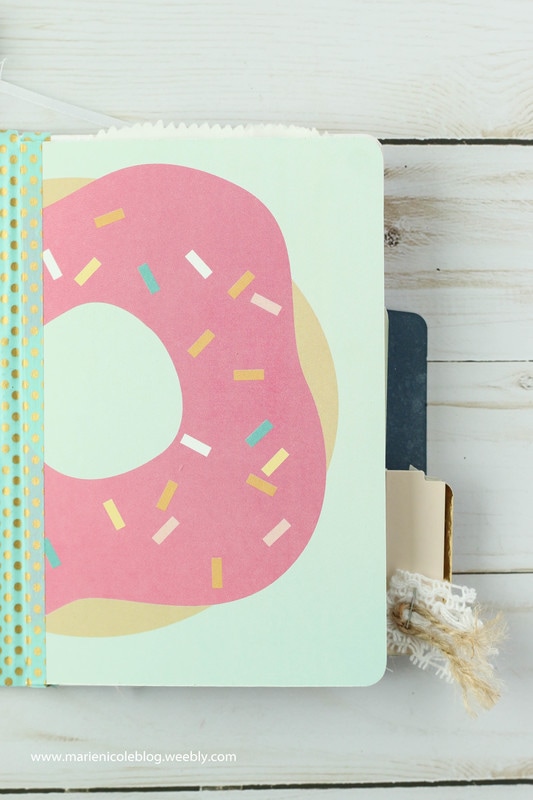
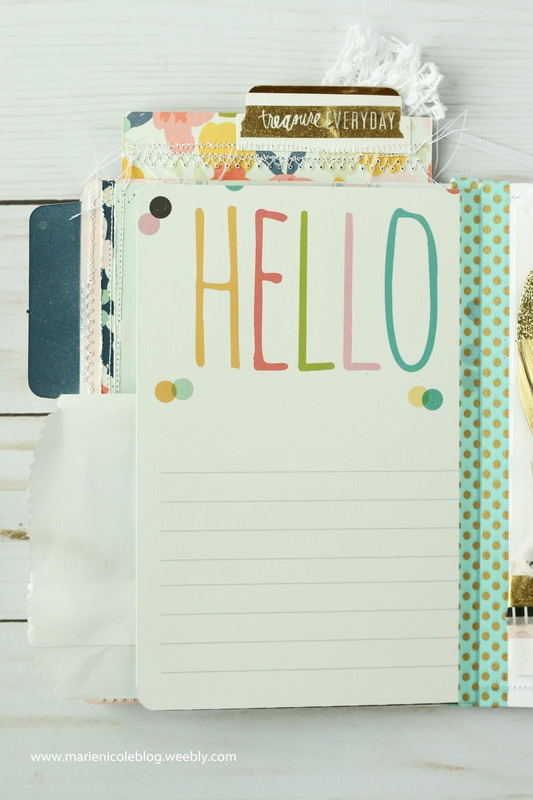
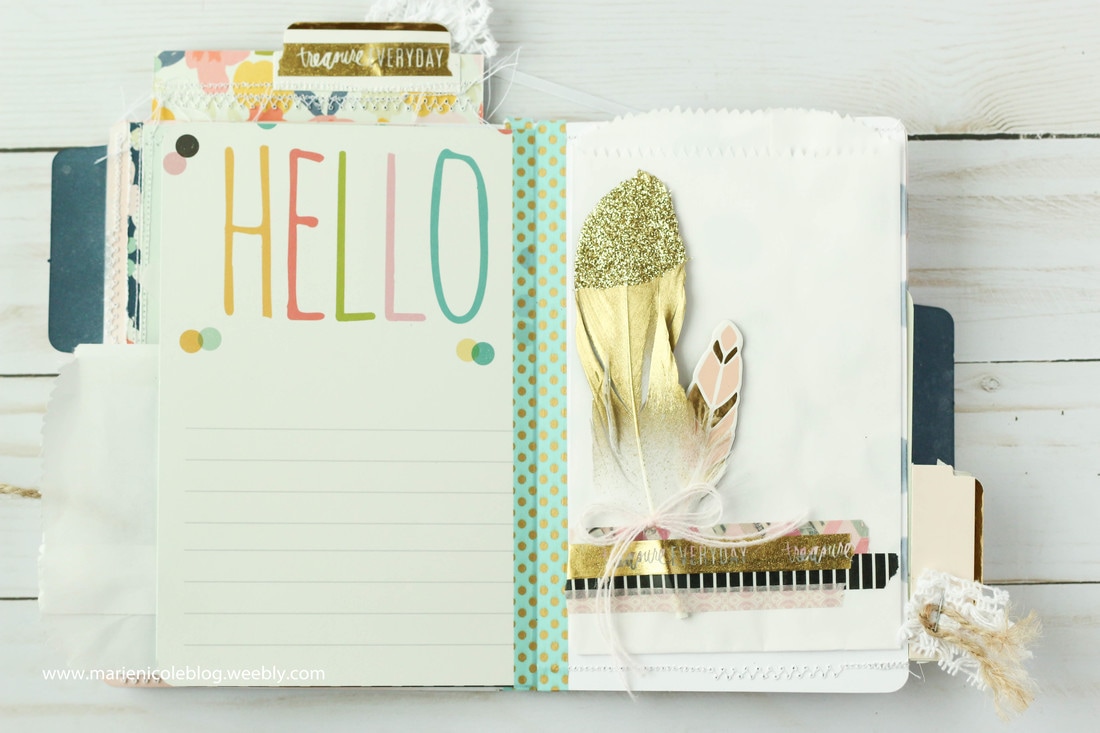
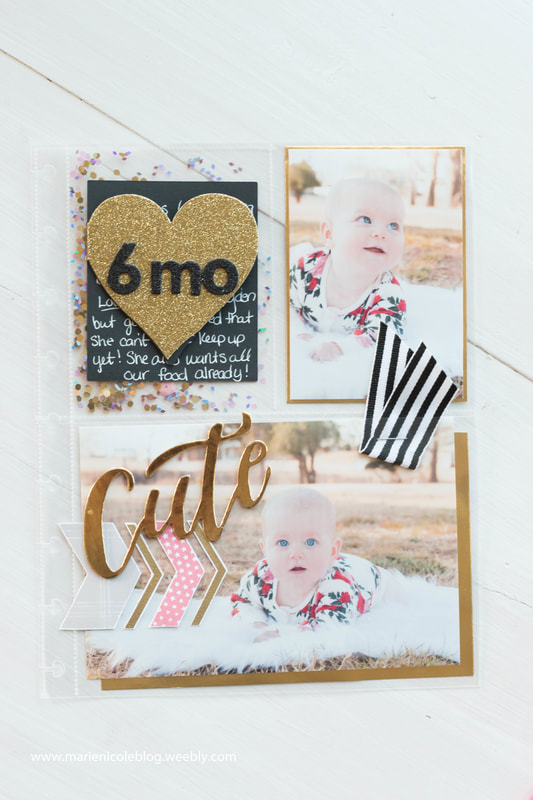 My baby girl just turned 6 mo! I did a quick 5 minute momtographer photo shoot with her and loved how the photos turned out, so I decided to dedicate a photo page to her cute, chubby face. I kept it simple by just using several colors and only a few photos. Sometimes, less is more!
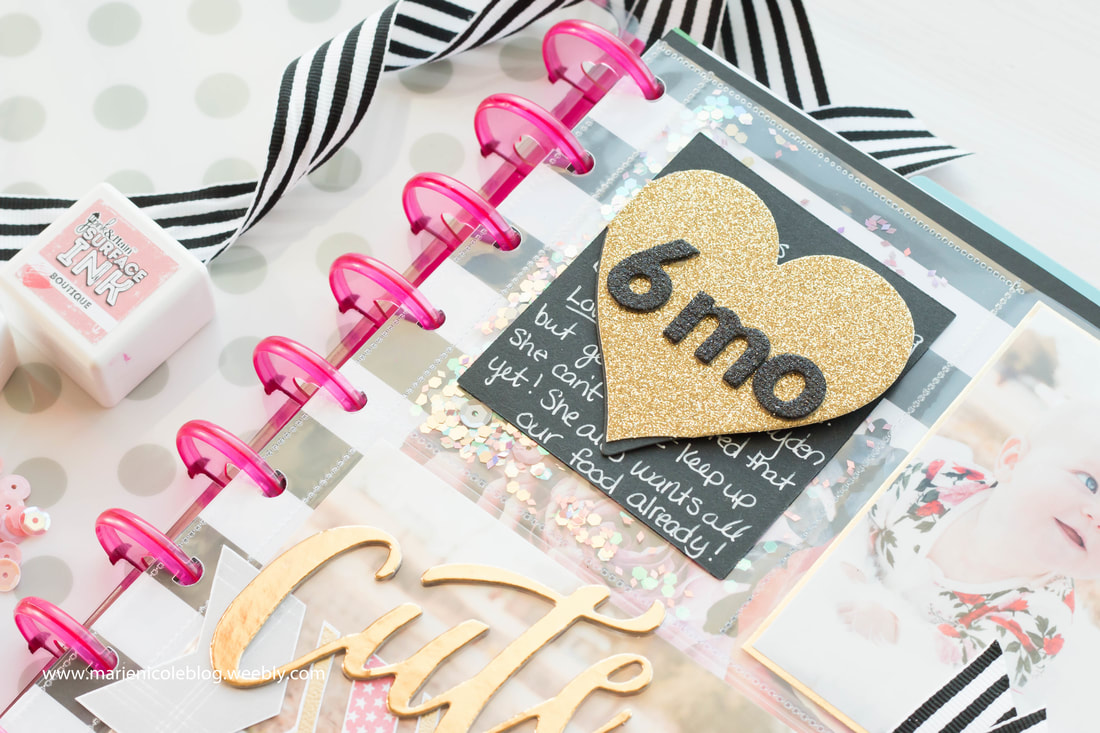
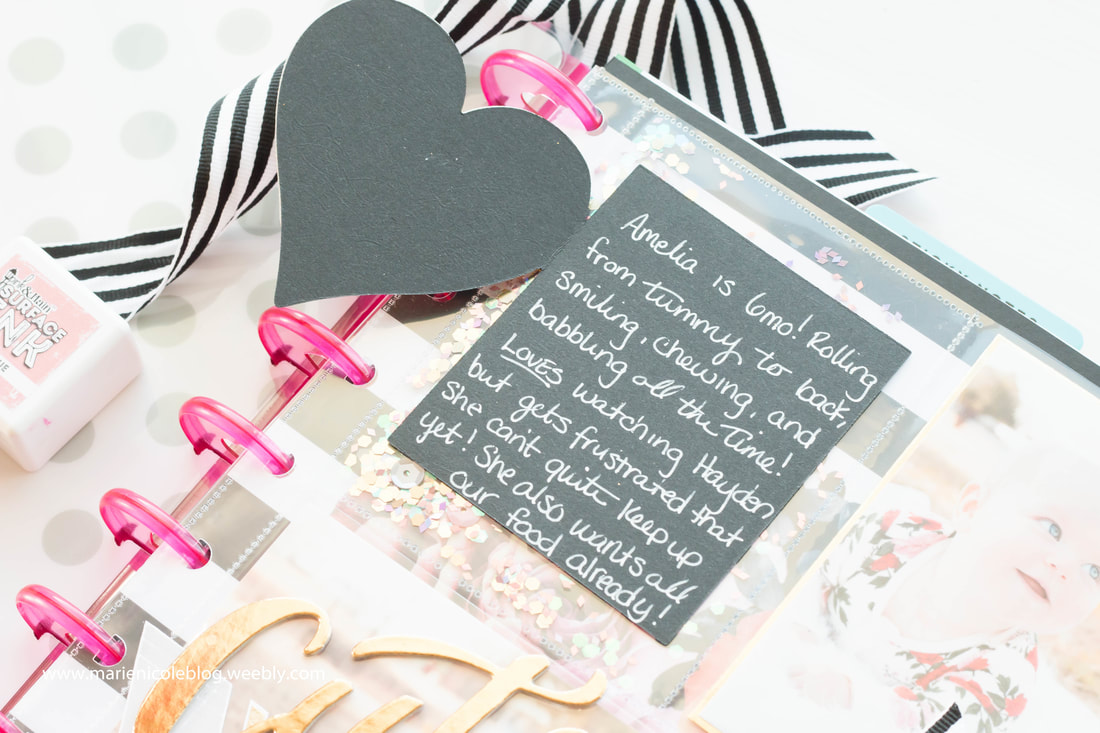
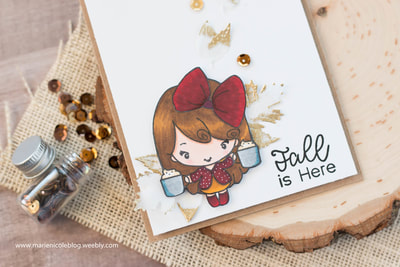
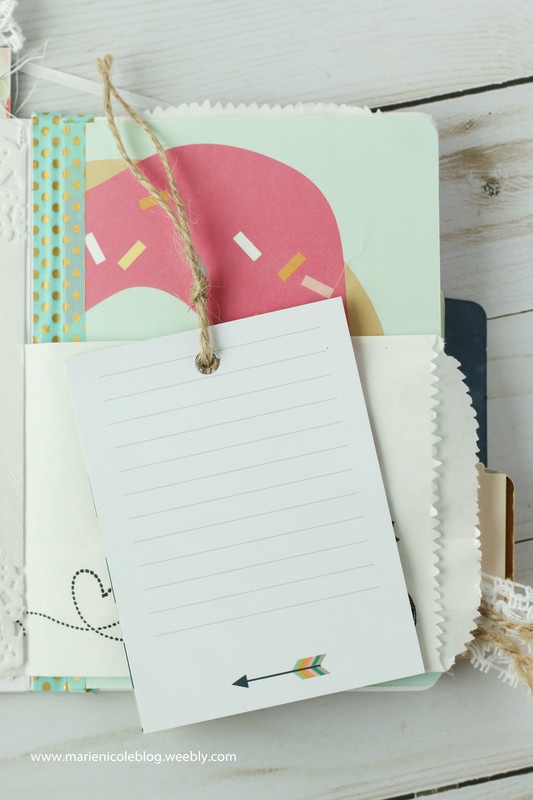
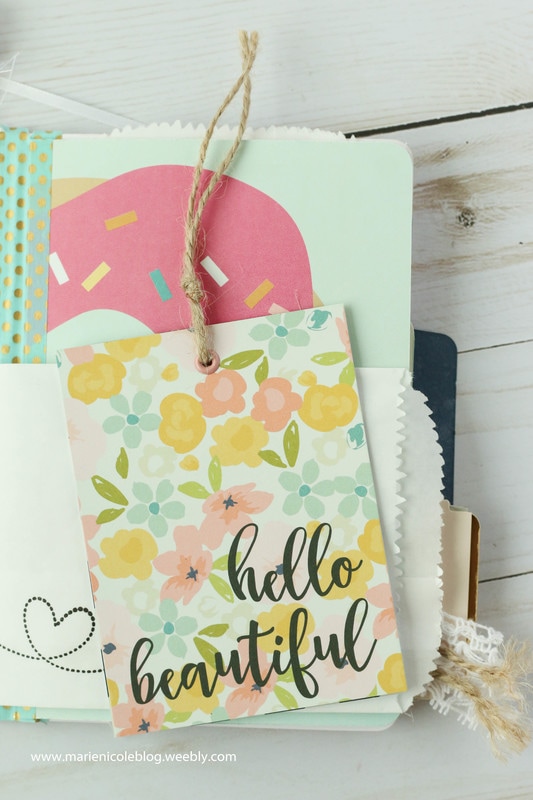
I also wanted to use the new inks and stamp set that I received from PINK AND MAIN. These inks are the same formulation as BRUTUS MONROE SURFACE INKS, but in Pink and Main colors! The colors are so vibrant and I LOVE the hues! I stamped out some of the arrows and then fussy cut them out. I also stamped the skinny arrows in some EMBOSSING INK and GILDED EMBOSSING POWDER to add a little shine. I adhered these arrows to the outside of the plastic pocket page, while the photo is safely tucked inside. This way, I don't actually have to glue anything onto my photo! 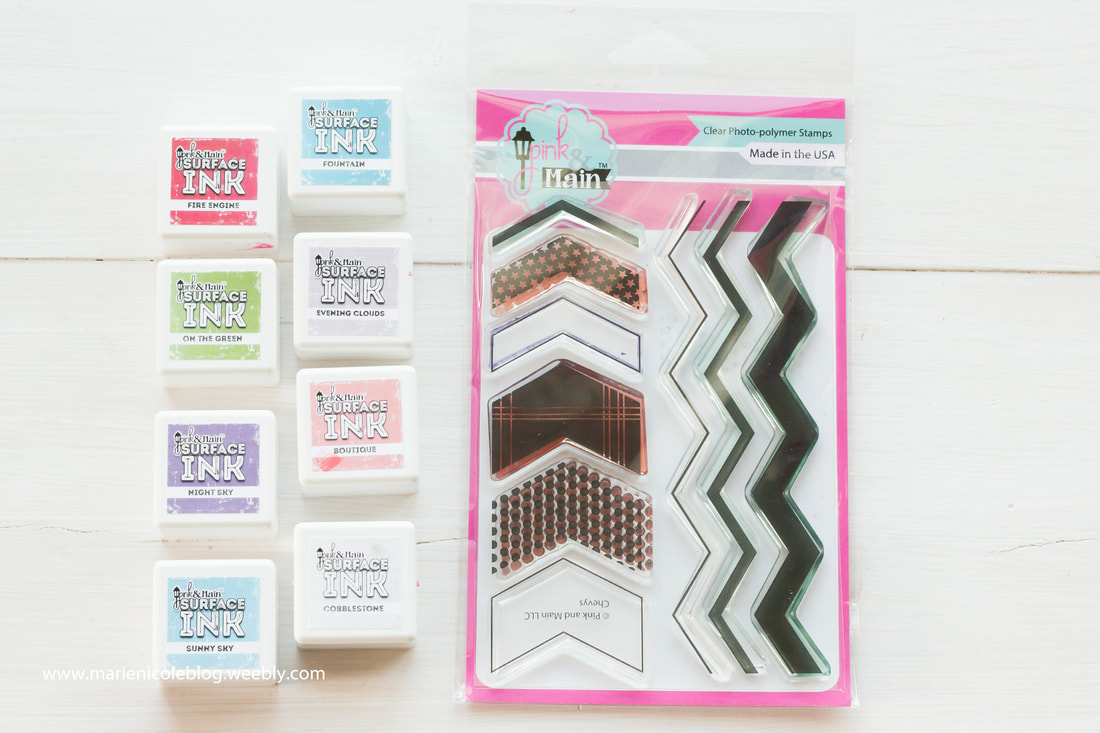 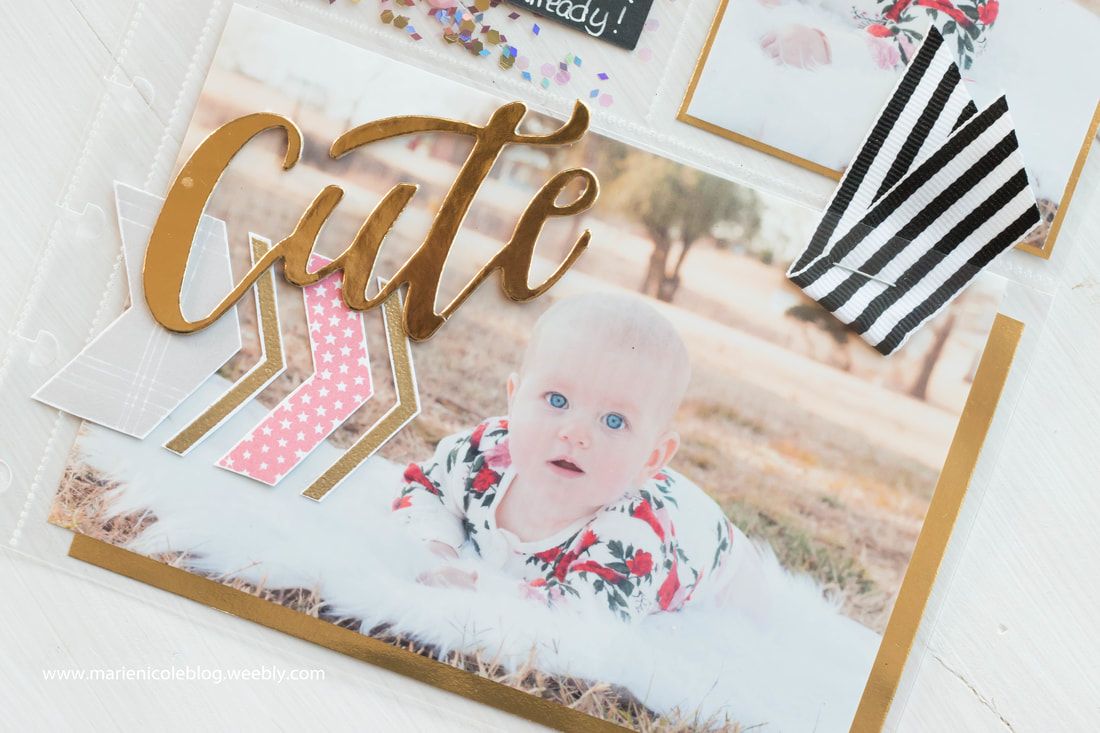 I also made the top left pocket a shaker pocket by filling it with sequins and glitter, and then sealing it up using my FUSE tool. I have LOVED my fuse tool for creating pocket pages and shakers. As long as you give it enough time to warm up before using it, sealing up your pockets is quick and easy! Also, I adhered a little note card that you can flip open to the outside of the shaker pocket. I wrote in a few memories on the card about my chunk-a-muffin's current milestones.
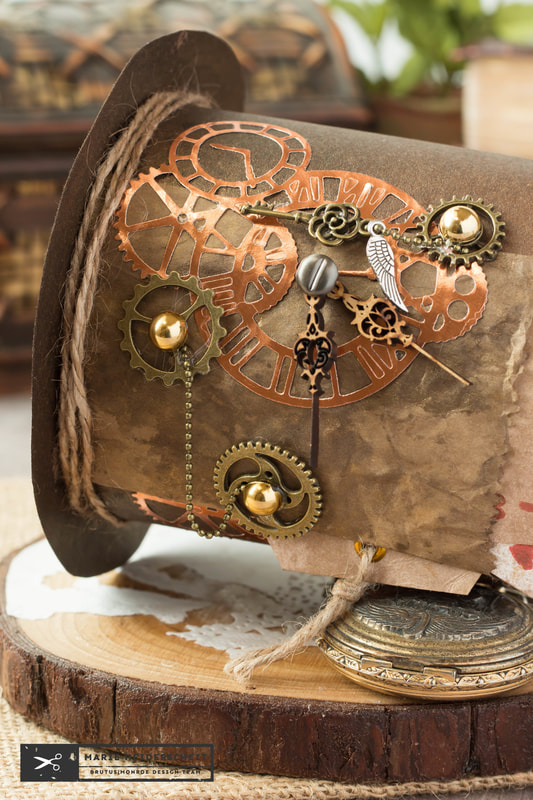
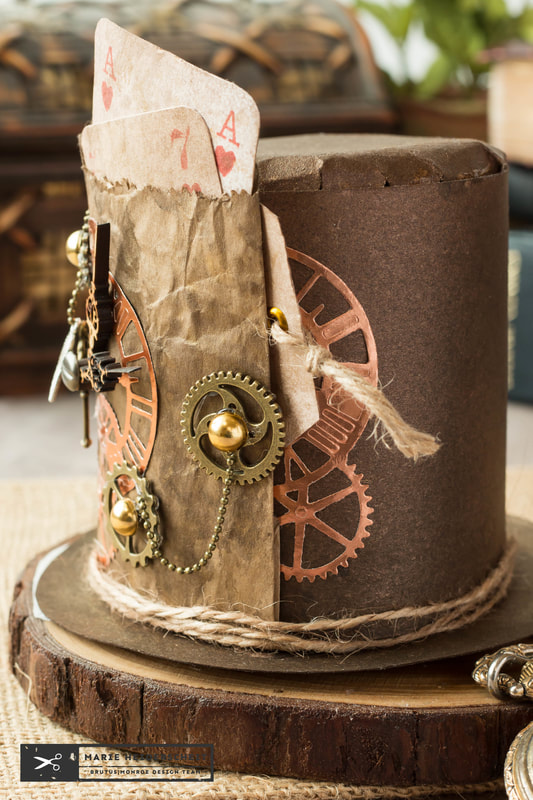
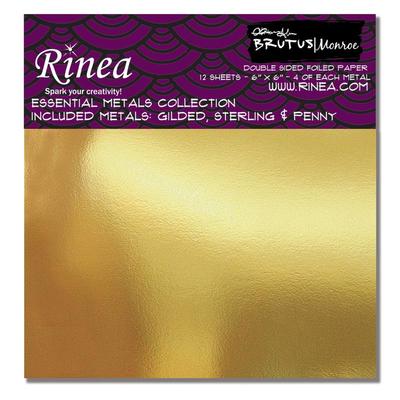
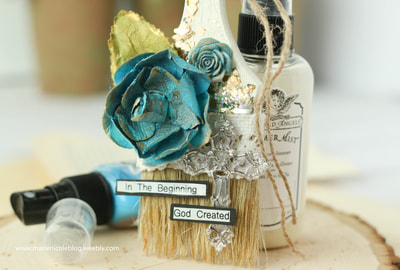
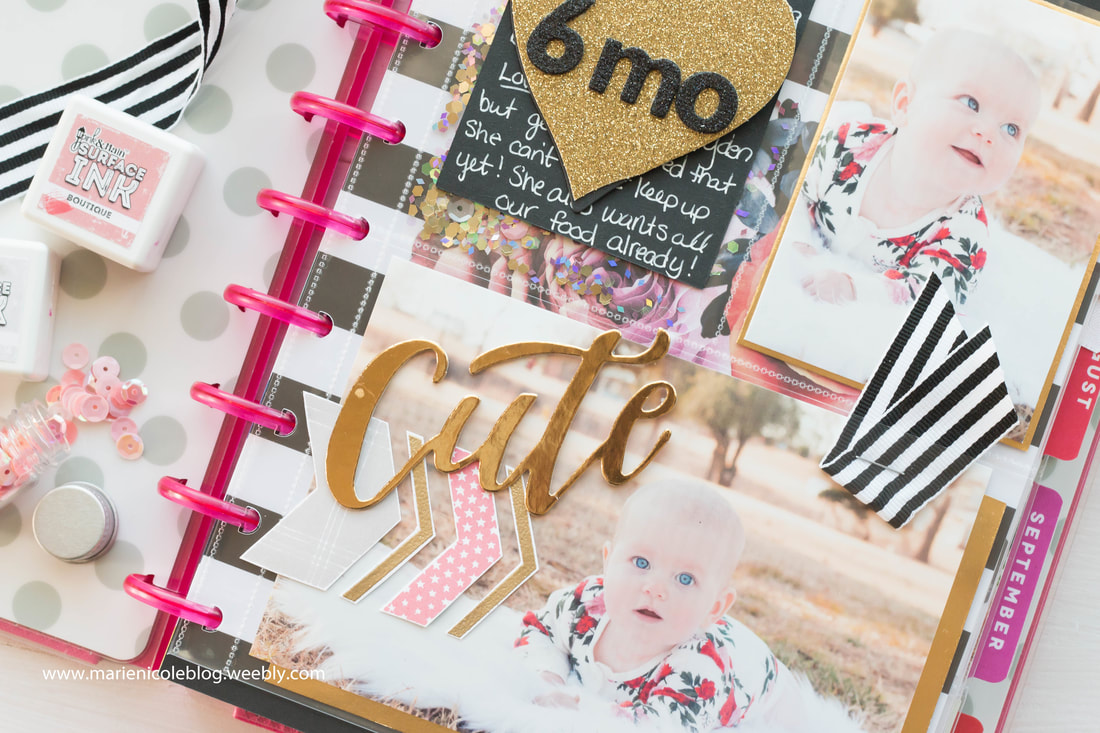 I also matted my photos using a little GILDED RINEA FOIL from Brutus Monroe. It worked beautifully with my color choices and just tied the whole page together! This foil is beautiful as-is, but can also be die cut and stamped on. I added some last touches with some ribbon and cardstock stickers and then placed this page into my planner! 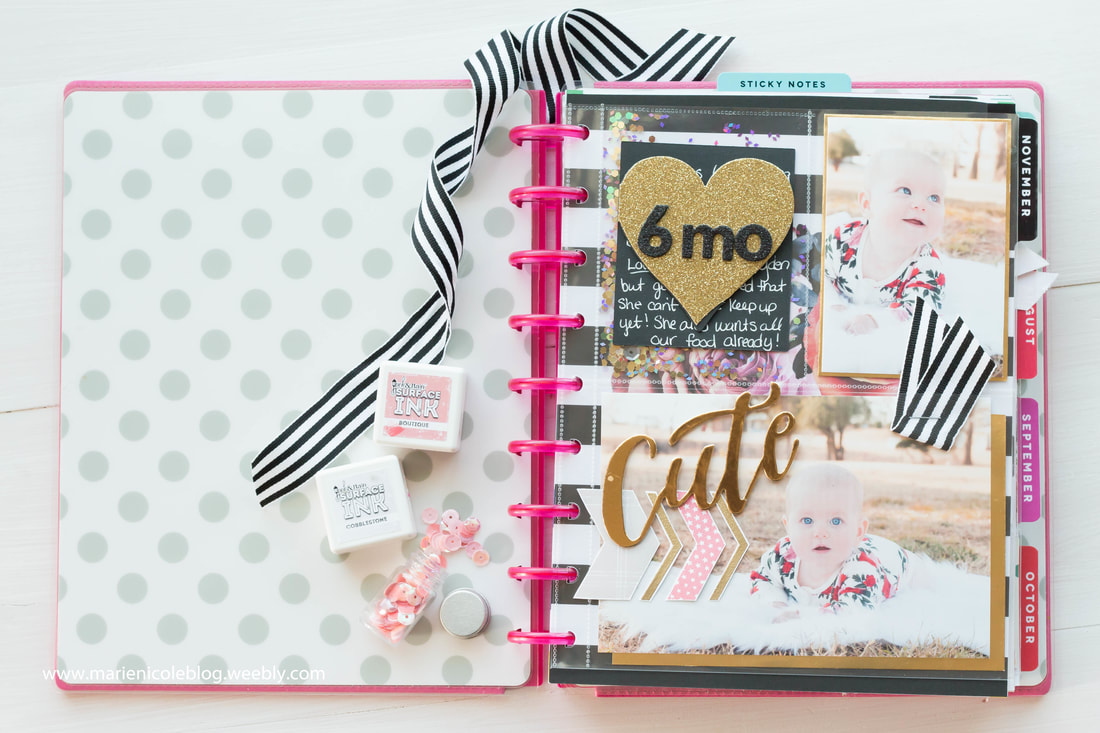 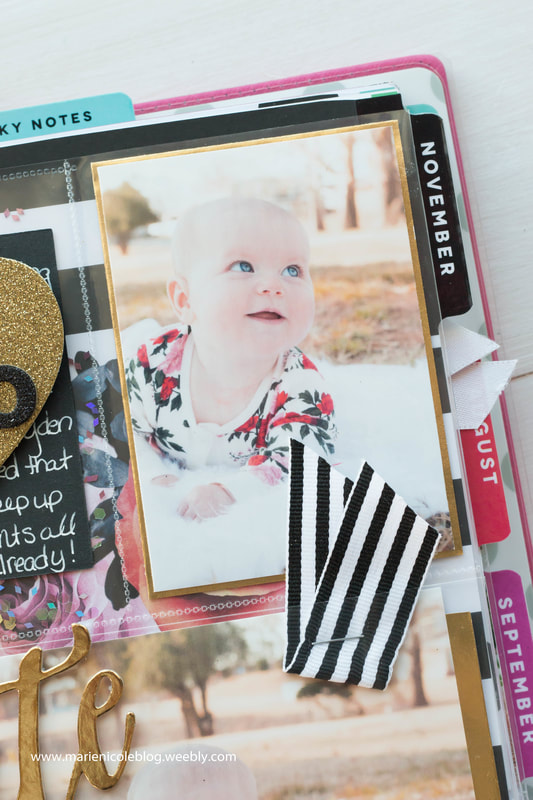 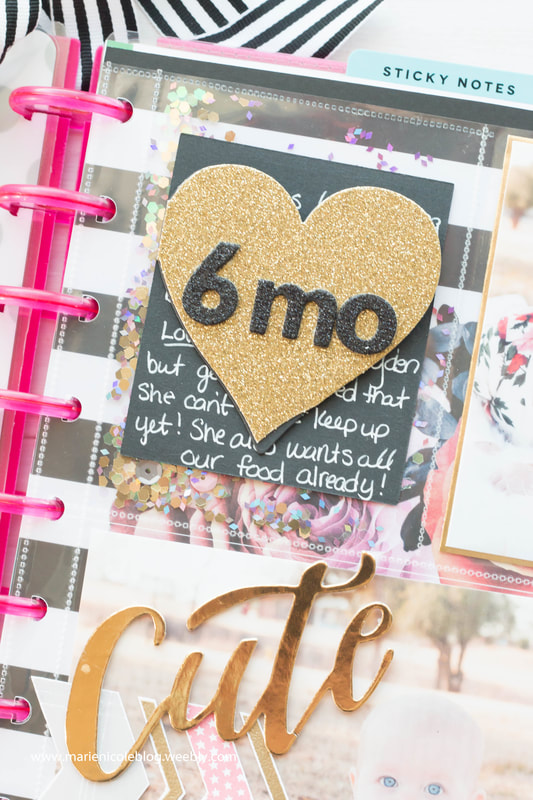  Thanks for stopping by today! I hope you've been inspired in your own crafting. Until next time, Marie Nicole More from Marie Nicole... 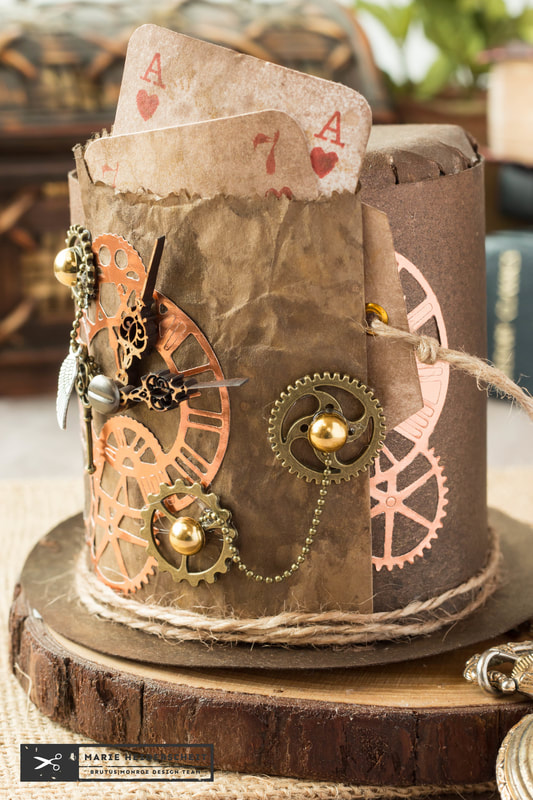 BRUTUS MONROE has a monthly INSPIRATION BOX SUBSCRIPTION and this month's box is a Steampunk themed box! I have always loved the look of Steampunk, so I was very excited to get my hands on this box! I just knew I wanted to punk out a little paper top hat! I started by browsing the web for a template for a top hat. I found THIS ONE from Craftaholics Anonymous. They have a FREE PDF download or SVG. I grabbed the PDF, printed it, and used the template to build the hat out of some CANVAS CORP KRAFT PAPER. After the hat was assembled, I spritzed it with some GLIMMER MIST to give it a vintage, worn look. I used the colors, VINTAGE BRASS, TATTERED LEATHER, and BLACK.
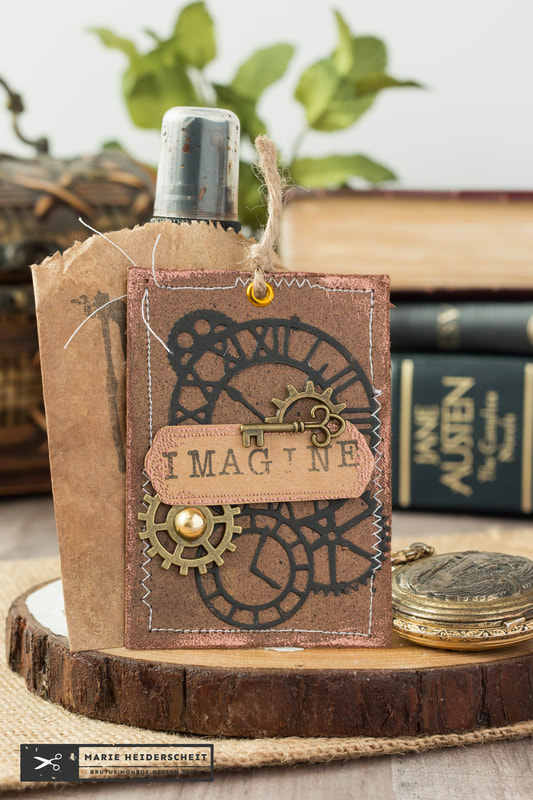
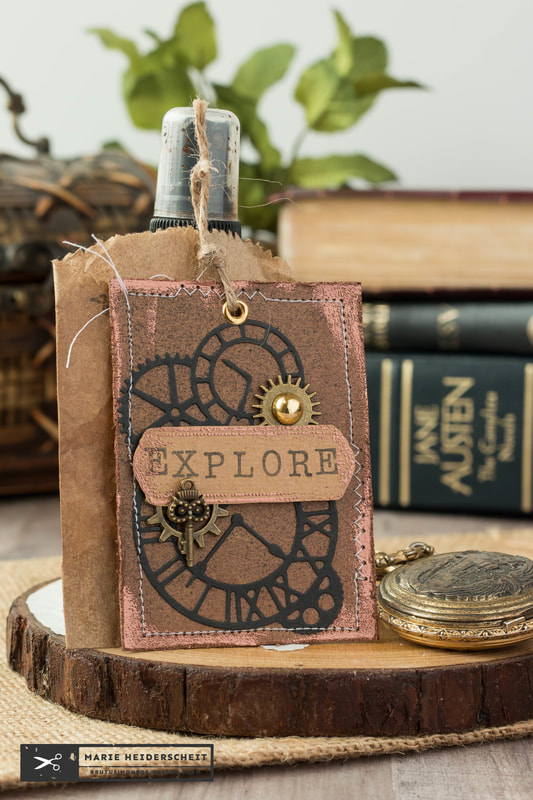
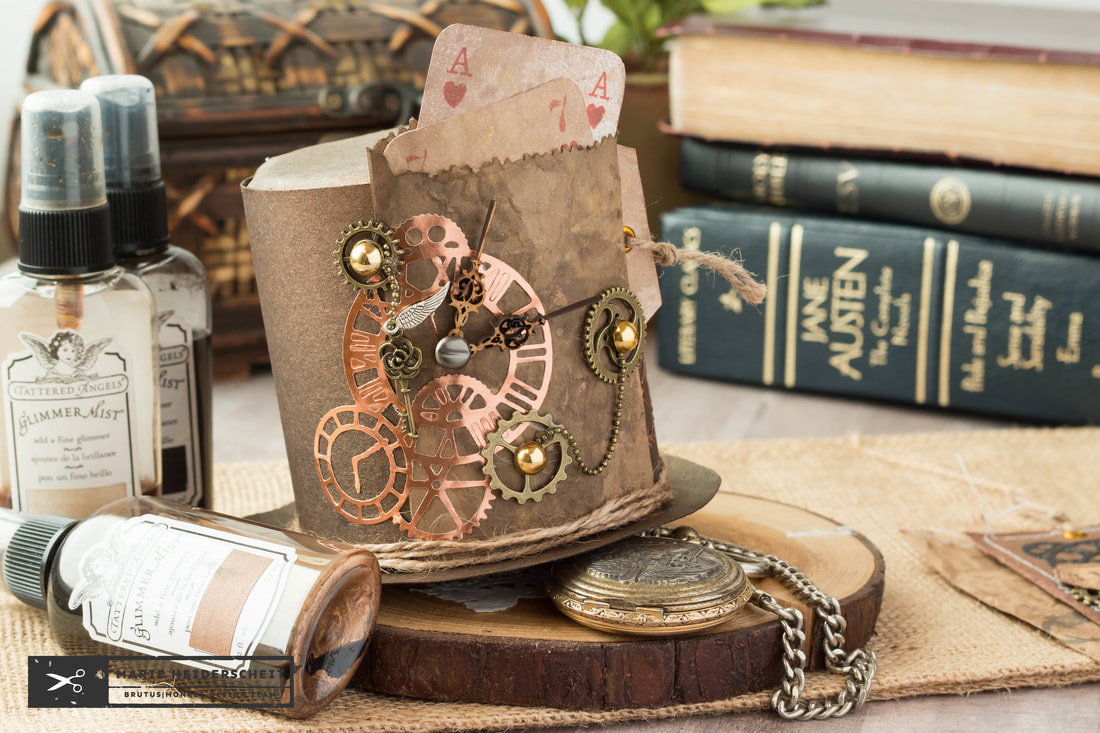 Then, I grabbed all the lovely embellishments from the Brutus Monroe Inspiration Box. They included some brass gears, chain, flat back pearls, paper bags, and a fun gears die. I used the die with some PENNY RINEA FOIL to cut out some shiny gears. I ran the foil gears through my Xyron sticker maker so I could adhere the detailed die cut easily. Then, I added the metal gears and different bits here and there. I also added some twine and a few hanadcrafted playing cards for some finishing touches. This turned out to be a super fun project that is way out of the norm for me! I usually do simple and pretty cards, but after making a load of Christmas cards, I needed to change it up a bit! Even after I finished this project, I had a good amount of supplies left from the Inspiration Box, so I went ahead and created a few ATCs, as well!  I used the same colors of Glimmer Mists on some of the paper in the box. Then, I ran some EMBOSSING INK and PENNY EMBOSSING POWDER around the edges to add some metallic shine. After adding more die cut gears, I also sewed around the edges. I love how it almost looks like a scrap of leather!
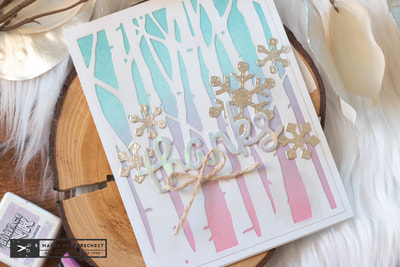
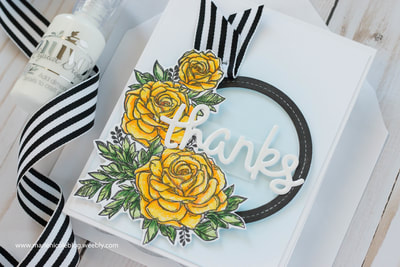
Since the little paper bags in the box were just the right size for ATCs, I wanted to decorate them to match so I could tuck the ATCs inside. I sprayed them with Glimmer Mist as well, and then stamped on them with a new, not-yet-released stamp set from Brutus Monroe! This set will be available December 30th, so keep an eye out for it! 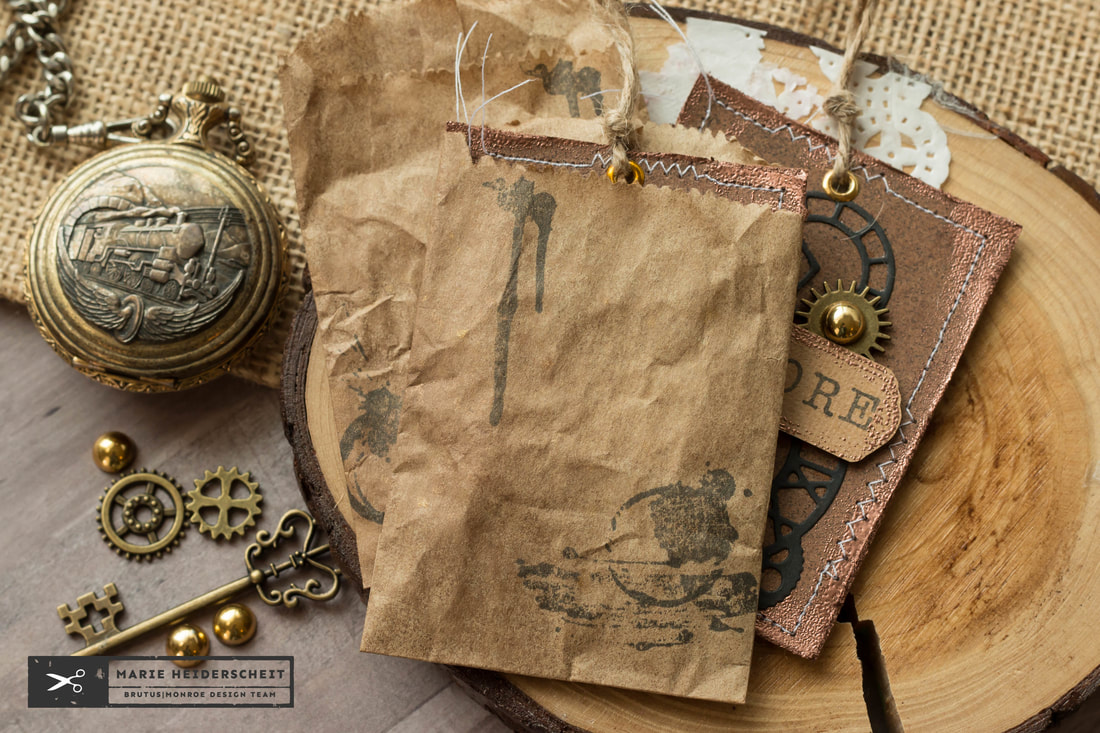 A few eyelets on top and some scraps of twine, and these ATCs were finished! I also have a handful of embellishments left from the INSPIRATION BOX, as well as papers, layering pieces, and of course, the 6x8 stamp set that is full of fun gears images and a full steampunk style alphabet! This box was such a fantastic value! Please check out the INSPIRATION BOX SUBSCRIPTION over at Brutus Monroe if you are interested in getting future boxes! Thanks for stopping by, and happy crafting! More from Marie Nicole...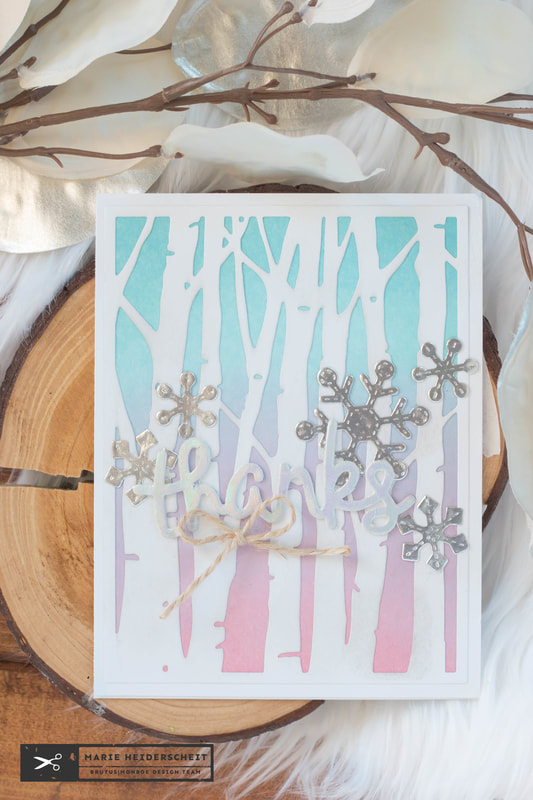 I recently opened up my mailbox and discovered a fun pink mailing envelope from PINK AND MAIN! I was so excited to open it up and see what was in there. They sent me these GORGEOUS colors of ink that are the same formulation as the BRUTUS MONROE SURFACE INKS, but in Pink and Main colors. How cool is that? Just take a look at these fabulous hues! 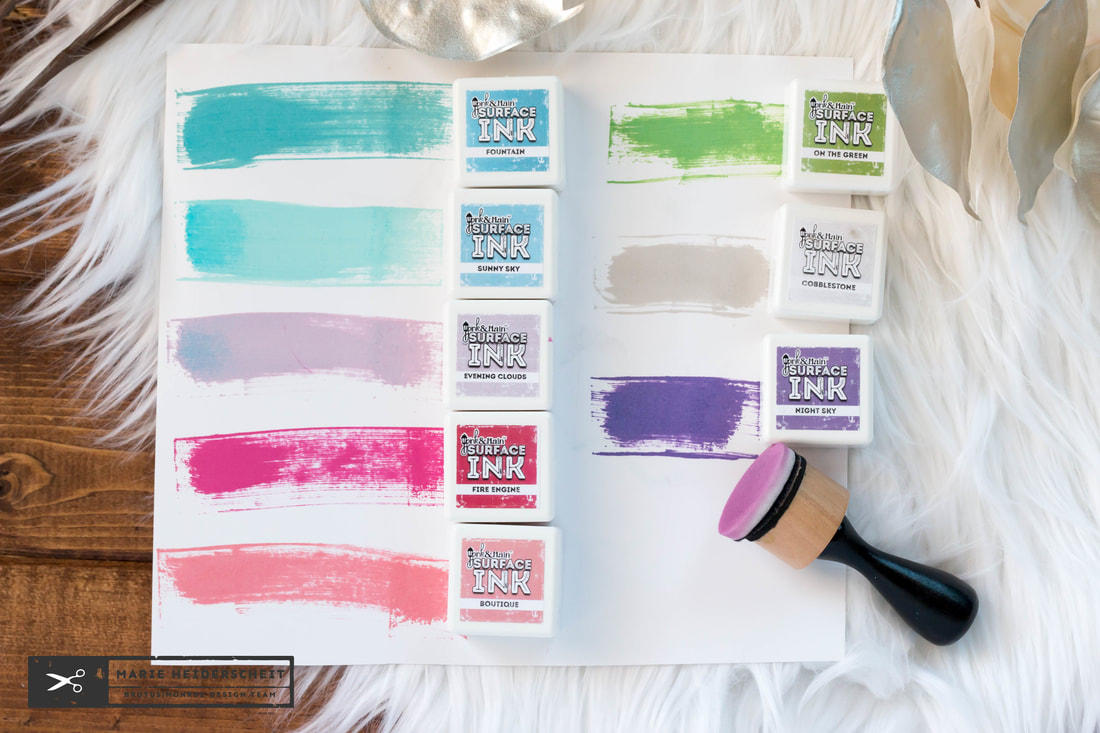 Definitely a color palatte right up my alley. So I decided to do a little ink blending with these colors and see what happens. They blend like butter, people! Just like Brutus Monroe inks do! I created a frosty sky background and layered a birch tree die over the top.  To add the snowflakes, I die cut some RINEA FOIL and glued them on over the trees. Then, I die cut some Thermoweb foam adhesive with the word, "thanks", and foiled that to layer over the snowflakes. I finished off the card with a bit of twine tied into a bow. It is a pretty simple card, but the colors in the background just makes it pop, don't you think? I opted for a thank you card because usually after the holidays we try to send thank yous to all who were generous and gave us Christmas gifts. Thanks for stopping by! Please check out a few of the items I used.
|


 |
 |
 |
 |
 |
 |
More from Marie Nicole...
|
|
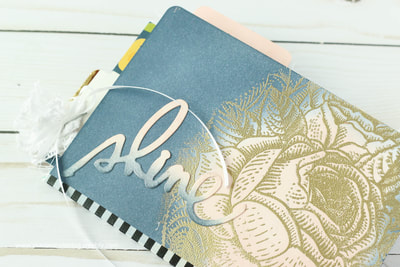
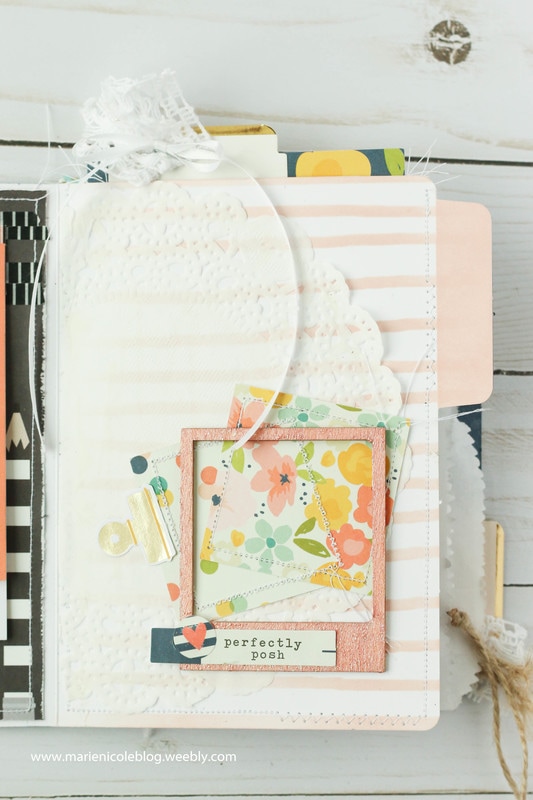
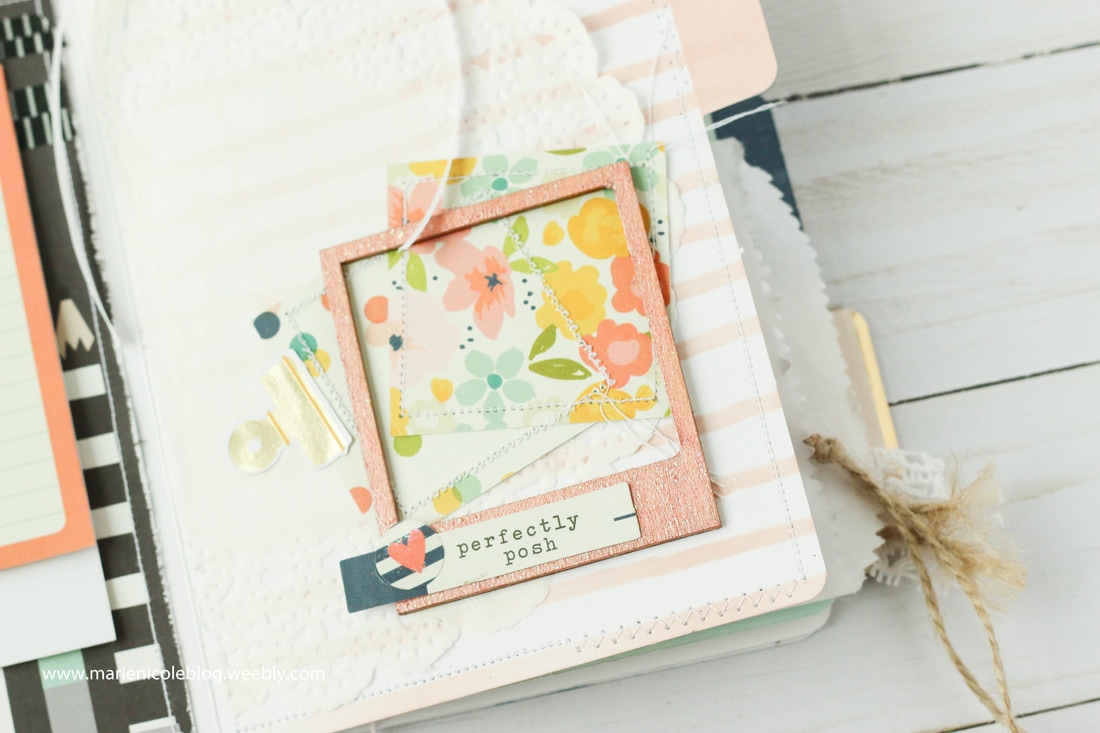
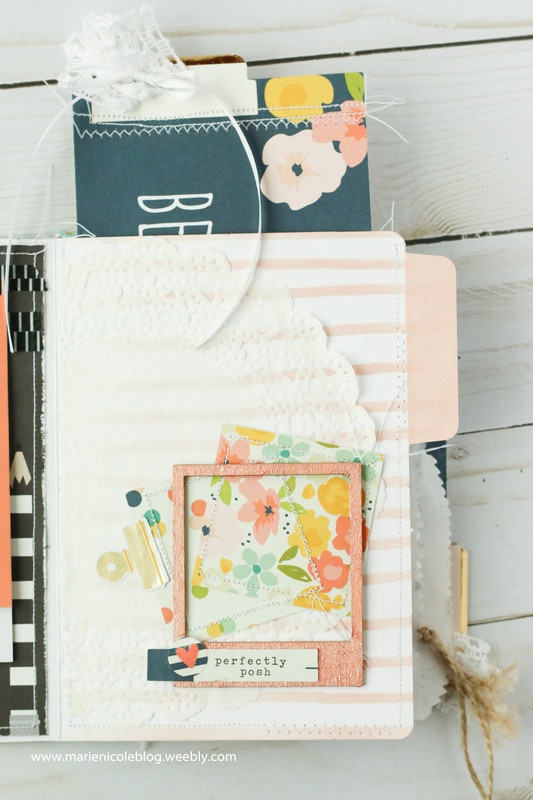
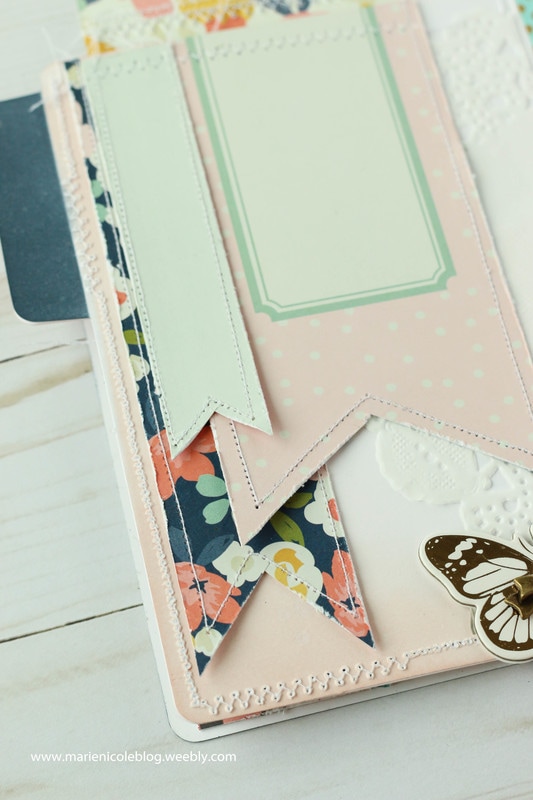
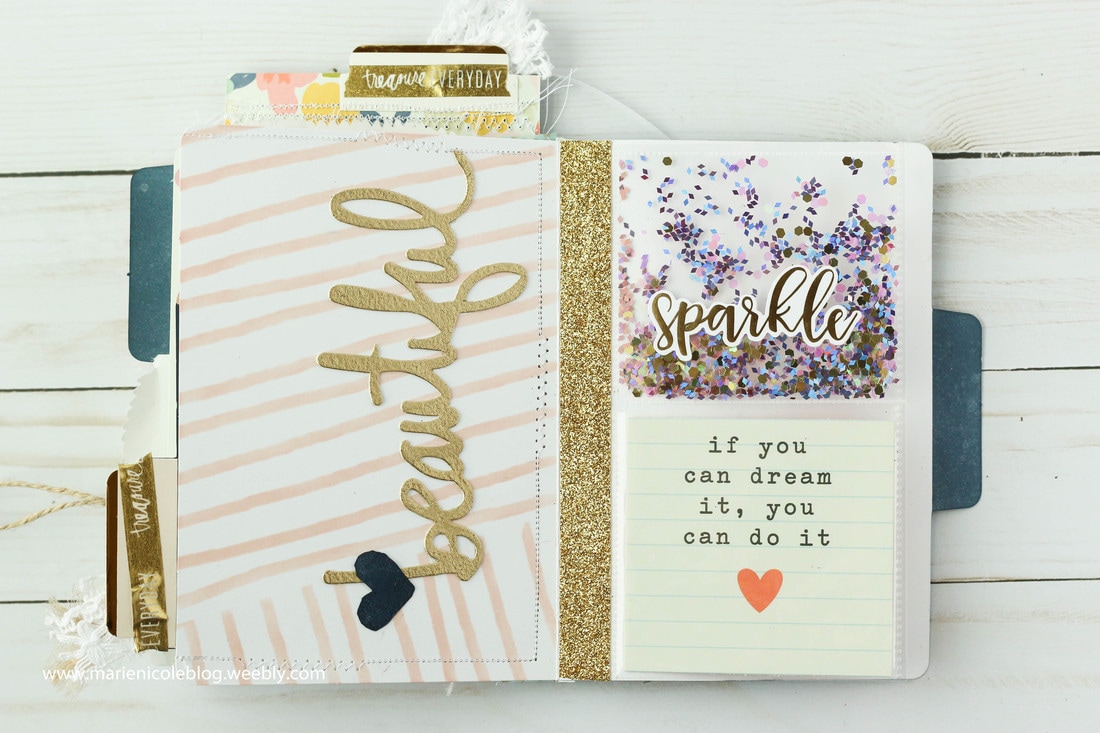
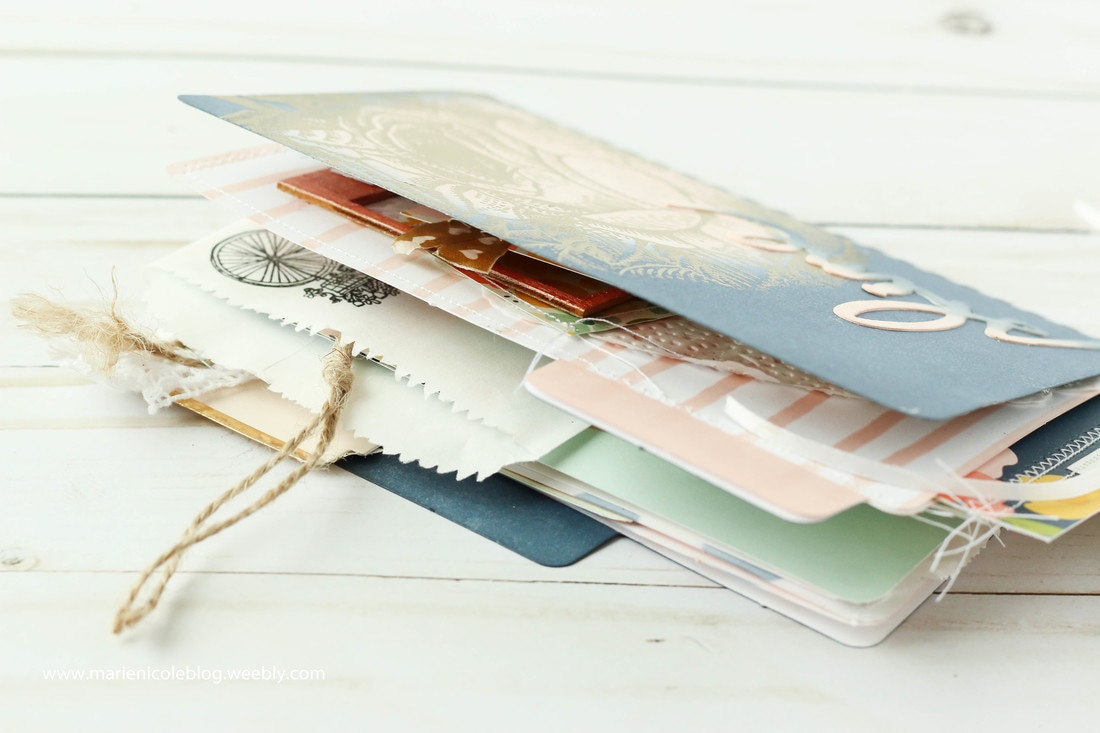
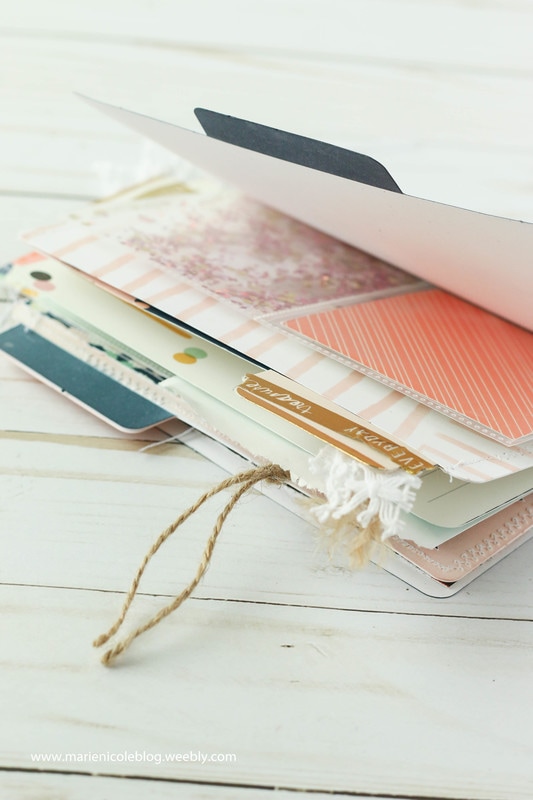
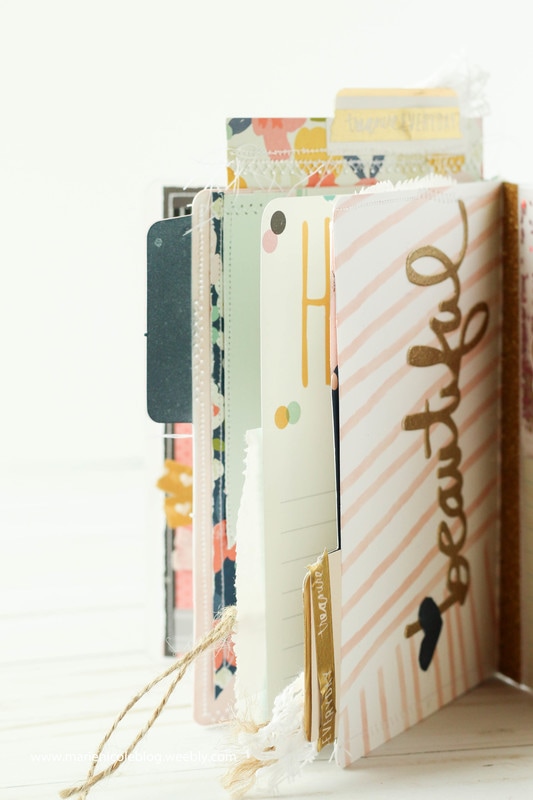
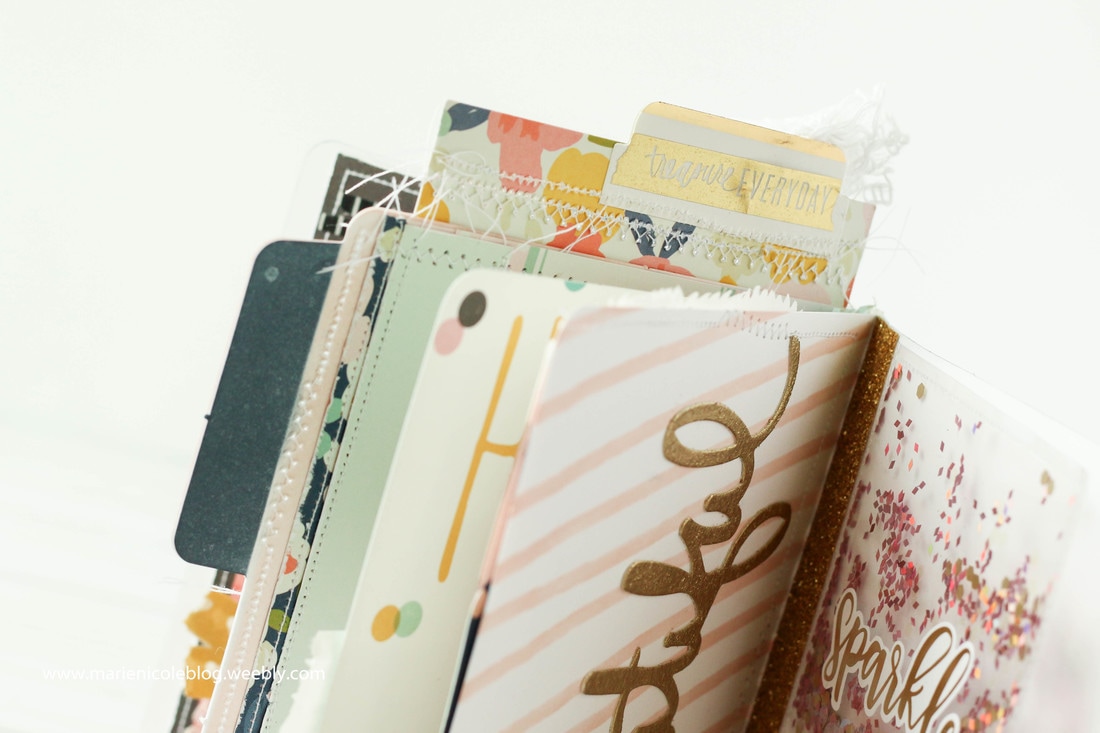
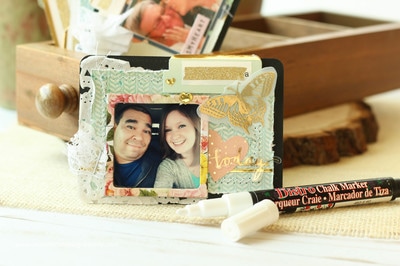
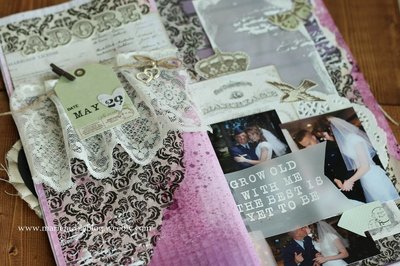
The page opposite the first has some ink blended stripes and then some more layered embellishments. I added a little wood frame that was painted with Tattered Angels paints in coordinating colors. This little frame is perfect for adding a little 2x2 photo inside of.
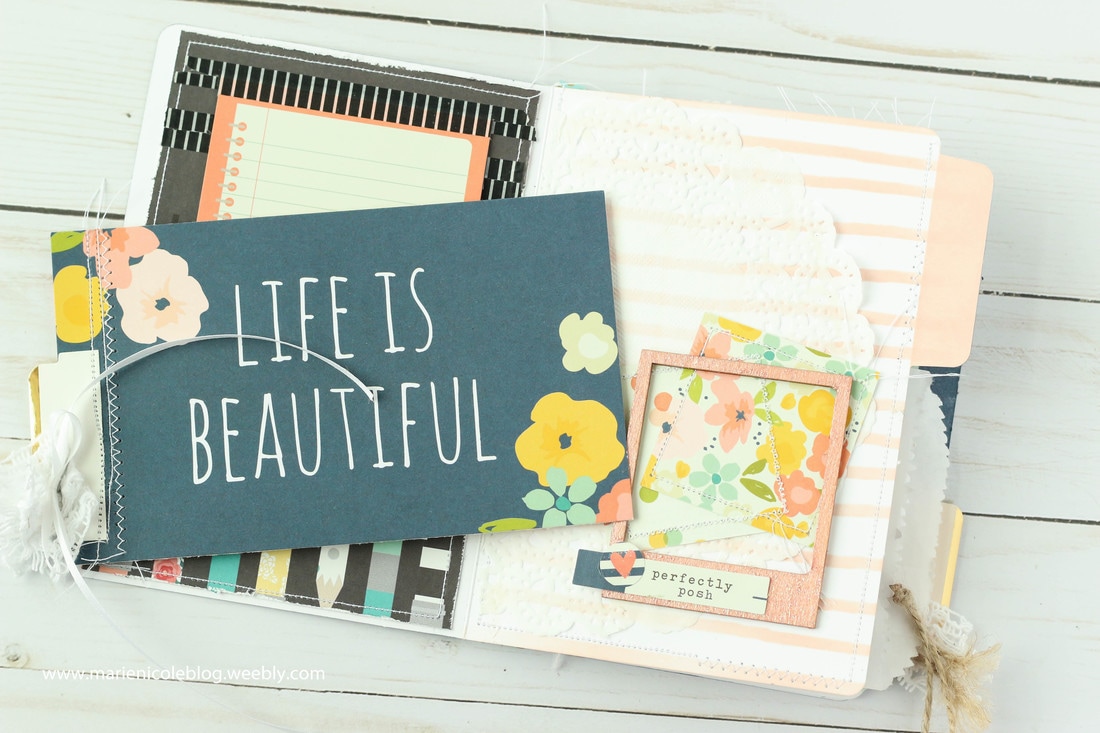
Using all these papers from the same Simple Stories collection made it so simple to mix and match everything! The colors and patterns all coordinate beautifully and took a lot of the guesswork out of selecting papers myself.
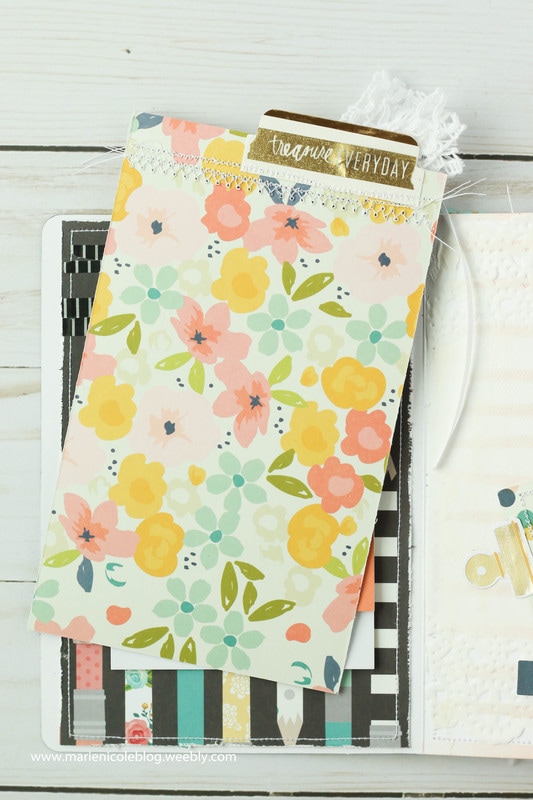
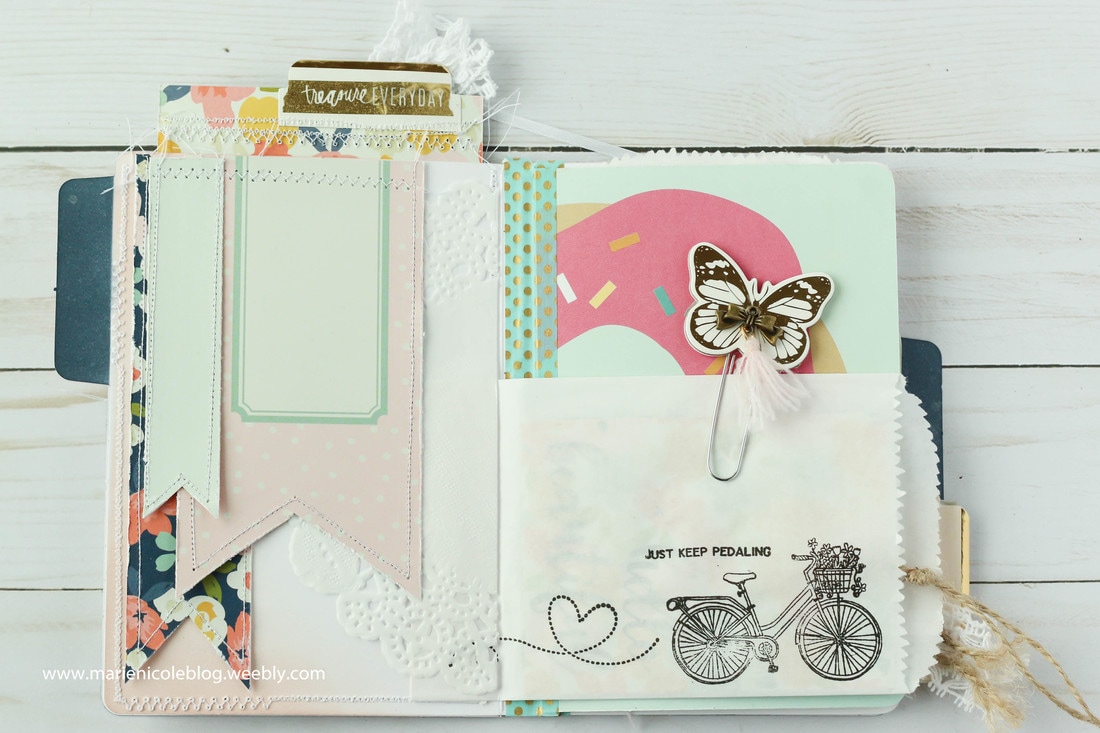
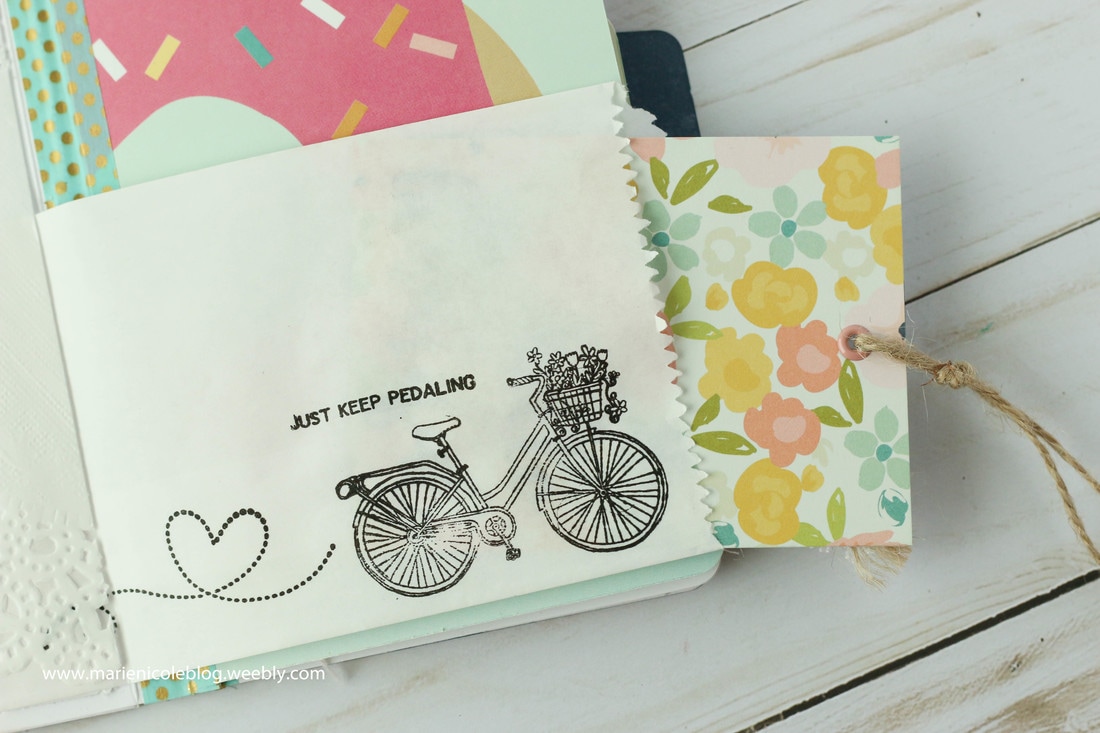
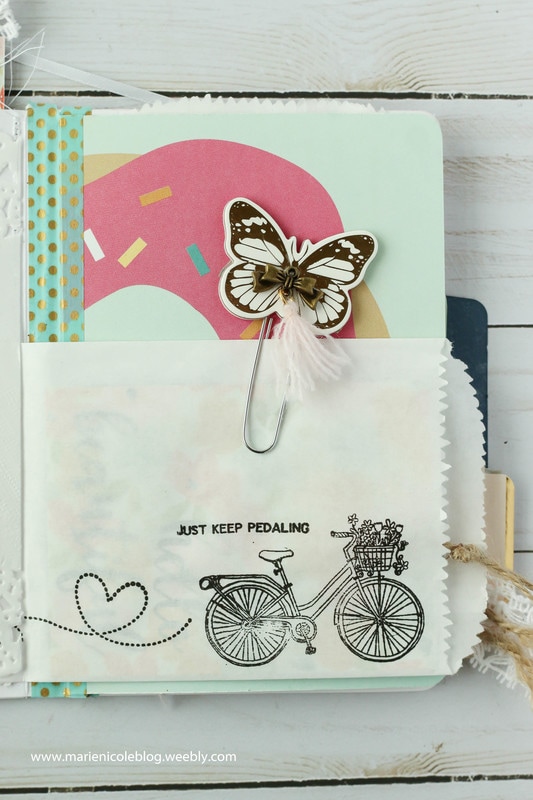
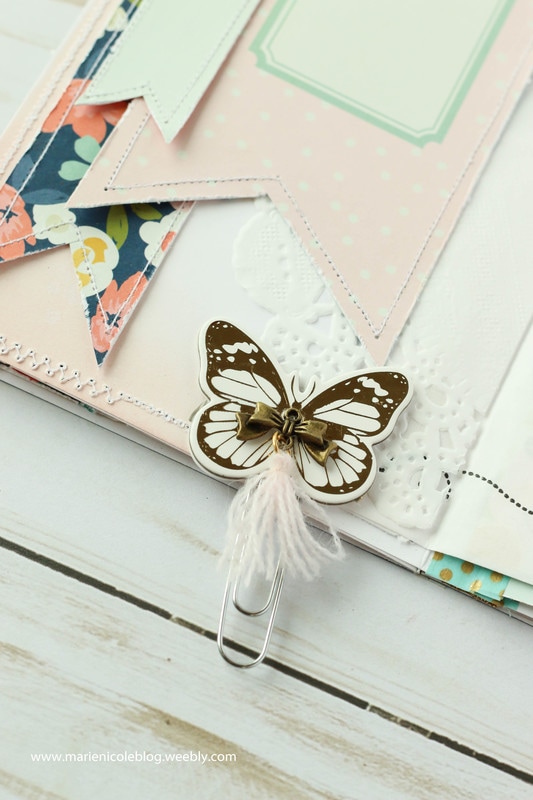
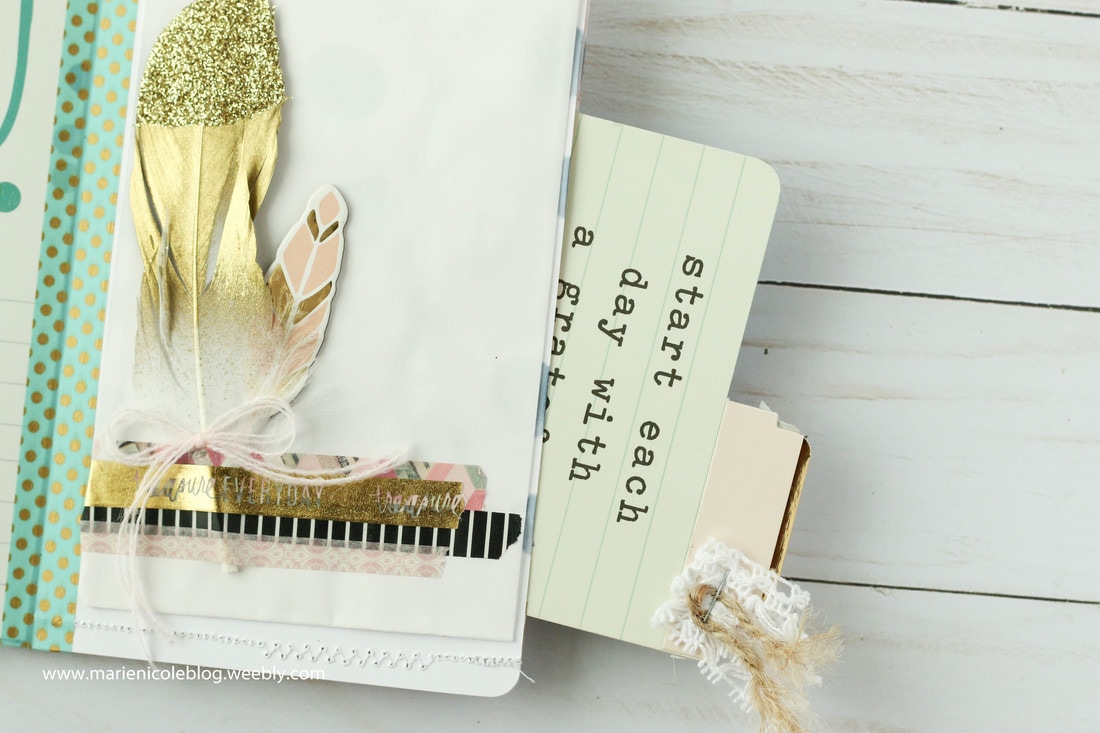
I also added a little paper bag from Canvas Corp that I stamped on, and added a chipboard butterfly paperclip that I created. There is another journaling card inside of the paper bag to give more room for memory documentation and photos.
|
|
|
|
|
|

|

|

|

|
|
|
Happy Crafting!
 |
 |
 |
 |


More from Marie Nicole...


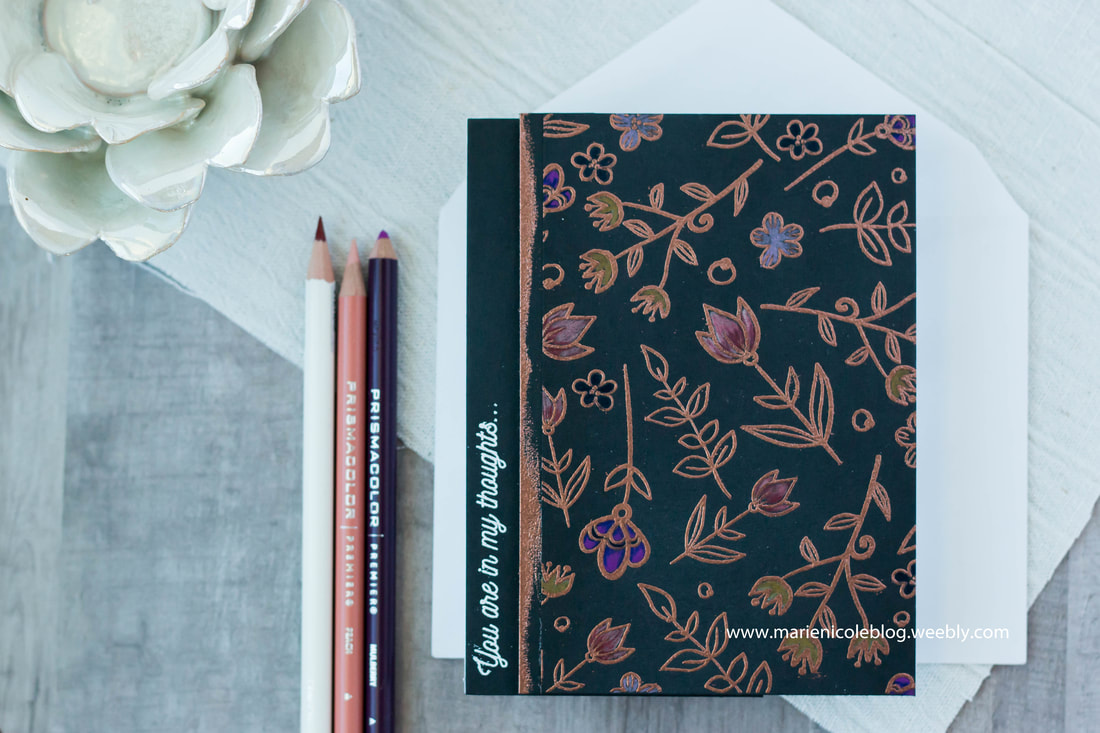
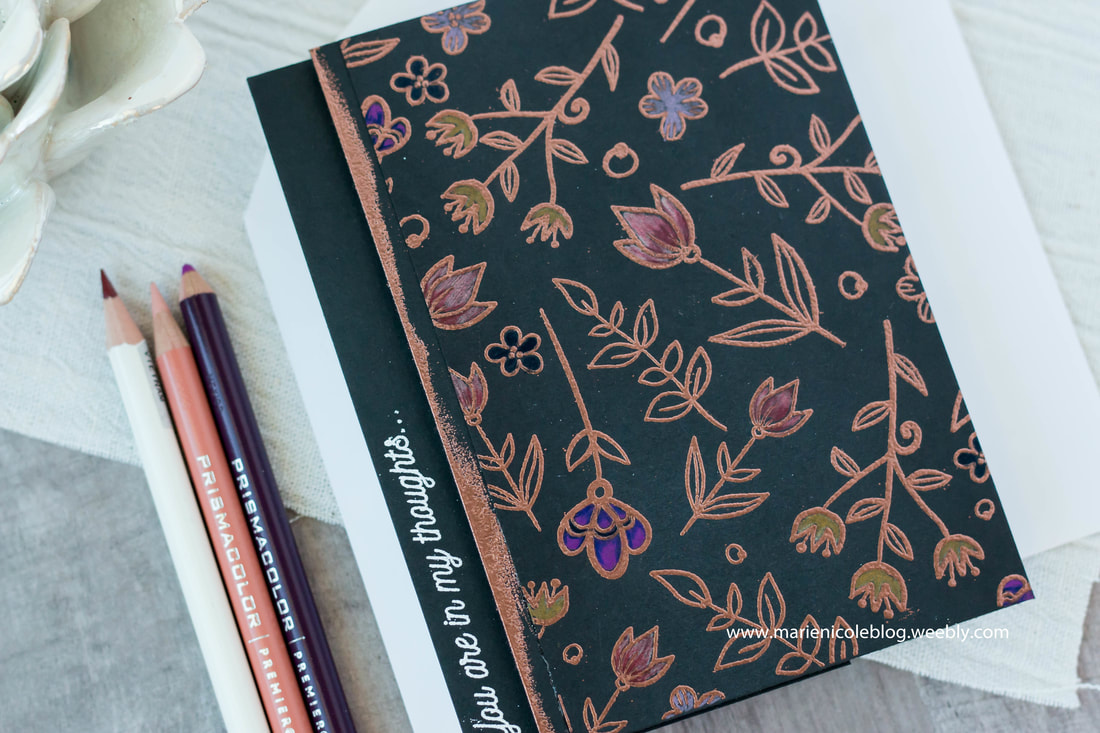
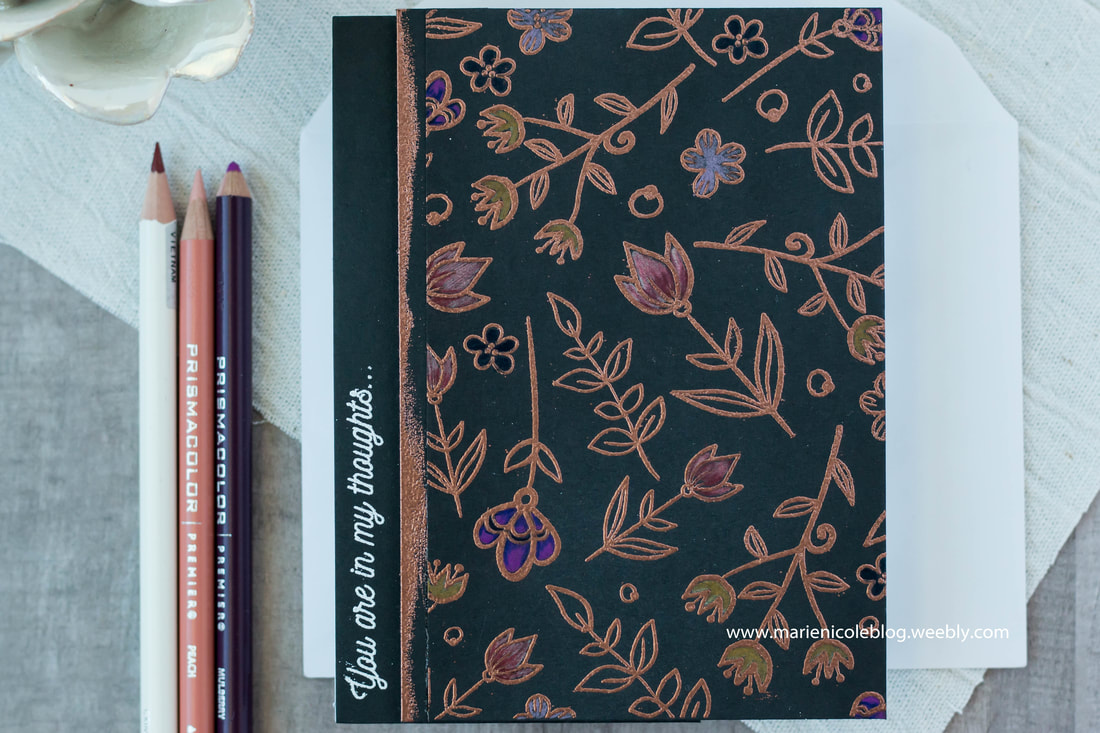
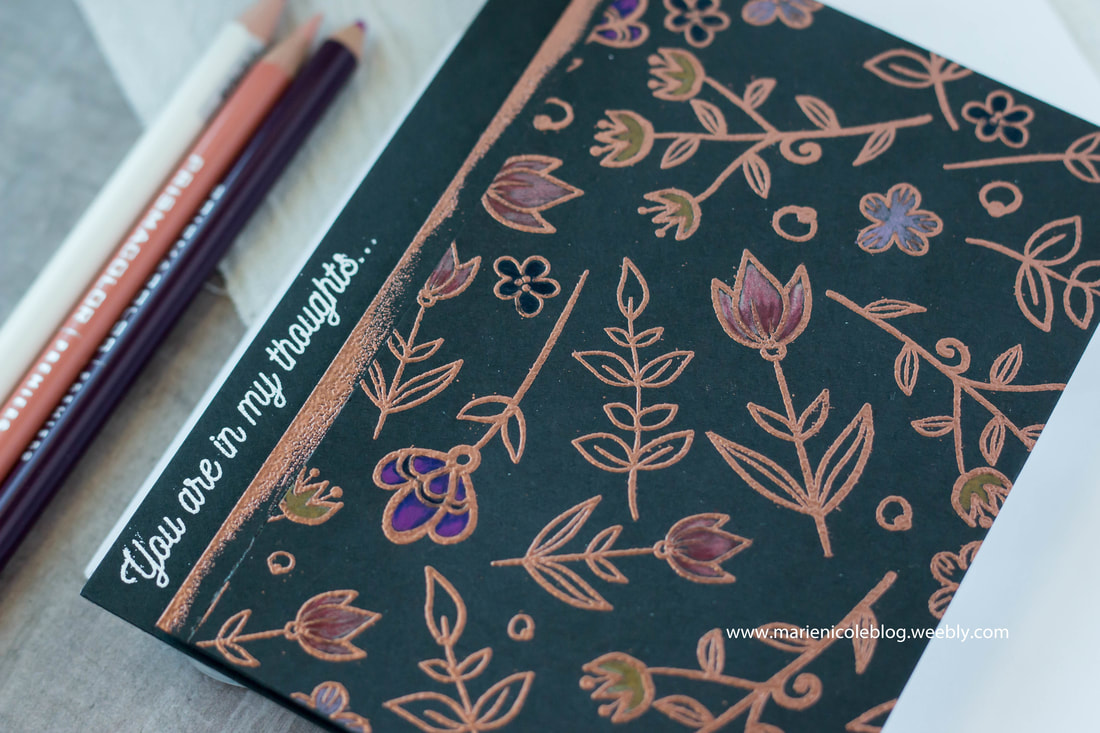
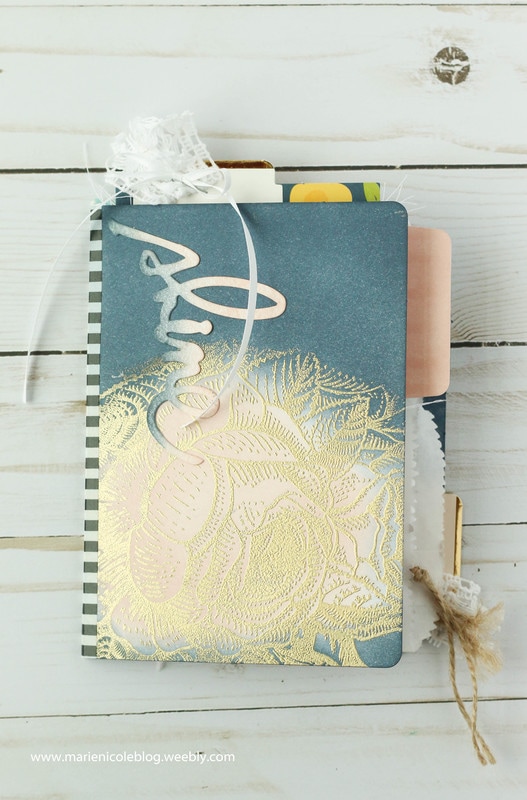
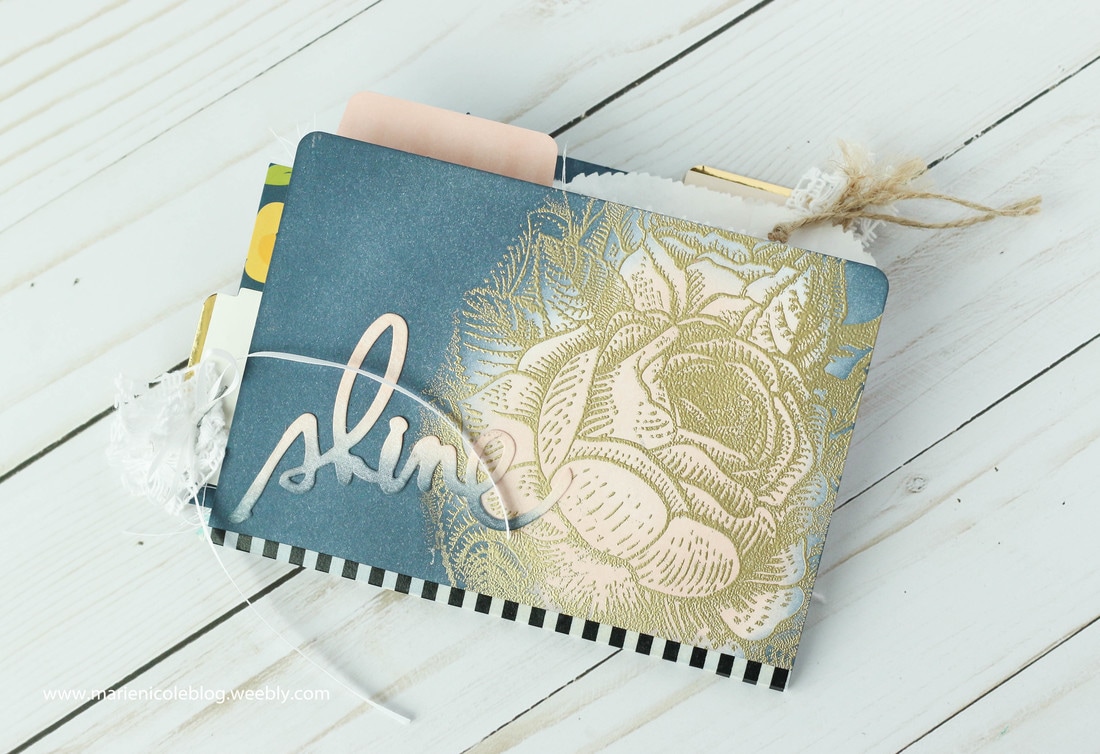
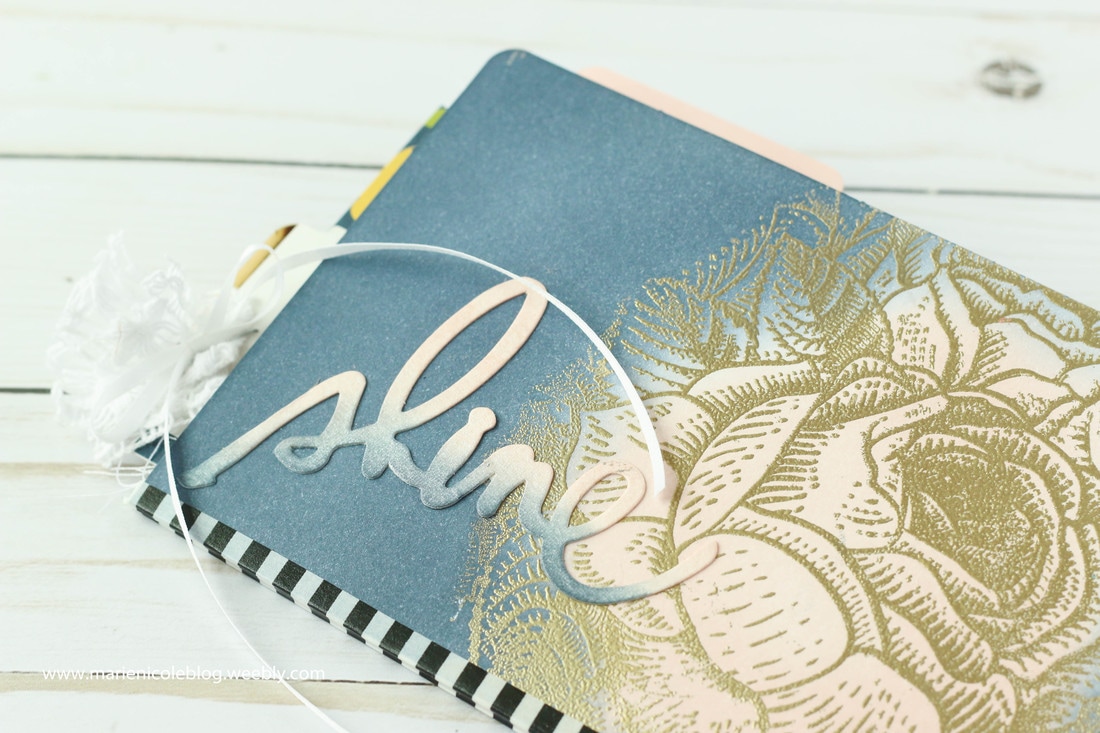
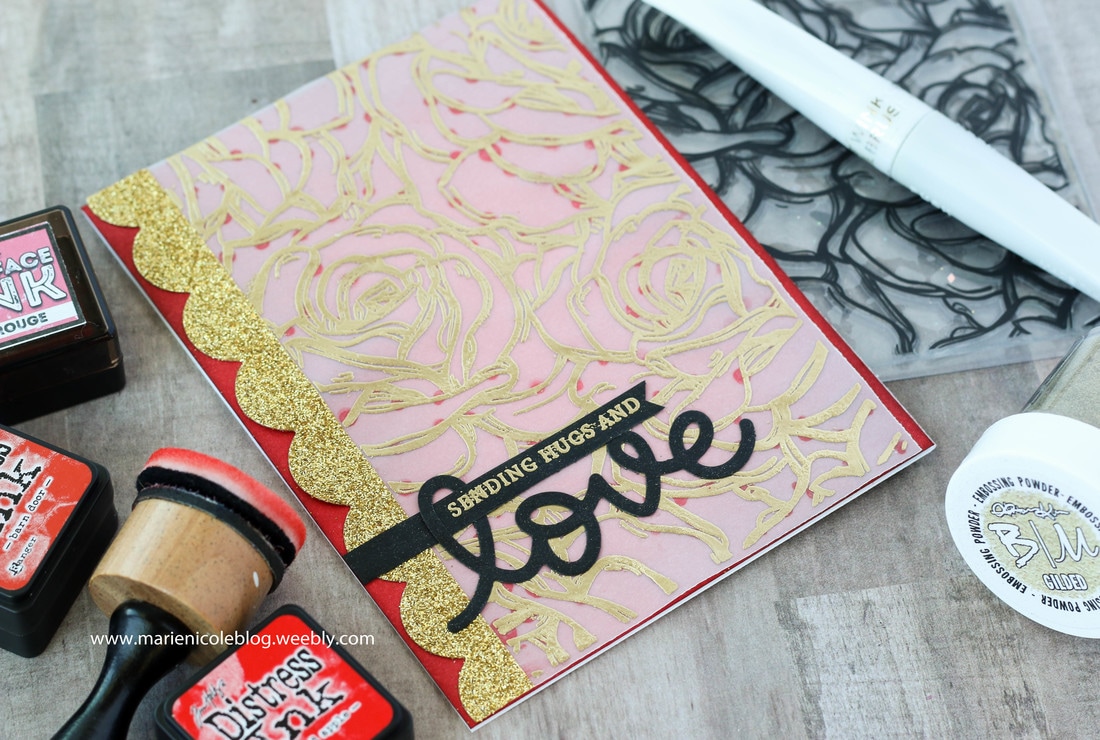
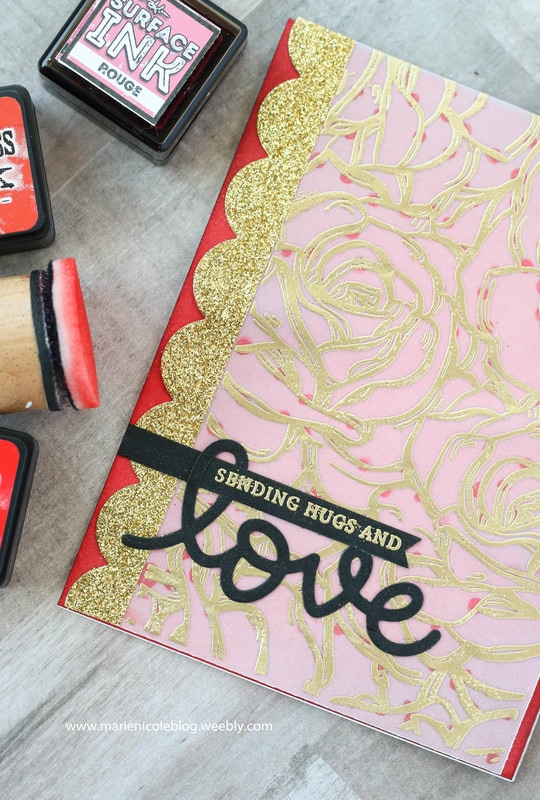
For the color on the background of this card, I blended some different shades of red together to create an even color to stand out behind this piece of vellum that was stamped and embossed.

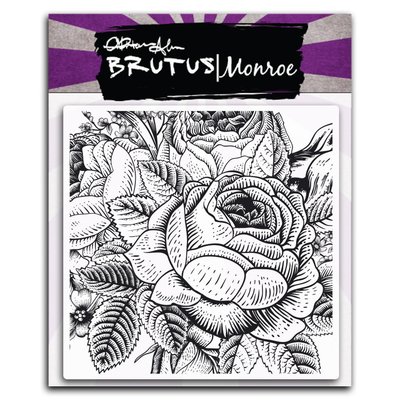
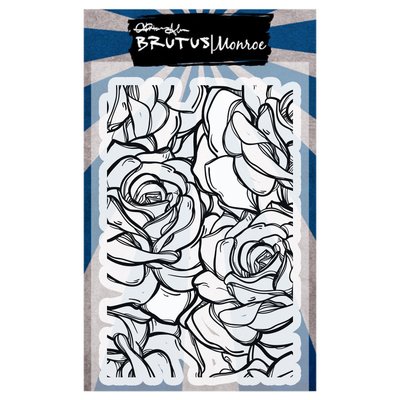
The vellum piece on the card is embossed in some of Brutus Monroe's Gilded Embossing Powder, and the stamp used is Brutus Monroe's Rose Garden Background Stamp. I also added a piece of gold washi tape to one side that I die cut with a scalloped border die.
Ok, so on to the ink blending tips! I'm just covering a few questions that I most frequently hear asked.
Q: Do I need high quality cardstock to get a good blend?
A: Yes and No! I say this because YES, a high quality cardstock will get you a better blend because it will take the ink better, but at the same time NO, because ink blending is still possible on cheap cardstock. All the cards you see me create are built on cheap department store cardstock. Also remember that sometimes if you leave your paper for 10-15 minutes and come back, it may look a little smoother because you have given the paper time to soak in the ink.
Q: Why does my ink tool leave lines or marks?
A: Several reasons, one of them being that your foam blender may be new or not yet "broken in". Once you use your foam pad for a while, the fibers get broken down a bit and become softer. Also, as you use it, the fibers also become more saturated with ink, which will help to apply ink more evenly. Another way to avoid those lines is to start blending off your page and then to lightly blend into the paper coming in from the edges.
Q: Why doesn't my blending look smooth and seamless?
A: Again, there could be a few reasons here. One being the last question we covered, and two being that you may not have added enough ink! Sometimes to get a nice even blend you really have to work at it. My motto is, "Just Keep Blending!" (think like Dori!). Put some time and elbow grease into it and also try to add enough ink. When you start off on white paper, you might see some of those foam pad marks or lines, but as the paper gets saturated they even out.
Also, blending lighter inks can be more difficult than darker inks. Get some ink on your foam tool, tap it off on some scratch paper, and lightly start your blending. You can always go darker but its harder to go lighter!
I hope these have been some helpful tips for you! I have a video here of the card I made, and I also explain some of these tips. Enjoy!
If you have any wisdom to offer on ink blending, or if I forgot to mention something that would be helpful, please feel free to comment below! I love hearing from all of you!
Happy Crafting!


 |
 |
 |
 |
 |
 |
 |
 |
More from Marie Nicole...
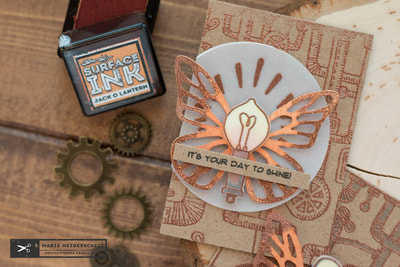
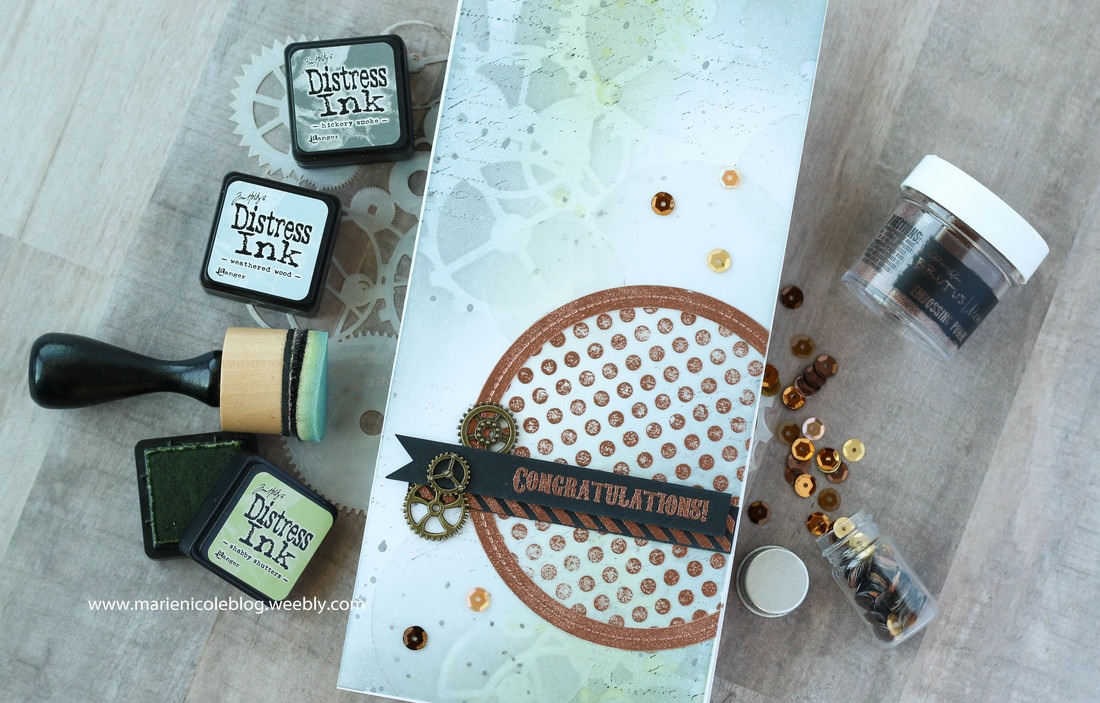
This card is still quite simple, as it doesn't have a ton of embellishments, but the background makes it stand out.
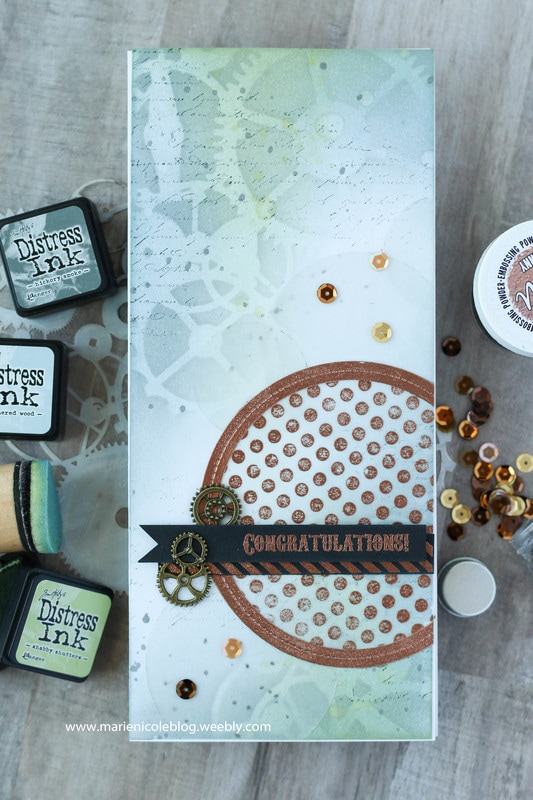
I began with a Long and Skinny card base from Canvas Corp Brands. Then, I stenciled some Hickory Smoke Distress Ink over my TCW Gears Stencil. After removing the stencil, I added some Weathered Wood over the Hickory Smoke. It gave a grey-blue color that reminded me of metal gears.
Next, using my fingers and a paintbrush, I flicked on some water droplets to get the ink moving. After that was dry, Shabby Shutters Ink was blended over the top, highlighting where those droplets had been.
Then, to add just a little more interest, I also stamped some faded text using Black Soot Distress Ink.
|
|
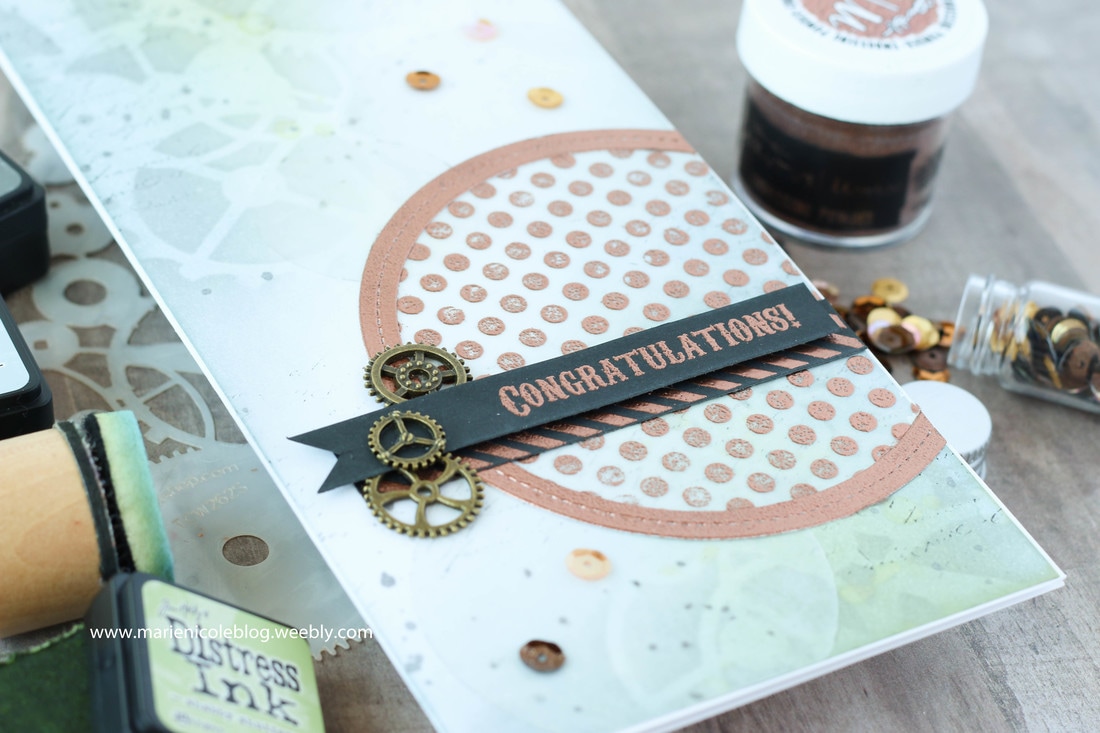
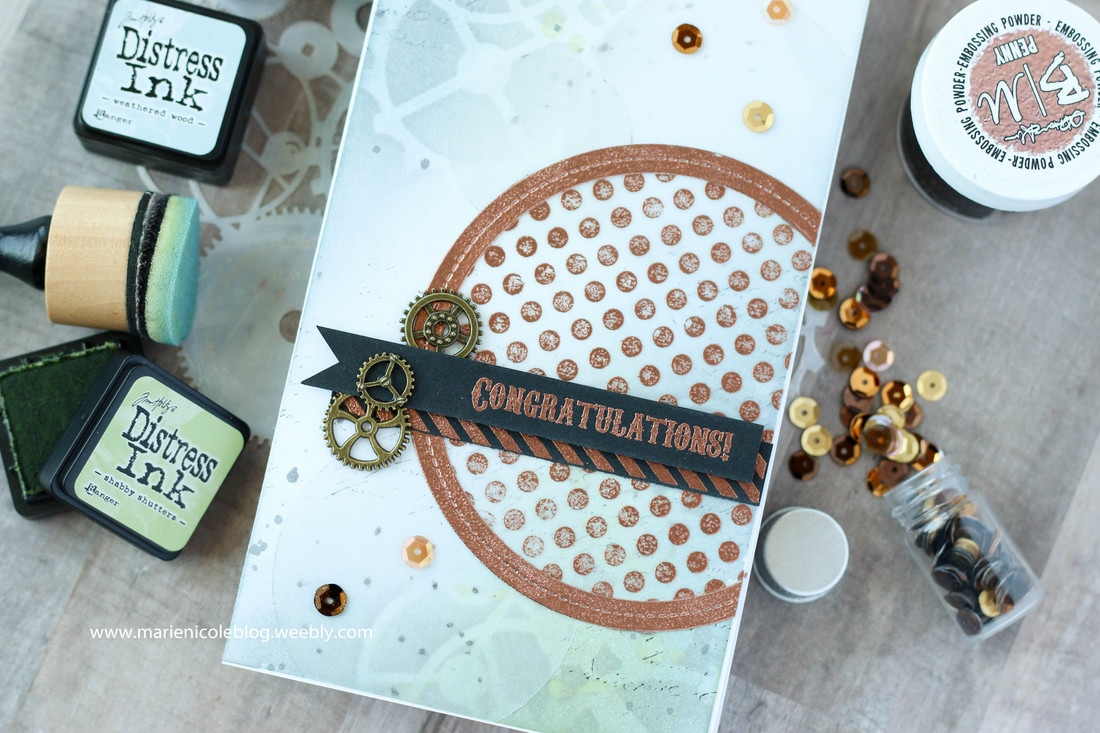
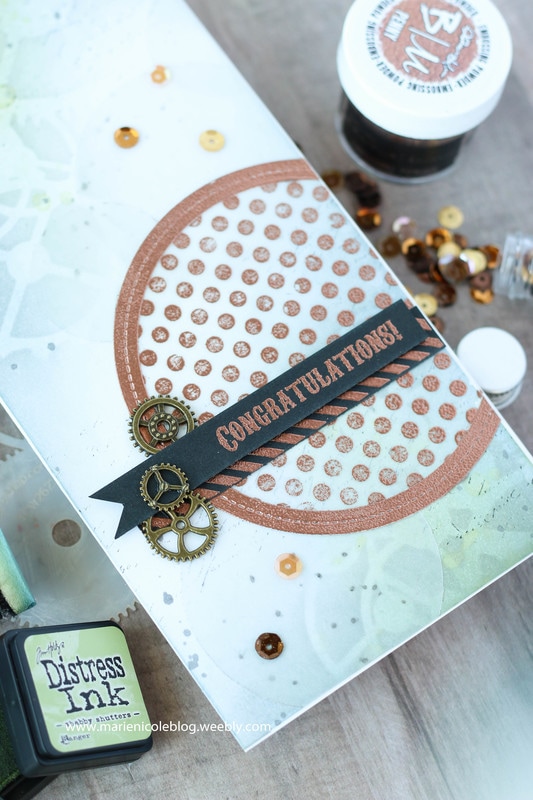
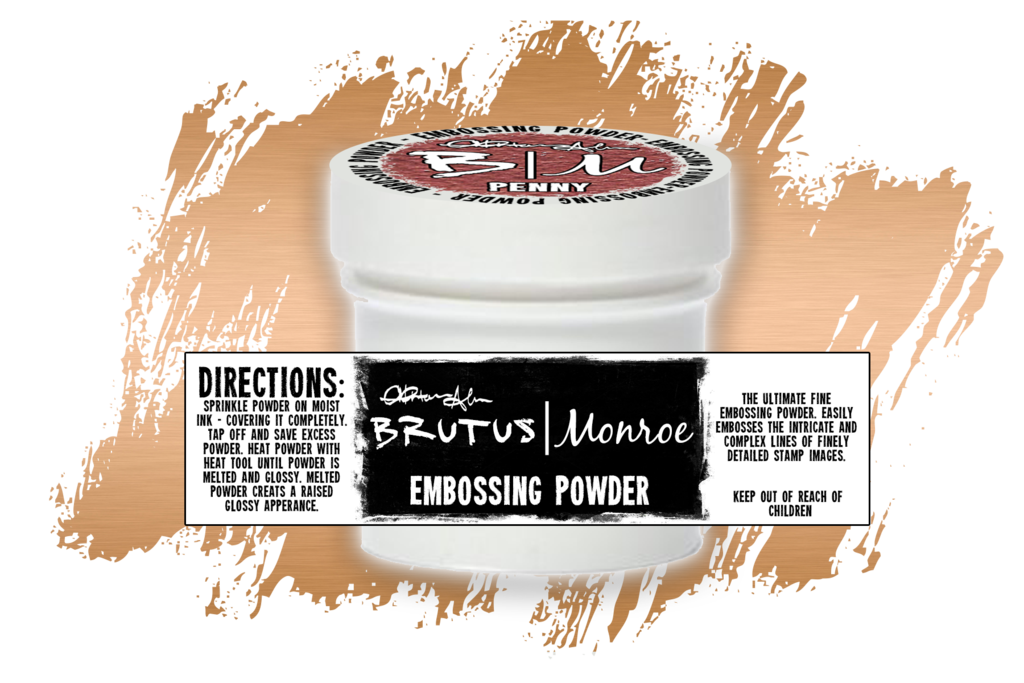
Next, using some Lawn Fawn Circle Frame Dies, I cut out several different sizes of circles from vellum. The big circle was stamped with a polka dot stamp and embossed with some Brutus Monroe Penny Embossing Powder. I love this copper powder- it shines just like the metal!
I also embossed one of the frames to adhere around the circle so that it would make the big one stand out. The other circles where adhered in the background. They are very subtle, but the add some interest without taking away from the background.
The sentiment was also stamped and embossed in Penny, as well as a strip of black cardstock that was stamped with a striped pattern. To embellish, just a few bronze gears were added, and then a few gold sequins.
Like I had mentioned, its a different style than my normal girly cards, but I like it! It would be a great card to give to guys to celebrate and achievement.
Thanks for stopping by today! If you are interested in any of these items, please check out the links below!
 |
 |
 |
 |
 |
 |


More from Marie Nicole...


Author
So glad you found me! This blog is my little space where I can share bits about my life and my latest crafting projects (mostly handmade cards). My goal is to share, inspire, and to be a positive presence in the creative community.
Take a look around and stop by anytime!


Find me on Instagram!
Archives
January 2018
December 2017
November 2017
October 2017
September 2017
July 2017
June 2017
May 2017
April 2017
March 2017
February 2017
January 2017
December 2016
November 2016
October 2016
September 2016
August 2016
July 2016
June 2016
May 2016
April 2016
March 2016
February 2016
January 2016
December 2015
November 2015
October 2015
September 2015
August 2015
June 2015
December 2014
October 2014
July 2014
May 2014
April 2014
March 2014
February 2014
January 2014
Categories
All
Albums
All Cards
ATCs
Birthday Cards
Brutus Monroe
Canvas Corp Brands
Cards
Christmas
Christmas Cards
DIY
General Cards
Get Well Cards
Halloween
Home Decor
Love Cards
Mixed Media
Papercraft
Planner
Punny Cards
Scrapbooking
Shaker Cards
Special Occasion Cards
Summer And 4th Of July
Tags
Techniques
Thank You Cards
Toddler Art
Tombow
Tutorials
Watercolor
Link Love


 RSS Feed
