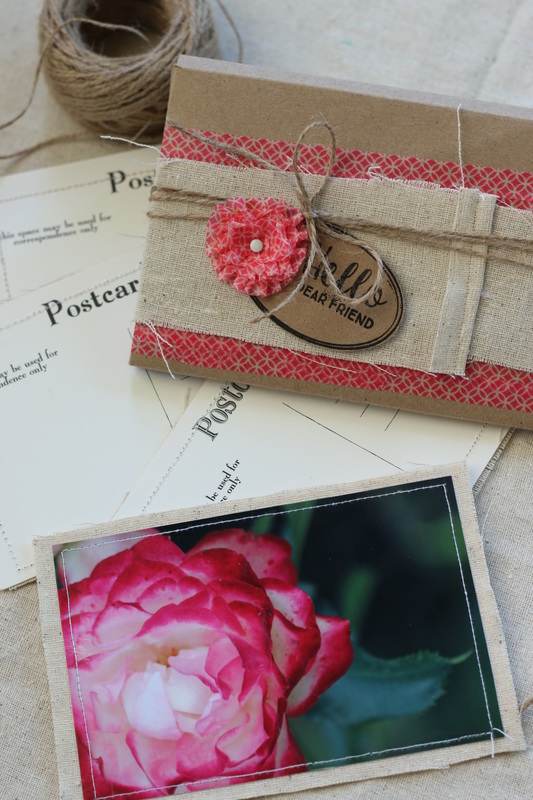
I thought I'd share with you a fun and easy way to use some of your own photos to create some amazing postcards!
CCB has some fun postcards in their shop that I used for this project. I started out by cutting the postcards down to size from the 12x12 sheet (they also have precut postcards available, but this is what I had on hand). Then, I cut a piece of canvas fabric just a tad larger than the postcard. Then I adhered the canvas to the postcard and my photos to the canvas. To add a border and to make sure all the layers stayed together, I also ran along the edges with my sewing machine. It's that easy! To bring the whole set together I also made a fun little box to put them in. I have the whole process and instructions in this video. Enjoy! 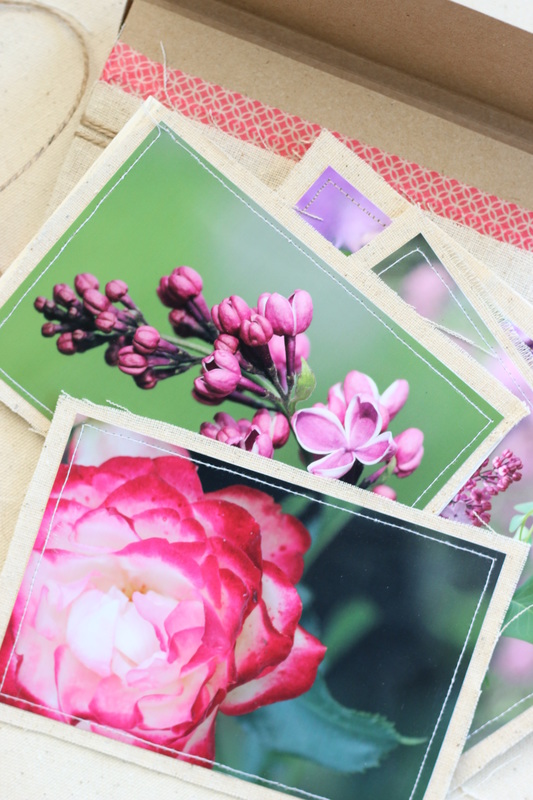
Thanks for stopping by and I hope you enjoyed it!
Happy Crafting!
0 Comments
I recently signed up for a tag swap with CCB, and although I havent really done tags, I am finding out that they are a lot of fun! I guess they are pretty similar to cards, but its always fun to shake things up a bit and create in a different mindset.
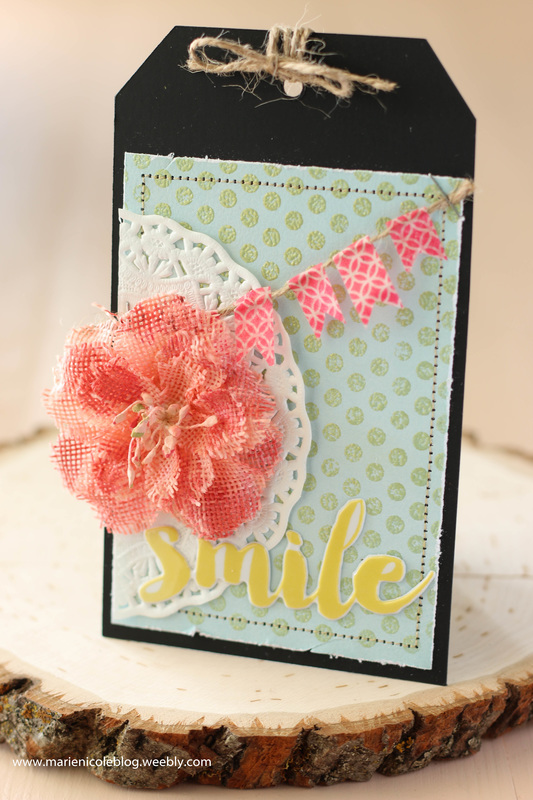
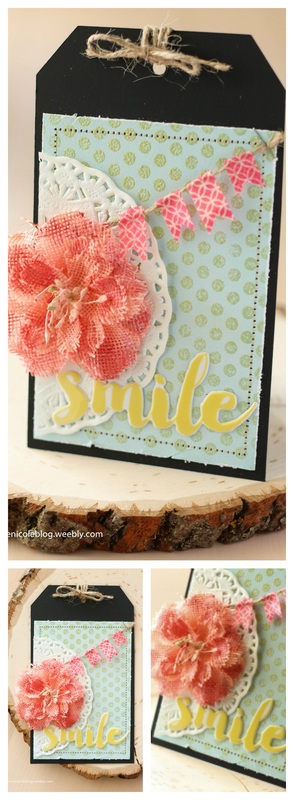
For this tag, I used some of CCB's Chalkstock. The first time I felt this paper I was in awe of how luxurious it felt. Its super thick and has such a smooth texture to it. Being chalkstock, you can write on it with chalk, but I chose to use it as the base for this tag. I cut out a tag shape using my Cricut. This chalkstock is thicker than my regular cardstock, so I had to set the pressure on my machine a little deeper. Once my tag was cut, I went through my box of embellishments and picked out a few I liked. I ended up using some goodies by Fancy Pants Designs' Attwell collection. I cut a little piece of light blue cardstock and embossed some polka dots on it. Now, for the yellow embossing, I actually mixed some PearlEx pigment with clear embossing powder. I had never done this technique before but it actually worked pretty well! 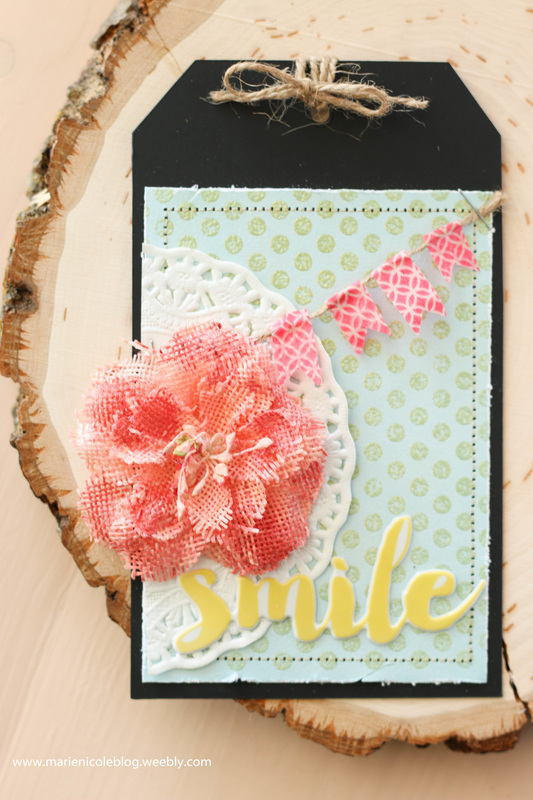
After my paper was embossed, I distressed the edges with a scissors and also sewed it down to my chalkstock using my sewing machine. To embellish over the top, I cut a doily in half, and then added a sticker that says "smile".
I added a little mini banner using some twine and washi tape. Lastly, I used a flower from Petaloo and misted it using Tattered Angels Wedding Pink Glimmer Mist as well as a few splashes of Vintage Pink Glimmer Mist. I stapled the banner down, and then glued on the flower, and that pretty much finished this tag! 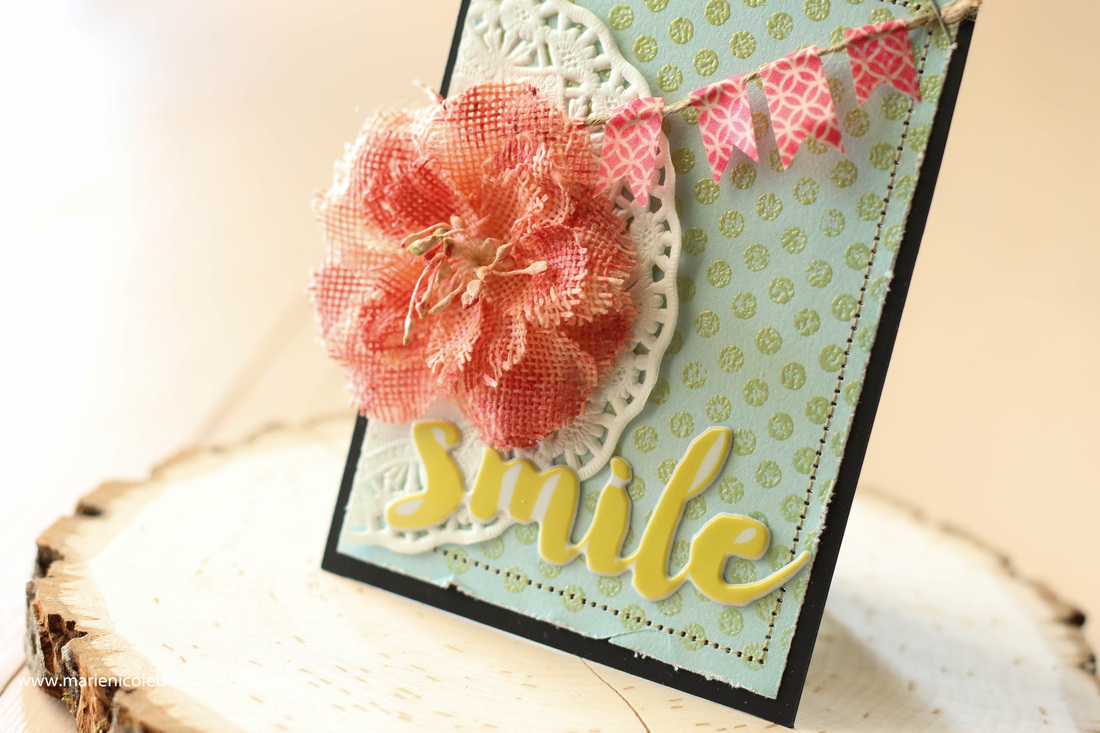
This tag ended up being sweet and simple but I love how the colors go together. I made a video as well so I hope you take a few minutes to watch!
Happy Crafting!
I went all out this week and did a lot of stamping on my planner pages. I decorated the week before writing in it this time. I think I'll continue this trend in the future, since its so much easier to write around embellishments, than to embellish around your writing! I do need to get photos printed yet for the last several weeks! I have been pretty busy lately so the photos are lacking, but at least the memories are written down. Loving my Heidi Swapp Memory planner so far! Happy Crafting! 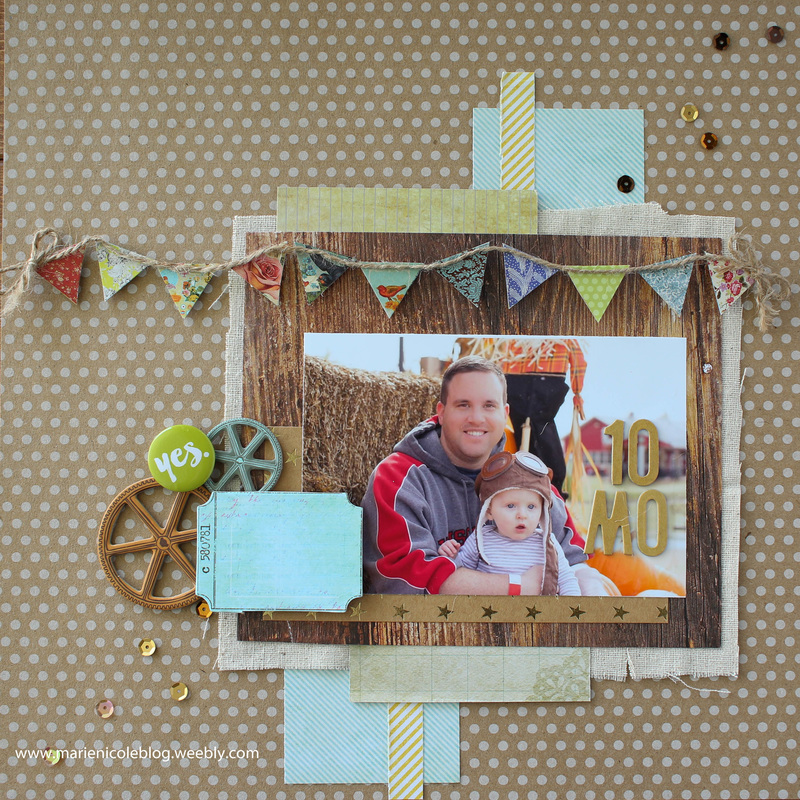 "I think I can, I think I can, I think I can..." That's what I think to myself as I inch closer and closer to getting all 12 of Hayden's first year layouts done! We are done with 10, just 2 more! It's taken longer than it should, but I feel its better to take my time and make memorable pages than to just try to rush them. 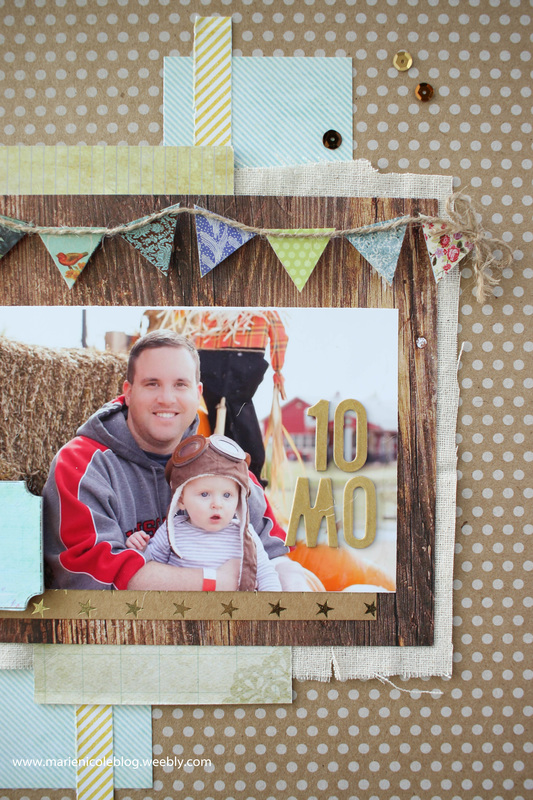 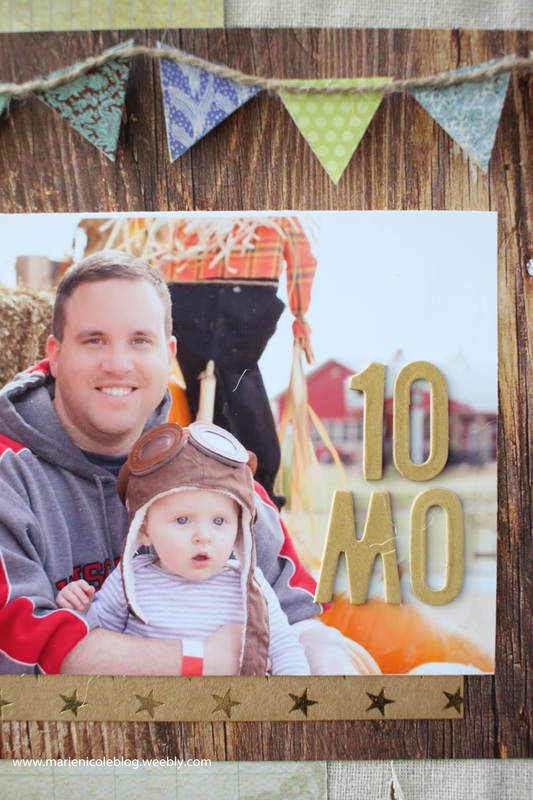 The photo I used here is from our trip to the pumpkin patch last fall. I remember that Hayden loved the goats... until one touched him and then he was deathly afraid of them! I wanted the page to look kind of fallish but it ended up looking more like an amusement park theme. Haha. No worries, I still like how it turned out I used mostly scraps from my stash and a few embellishments here and there. 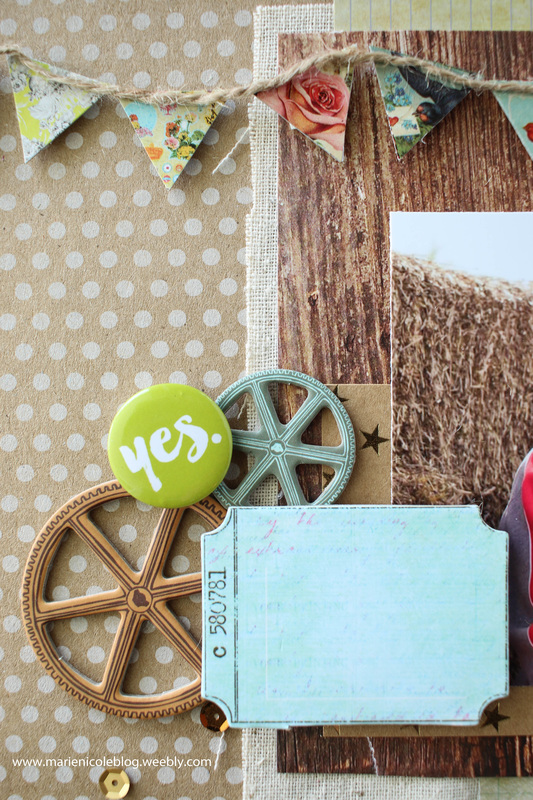 I thought this chipboard ticket was perfect for writing in some memorable thoughts from the day. After I photographed it I went and wrote on it. The little banner was created from the packaging from the chipboard pieces. I thought it was so clever how Prima included that little "bonus" into their package. Since I usually end up using the packaging in my projects anyway, this was perfect! 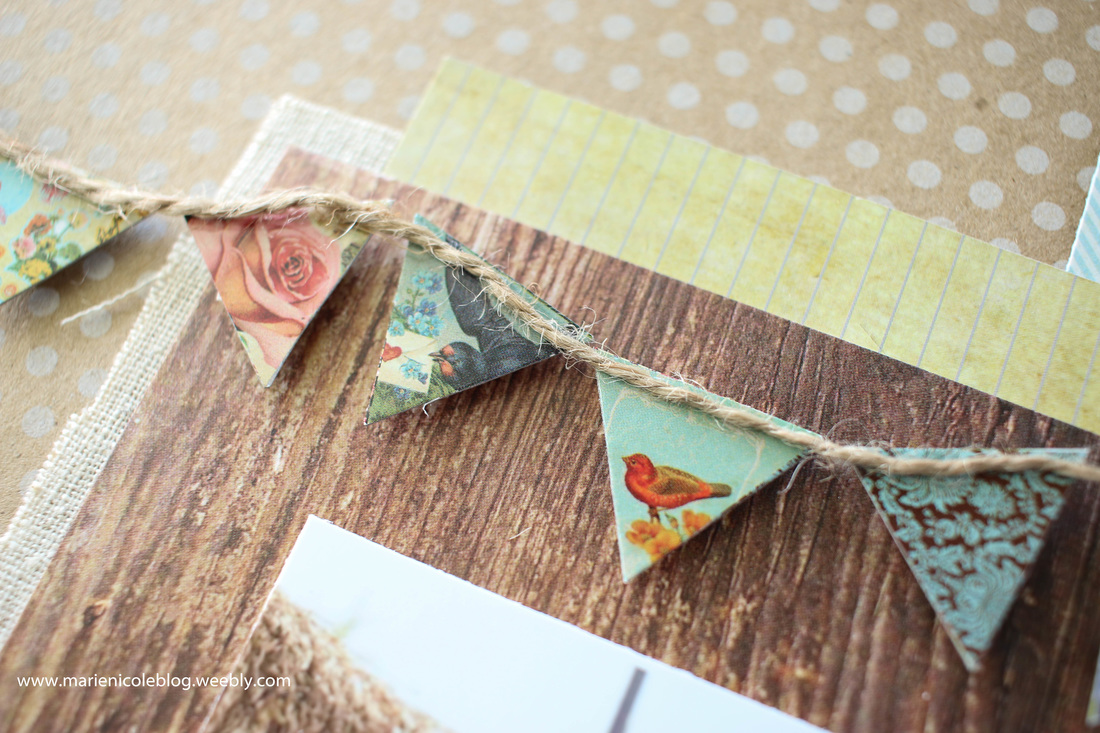 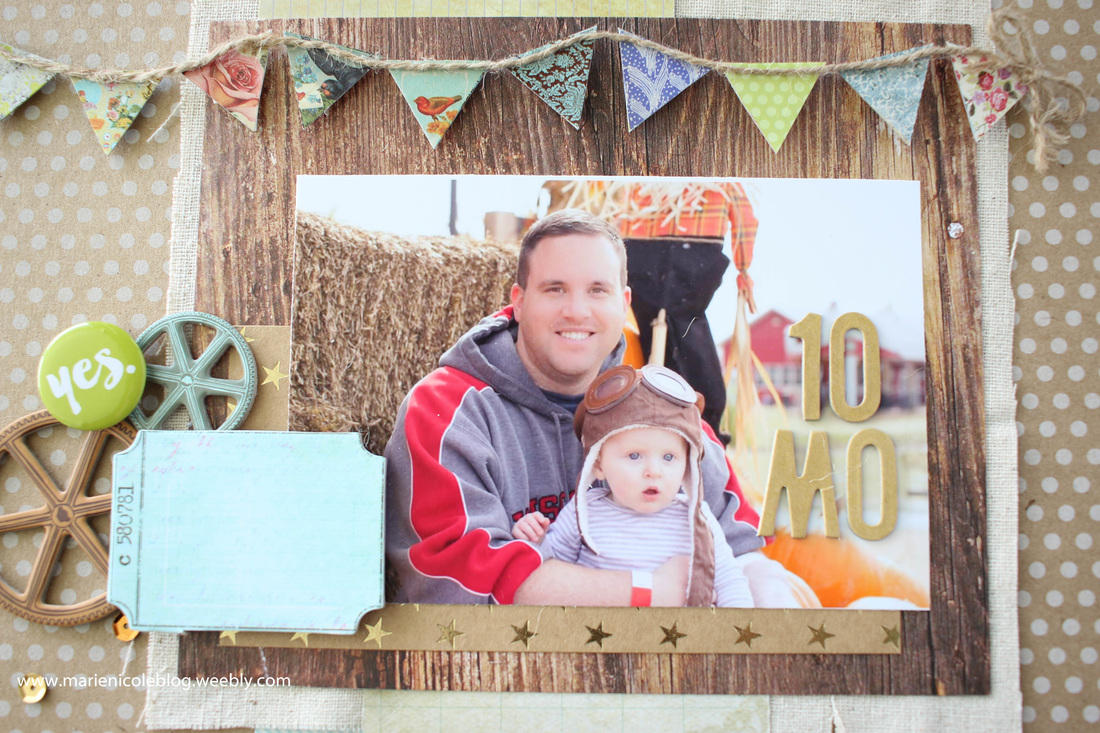 I really enjoyed this layout and I have it displayed in my craft room now. Ill put it into my actual scrapbook soon, but I sometimes hate to just file away my pages right away without getting a chance to enjoy them for a while. I also took a process video of how I put it all together. Enjoy! 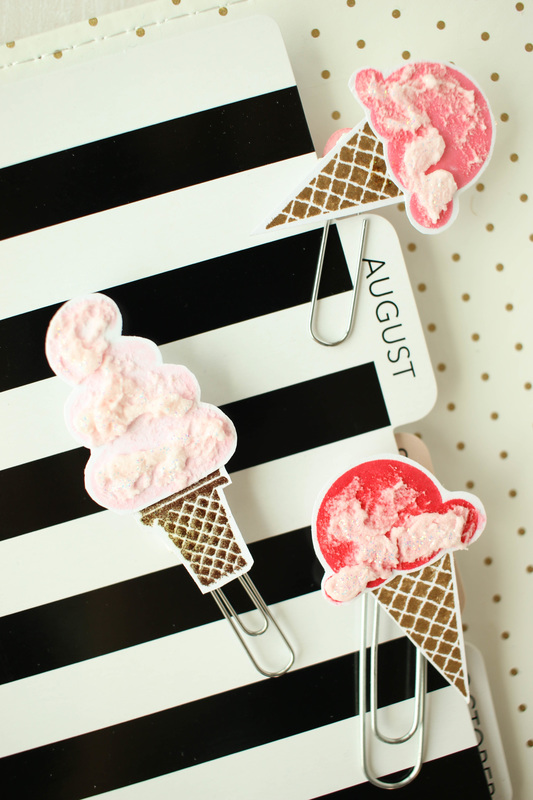
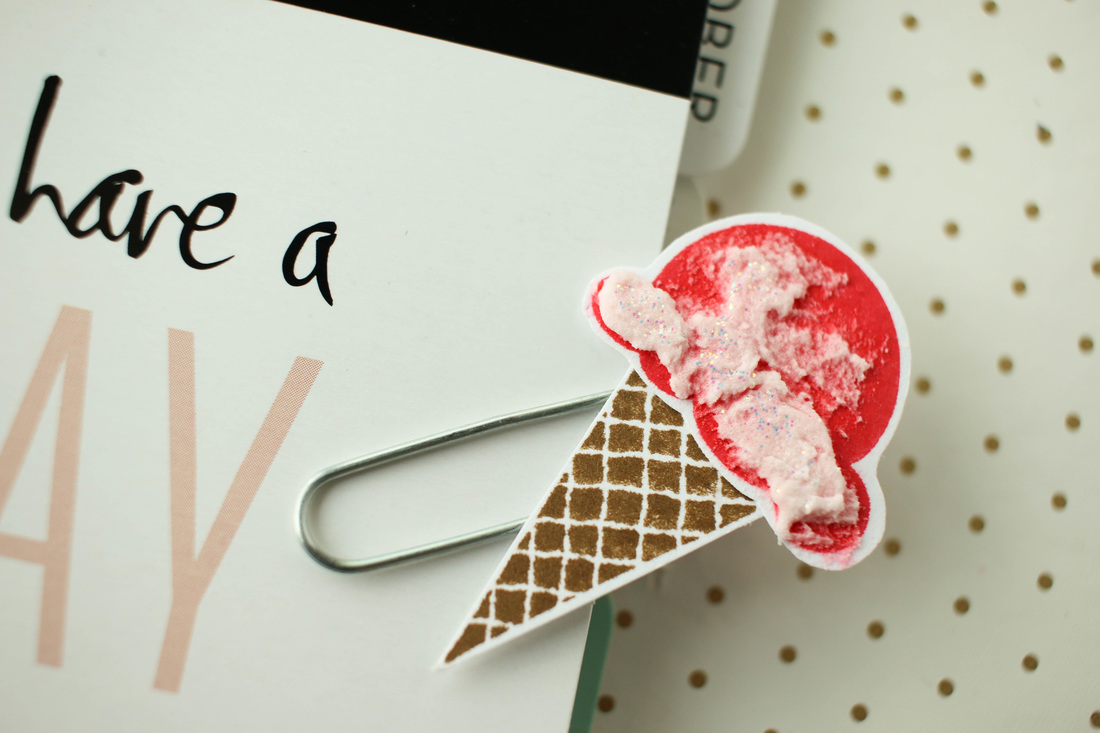
I recently was able to score 5 almost full bottles of Dreamweavers embossing paste at a garage sale for only .25 cents per bottle! That is one crazy amazing deal!
Now I just need to learn how to use embossing paste! I played around with the paste a bit, and I tried tinting the plain white paste with some Tattered Angels Vintage Pink Glimmer Mist. It works beautifully! I also found several Stampin Up! stamp sets, one of them being these cute ice cream cone images. I stamped out the images and then applied some tinted paste to them to make them look like real, creamy ice cream cones. 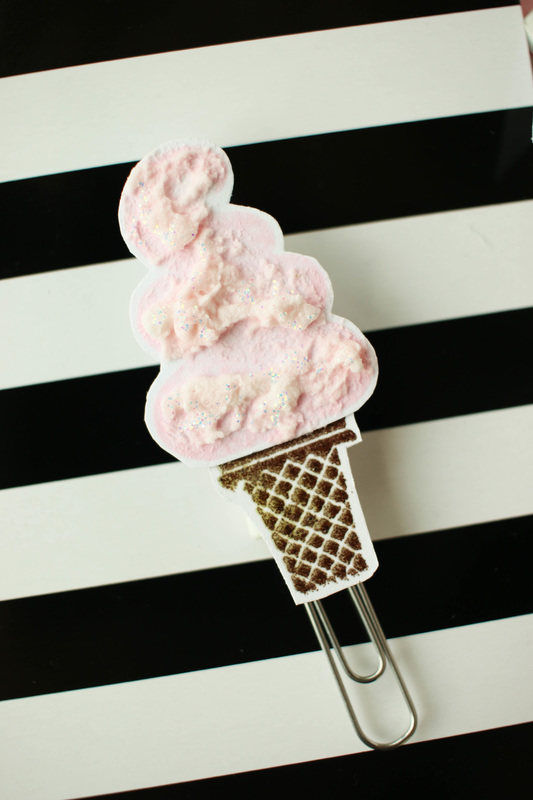
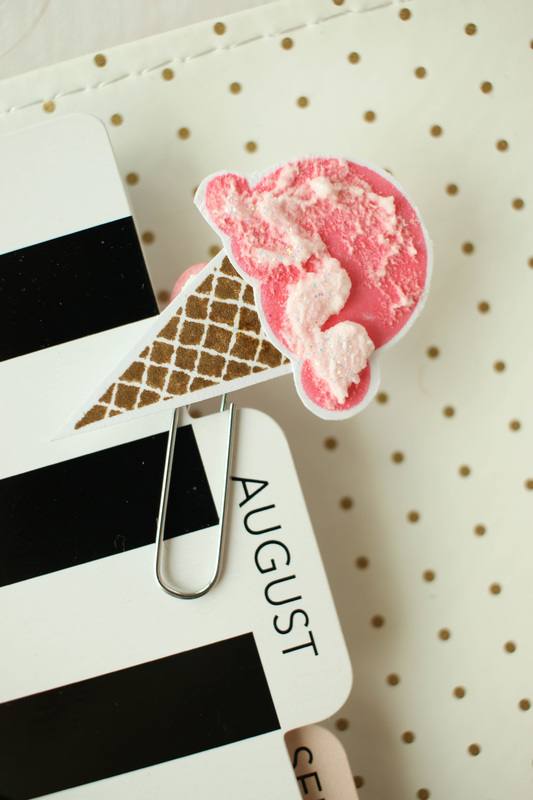
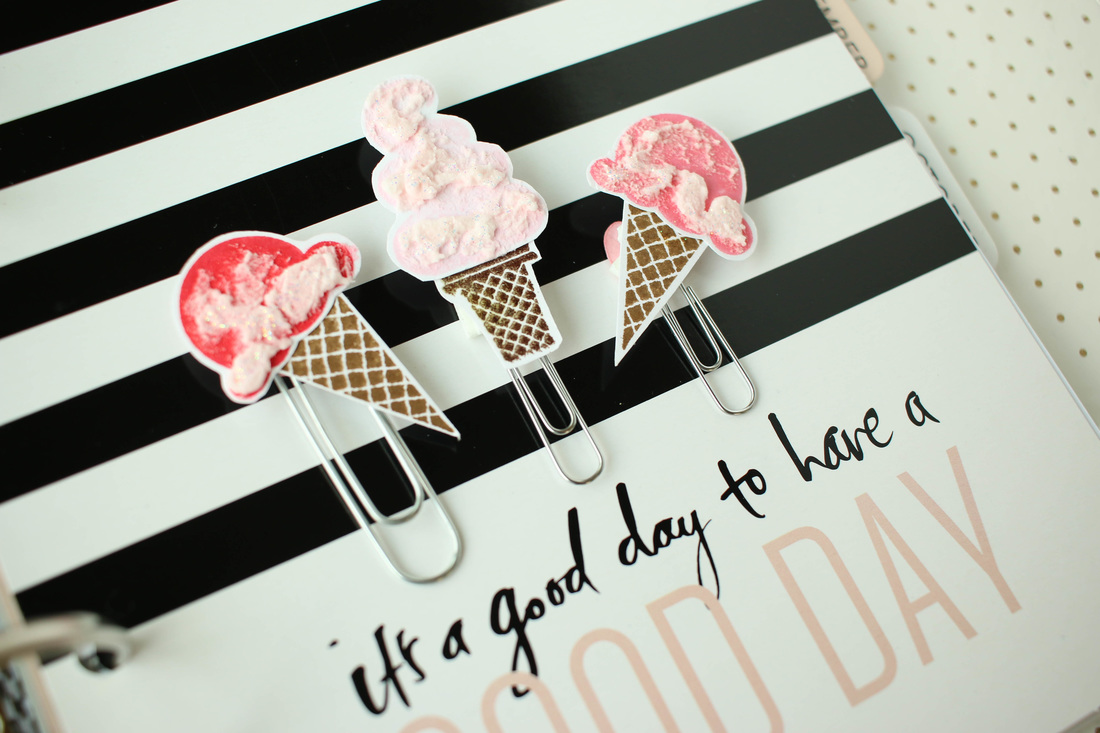
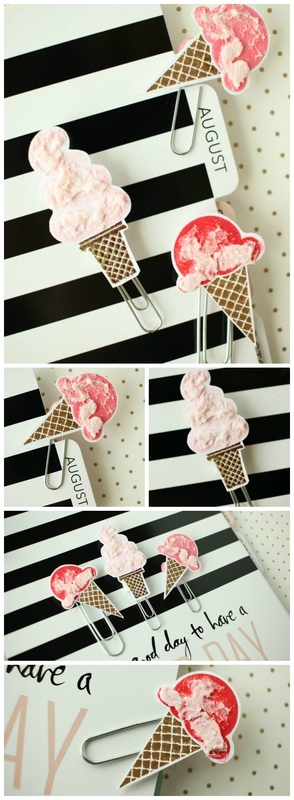
After the paste was dry, I glued the ice cream to the cones, and then adhered them to paperclips using foam adhesive. Its a quick, easy project that is really adorable. I have them pictured here in my Heidi Swapp Memory Planner, but you could also use them for bookmarks, office and school supplies, and just some fun little embellishments here and there.
I hope this has inspired you to get out and try some new projects and see what you can do (and also check out those garage sales- there is treasure to be found!)
Here's the process video for how these fun little clips came together. Enjoy!
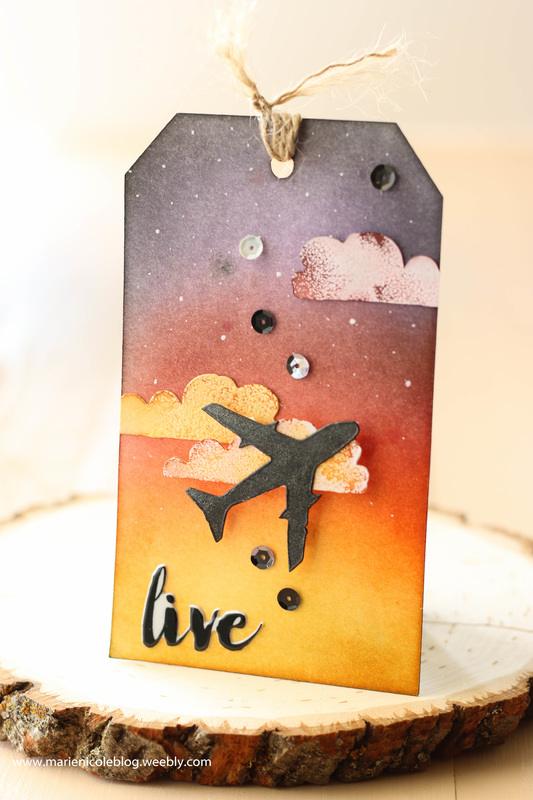
For this fun tag I was inspired by Tim Holtz's Sizzix dies for this cute little airplane and clouds. I found these dies on sale, but after I got them home I realized I did not have the right Sizzix setup to use them. I kinda improvised and found a way to use them, anyhow. It takes a little more time, but they still cut pretty well. If you take a minute to watch the video I included I'll be able to explain there better how I managed to cut these!
Anyway, moving on... I created the sunset background by using a number of Distress Inks. I used Wild Honey, Carved Pumpkin, Barn Door, Aged Mahogany, Dusty Concord, and some Black Soot. More colors in one background than I usually use! I just kept blending these colors together to get that gradient sunset background. 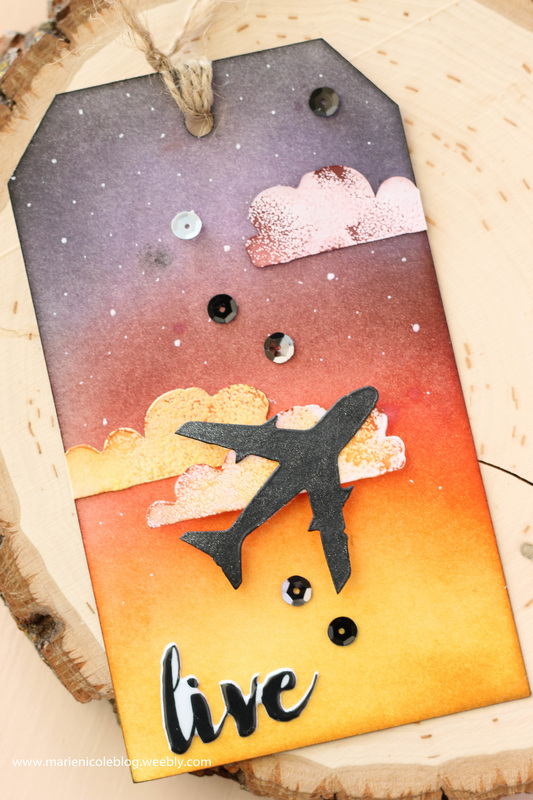
After the background was finished, I used a white gel pen to add little stars. Then, I colored the three clouds a little bit to kind of blend in with the background. I used Black Soot to color the airplane. I wanted it to look like a silhouette in the sky. I adhered the clouds down using my ATG and then used some foam adhesive for one of the clouds as well as the airplane.
The "Live" on the bottom is a puffy sticker from Fancy Pants Designs Attwell collection. For the last finishing touches I added some black sequins and then brushed on some Wink of Stella over the airplane. 
I just love how bright the color are and yet it still has that serene sunset feel to it. Makes you want to fly off into the sunset, doesn't it?
Thanks for stopping by and Happy Crafting!
Over at Canvas Corp's Facebook group, they like to do some fun swaps from time to time. I recently took part in a postcard swap and a tag swap. Let me just say there are some very talented artists out there and I have enjoyed swapping with them! I wanted to share the items I received from these swaps, because I just can't bear to get these beautiful pieces and then put them away where no one will see them. That totally goes against what creating is about- SHARING! This first photo is my postcard that I received from Kim over at Craftisan Studios. When I first took this postcard out of the envelope I thought the flowers were a stamp that she colored in, but after reading her little note on the back, I learned that she drew it! Isn't it amazing? I wanted to get a good photo of it so you could see the lovely details she added. Thanks so much, Kim! 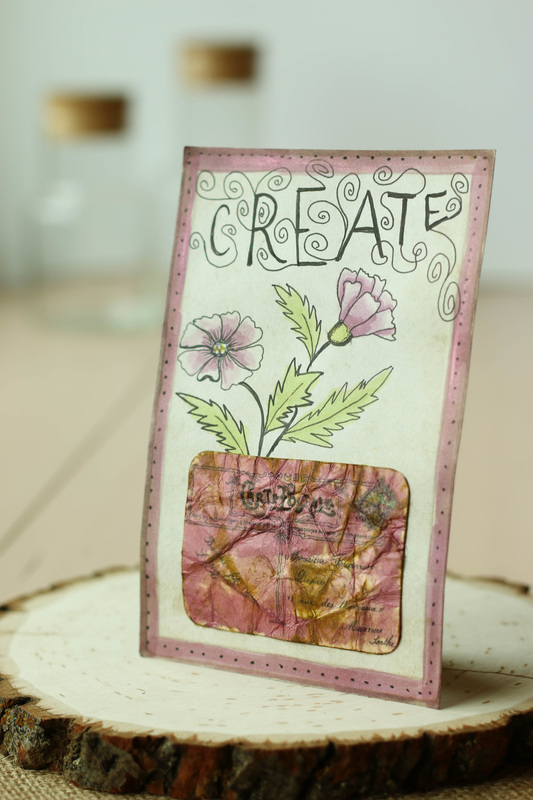 For the tag swap that I took part in, my swap buddy was Midge from Midge and Madge Mingle. She sent me this adorable little ice cream truck tag, and she explained that she used some Canvas Corp canvas fabric for the tag itself, and then added her embellishments on top. Its so cute and summery! 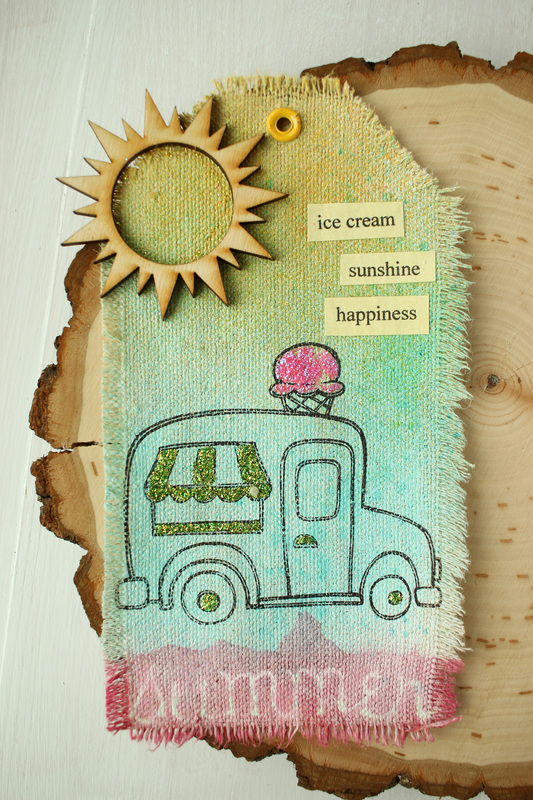 She also sent me some fun rub-ons which Im totally tickled about, because we crafters always need to increase our stash, right? :D
I absolutely love getting to know more people in the crafting community and I look forward to future swaps! If you are interested in any CCB swaps, or are just looking for inspiration, giveaways, challenges, and more crafty fun, join the Canvas Corp Brands Collective group on Facebook. See you there! 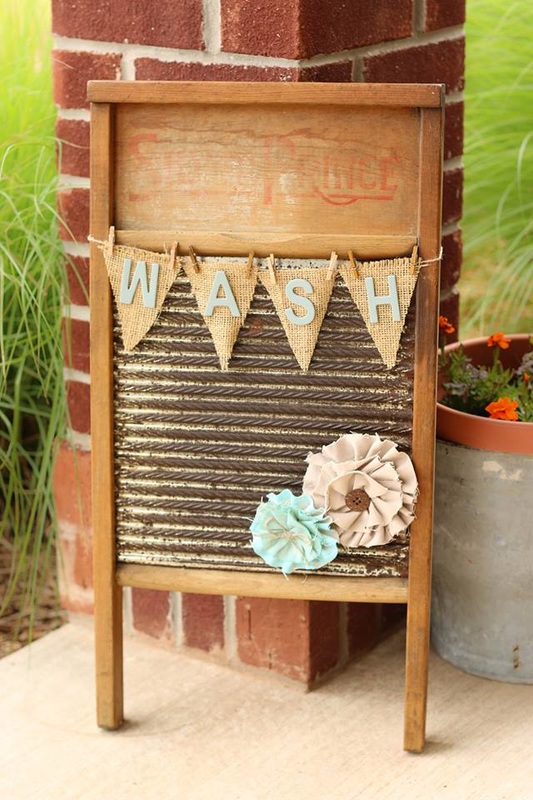
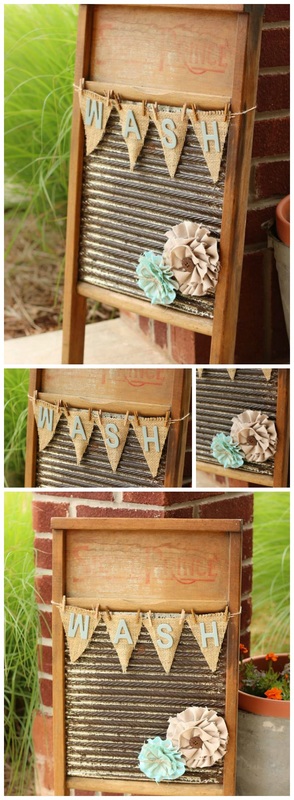
I have been looking for vintage washboards to hang in my laundry room for quite some time now. The problem I have had in finding them is that they are all too expensive for me! Well, the last time my parents came to visit they brought this amazing washboard with them that they found cheap at an auction. I love it! I didnt want to do any painting or altering to the actual washboard because I love the old worn look it has. I decided instead just to embellish it up a bit. 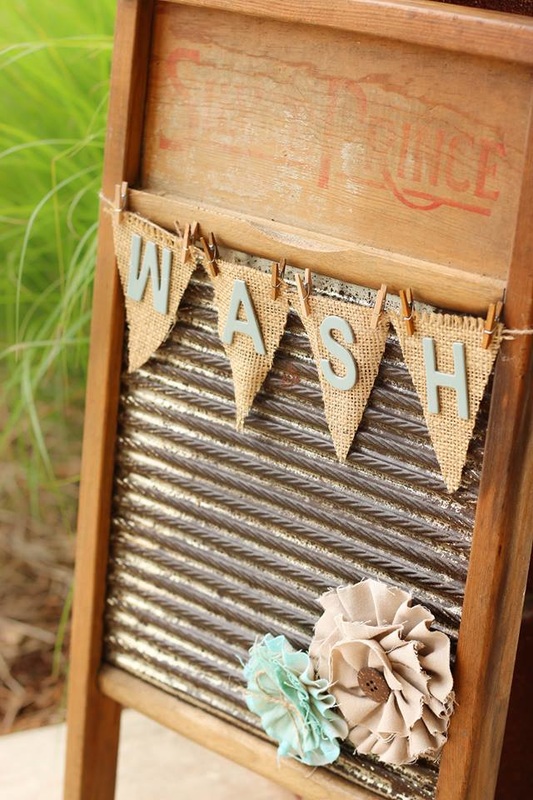

I cut a little bit of CCB burlap into triangles and then clipped them onto some twine with mini clothespins. The letters are chipboard pieces I painted with some Tattered Angels DIY and Decor paint and then hot-glued on. The little ruffled flowers I made with some fabric scraps, and then glued a magnet to the back so they would stick to the metal washboard piece. 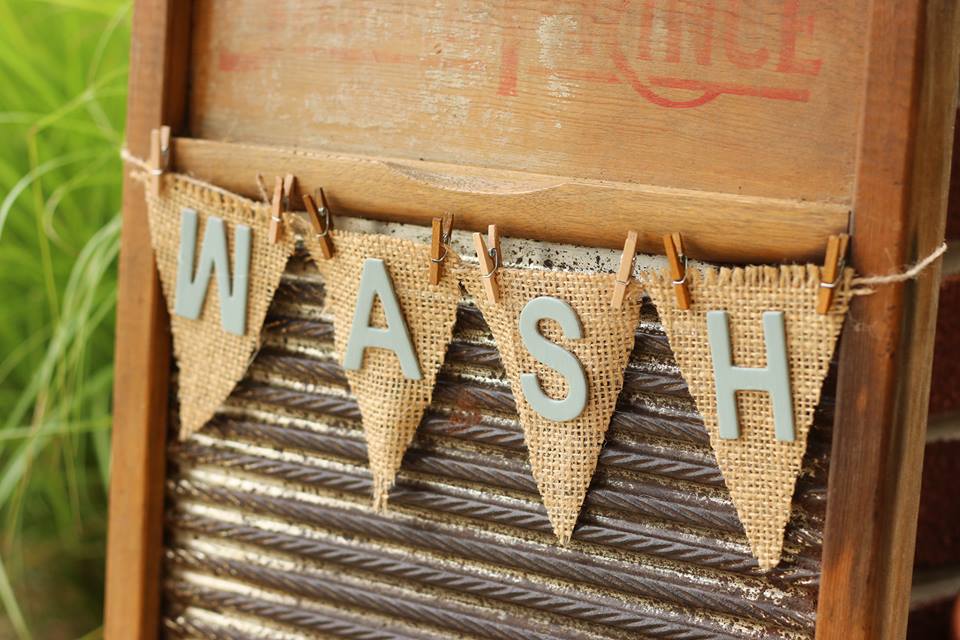
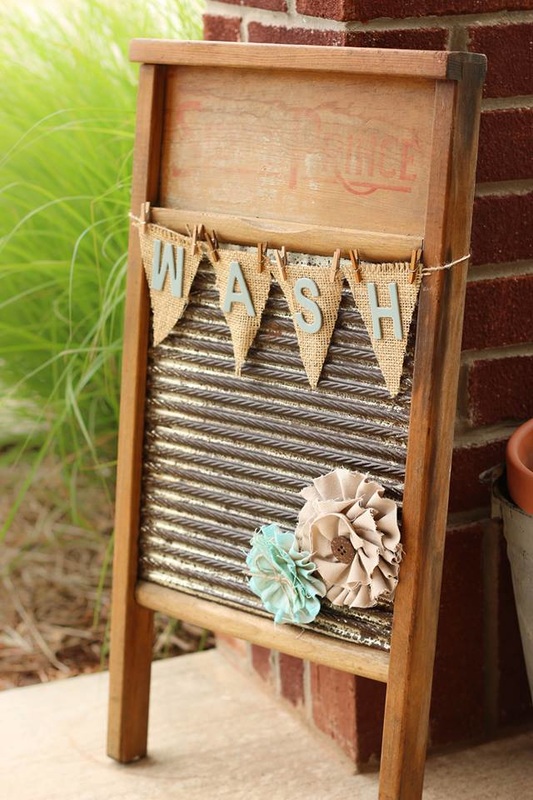
So its a very simple makeover to an already amazing washboard. Its now hanging up in my laundry room and I absolutely love it! I have a process video below on how it all came together. Enjoy!
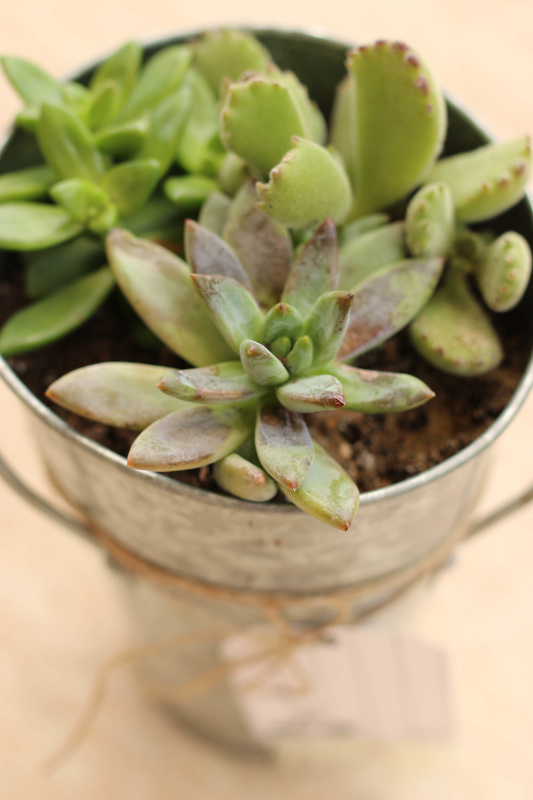
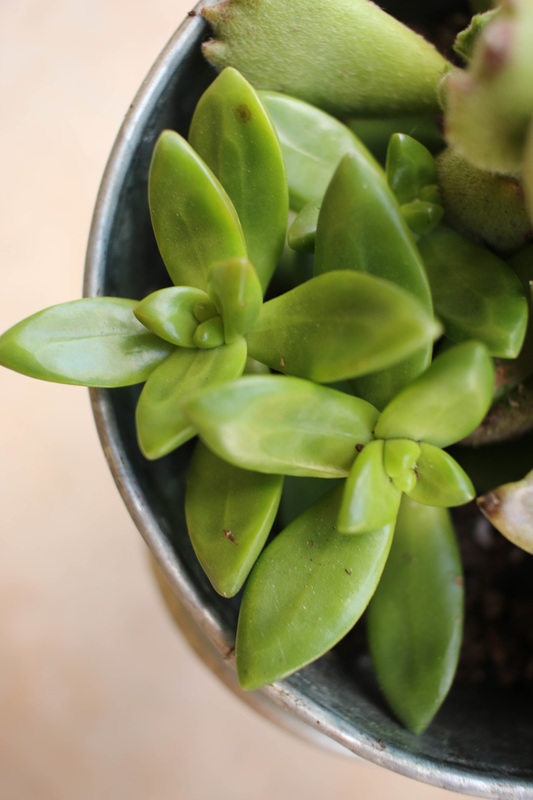
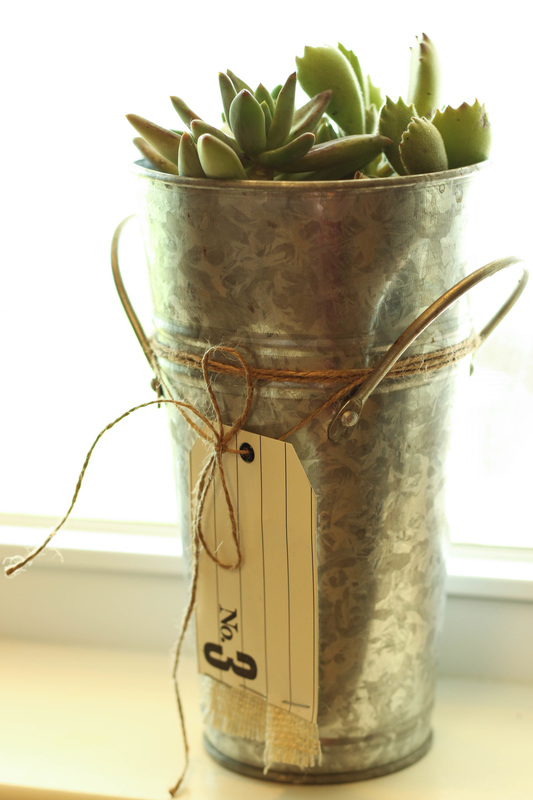
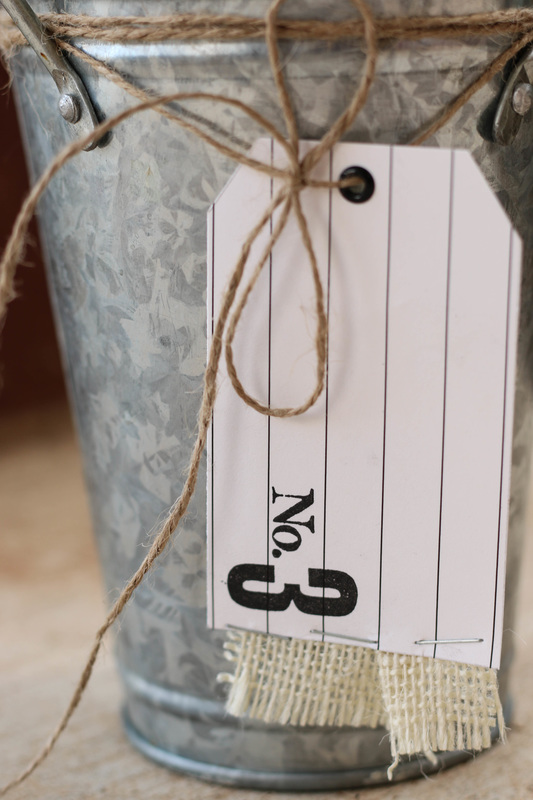
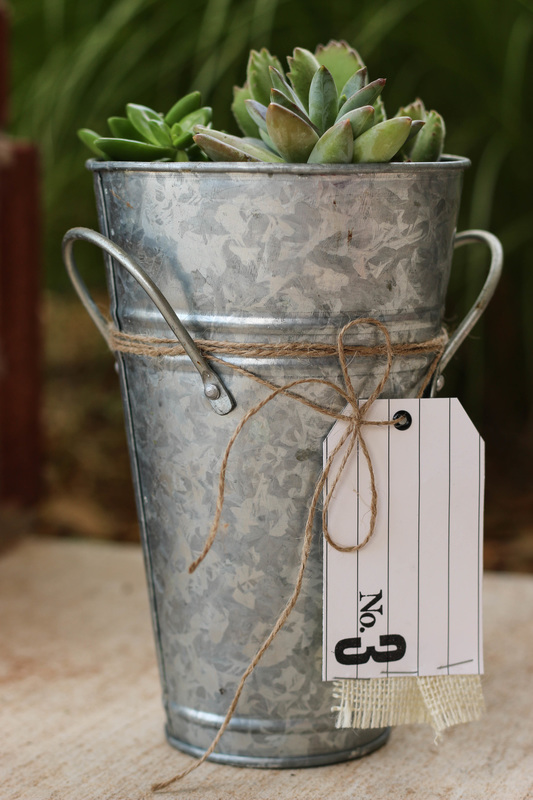 This is pretty much THE easiest little project I have ever done. We went to Home Depot today and they had these cute little succulents in the plant section. I knew I had this little pot and I immediately knew it needed some succulents in it. I got the plants home and my little toddler helped me plant them in the pot. 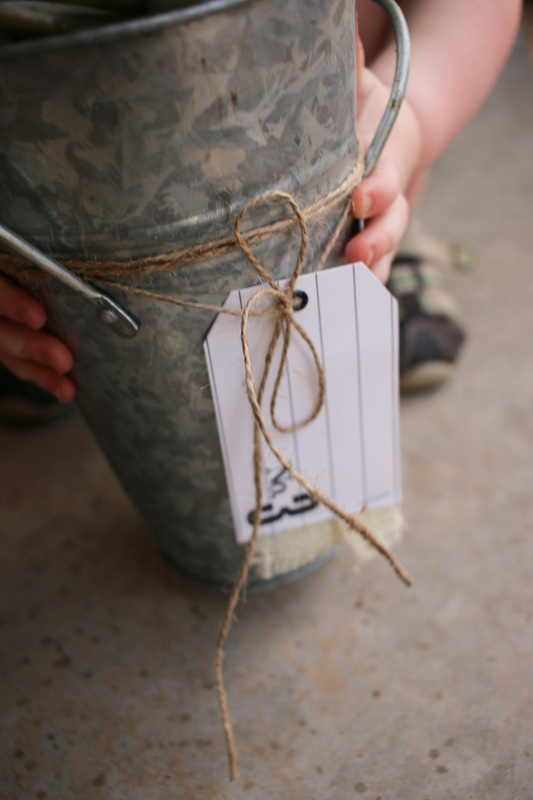 He also tried to steal them.
Anyway, with the plants planted, I decided I needed to make this charming little pot a little more... charming. I took some Canvas Corp papers and twine, stamped out a tag, and tied it on. Thats LITERALLY all I did. Sometimes the little details just make all the difference, though. 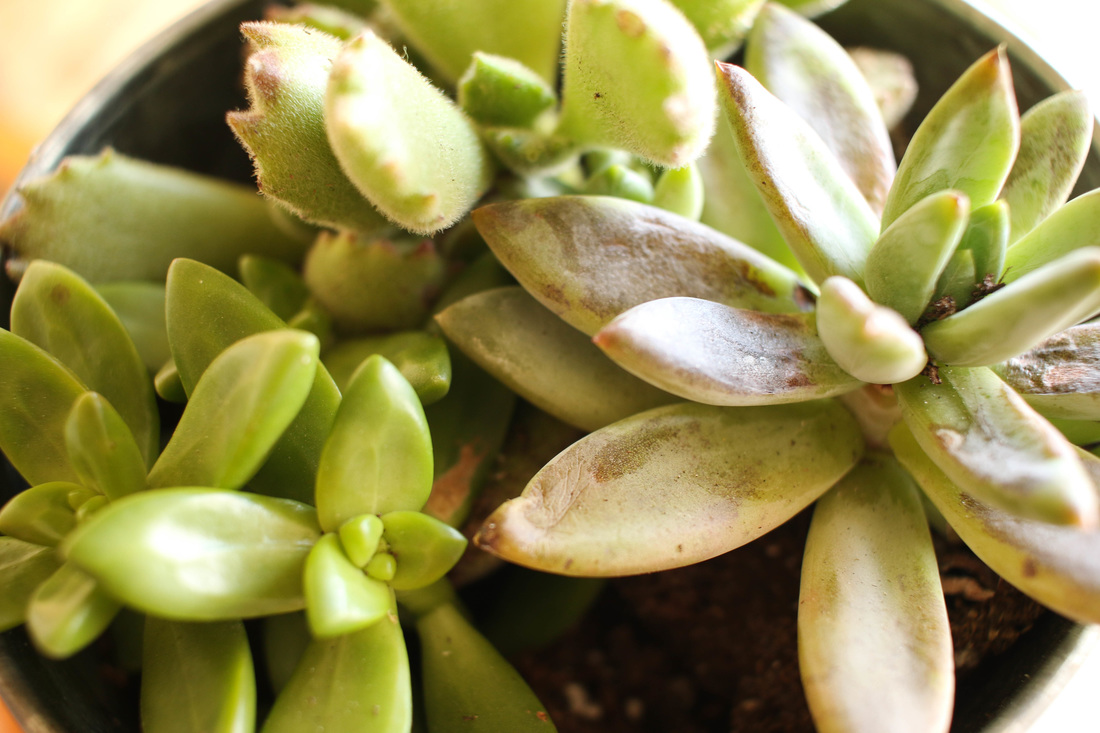 In other news, succulents make amazing subjects for photos, dont they?
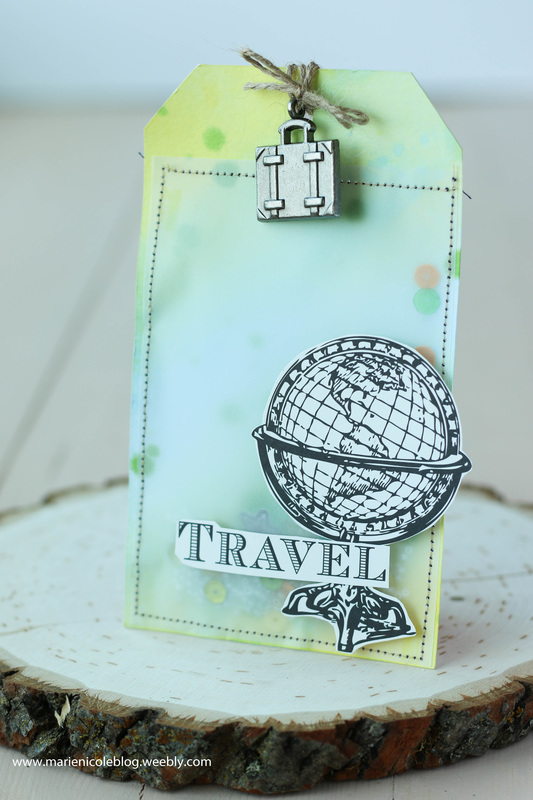
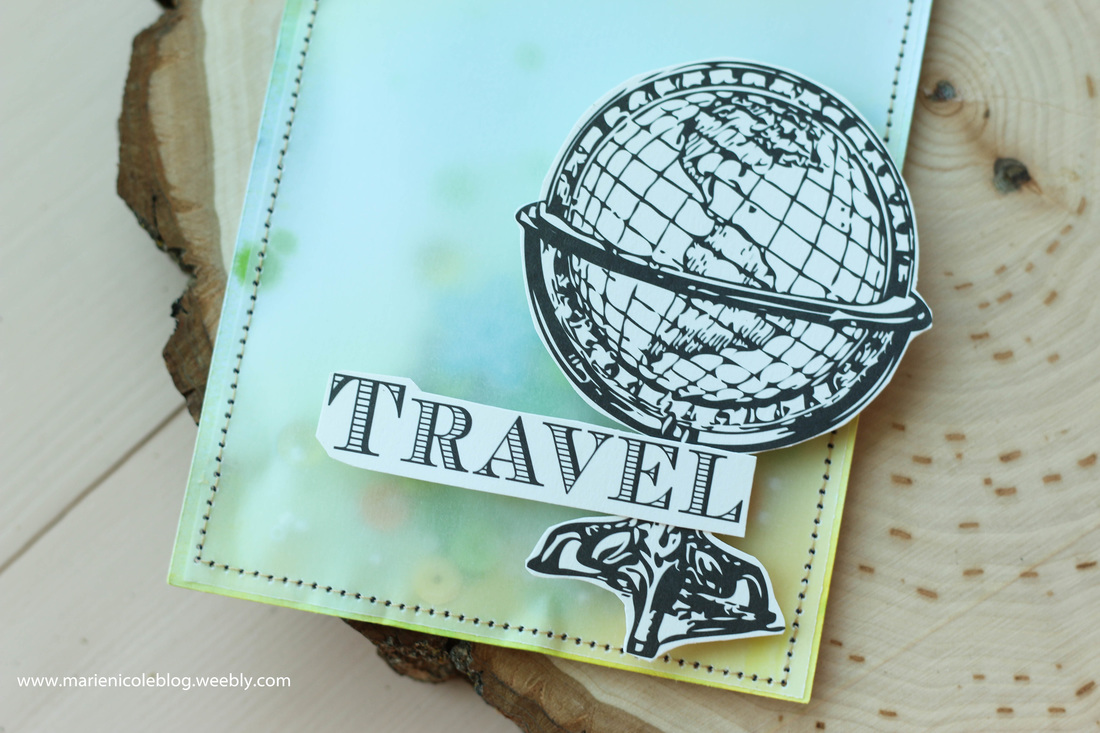
I really love shaker cards and tags. Its just so fun to have something a little more interactive.
I started by misting the tag with some yellow, blue, and green Tattered Angels mists. Then, after the paint was dry, I sewed a piece of vellum to the front, leaving the top open to dump in some beads, sequins and stickers. After I had my shaker pocket filled I sewed the top shut. Then, the last thing I did was fussy cut the globe and the word "travel" from some CCB paper and adhere it on with foam adhesive. Easy, peasy! 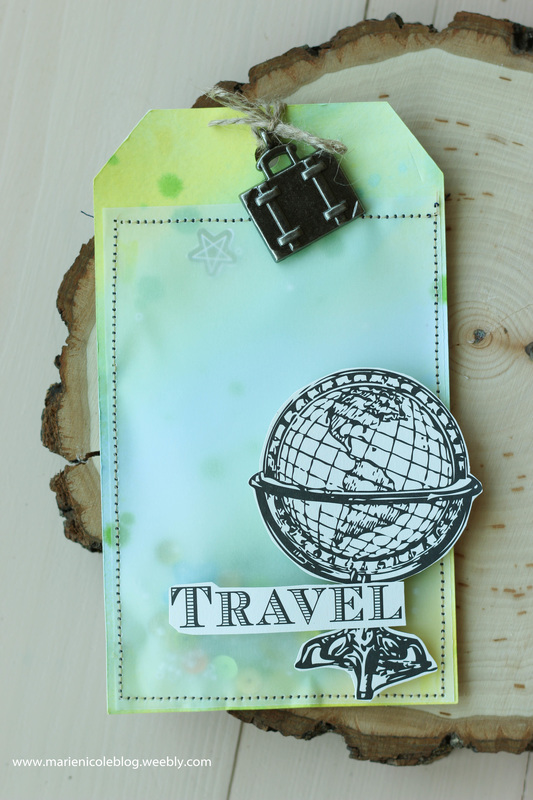
|

Pin it!

AuthorSo glad you found me! This blog is my little space where I can share bits about my life and my latest crafting projects (mostly handmade cards). My goal is to share, inspire, and to be a positive presence in the creative community. 

Find me on Instagram!Archives
January 2018
Categories
All
Link Love
 

|


 RSS Feed
