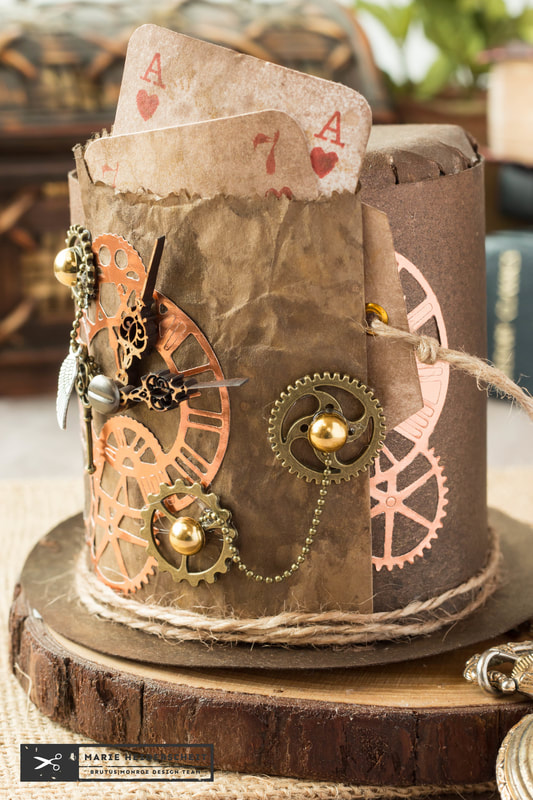
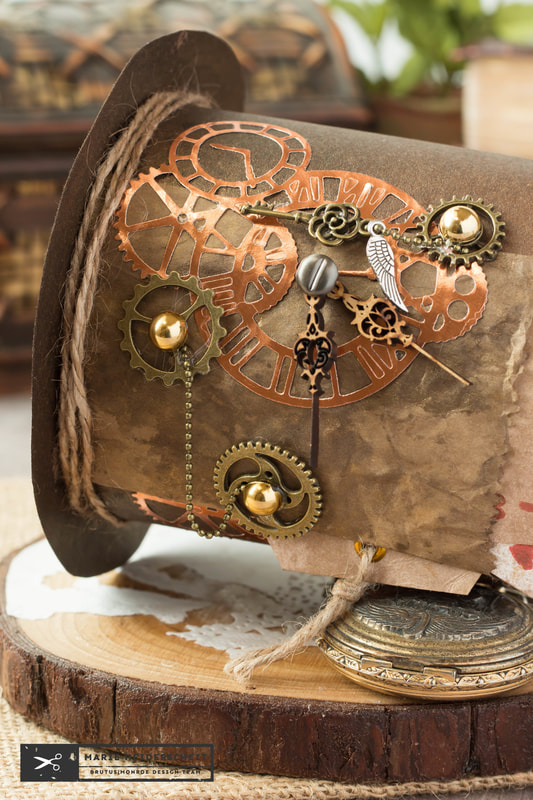
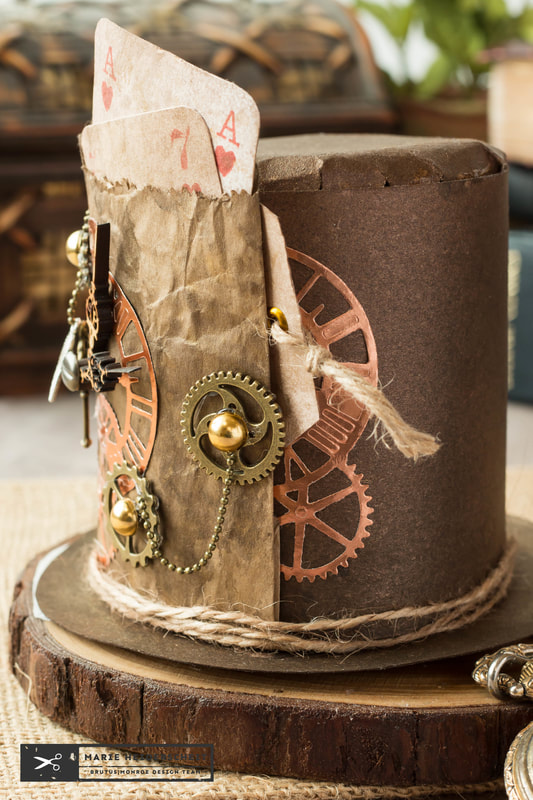
 BRUTUS MONROE has a monthly INSPIRATION BOX SUBSCRIPTION and this month's box is a Steampunk themed box! I have always loved the look of Steampunk, so I was very excited to get my hands on this box! I just knew I wanted to punk out a little paper top hat! I started by browsing the web for a template for a top hat. I found THIS ONE from Craftaholics Anonymous. They have a FREE PDF download or SVG. I grabbed the PDF, printed it, and used the template to build the hat out of some CANVAS CORP KRAFT PAPER. After the hat was assembled, I spritzed it with some GLIMMER MIST to give it a vintage, worn look. I used the colors, VINTAGE BRASS, TATTERED LEATHER, and BLACK.
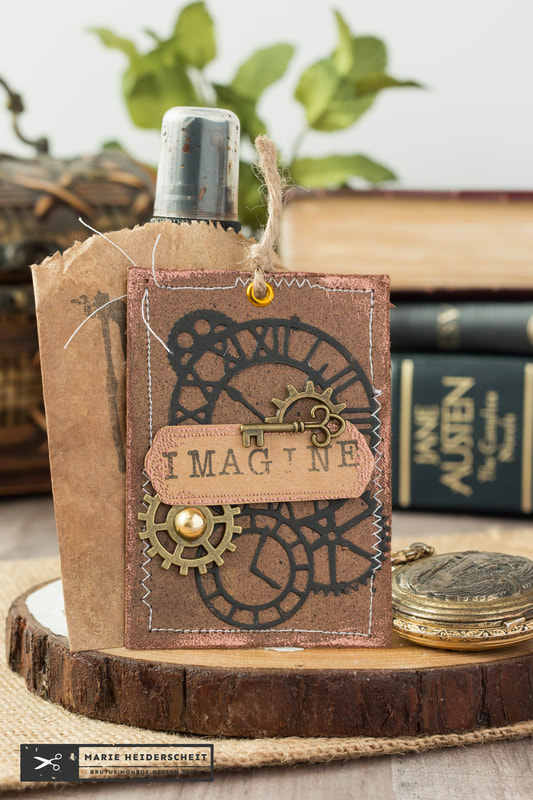
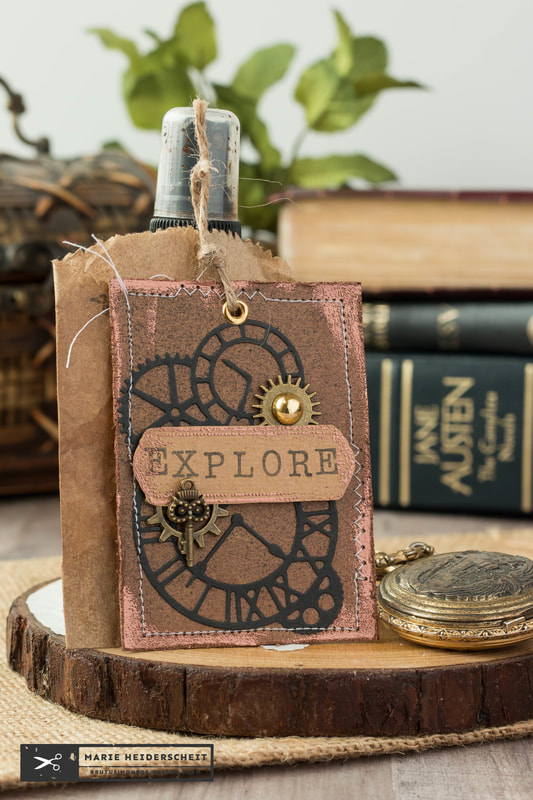
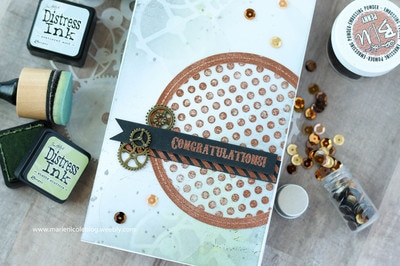
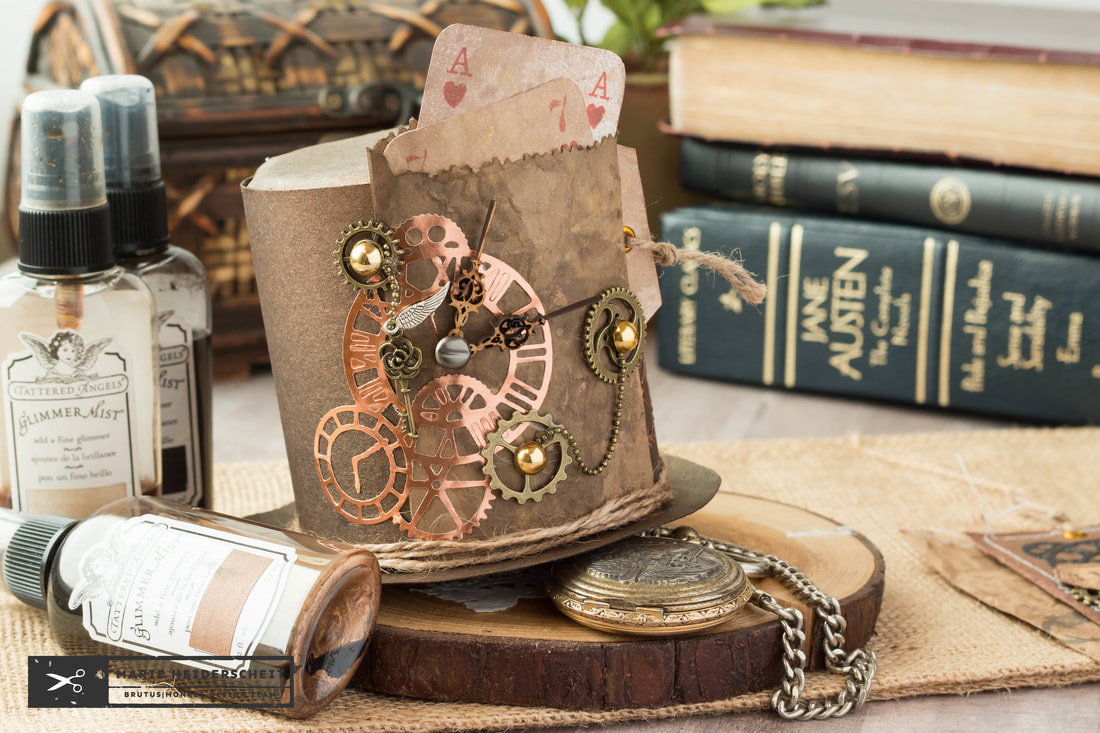 Then, I grabbed all the lovely embellishments from the Brutus Monroe Inspiration Box. They included some brass gears, chain, flat back pearls, paper bags, and a fun gears die. I used the die with some PENNY RINEA FOIL to cut out some shiny gears. I ran the foil gears through my Xyron sticker maker so I could adhere the detailed die cut easily. Then, I added the metal gears and different bits here and there. I also added some twine and a few hanadcrafted playing cards for some finishing touches. This turned out to be a super fun project that is way out of the norm for me! I usually do simple and pretty cards, but after making a load of Christmas cards, I needed to change it up a bit! Even after I finished this project, I had a good amount of supplies left from the Inspiration Box, so I went ahead and created a few ATCs, as well!  I used the same colors of Glimmer Mists on some of the paper in the box. Then, I ran some EMBOSSING INK and PENNY EMBOSSING POWDER around the edges to add some metallic shine. After adding more die cut gears, I also sewed around the edges. I love how it almost looks like a scrap of leather!
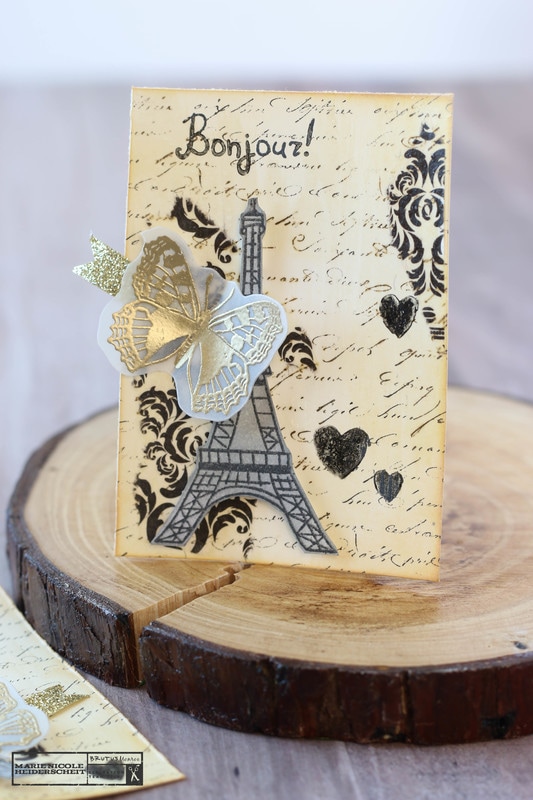
Since the little paper bags in the box were just the right size for ATCs, I wanted to decorate them to match so I could tuck the ATCs inside. I sprayed them with Glimmer Mist as well, and then stamped on them with a new, not-yet-released stamp set from Brutus Monroe! This set will be available December 30th, so keep an eye out for it! 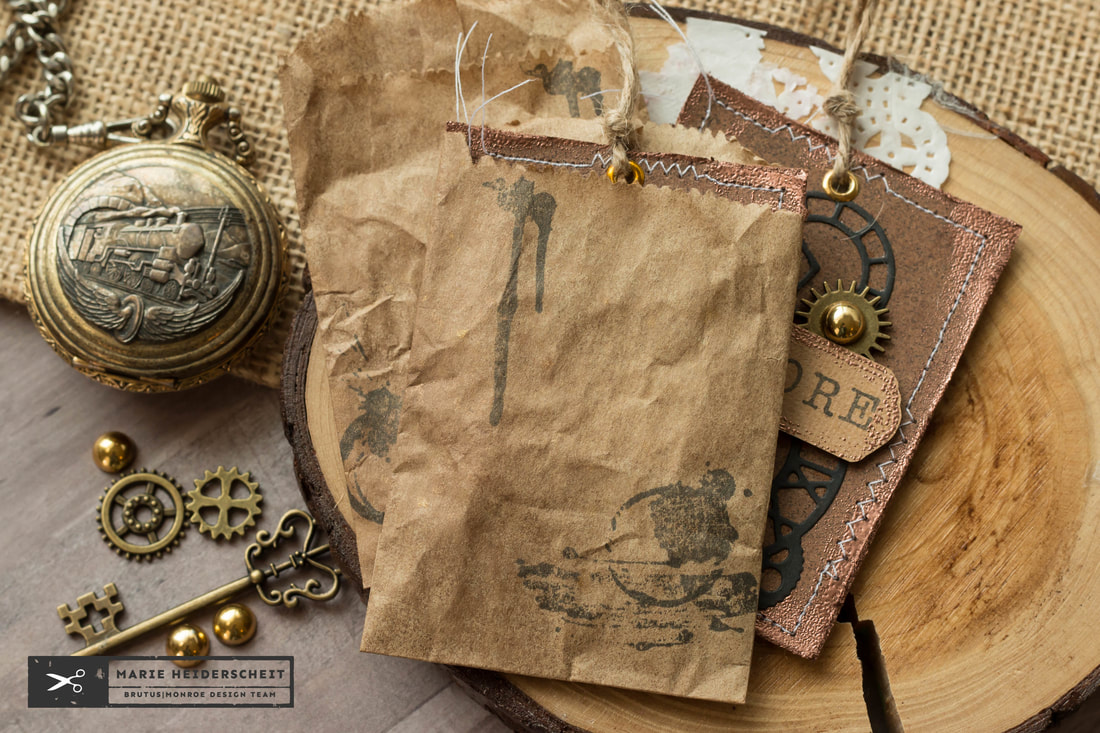 A few eyelets on top and some scraps of twine, and these ATCs were finished! I also have a handful of embellishments left from the INSPIRATION BOX, as well as papers, layering pieces, and of course, the 6x8 stamp set that is full of fun gears images and a full steampunk style alphabet! This box was such a fantastic value! Please check out the INSPIRATION BOX SUBSCRIPTION over at Brutus Monroe if you are interested in getting future boxes! Thanks for stopping by, and happy crafting! More from Marie Nicole...
0 Comments
Being a cardmaker, its just natural that I also love sending out happy mail to friends and family. I like to try to keep my address book up to date, but it can be hard to figure out how to keep my book tidy when I need to change the addresses in there!
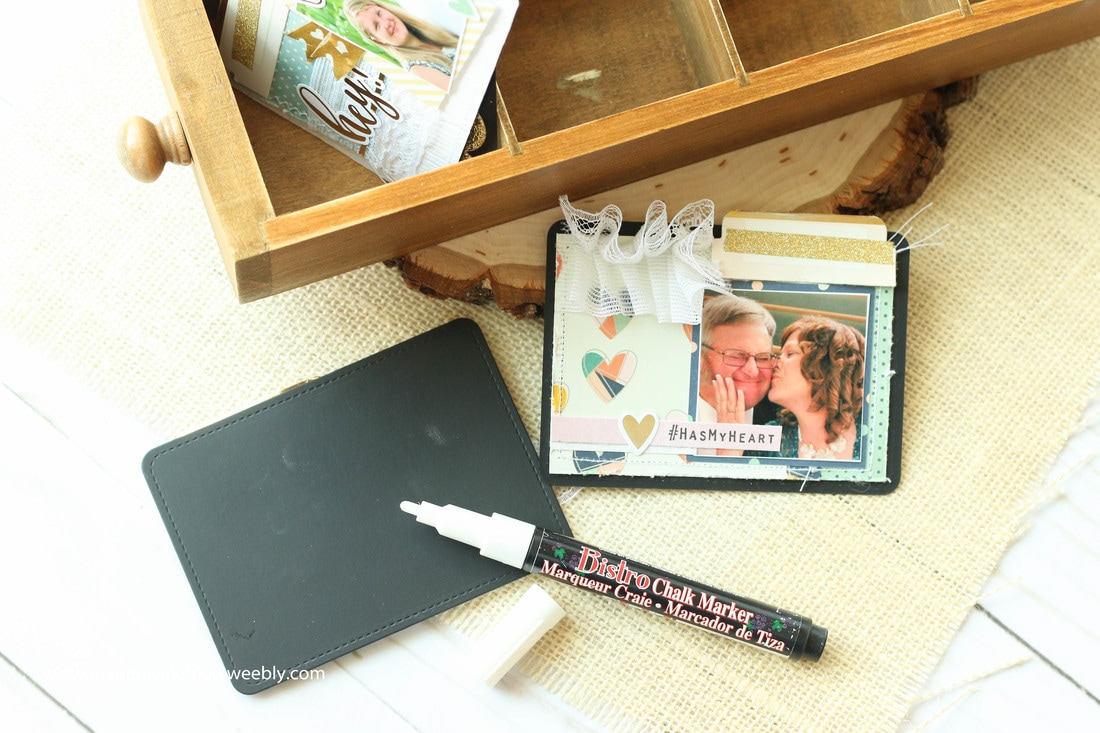
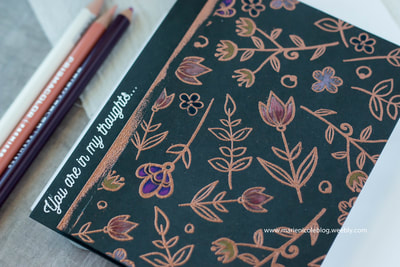
I had this idea to use some of Canvas Corp's Chalkstock to create these fun little address cards. I embellished the front sides with photos of my friends and family, along with other pretty embellishments, and then left the backside blank so I could write their addresses and special dates in with chalk. 
I chose this Chalkstock for the reason that it acts as a paper verson of a chalkboard! You can write on it with chalk paint, markers, or regular chalk, and then wipe it off with water and write on it again. PERFECT for writing addresses and important info on the back of small cards. The best part? You can make your cards pretty and not have to worry when the time comes to change the info! I have my cards displayed here in a little 7Gypsies Librarie Drawer. Canvas Corp Brands currently has these drawers on sale, and once they are gone, they are gone for good! I'm so happy I picked one up when I did, but if you dont have one dont worry! Just find a cute little box that works for you! 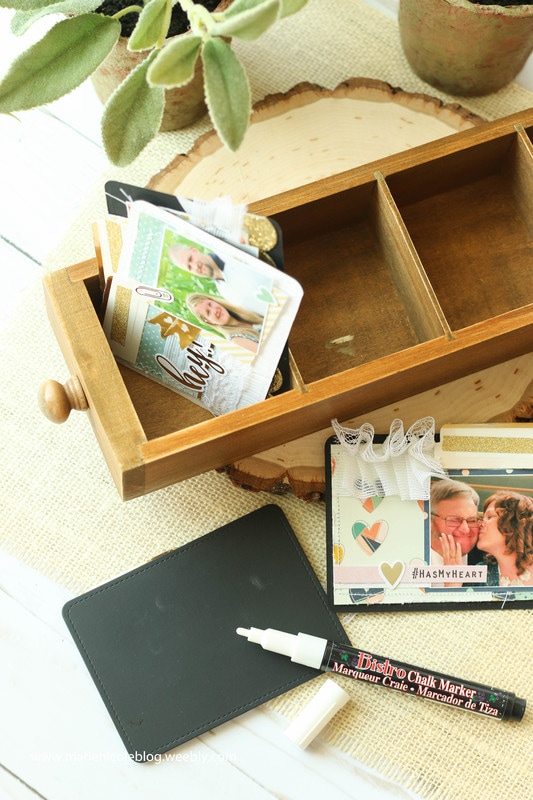
That's it! A simple way to keep my loved ones addresses organized even when they change. I used a journaling card die to make these little address cards, but you could make your own simply by trimming to the size you want and then rounding the corners. Hope that gives you some fun ideas on how to use this Chalkstock. Its such a unique paper that its really worth a try! Happy Crafting! 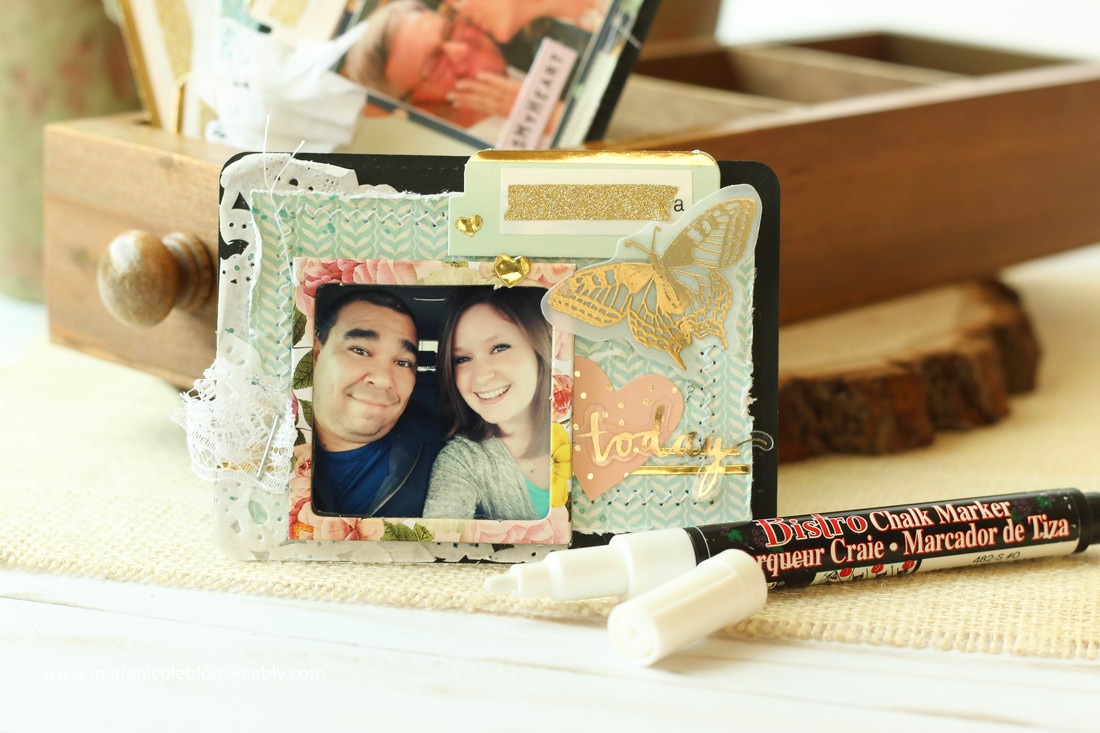
|


 |
 |
 |
 |
 |
 |
More from Marie Nicole...


Author
So glad you found me! This blog is my little space where I can share bits about my life and my latest crafting projects (mostly handmade cards). My goal is to share, inspire, and to be a positive presence in the creative community.
Take a look around and stop by anytime!


Find me on Instagram!
Archives
January 2018
December 2017
November 2017
October 2017
September 2017
July 2017
June 2017
May 2017
April 2017
March 2017
February 2017
January 2017
December 2016
November 2016
October 2016
September 2016
August 2016
July 2016
June 2016
May 2016
April 2016
March 2016
February 2016
January 2016
December 2015
November 2015
October 2015
September 2015
August 2015
June 2015
December 2014
October 2014
July 2014
May 2014
April 2014
March 2014
February 2014
January 2014
Categories
All
Albums
All Cards
ATCs
Birthday Cards
Brutus Monroe
Canvas Corp Brands
Cards
Christmas
Christmas Cards
DIY
General Cards
Get Well Cards
Halloween
Home Decor
Love Cards
Mixed Media
Papercraft
Planner
Punny Cards
Scrapbooking
Shaker Cards
Special Occasion Cards
Summer And 4th Of July
Tags
Techniques
Thank You Cards
Toddler Art
Tombow
Tutorials
Watercolor
Link Love


 RSS Feed
