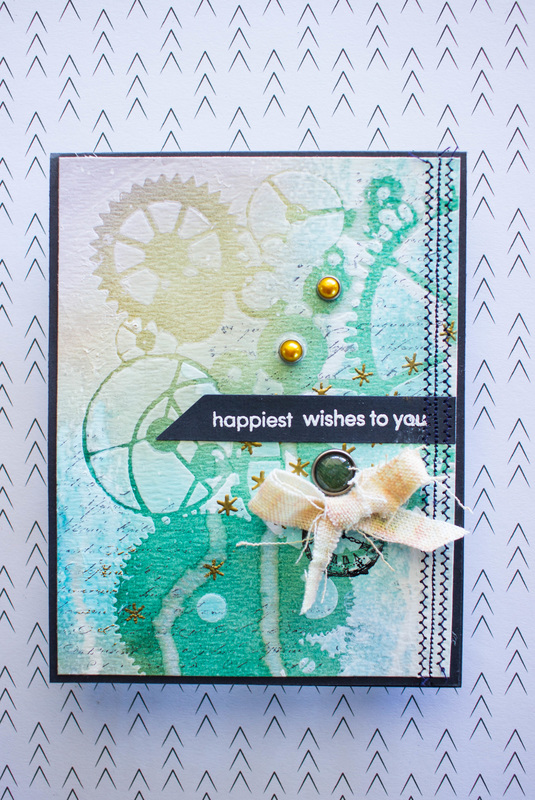
 I've been playing around with a jar of gesso lately. I'm discovering that it is very versatile so I have lots of ideas I want to try with it yet! For this card, though, I used some gesso with TCW's Mini Gears stencil. I absolutely love the background it creates! I started with a regular piece of cardstock, and spread some gesso over the stencil. After it was dry, I applied some Distress Inks. The three main colors I used were Evergreen Bough, Walnut Stain, and Dusty Concord. I also used a little Black Soot with a French script background stamp to add a little more interest to the background. After the color was applied, I used a little mist bottle to spray the background with some water and held up the cardstock so I would get some interesting run marks. When it was totally dry, I used a little snowflake stamp and embossed a cluster of them in gold. In this instance I felt they looked more like stars or sparks than snowflakes. Then I embossed the sentiment in white, added some brads and a bow, and did some stitching down the side. Its a very different style of card for me, but I really enjoy the look of the background. 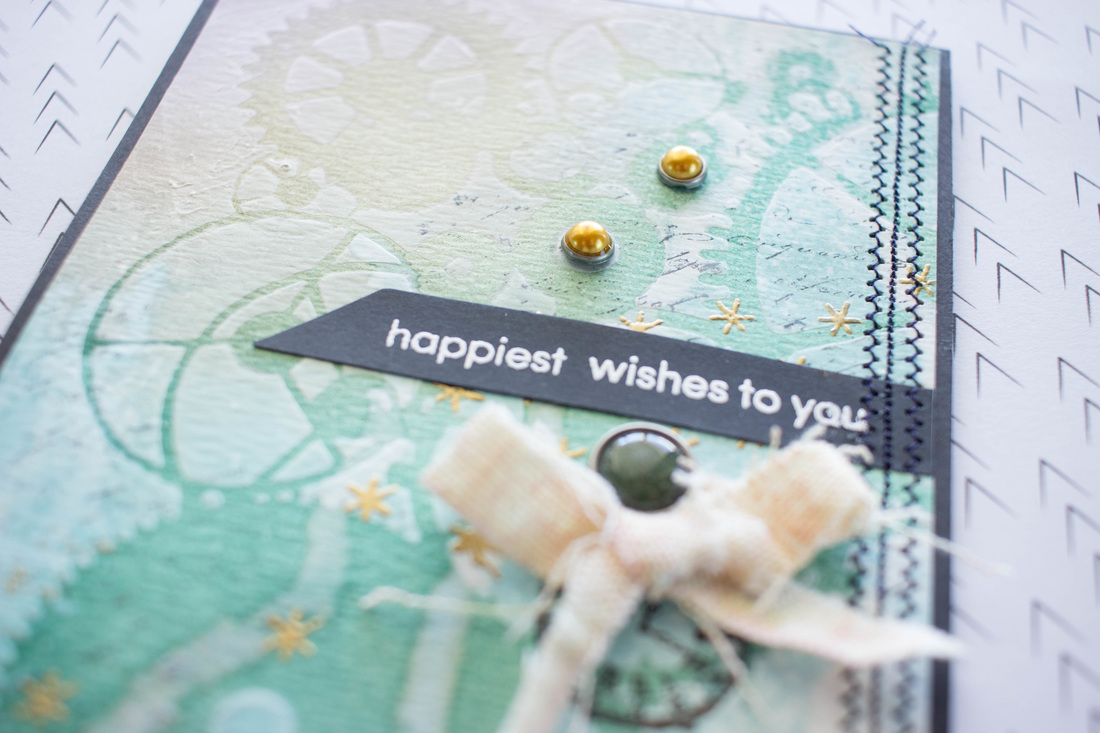 
0 Comments
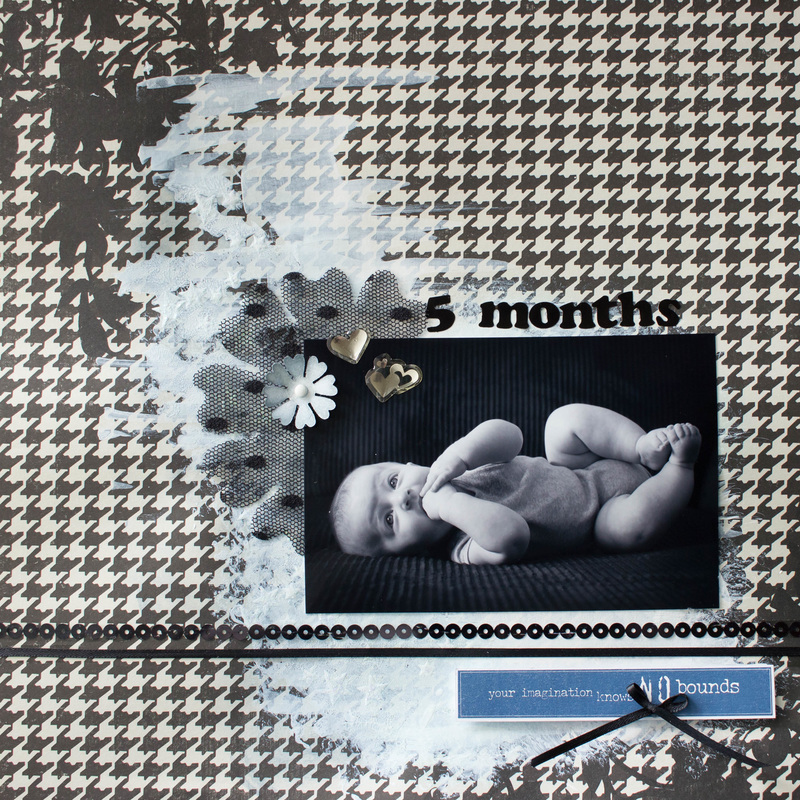 I managed another scrapbook page today! I had to run to the craft store the other day for some envelopes so I could get my Christmas cards out, and while I was there I picked up a jar of gesso. I had never used it before, but I've seen it used by others and was excited to give it a try. After playing around with in a few different ways, I decided to try to use it to create sort of a background on this page. I started by scraping on some gesso with a plastic scraper tool. Then, I went back over with Heidi Swapp's confetti stencil and added some stars. They kinda blend in which is what I was going for, but they are hard to see on the photo above. When the gesso was dry, I lightly applied some Stormy Sky Distress Ink on just the left side. I thought it would be nice to keep this layout mostly black and white to match the photo, but I added a little pop of blue for interest. After the gesso was dry I pretty much just added an assortment of embellishments. Some stickers for the "5 months", another sticker for the quote underneath, some bits of ribbon and a few hearts and such. Im not at all disappointed with how the gesso turned out, but I definitely need more practice! I'm linking this project up with: Simon Says Stamp's Monday Challenge! (my pinch of something is gesso, if you didn't already guess!) 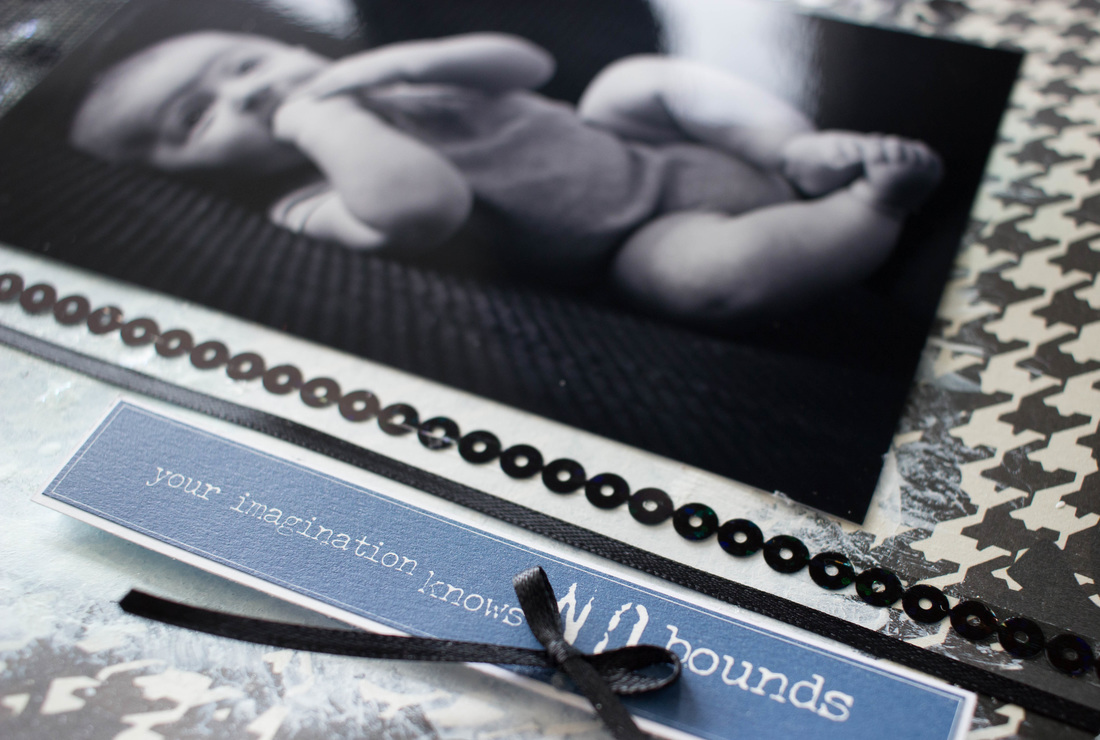 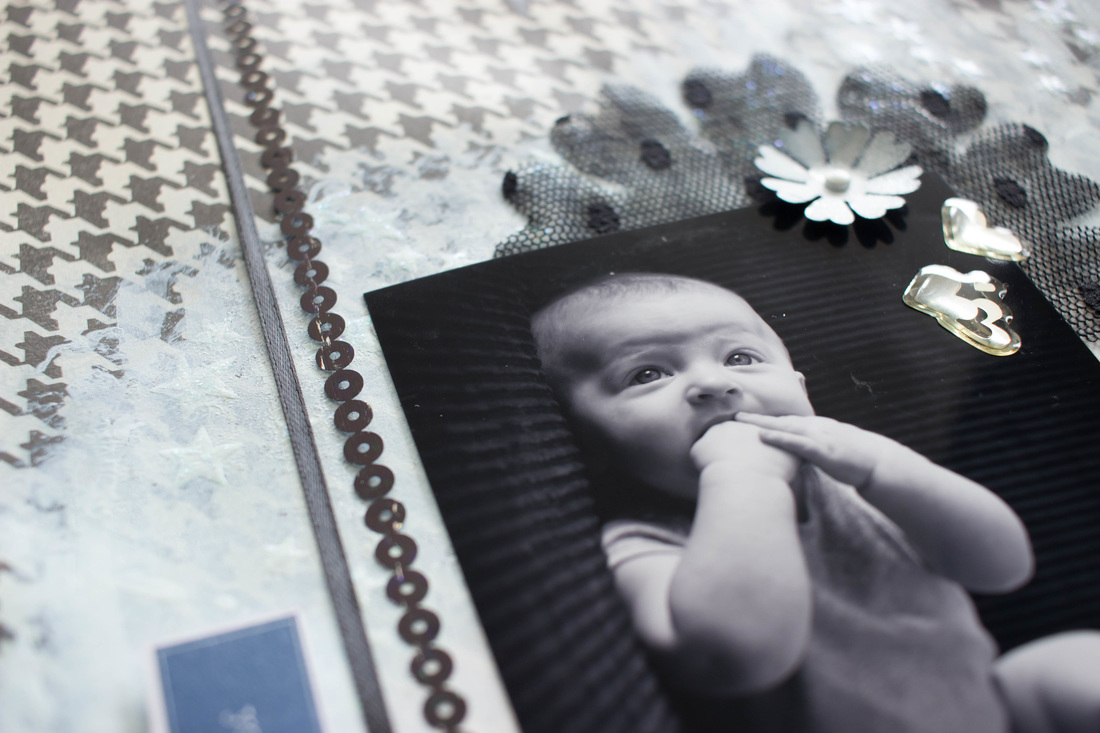 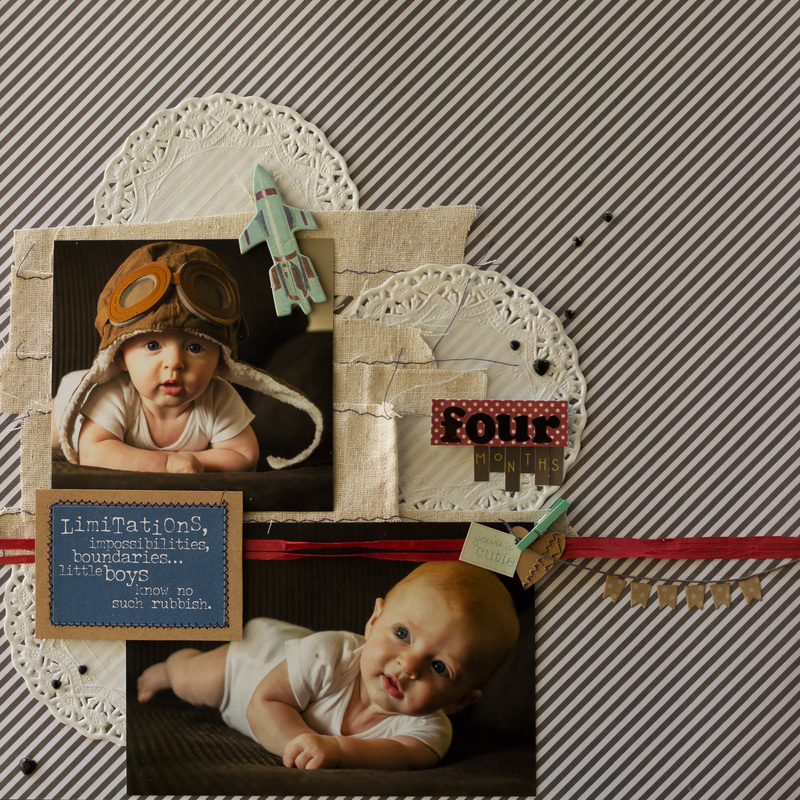 I have this goal to make a scrapbook page for each of Hayden's monthly pictures. Since he is 11 months now, you can see I am very much behind! I did manage to finish his 4 month page these last few days. For the background I actually just used the back of his 3 month page. It's double-sided paper, which I love but also hate, since you can only pick one pattern! I loved the stripes so I didn't want them to go to waste, so I just scrapped on the back. The upside is it takes up less room in my scrapbook, so less bulk. The downside is that I cant put any brads through, or use too much liquid adhesive, since I don't want to ruin the other side. I had a few scraps of canvase type fabric that I just loved the texture of, so I sewed them together to create a sort of matting for his first picture. Then I slipped in three paper doilies and placed my second picture down. I then searched through my box of embellishments and pulled out anything that would coordinate. I found the cutest sticker with an amazing quote on it that I stuck to a piece of kraft cardstock, and then added some stitching around. I adhered it to a little craft foam for some dimension and then placed it between the two pictures. I thought I needed a little more color, so I used some red raffia and found a little scrap of red polka dot paper. I also found a few other little embellishments that fit nicely, like the tiny banner, the chipboard rocket, the little clothespin, and a few black heart rhinestones. When scrapbooking, I never adhere anything down permanently until I am happy with the over all layout, so after deciding on where to place everything, I used a combination of my ATG, Aleene's, and foam squares to put everything in it's place.  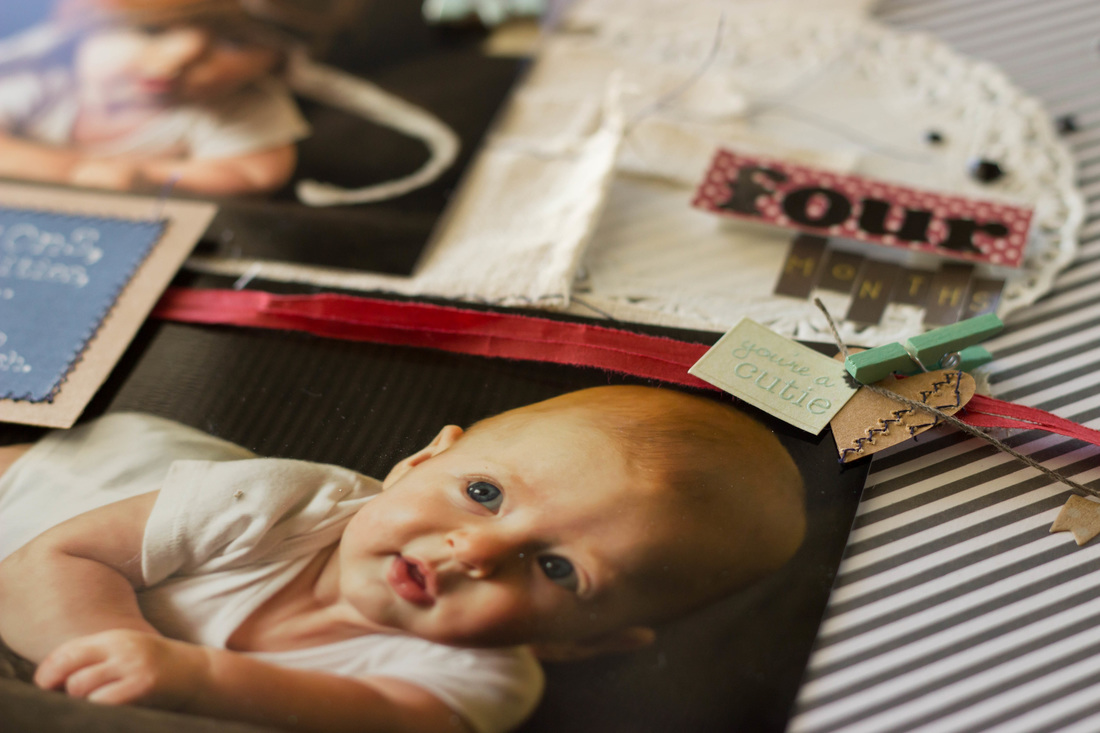 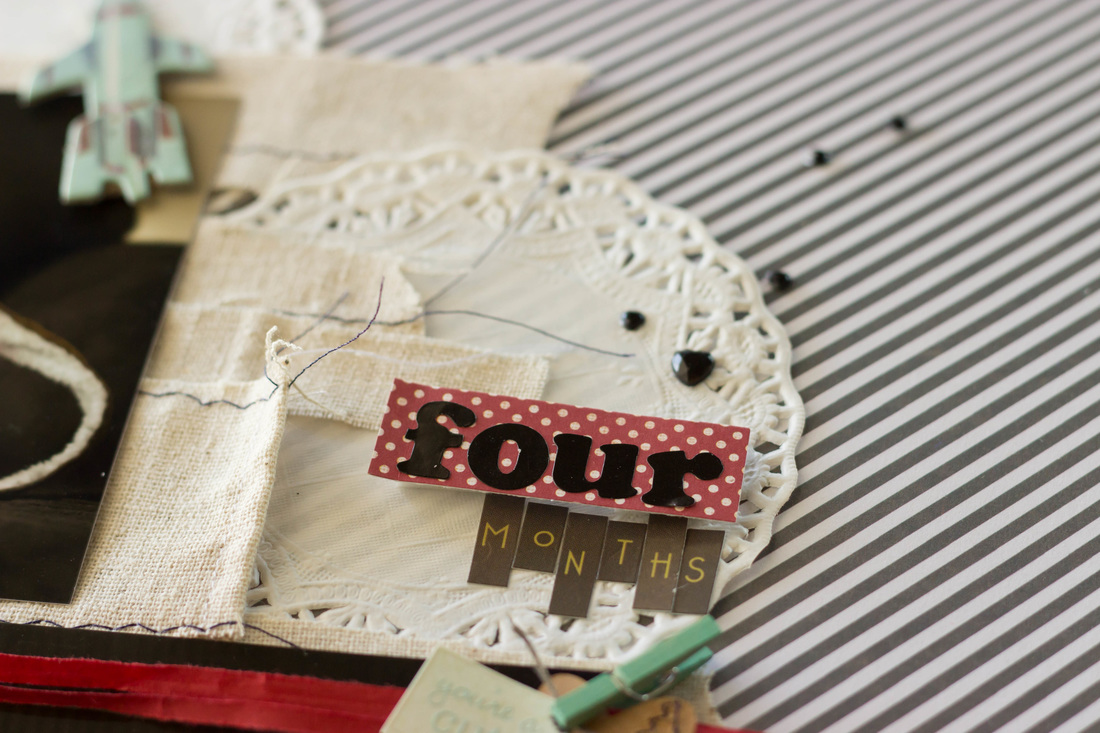 I love the way it turned out and I think it very well may be one of my favorite layouts. Of course, anything with Hayden in it is my favorite. It really is amazing to see how much he has grown! I almost don't remember him ever being so small.
They just grow up way too fast :'( Im linking this project up with: Simon Says Stamp's Monday Challenge |

Pin it!

AuthorSo glad you found me! This blog is my little space where I can share bits about my life and my latest crafting projects (mostly handmade cards). My goal is to share, inspire, and to be a positive presence in the creative community. 

Find me on Instagram!Archives
January 2018
Categories
All
Link Love
 

|
 RSS Feed
