|
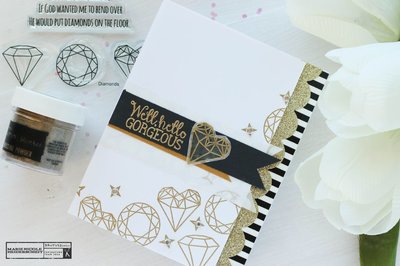
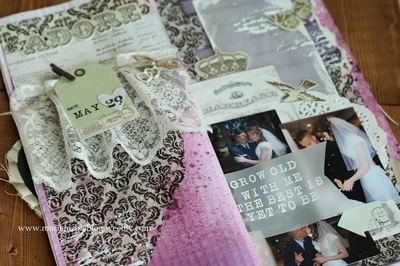
Creativation 2017 was such an exciting and amazing experience! So many new memories were made from helping Canvas Corp Brands set up their booth, to walking the show floor and seeing the major craft companies showcase their new products. One of the new products that is definitely a show stopper is 7Gypsies' new Architextures. These are a variety of vintage-inspired pieces that can be used for mixed media, cardmaking, papercrafting, and anything you can think of! There are rub-ons as well as self adhesive pieces that include vintage Mason jars, dressforms, lanters, trucks, chicken wire, and SO MUCH more! These pieces are meant to look and feel like the real thing. You can see through the glass of the mason jars, and the dress form feels soft just like a real fabric dressform would. CCB had a "Create and Take" table where some of us designers could sit with customers and just create with the new pieces. This little tag here is one that I created with some of the new 7Gypsies Architextures. 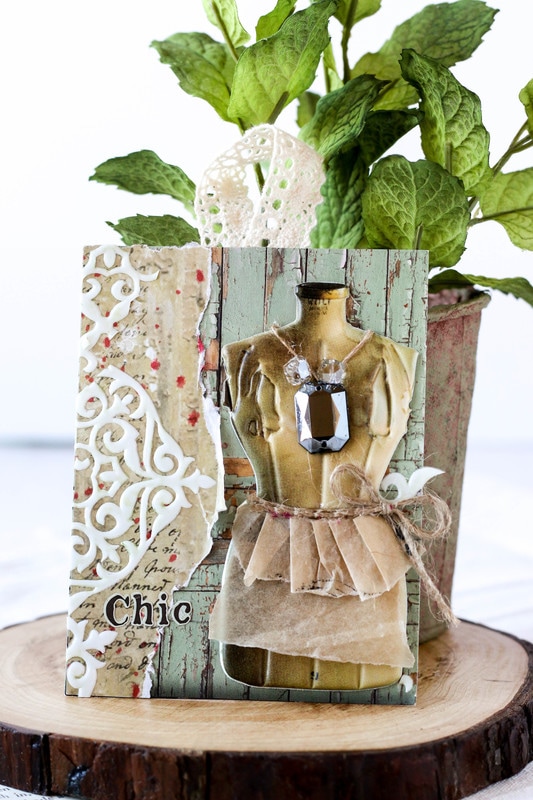 What's so cool about this piece is that the background is actually made from the Architextures packaging. 7Gypsies cleverly created the packaging to be these amazing designs so that you can cut and create with them, as well. It definitely adds more value to the product! Since the dressform is self-adhesive, it was just adhered down onto the background. Then, with some tissue paper bits and a little bling, I was able to dress her up a bit. The details along the lefthand side is just some torn paper and then bits of another design of Architextures that I cut and pieced together. To finish the tag, I added a few sticker letters to spell the word, "Chic" and then added a lace loop at the top. 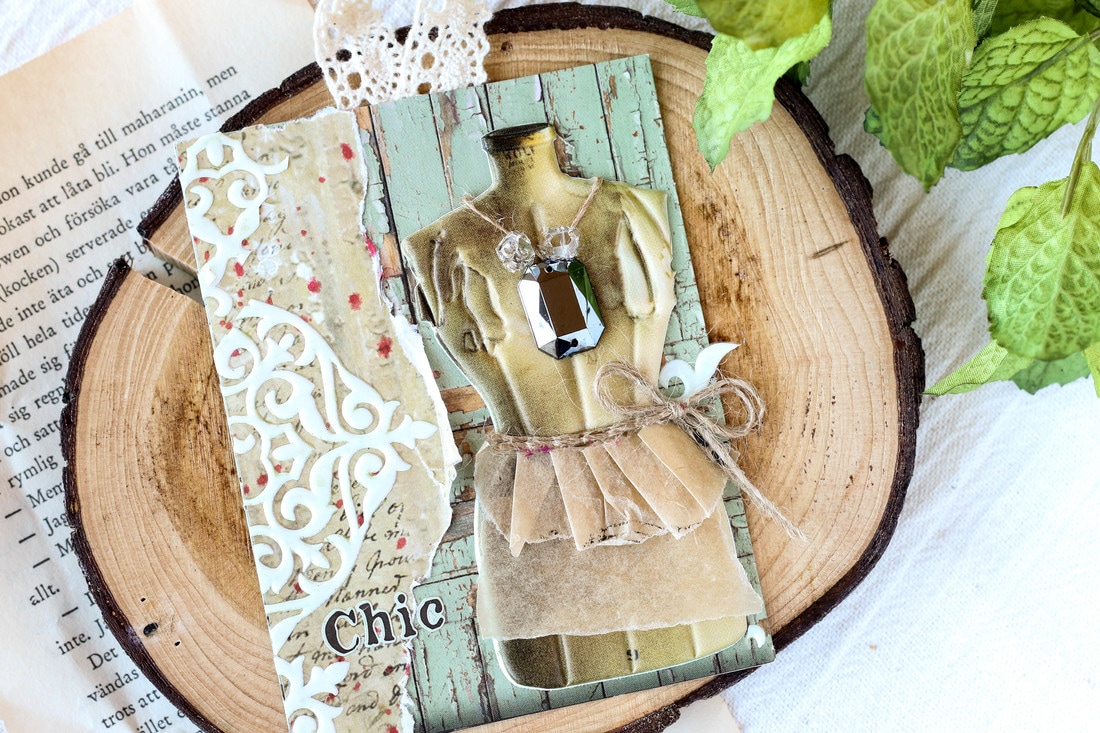 These Architextures are so much fun to play with! If you are interested in getting your hands on some, they should be available in the Canvas Corp Brands' shop on February 2, 2017. Keep your eyes peeled for them! Im sure we will see some amazing creations coming up using these 7Gypsies Architextures! More From Marie Nicole...
0 Comments
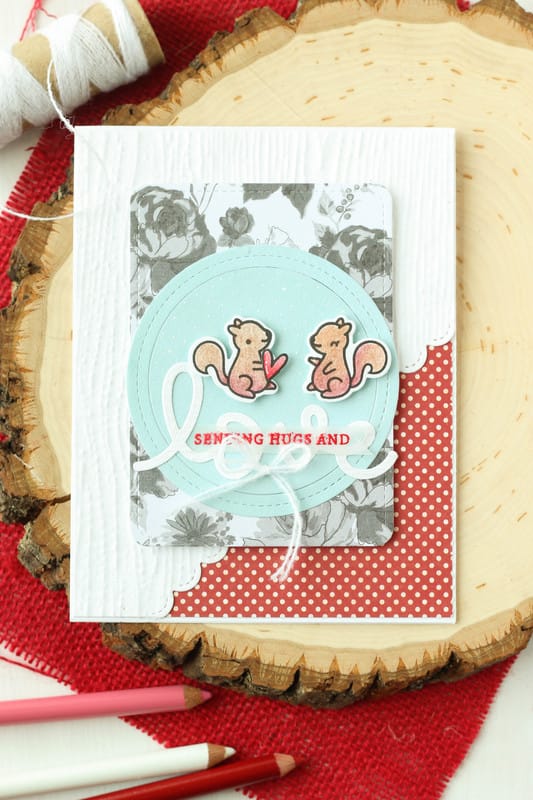
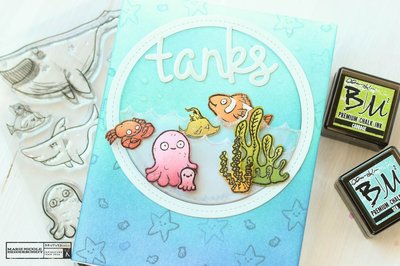
Did you get any fun crafting supplies for Christmas? I received a few items this year. The cute little squirrels on this card are from Lawn Fawn's Cheery Christmas stamp set. I stamped them out with Versafine Black ink and then colored them in with my new Prismacolor pencils. I have to say, I am LOVING these new pencils for coloring my stamped images. I am not that great at watercoloring, especially on regular cardstock. I dont like when the paper warps when you add water to it. These pencils blend great and work on my cheap cardstock. I used the coordinating dies from the stamp set to die cut the squirrels and the little heart. Then, I used Lawn Fawn's Stitched Circle Frame Dies to cut out the circle from some blue paper. I adhered that down to some floral paper that I also die cut, using the Stitched Journaling Card die from Lawn Fawn, as well. All my papers I pulled from my scrap bin. I am trying my best to use up scraps! I then cut the background white paper on an angle with the Stitched Border dies, and ahdered it over some red polka dot paper that peeks out on the bottom right corner. I then added the sentiment, the squirrels, and some white twine to the front, and placed the whole stitched journal die cut piece to the front of the card with foam adhesive. Cute, easy card that has a Valentine's Day feel to it, without being too overly red and white. 
Thanks for checking out my card today! I have been slacking on making YouTube videos lately with the business of the holidays, but I hope to get back into it soon! If you are interested in some of the items I used on this card, I've included some links below. Happy Crafting!!
Check out these other fun posts!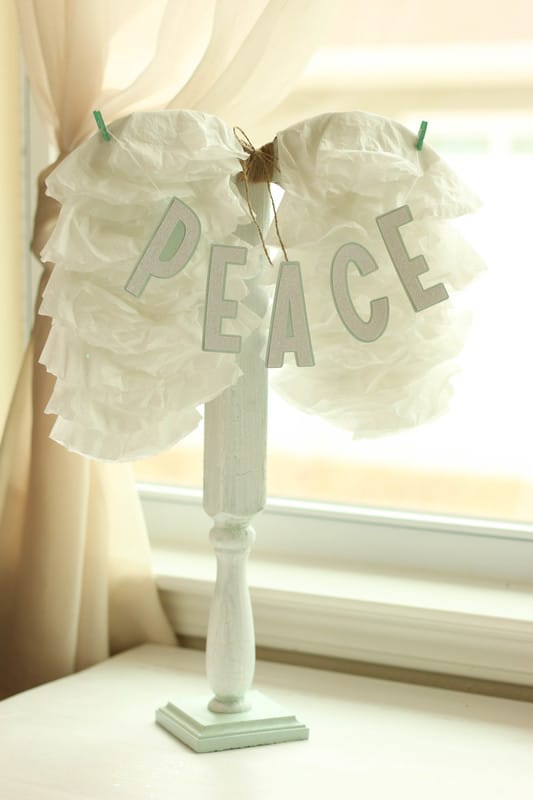 I was able to squeeze in a little craft time recently (other than cards!) and I decided I wanted to make some Angel wings as some Christmas decor. I have a decorative window hanging in my hallway that I like to hang wreaths, photos, and other decorations on. I saw a few examples of angel wings on Pinterest, and after gathering a few simple supplies, I came up with my own take on them. I first started by hand-drawing out a wing shape of a piece of paper and cutting it out. I then used that wing shape to trace onto a piece of cardboard. To make two matching wings, I just flipped my wing template and traced it on the other side. That was the easiest way for me to get two identical wings. After the wings were traced. I went ahead and cut them out of the cardboard using a box cutter. 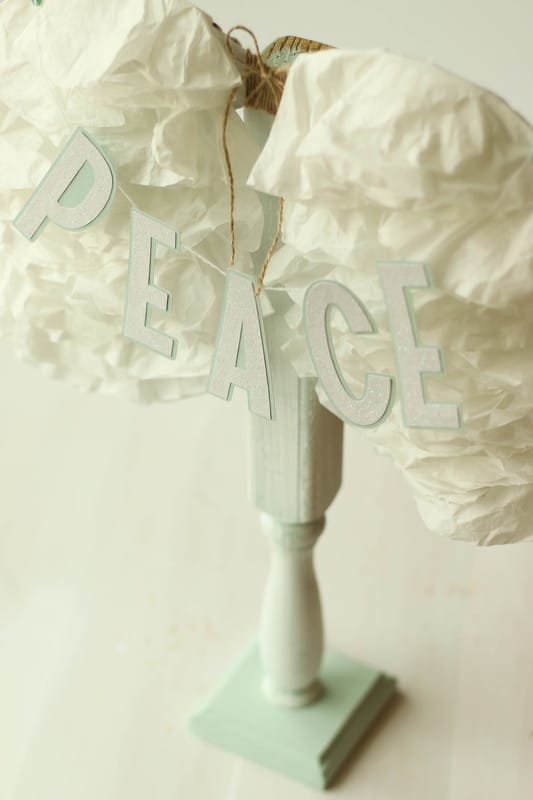 I then took a little Tattered Angels DIY and Decor paint in the color Crystal and painted it over the cardboard. This was just so that if any cardboard was showing through the coffee filters hopefully it would blend in and not be noticeable.I let the paint dry before moving onto my next step. I took my hot glue gun and started adhering on the coffee filters. I started from the bottom and layered up, folding each coffee filter in half twice to create a little triangle. Once I layered on enough filters to get to the top of the wings, I just wrapped the coffee filters around the curve of the top of the wings to keep that angel wing shape. In the middle of the wings, I wrapped a little Canvas Corp Jute Cord and tied it into a bow. I like the look of the natural twine against the white fluffy filters, but you could also use ribbon or add some flowers, charms, or brooches there, depending on what look you are going for. Then, I wanted to add a little subtle shimmer to the wings, so I took my Tattered Angels Dazzling Diamonds Glimmer Mist and spritzed the whole piece. I lightly fluffed the coffee filters while it was still damp, and then hit it with my heat tool to dry. This gave the ruffles more of a random, organic look rather than being all the same. 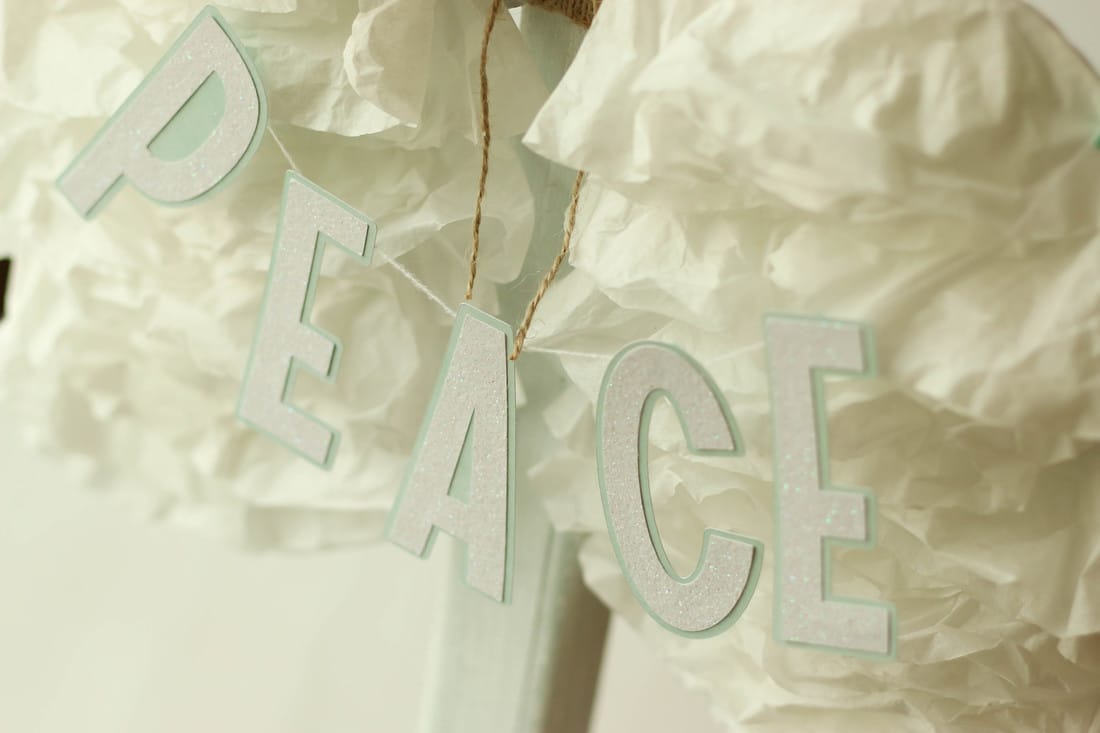 I decided I wanted to hang a little word banner across the wings, so I cut out the word "peace" with my Cricut. I used a light blue color for the background shadow, and then cut some glitter cardstock for the front letters. I like the use of the pastel, non-traditional Christmas colors. I think it makes it more versatile so I can display this piece even after Christmas. If you wanted to go for something more Christmas-y though, you could use glittery gold or silver. I attached the word banner with some Canvas Corp mini clothespins and that finished the piece! I decided to attach the wings to my DIY Candlestick for the photos since it is kind of hard to get a photo of my big hallway window. I actually ended up really liking the wings on the candlestick, though. I think this would be a cute decor piece in a baby girl's nursery or a party. 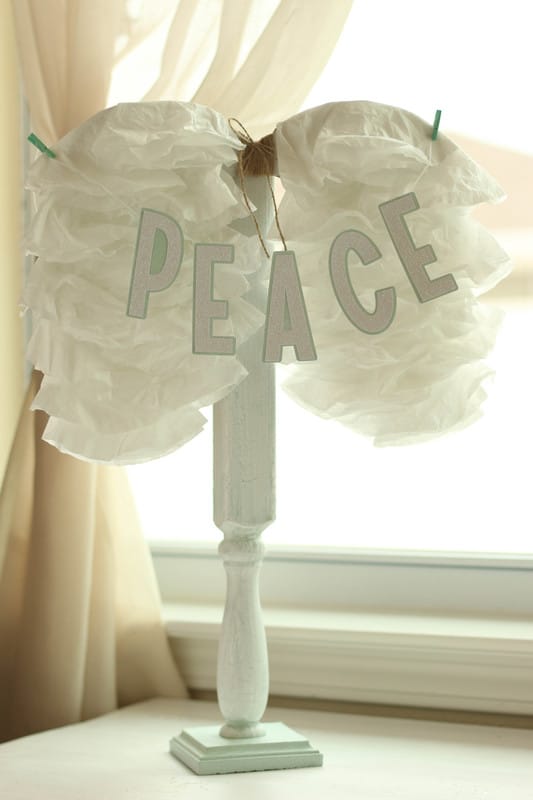 This project was also really quick and easy. It probably took under 30 minutes to complete, including cutting out the wings, painting them and gluing everything in place. It also uses common household items that you probably already have: Coffee Filters Cardboard Hot Glue Gun Twine Letter Cut-Outs (optional) Paint (optional) Glimmer Mist (optional) Thanks for stopping by today! 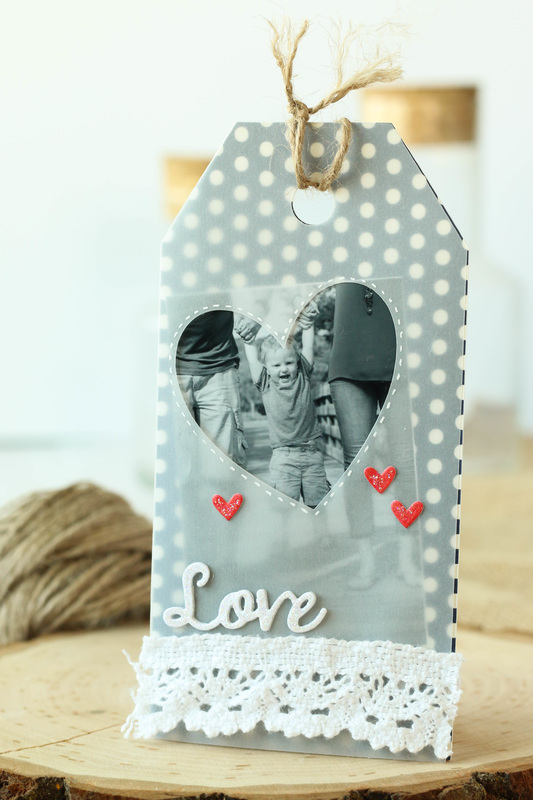
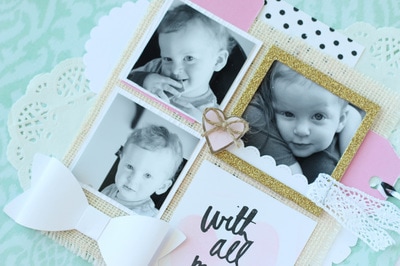
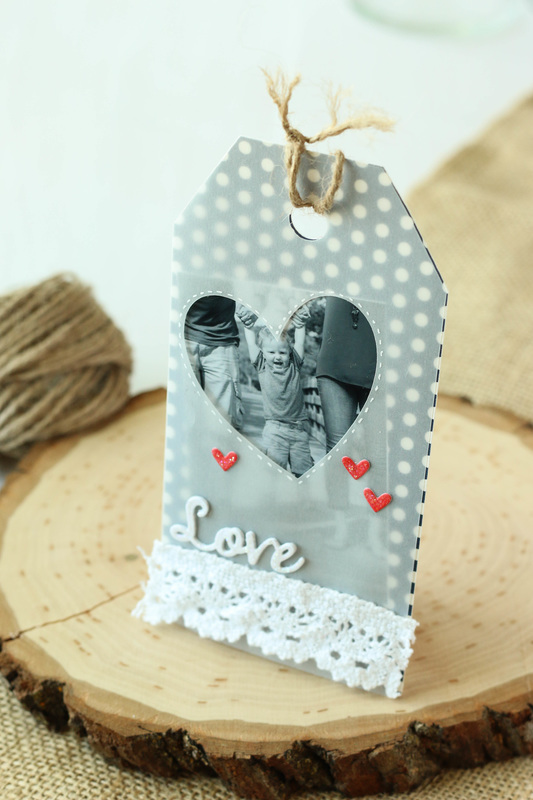
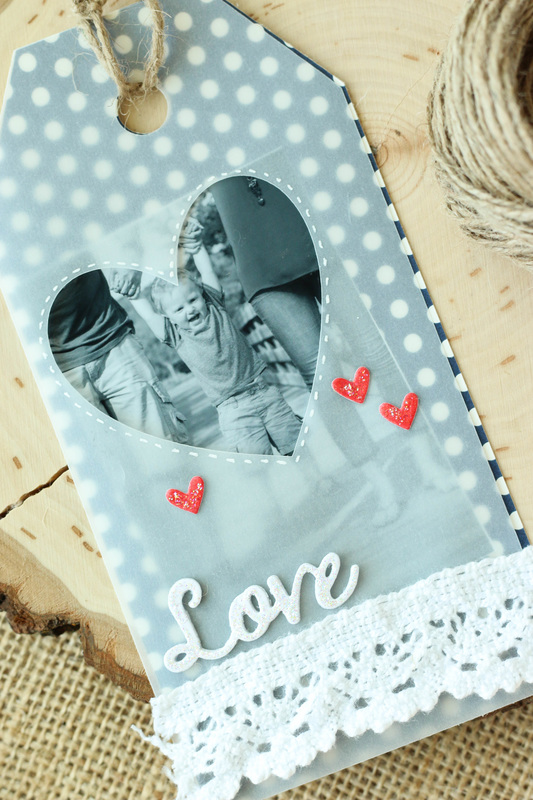
I've been trying to find different ways to combine my love of scrapbooking and cardmaking. I thought I'd put the two together here and use a small, wallet sized photo on this tag.
I first cut the tag out with my Cricut. Then, I cut the exact same tag again, but this time I used vellum and I cut out a heart that would frame my photo underneath. 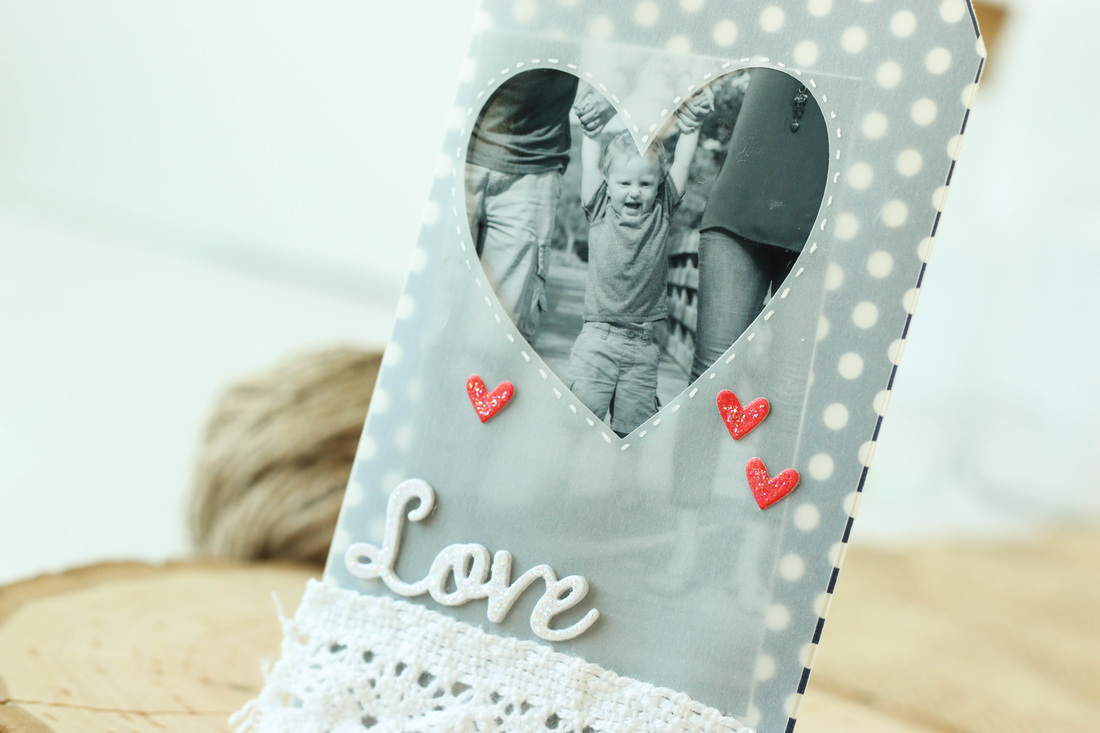
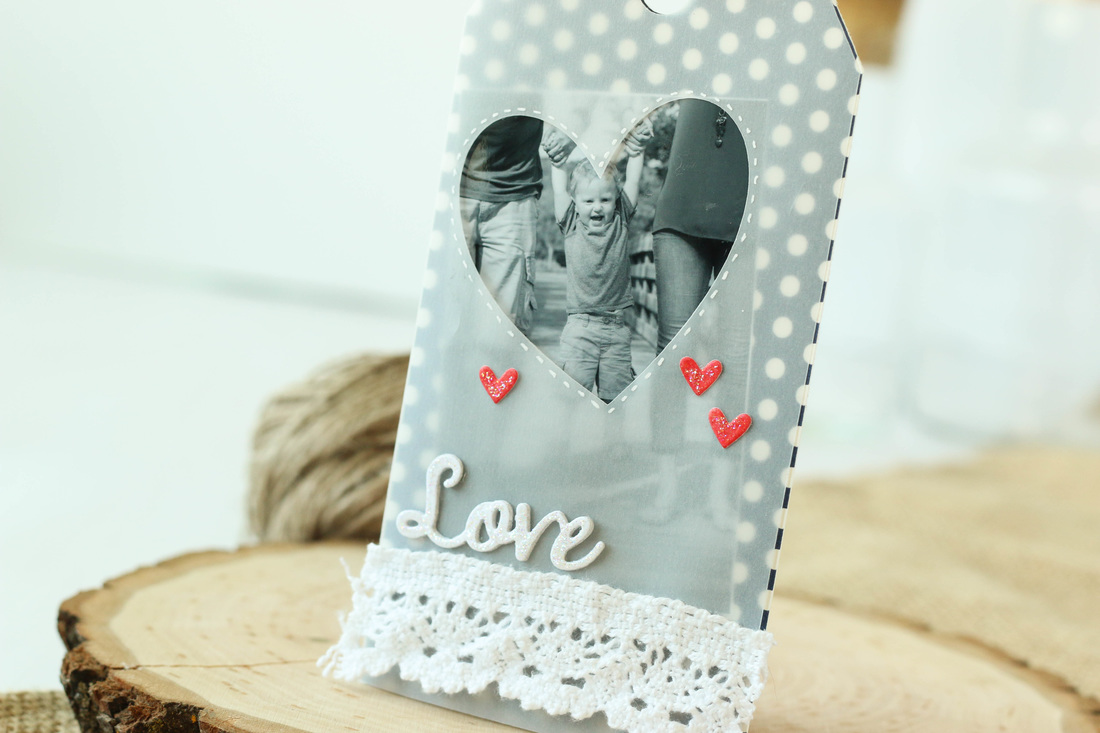
On top of the vellum, I drew some dash lines with a gel pen around the heart. I thought that would help it stand out a bit more.
Then, I used my Sizzix to cut out some tiny hearts that are colored with Barn Door Distress Ink, and a "love" sentiment. I cut the word "love" 3 times and then glued them together, giving it more dimension. Then I just glued on my die cuts and a bit of ribbon to the front. So easy! I am thinking about using this tag as a bookmark in my Bible. I can also write a note or memory on the backside of the tag so I can always remember when and where the photo was taken. 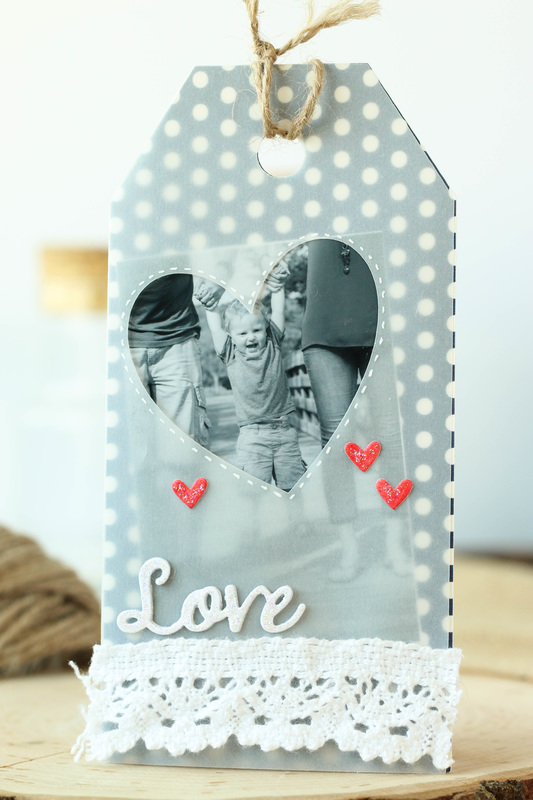
Thanks for stopping by! I added some links below to a few products I used. Enjoy!
|

Pin it!

AuthorSo glad you found me! This blog is my little space where I can share bits about my life and my latest crafting projects (mostly handmade cards). My goal is to share, inspire, and to be a positive presence in the creative community. 

Find me on Instagram!Archives
January 2018
Categories
All
Link Love
 

|


 RSS Feed
