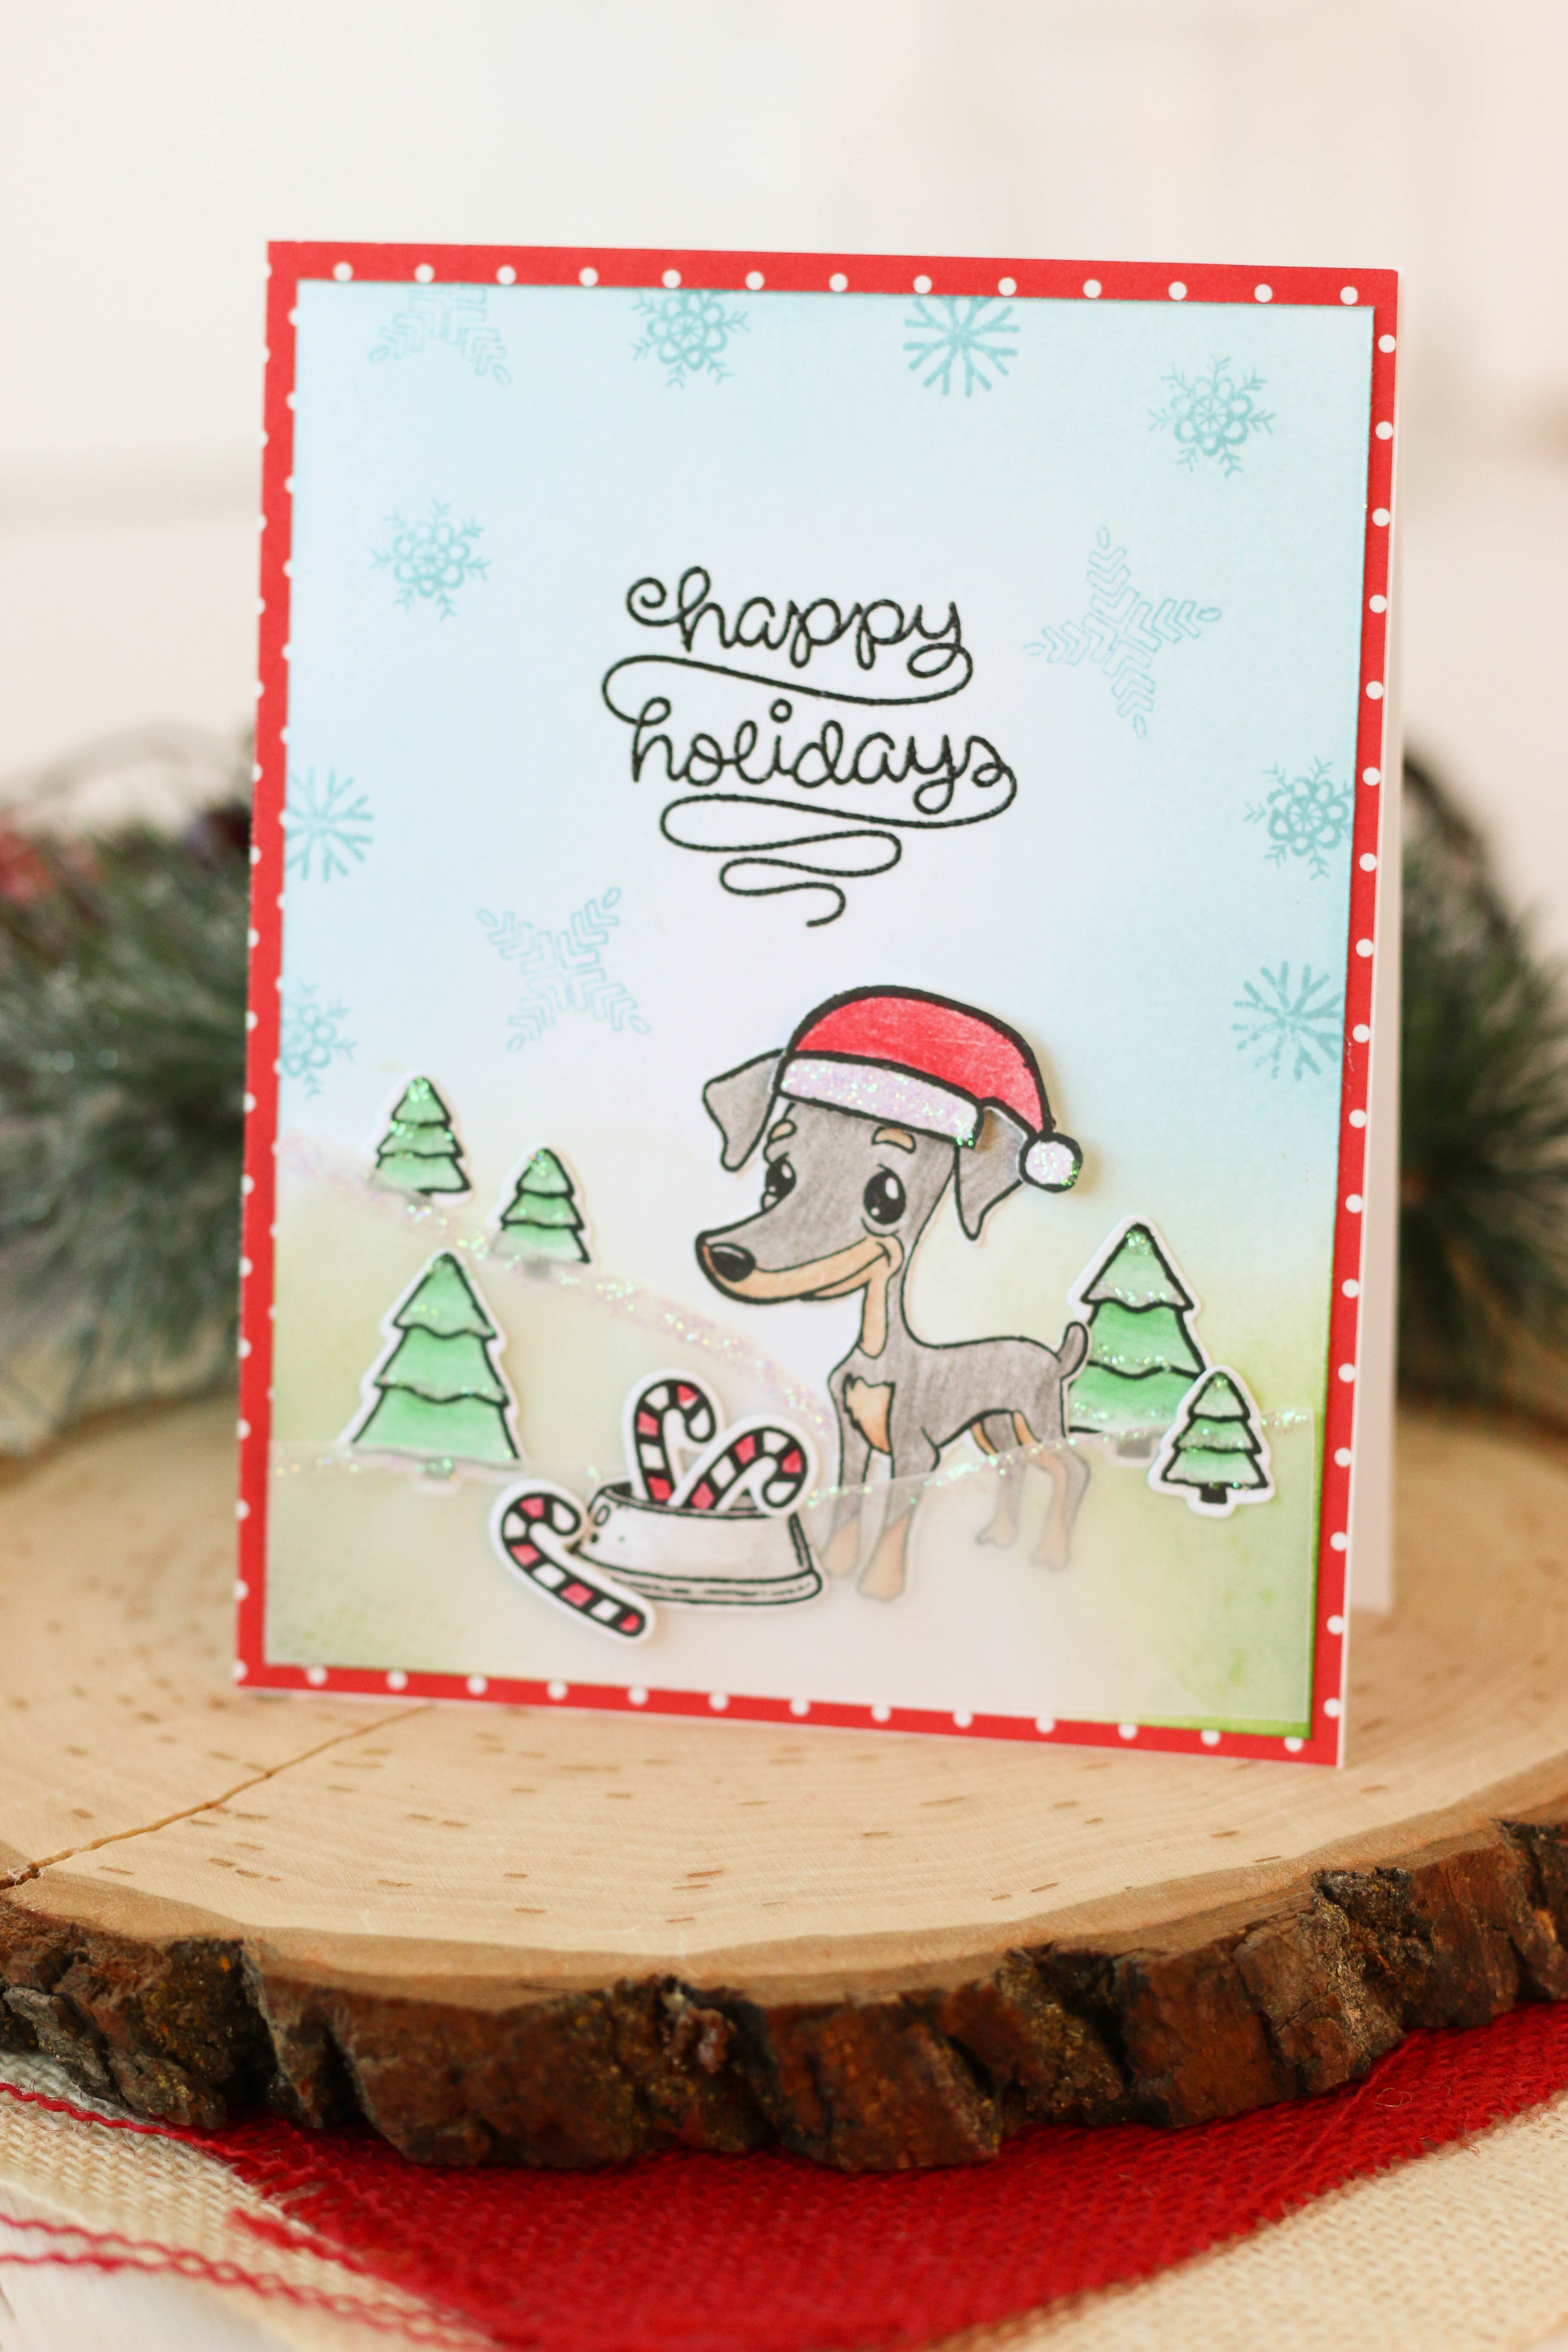
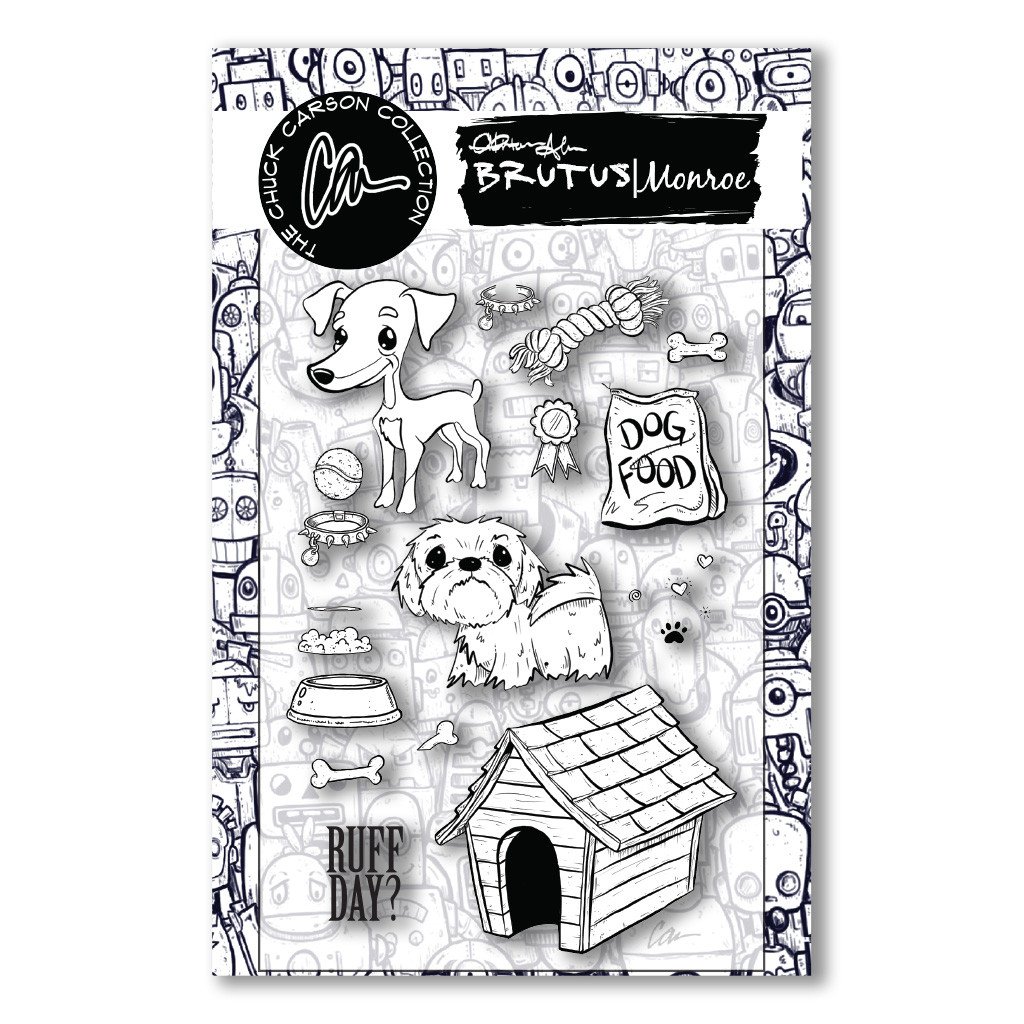
I have had so much fun being on the Brutus Monroe Inspiration Team lately! This little stamp set that I used for this card is the Brutus and Friends stamp set. Its full of fun images of Brutus the dog and some accessories for him.
I created a light background on this card with some Distress Inks. Then I stamped some snowflakes on the background using another Brutus Monroe stamp set, Oh, Deer! After that, I stamped some cute little trees and adhered them on behind some torn vellum to make it look like a snowy winter scene. Then, I stamped out Brutus and his dog dish. To fill his dish with candy canes, I took the candy cane stamp from Lawn Fawn's Love You A Latte stamp set. I also used this stamp set for the sentiment on this card. Lastly, I stamped a santa hat, cut it out, and adhered it onto Brutus using some foam adhesive. All I needed to do to finish the card was add some Stickles for glitter! 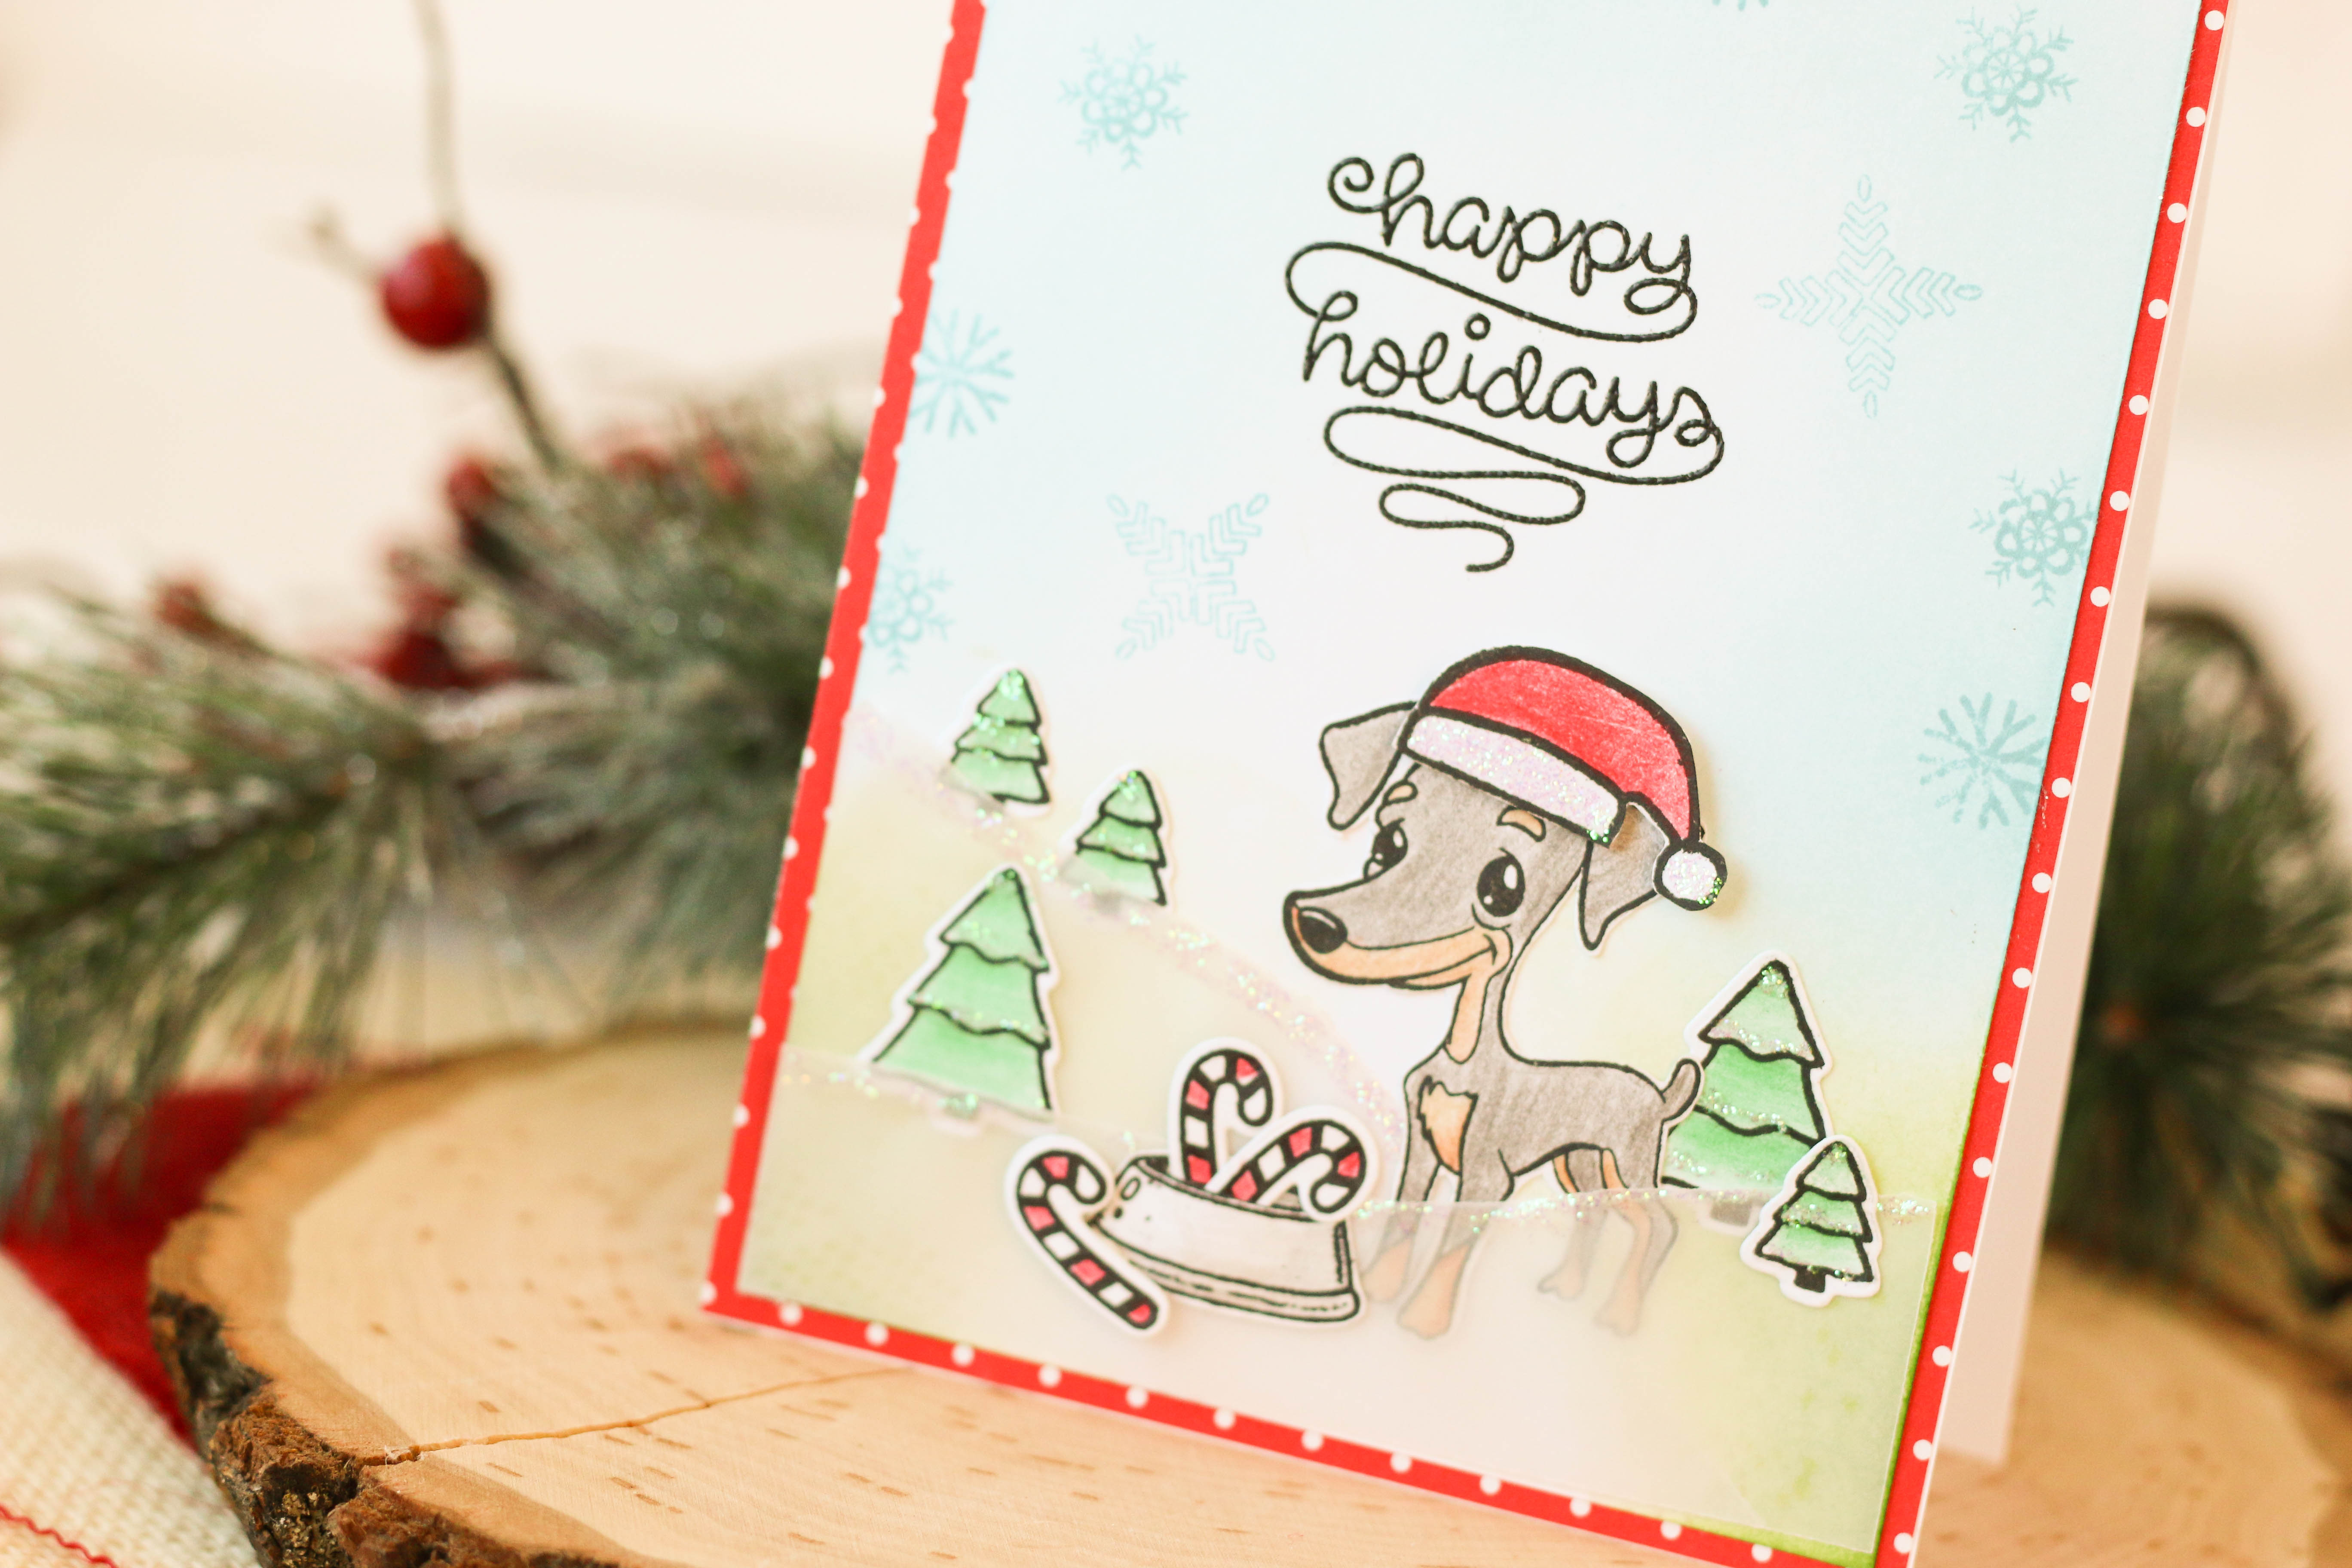
Hope this inspires you to try to create some fun winter scenes on your own cards! Happy Holidays!!
I'm also linking this card up with: Simon Says Stamp's Monday Challenge! Simon Says Stamp's Wednesday Challenge! SSS Work It Wednesday! If you are interested in a few products I used, follow the links below!
1 Comment
Christmas is coming soon, and as much as we crafters and DIY-ers love to make our own home decor, lets not forget about our kids!
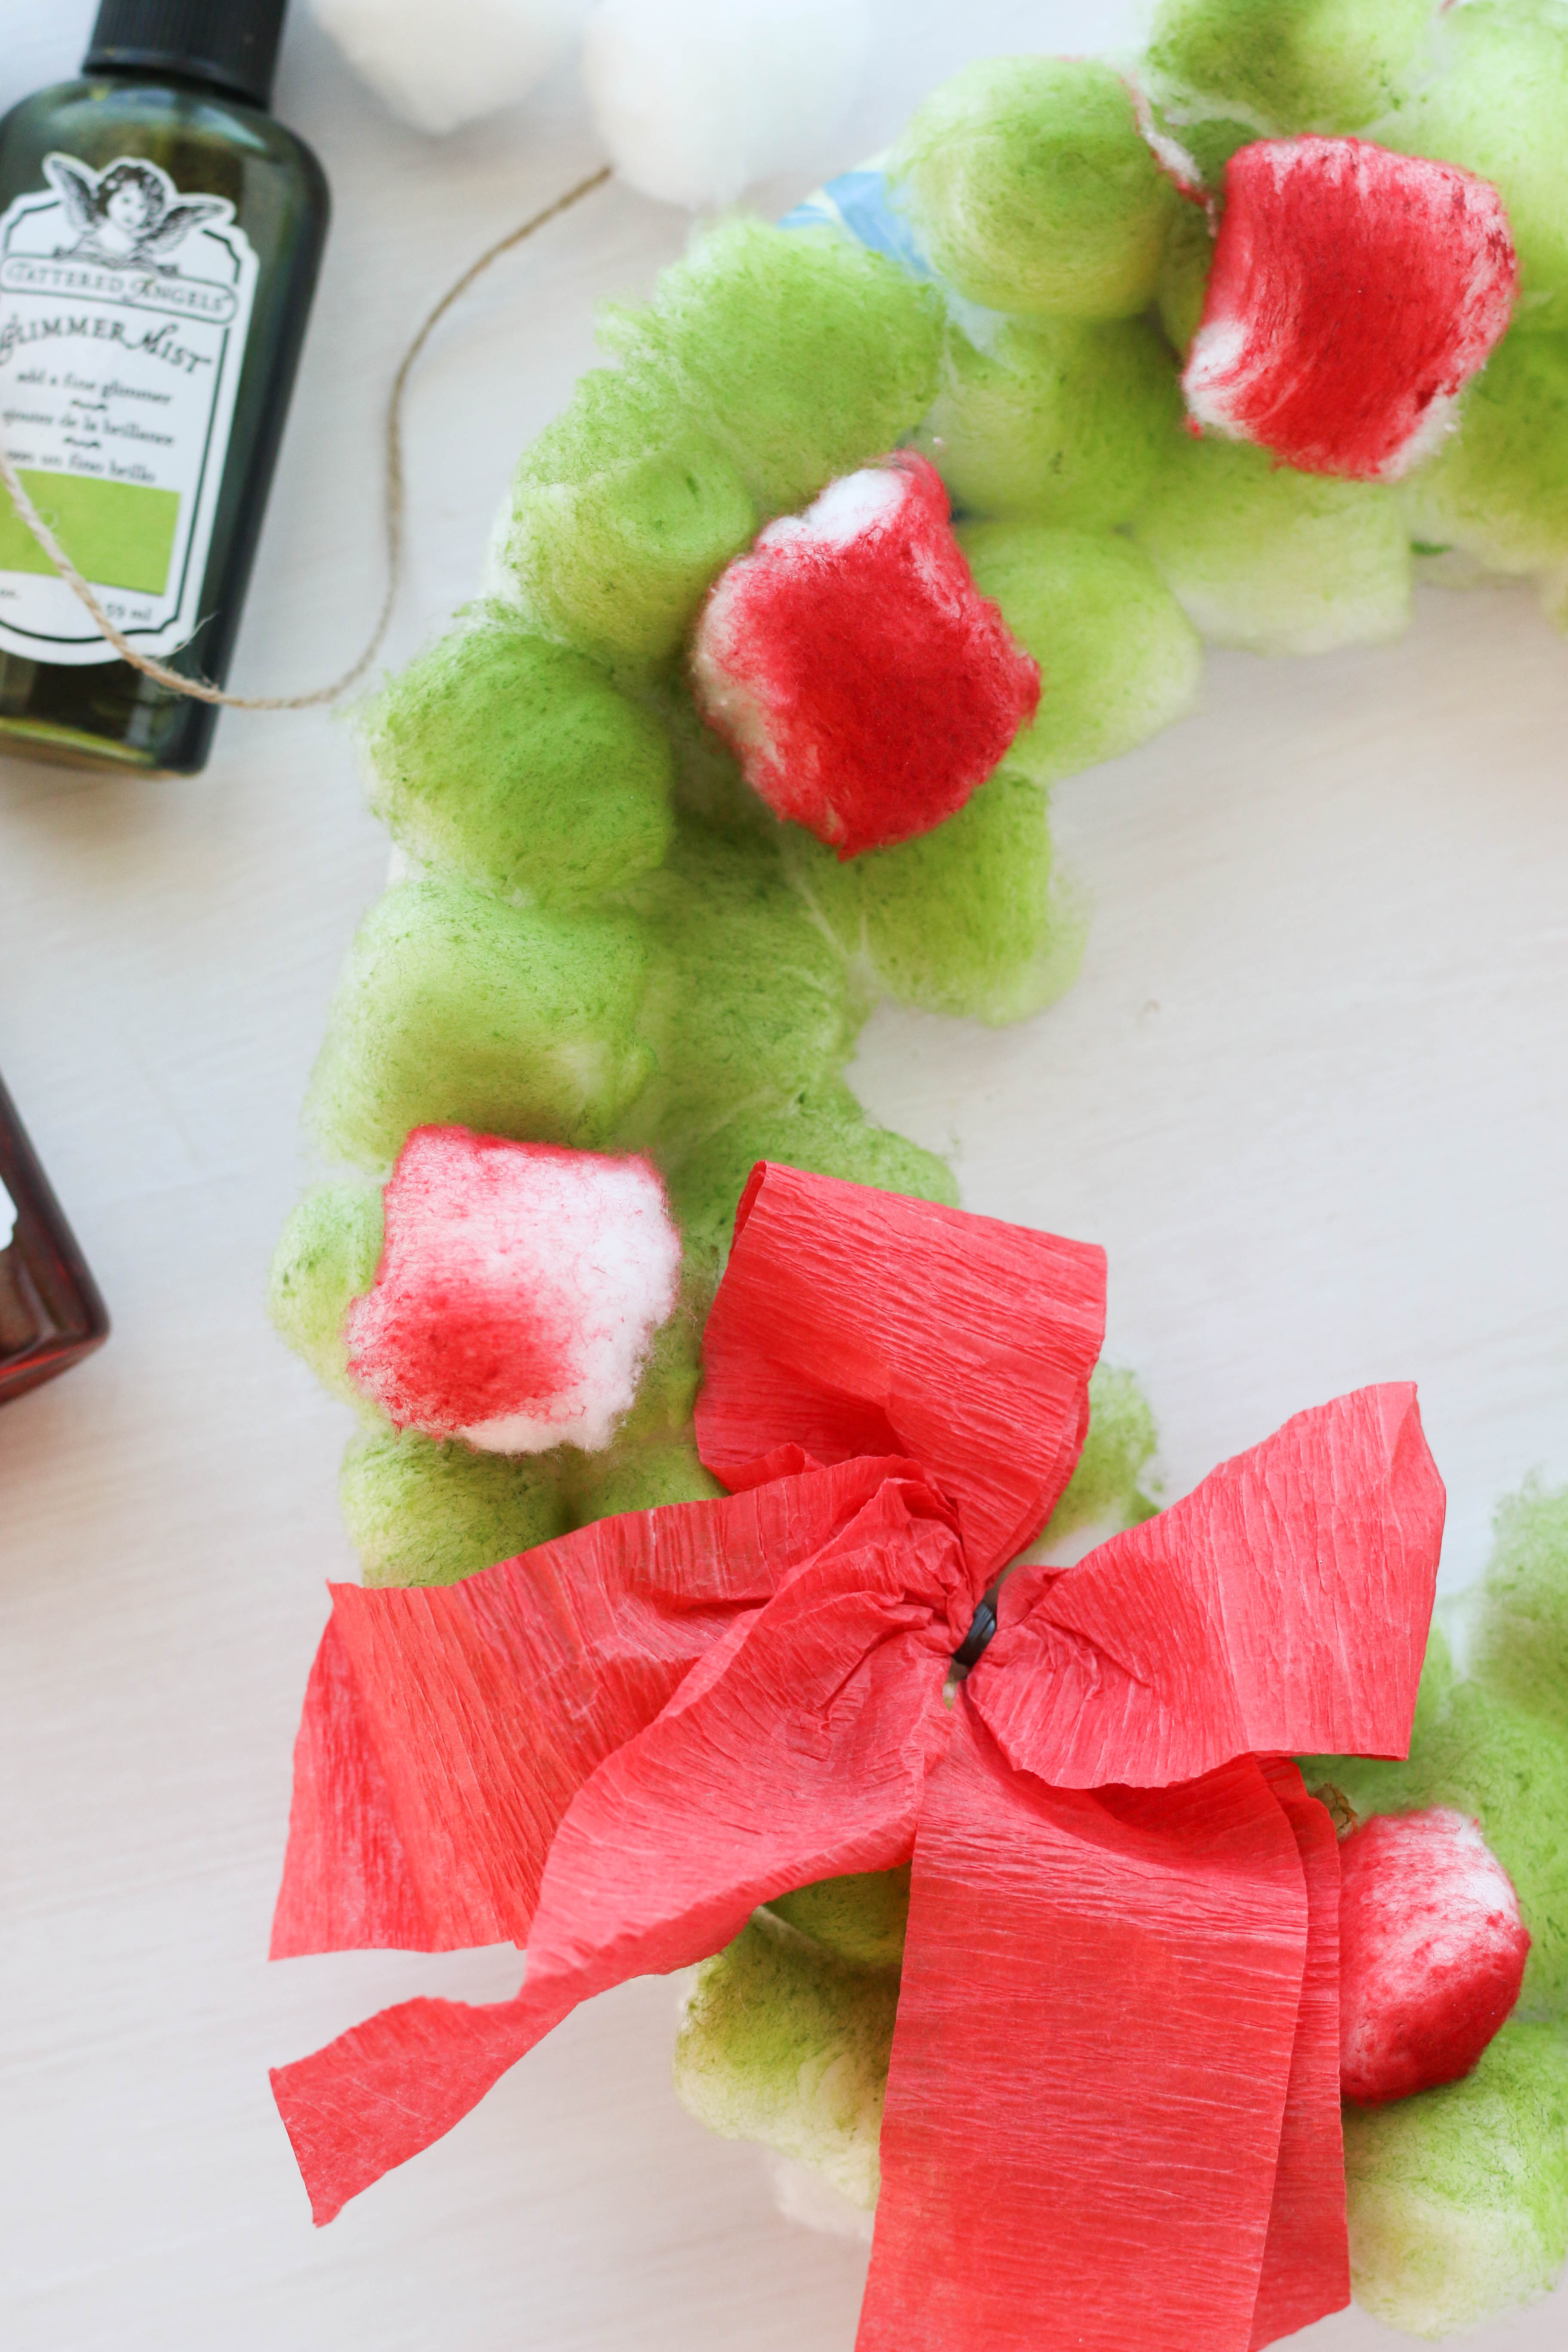
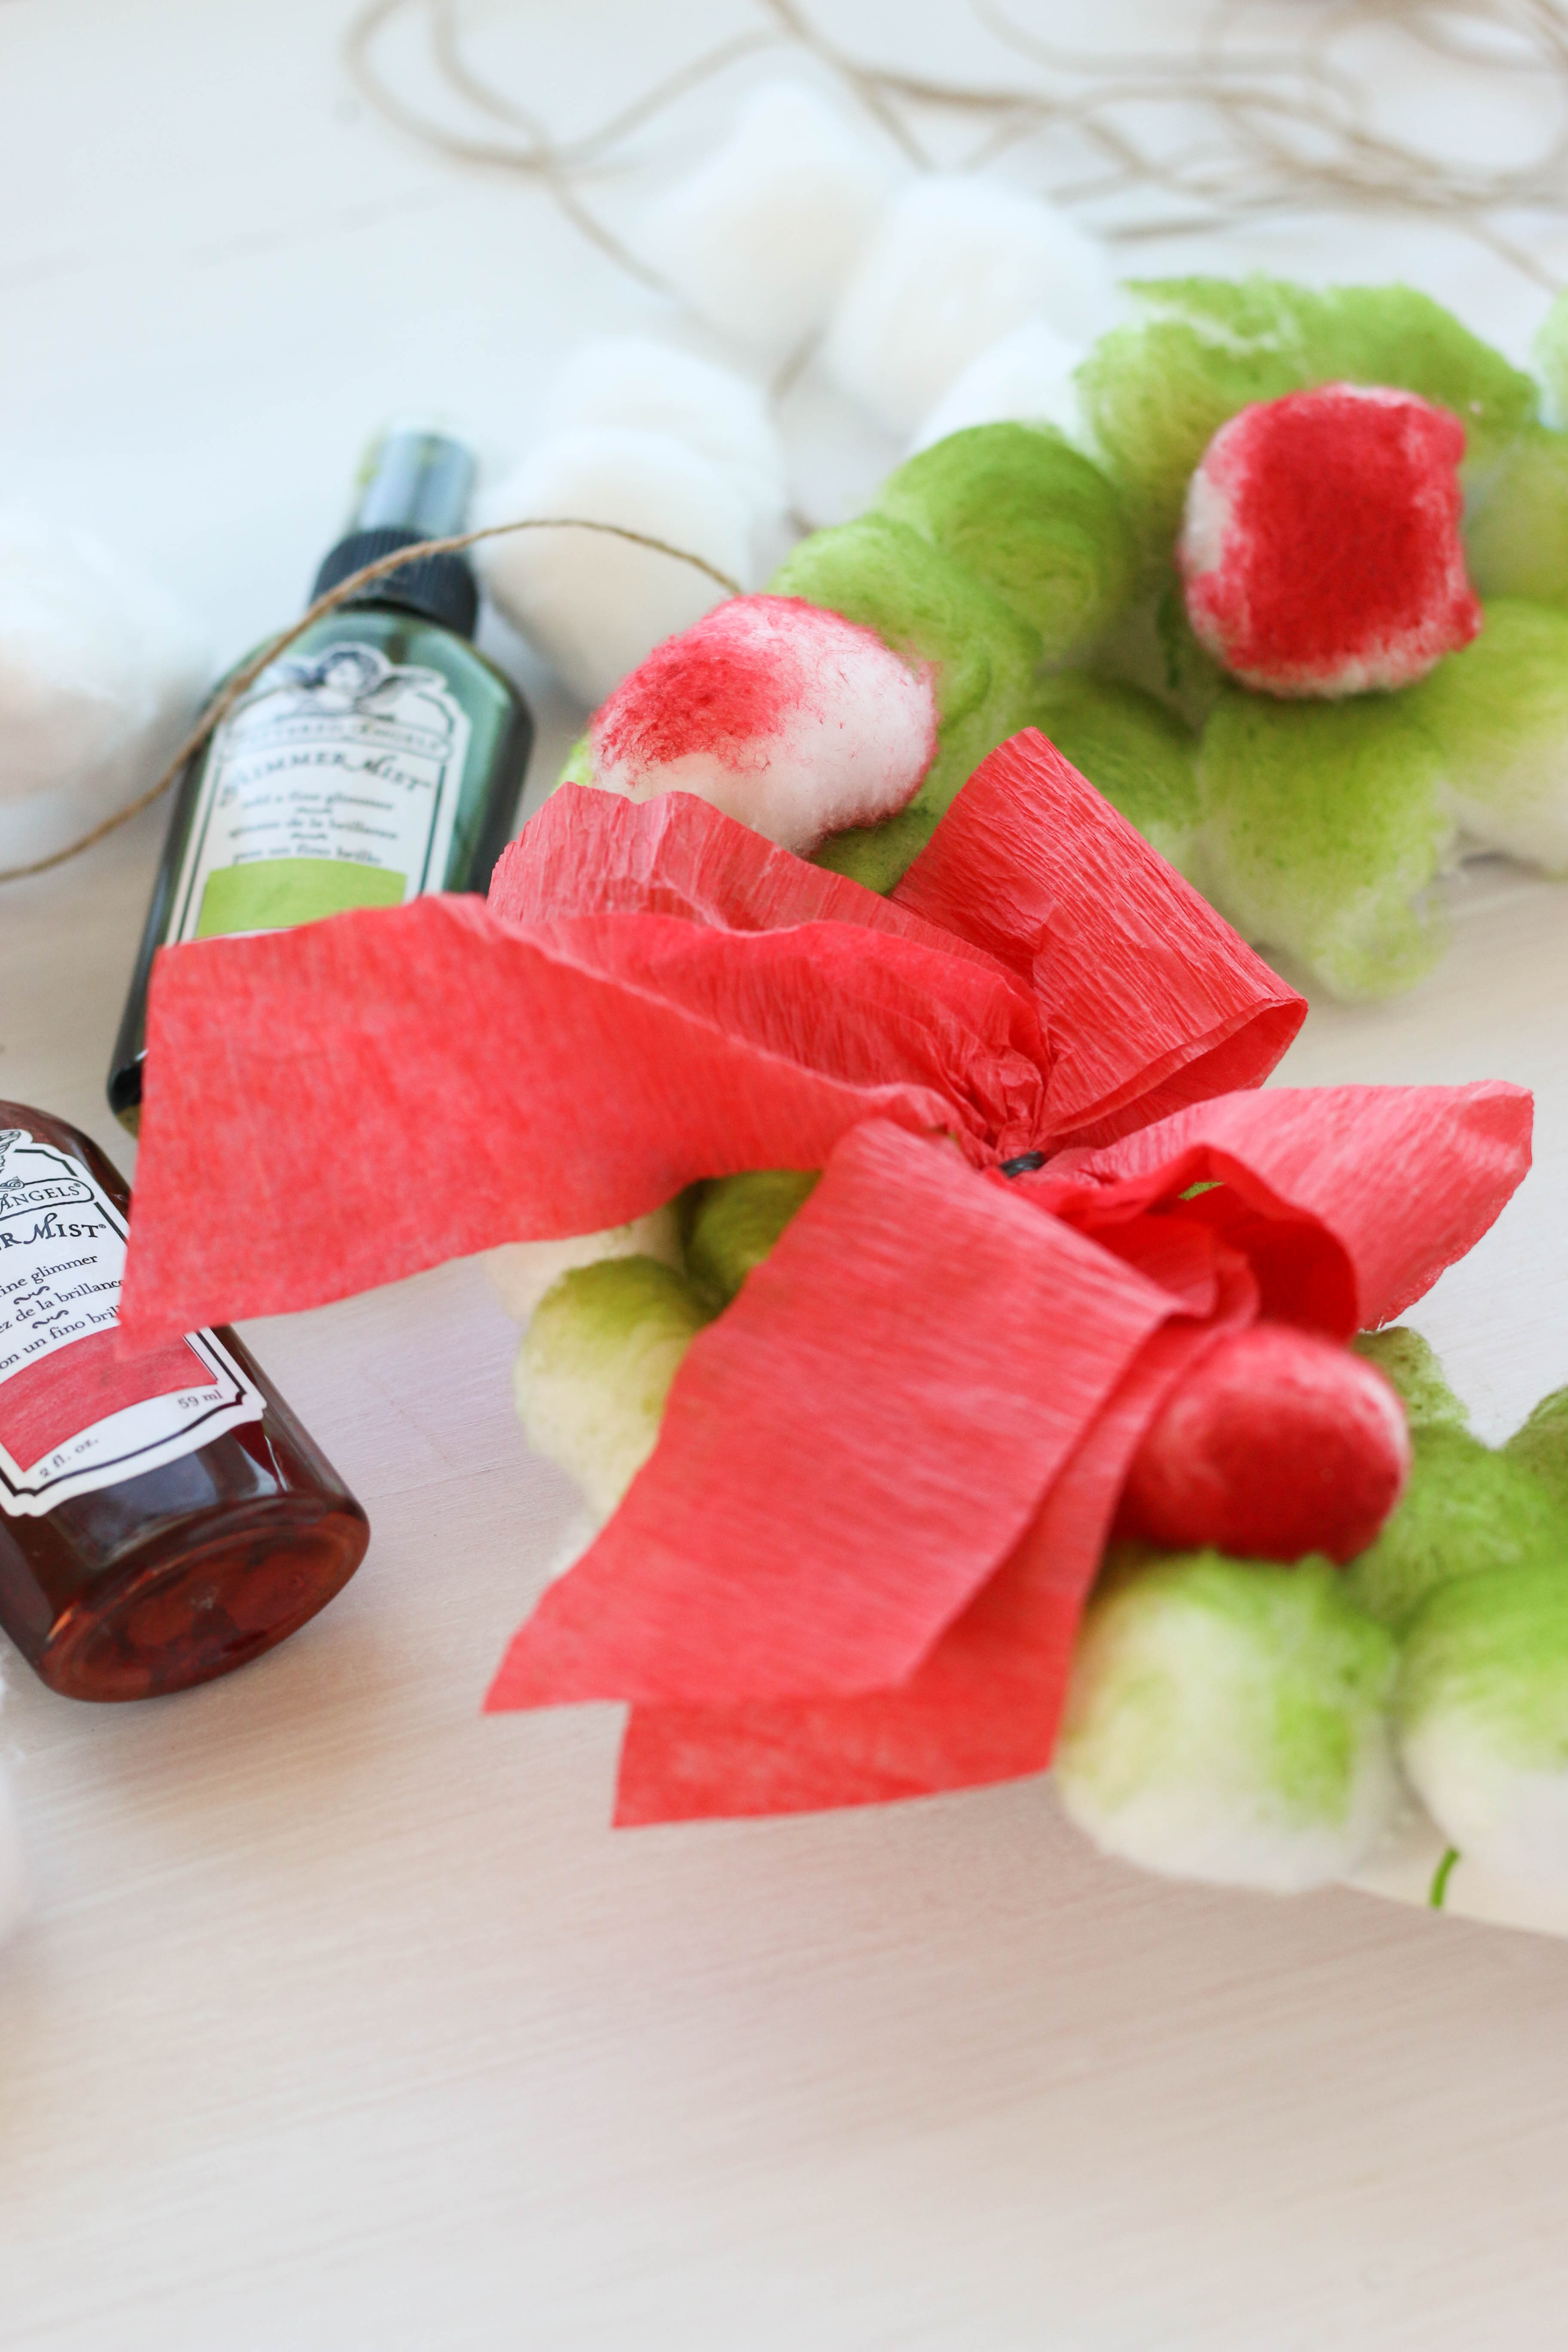
My toddler is getting to where he is curious about my craft room and the things in there. Doesn't bother me a bit! I think its fun when we can do a craft together, especially on a day that we are stuck inside. This project is super simple and you probably have most of these inexpensive items on hand already. All you need is: A paper plate Cotton balls Glue (I used Aleene's) Tattered Angels Glimmer Mist A box, towel, or some other kind of table covering Ribbon and embellishments String or cord 
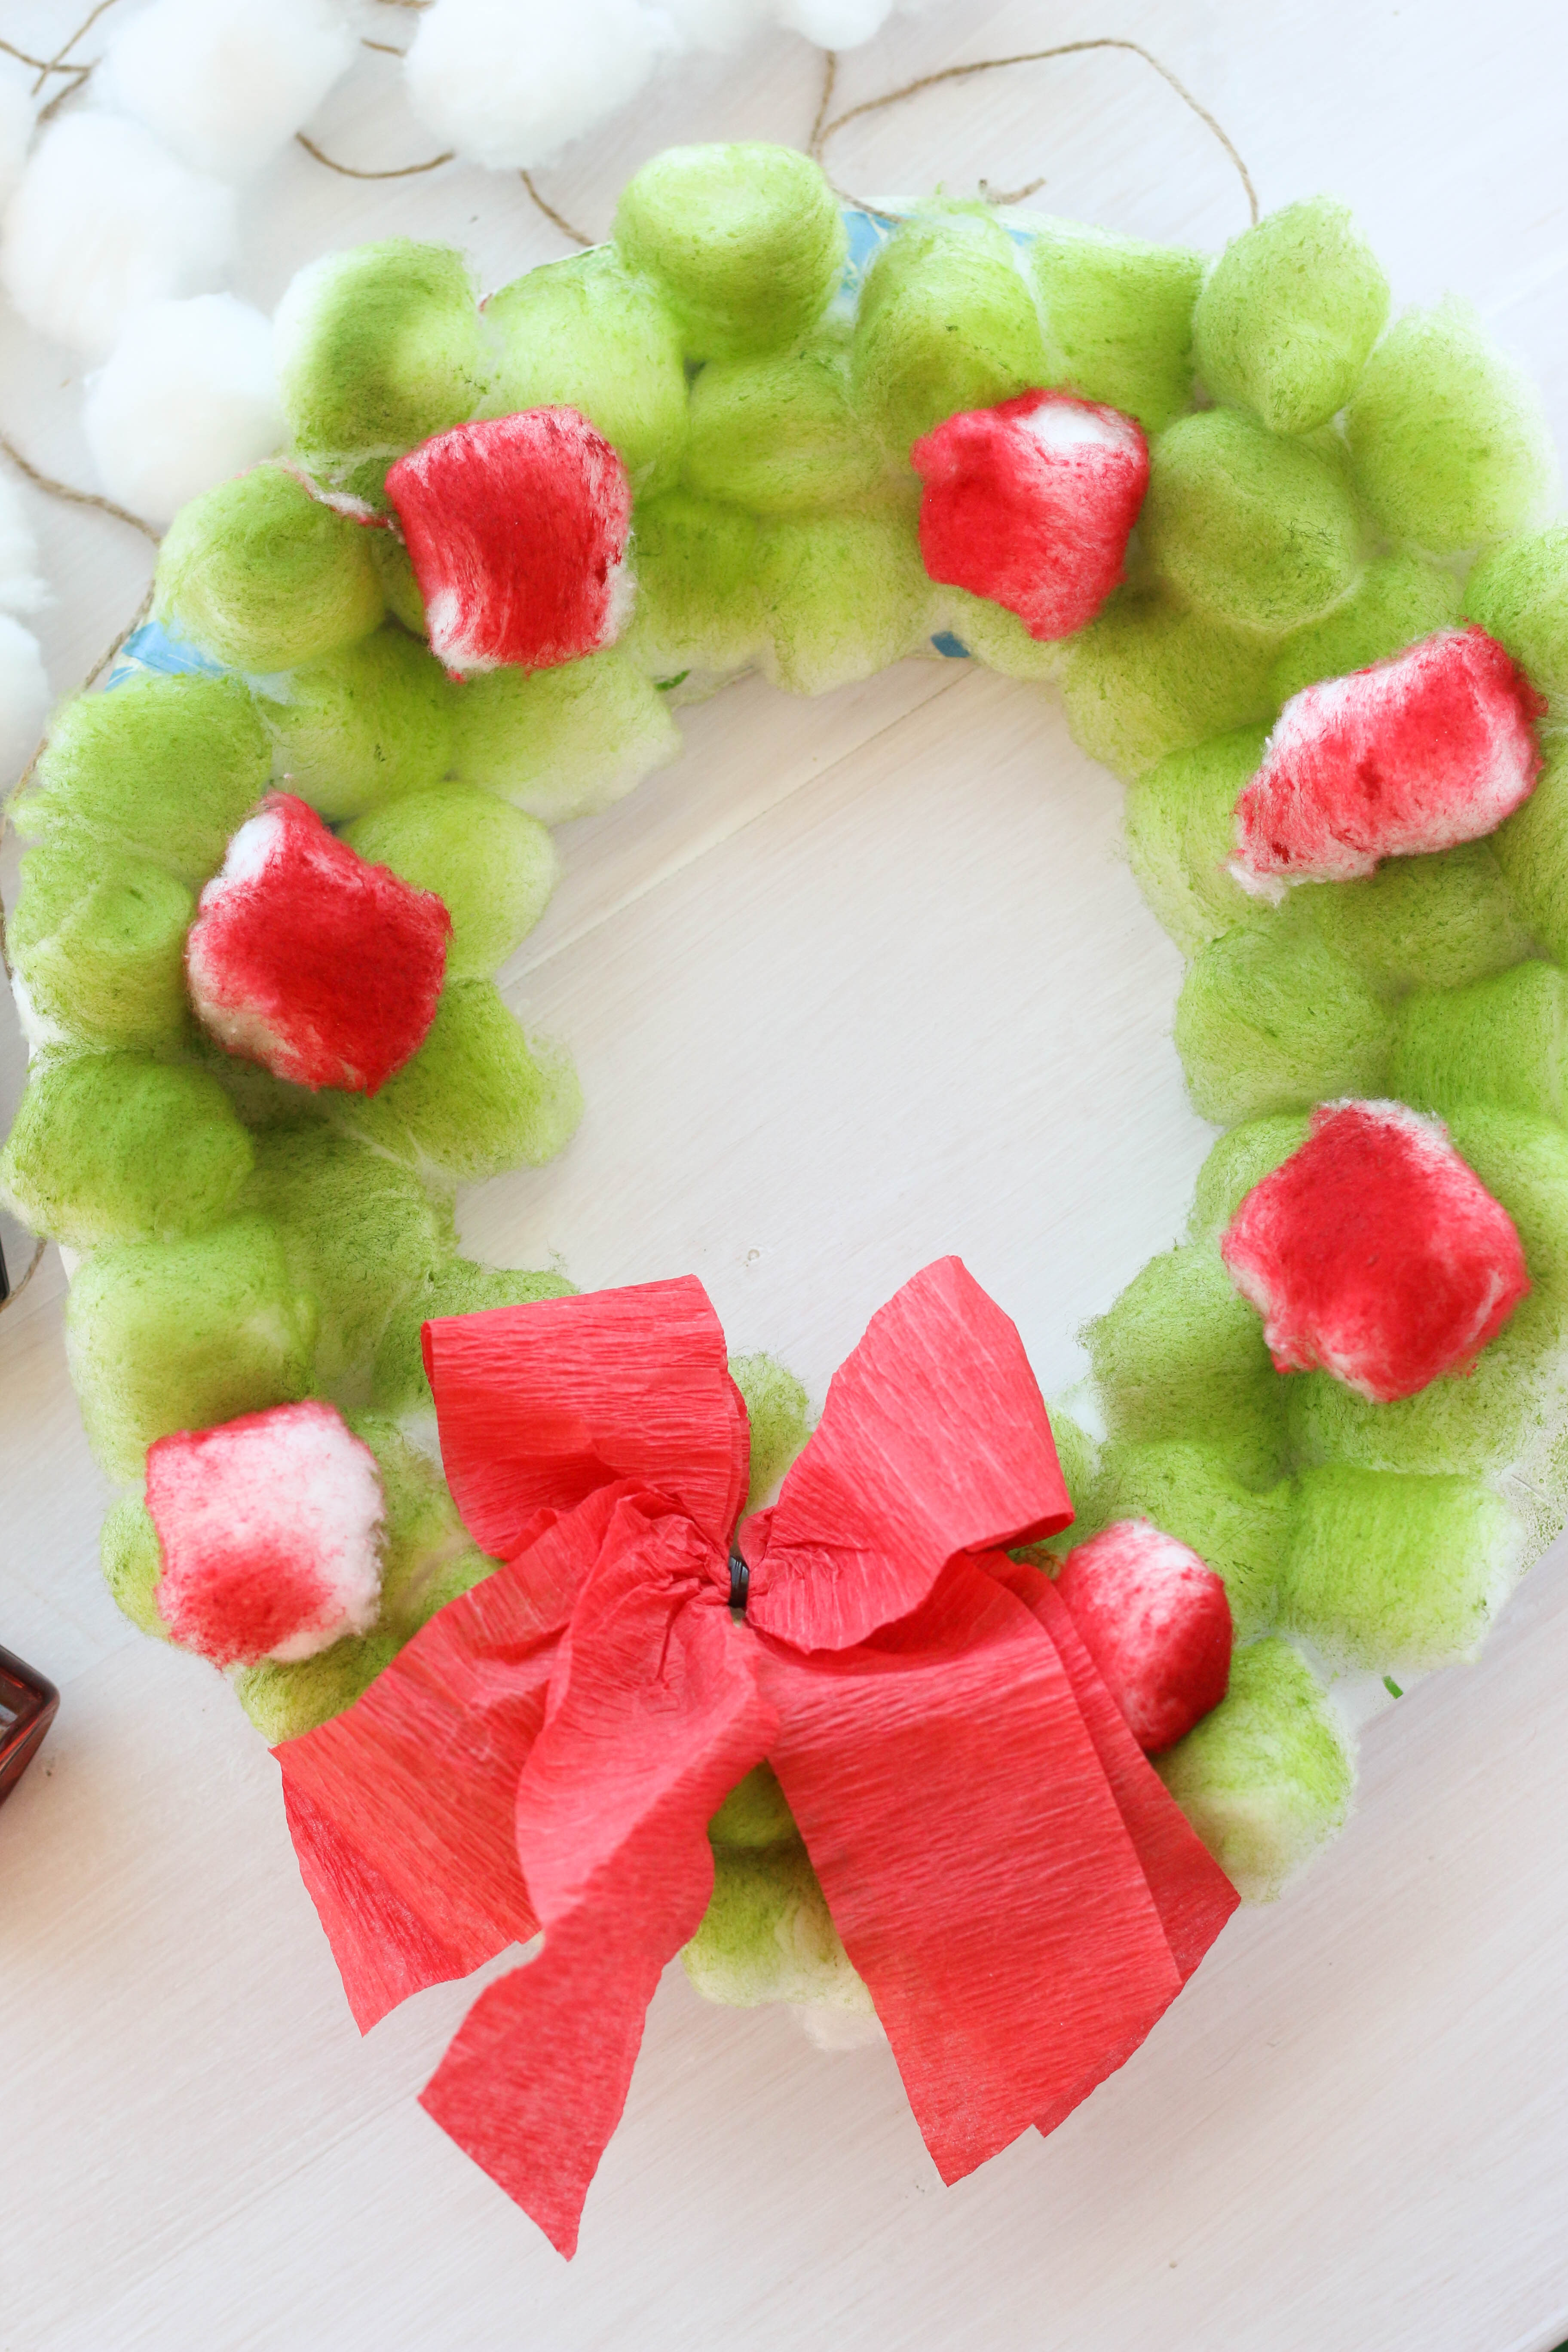
Start by cutting a hole out of the center of the paper plate. Dont worry about making a perfect circle, you wont see it anyway after the cotton balls are glued on. After your plate center is cut out, glue on the cotton balls to completely cover the surface of the plate. Now comes the fun part! Spraying! I took a cardboard box to place our wreath in to contain the spray, but you could use an old towel, some kraft paper to cover your table, or even take it outside to spray. Go ahead and spray all over your cotton balls in any color you wish. I used Moss Glimmer Mist. I also sprayed a few single cotton balls using Lobster Glimmer Mist because I wanted to glue them on to look like berries. 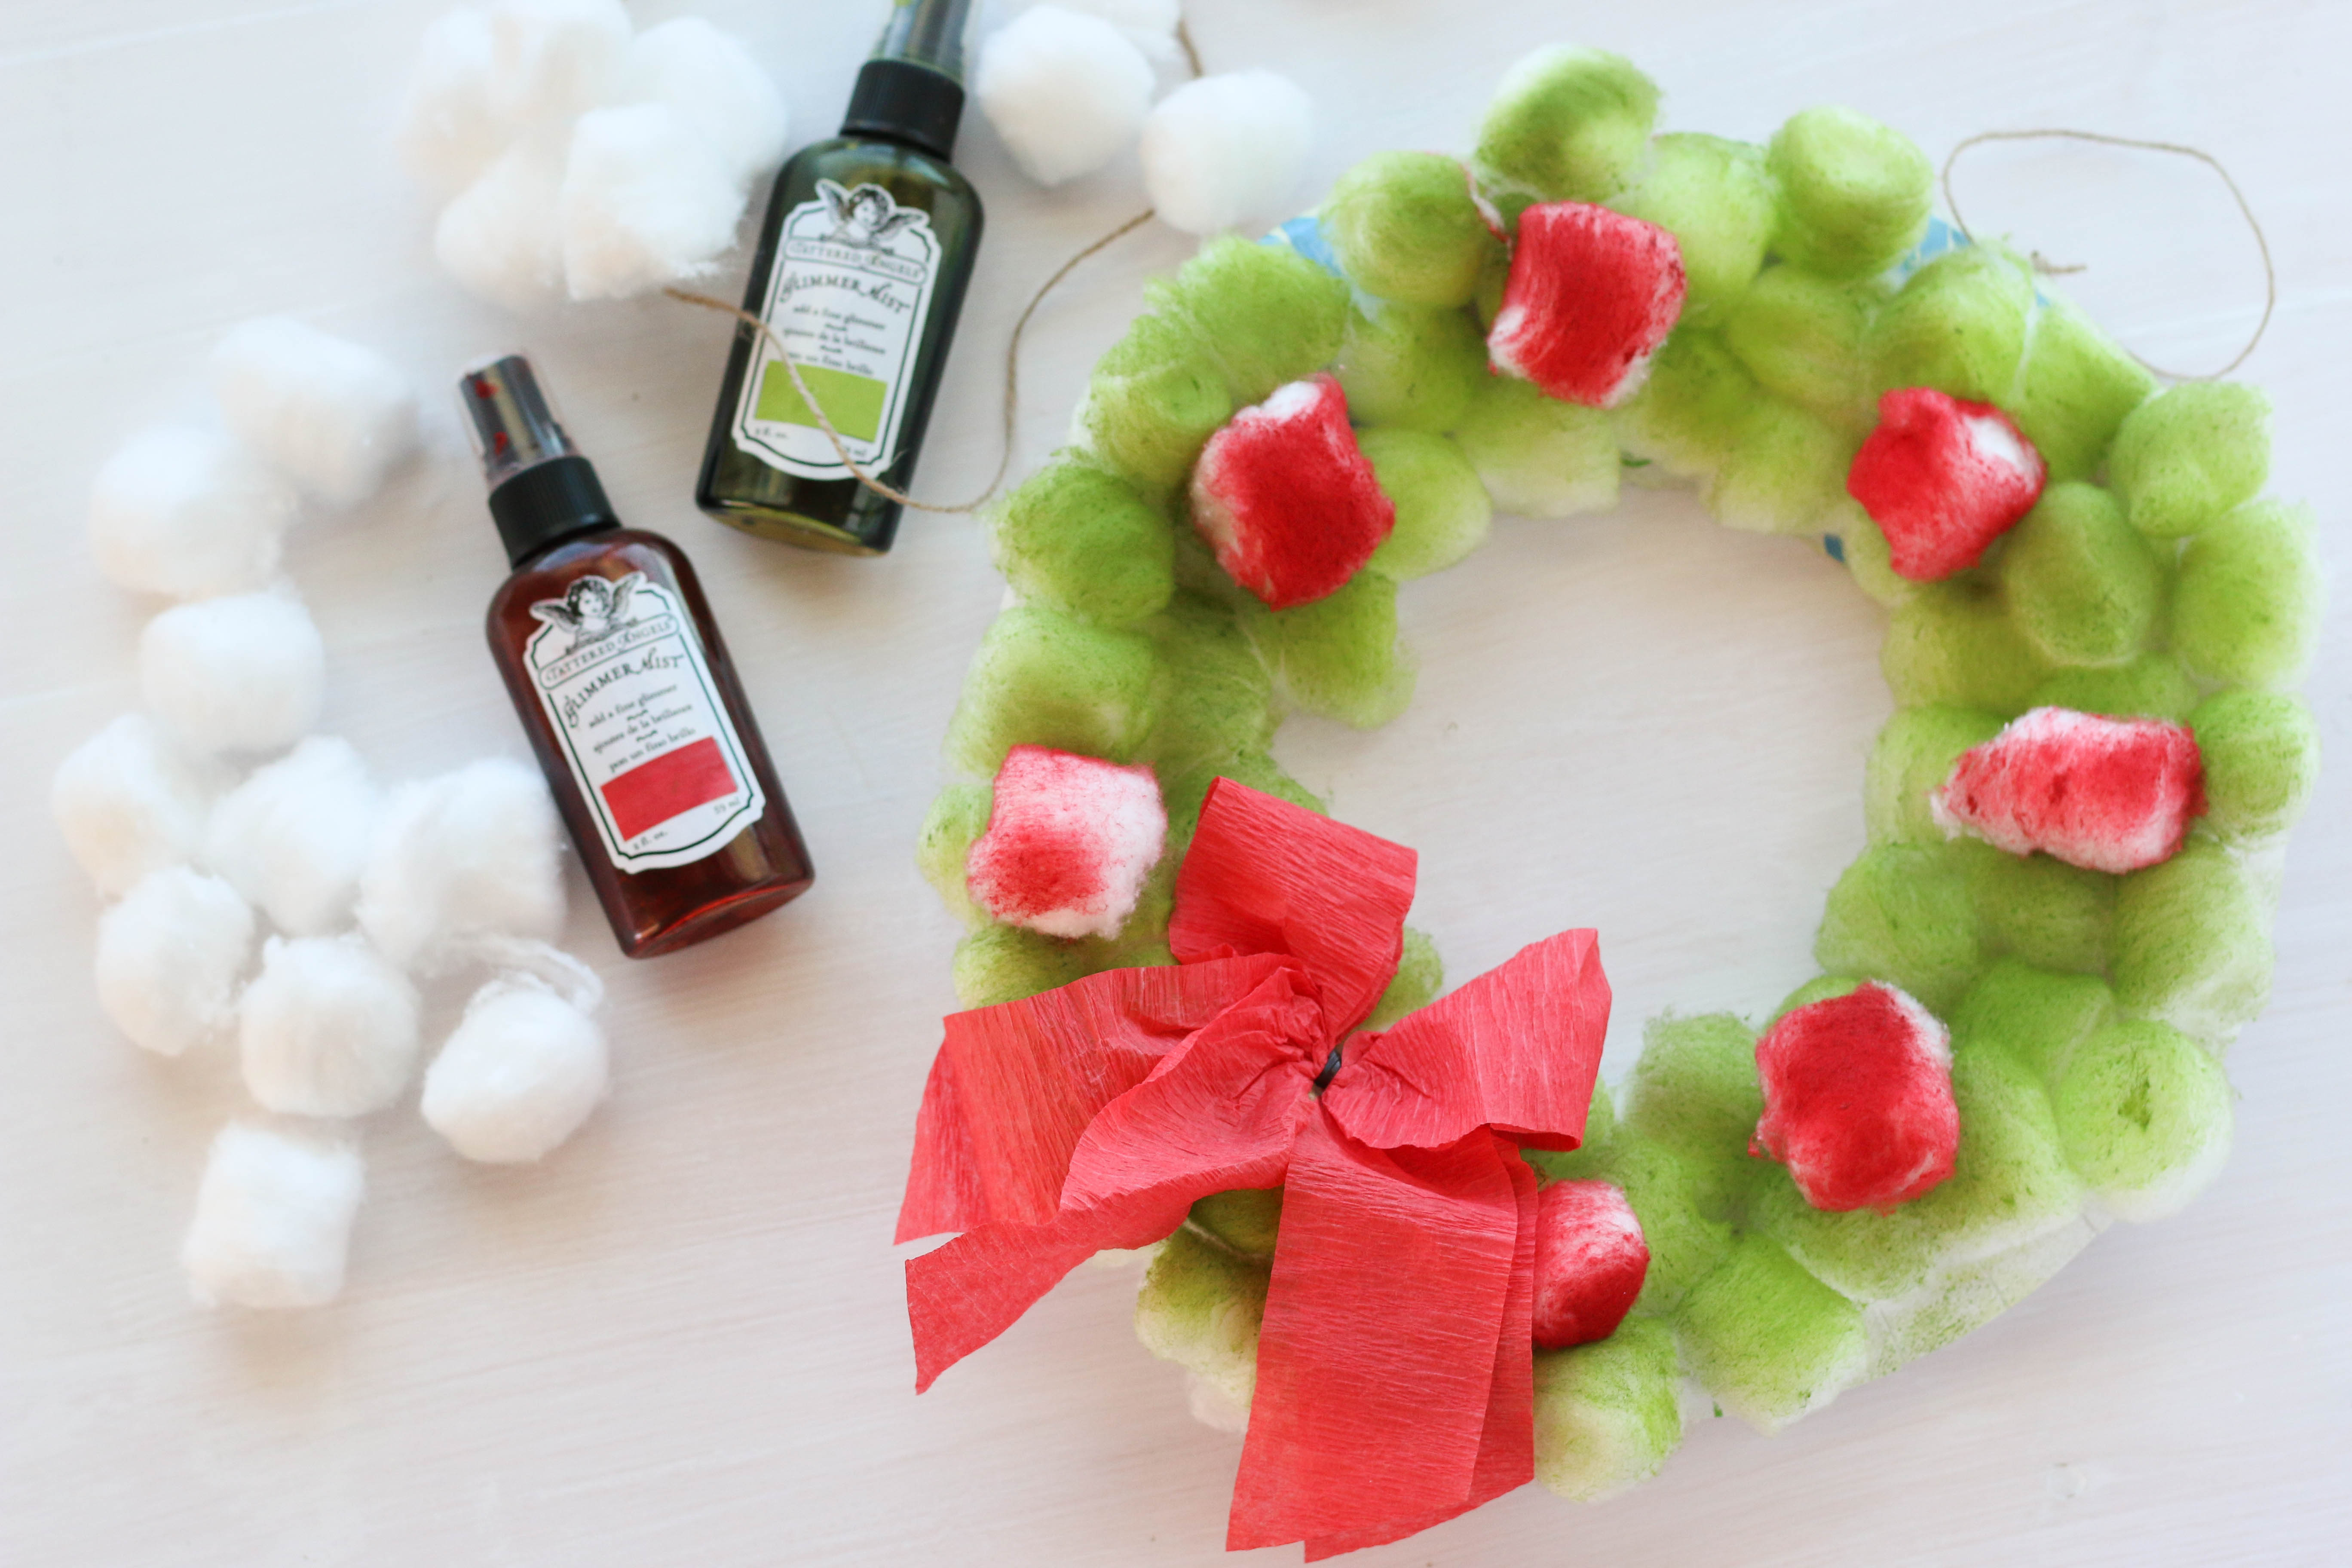
Now, I will warn you, the cotton balls take a little time to dry. They are meant to suck up moisture so go ahead and spray them, let them dry, and come back later to finish!
I glued on the red cotton balls around the wreath and then took some red crepe paper to create a bow for the bottom. Then, all you need to do is punch a hole in the top of the paper plate and add a string to hang it by! Super easy and its something the kids will enjoy! You can get creative with the different embellishments you put on the wreath. Try glittery ribbon, little Christmas bells, leaves, and anything else you have on hand! The kids will love using their creativity! I think it would also be fun to add a photo in the middle and give it to the grandparents. Grandparents love this kind of thing, right?? I did take a video of the process while I was doing this craft with my son. My toddler is almost two, and this is totally appropriate for his age but you can also use it for older kids as well! With a little help with the glue and the spraying my son had no problems doing this (other than just being distracted by all the other cool toys in Mommy's craft room). Hope you enjoy the video! Thanks for stopping by today! I hope this gives you some fun ideas you can do with your kids or in your classroom. Happy Crafting!!! If you are interested in theBrutus Monroe Chalk Ink that I used in the video, I've included a link below: 
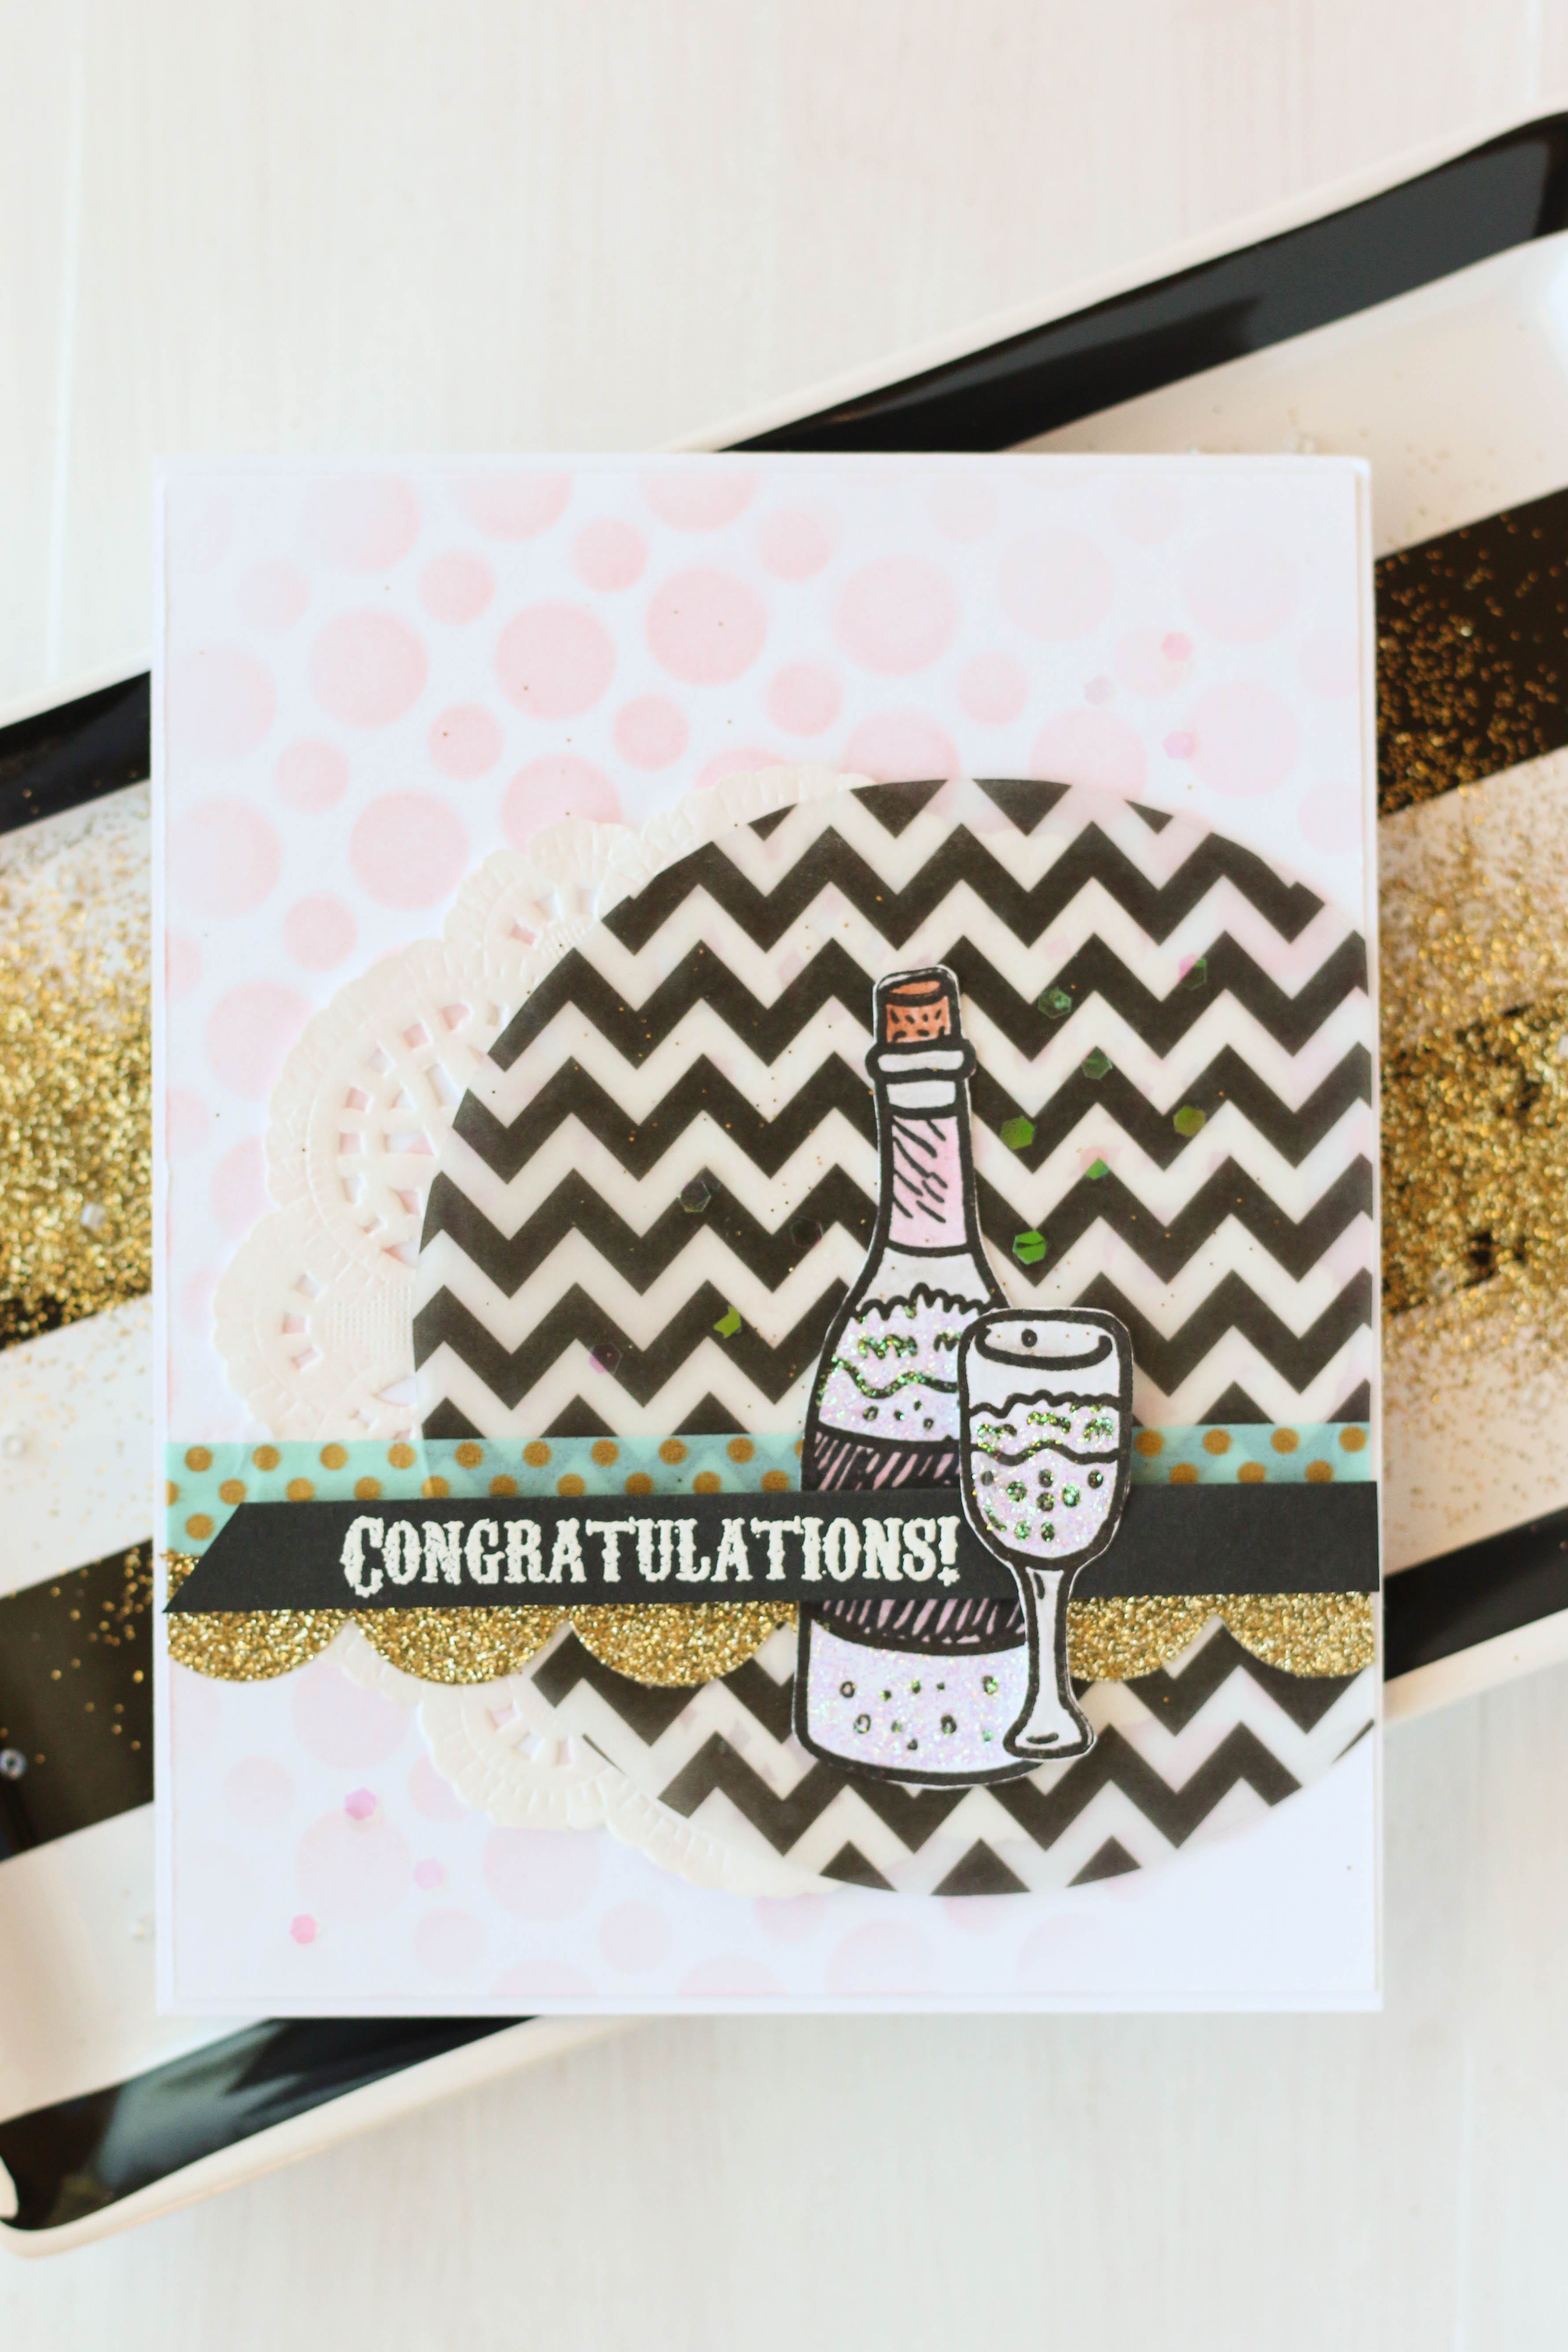
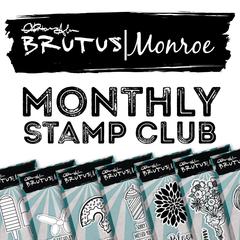
Brutus Monroe offers a great deal with the monthly Stamp Club. Each month, there is a special stamp designed by Christopher Allen and it is totally unique to the stamp club, so it wont be available in the store. December's stamp this year is this fun bottle and glass image.
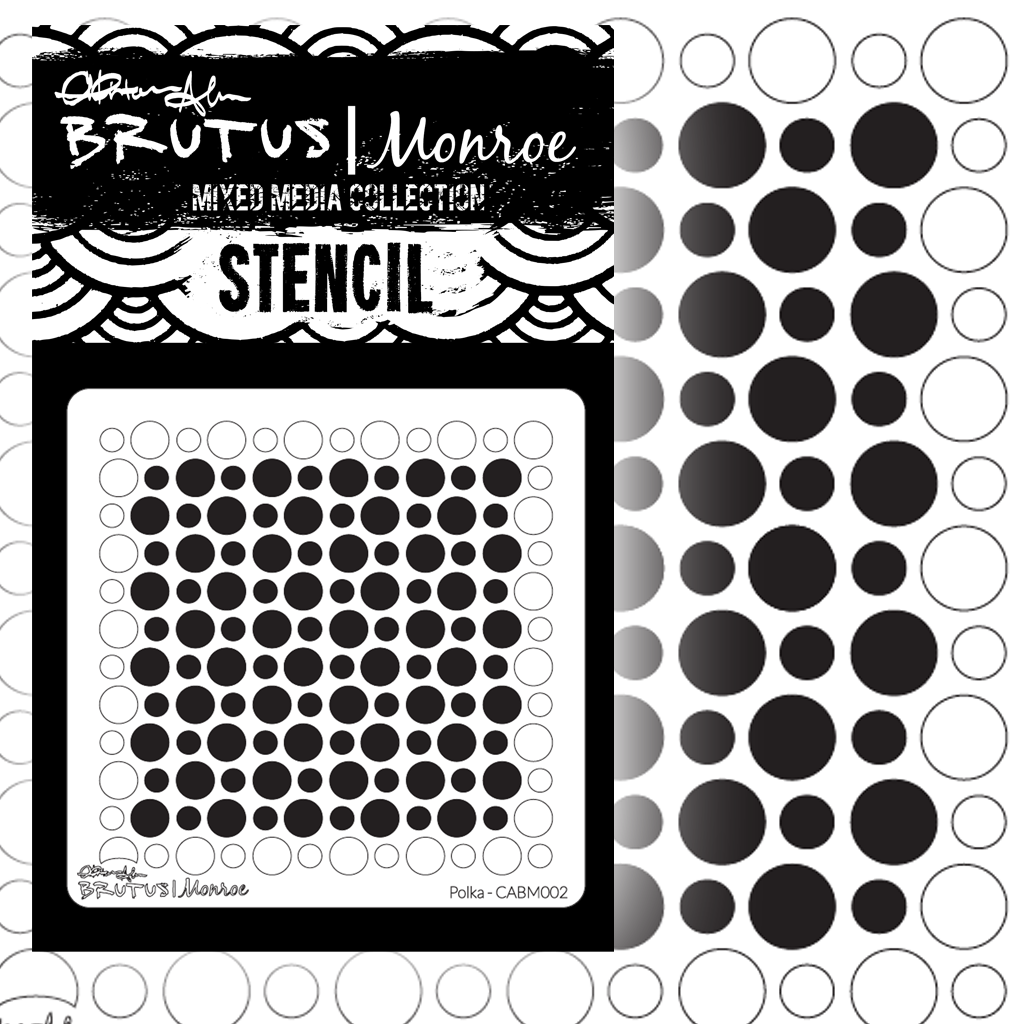
I stamped out the image, fussy cut it out, and set it aside. Then I started building the base of my card. I stenciled some light pink circles on the card base usingBrutus Monroe's Polka Mixed Media Stencil. I thought the circles kind of looked like bubbles. I then cut out a large circle from a chevron piece of vellum paper and layered it off to the side with a paper doily behind it. Then I added some fun washi tape. The gold tape I ran through my Sizzix with my Scalloped Border Die from Lawn Fawn. 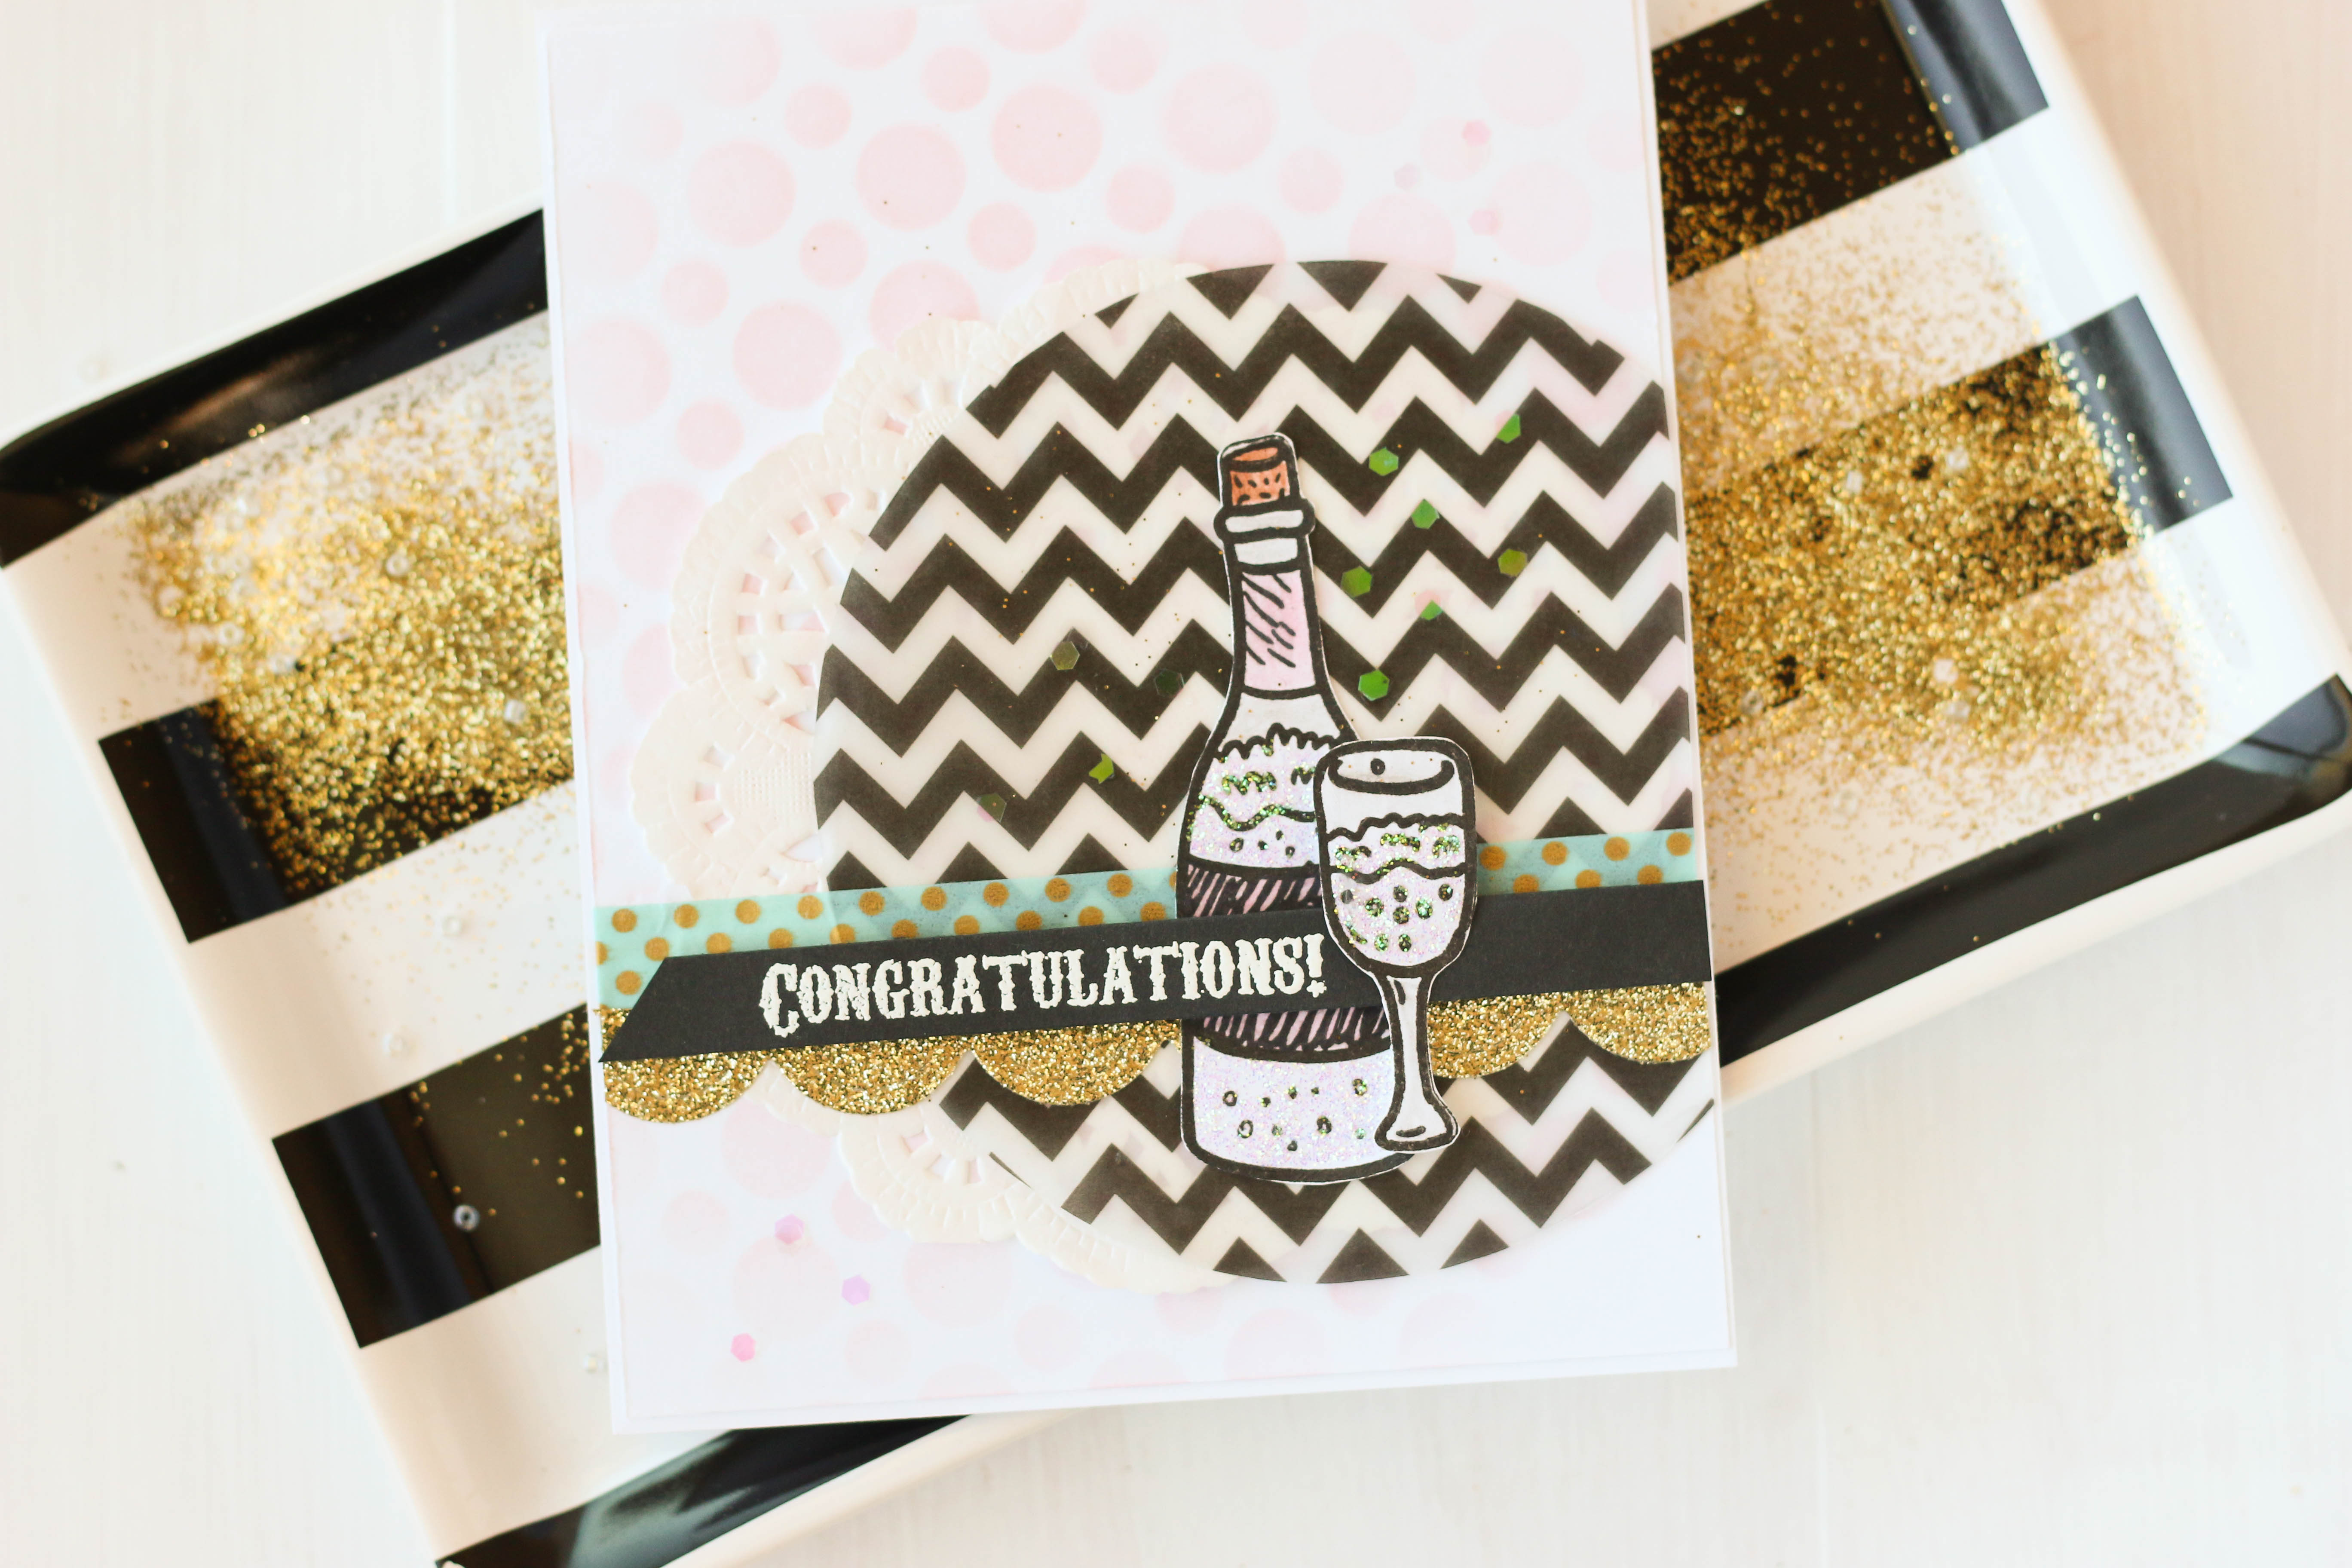
I then adhered the bottle down over the washi tape. I stamped the word "congrats" on a thin piece of black cardstock, and embossed it in white. I stuck it down over the bottle using a few pieces of foam adhesive to give it some dimension. Then, I added the glass off to the side and over the sentiment strip, again using some foam adhesive.
The very last thing I did was add some tiny pieces of iridescent glitter to the background, and I also added some Stickles to the liquid inside the bottle and the glass. 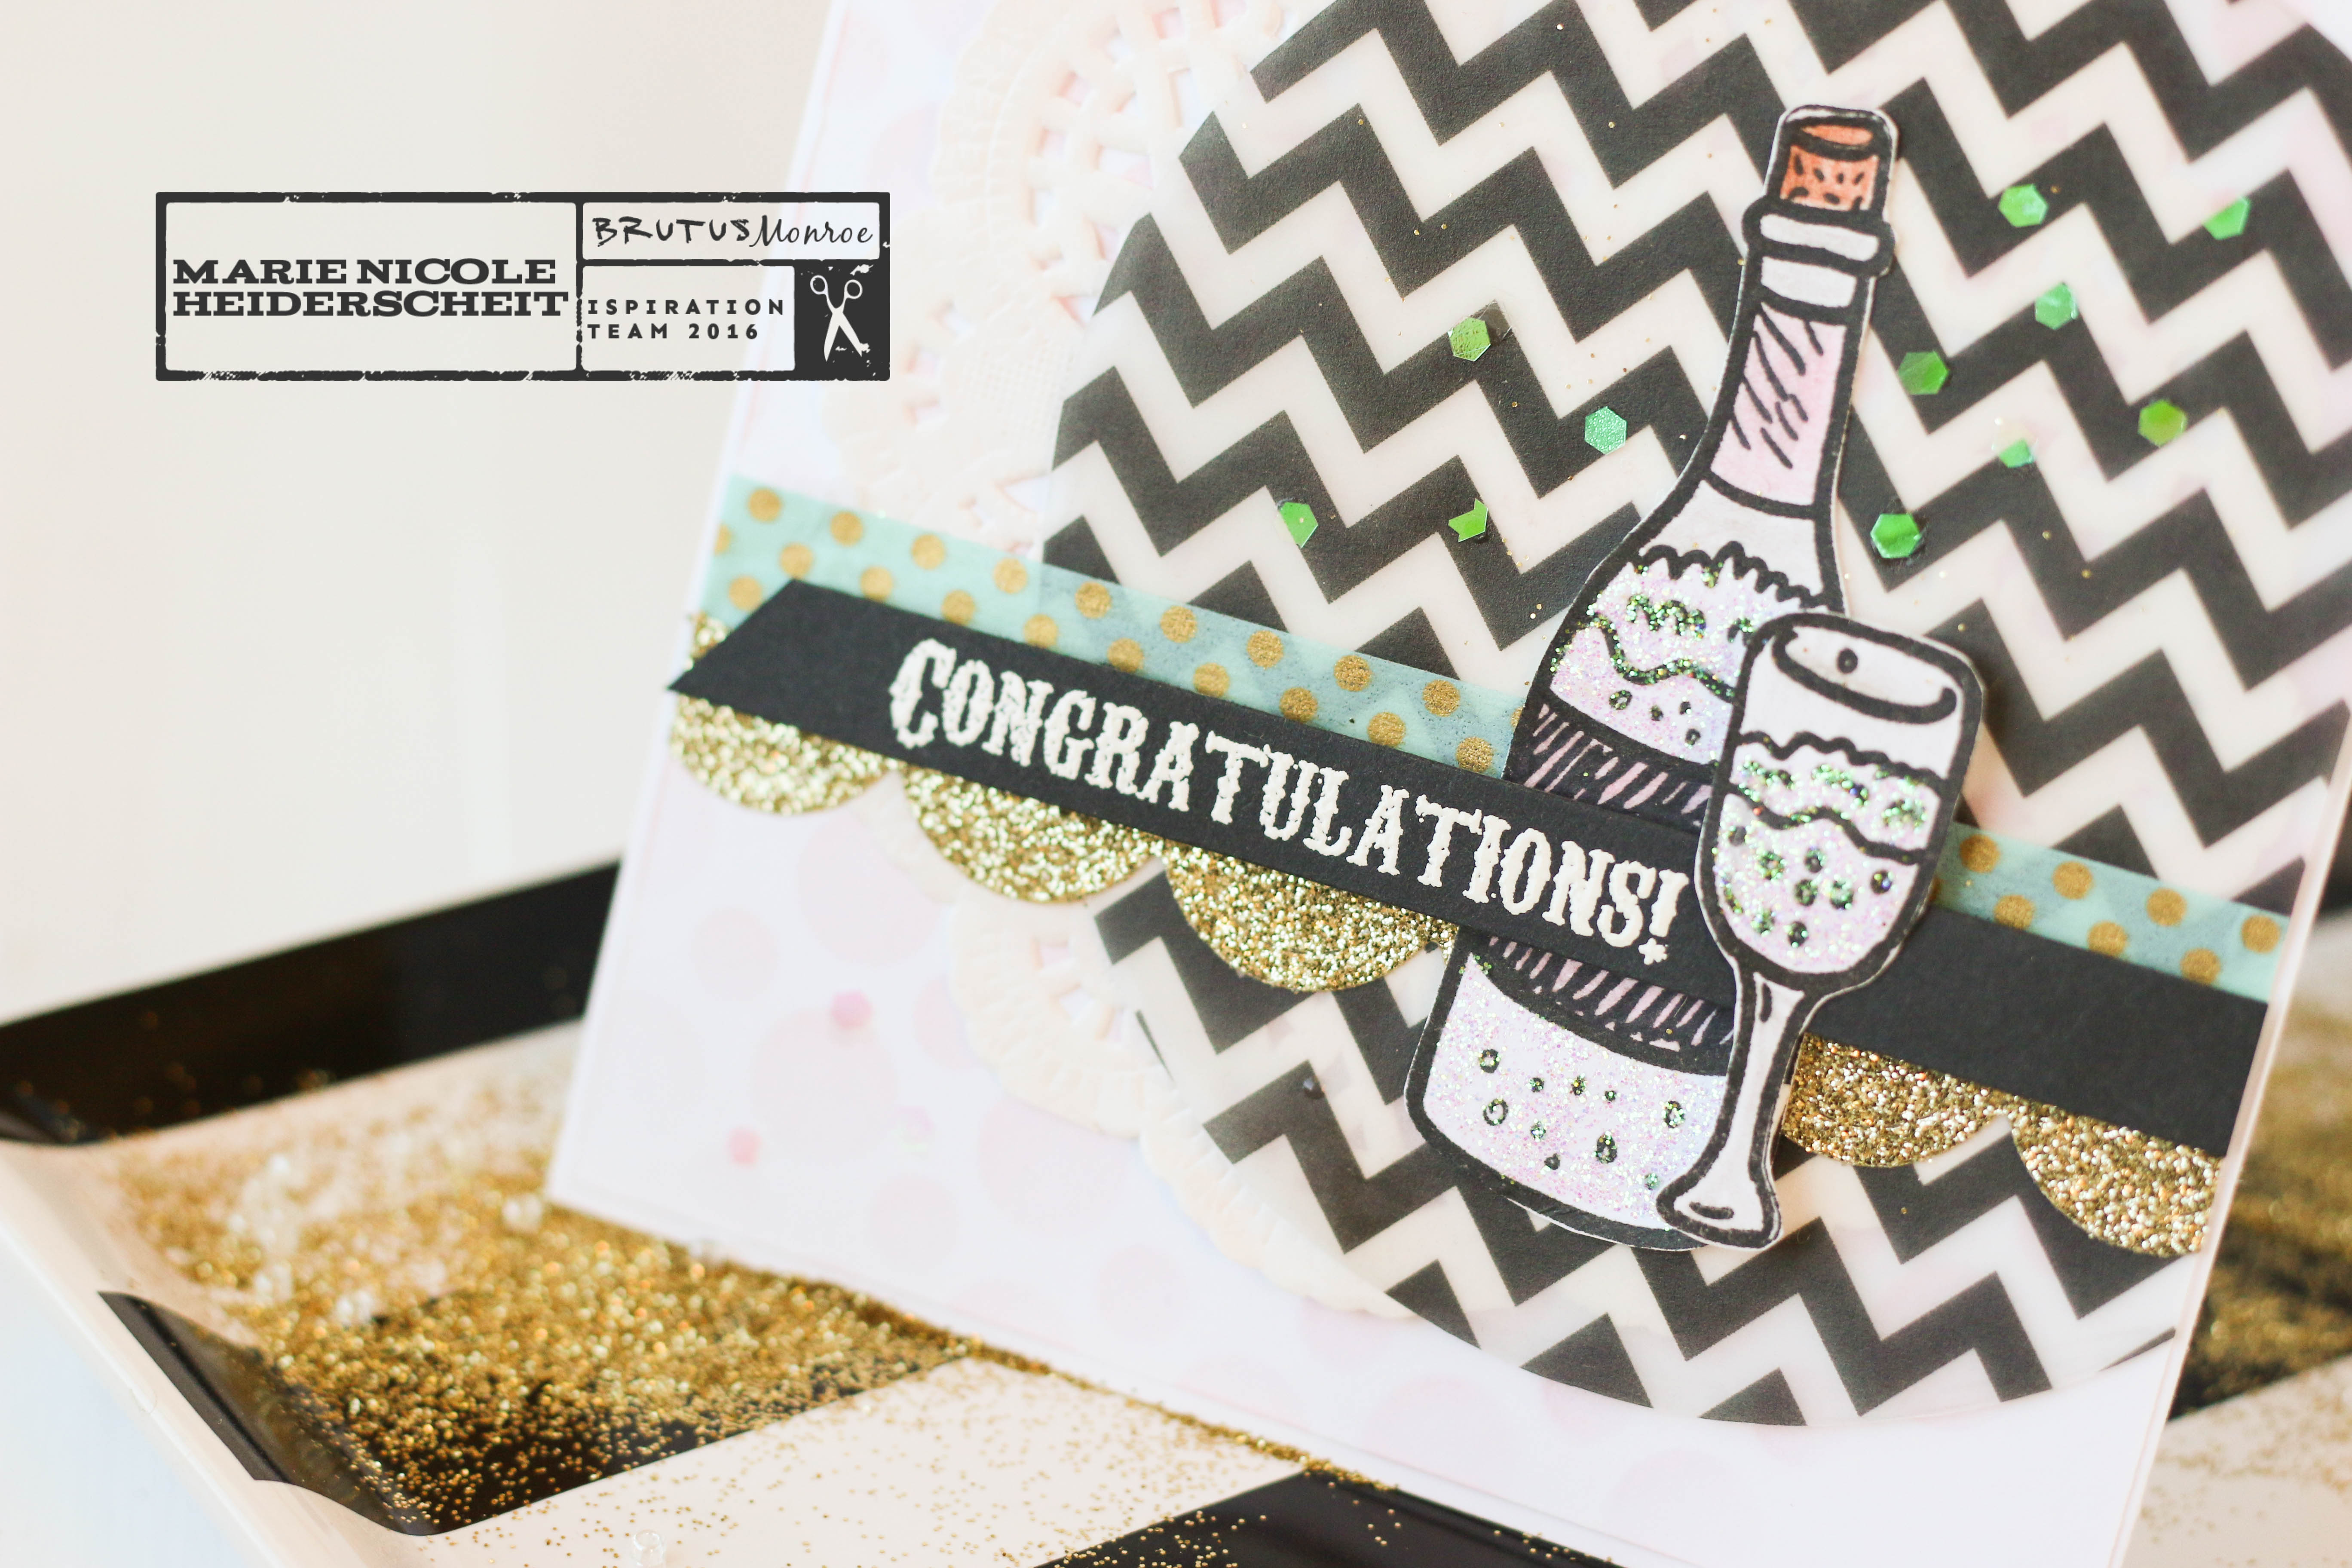
I thought this was a really fun stamp set, and not only is it perfect for New Year's, but it can also be used all year long for weddings or other events that you might want to celebrate. This card ended up having a somewhat girly feel with the light pink and the glitter, so I think it would be perfect for a bridal shower or bachelorette party! Thanks for stopping by today! Dont forget to check out the Brutus Monroe store and Stamp Club. If you are interested in any of the other items I used on this card, I have included a few links below. I'm also linking up with: Simon Says Stamp's Wednesday Challenge! Happy Crafting!!
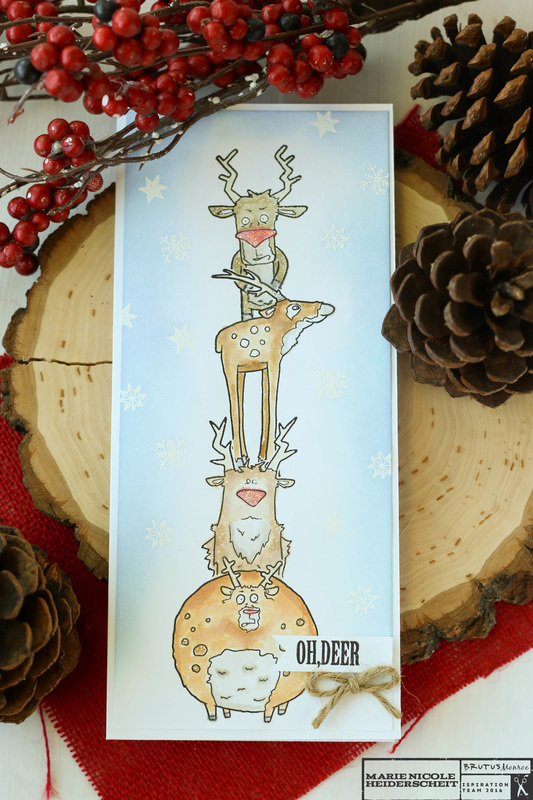
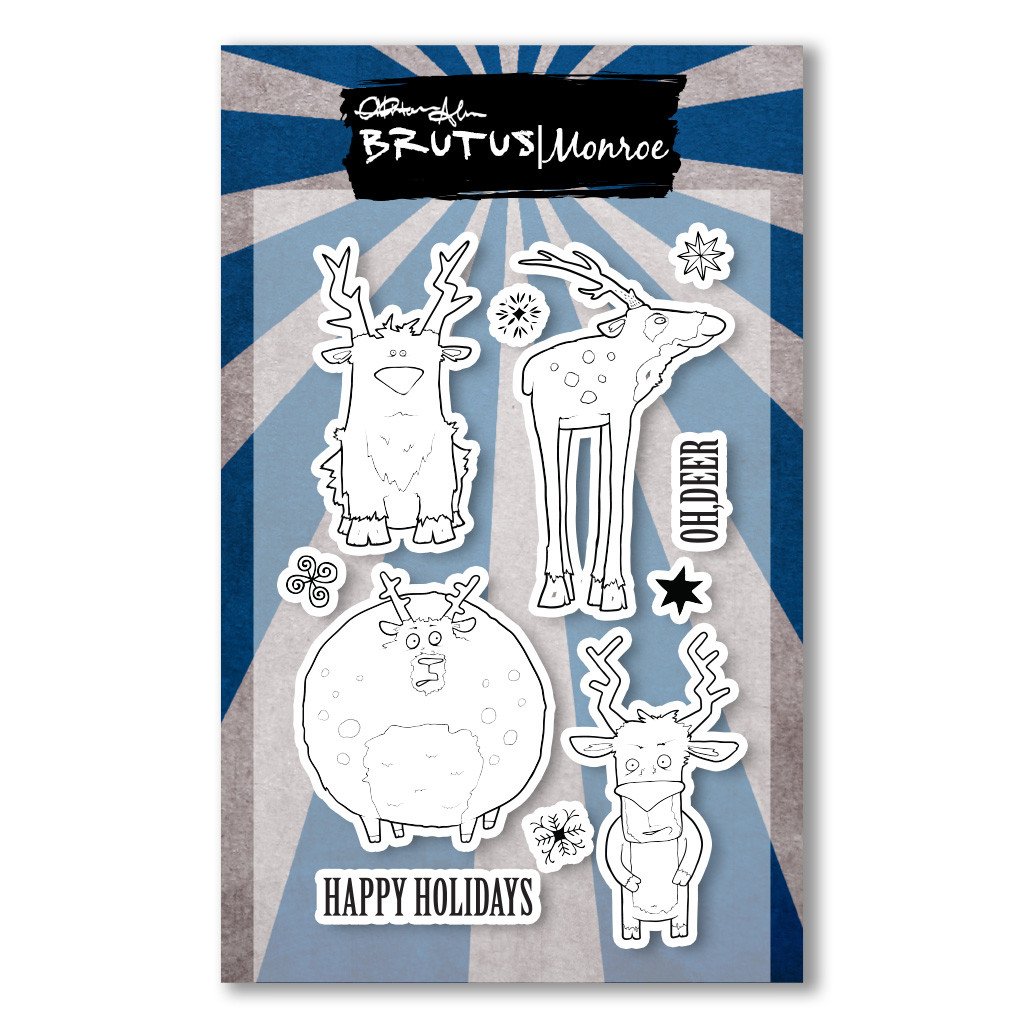
This is a card that I recently created for the Brutus Monroe blog. These reindeer stamps are in their store and when I saw them, I just knew I needed to stack them up and color them in! I started by stamping the bottom reindeer, and then I also stamped it again on a piece of thin printer paper to create a mask. When creating masks, its a good idea to use thin paper, so you can still get a good impression when stamping over it. After I had the mask cut out, I used some Tombow Removable Adhesive to adhere it over the image on my card base. With the bottom reindeer covered, I stamped the next one on top. I then repeated the process of creating masks and stamping each reindeer. 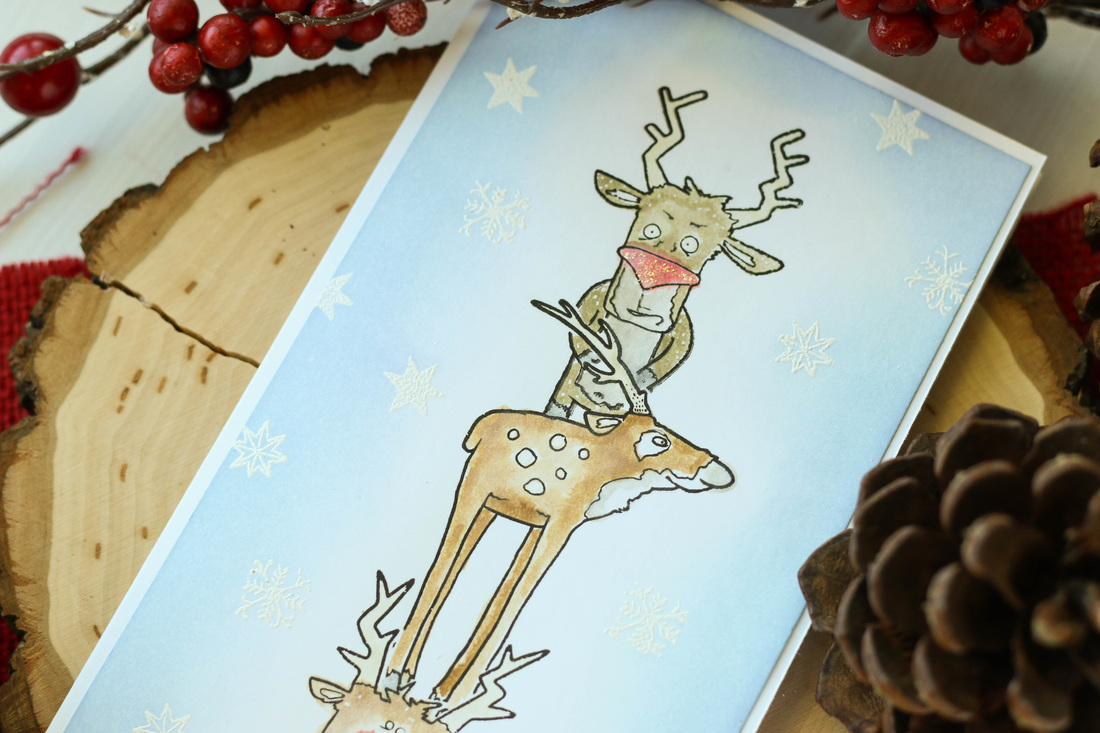
Once I had all my reindeer stamped on top of each other, I grabbed my Distress Inks and started coloring them in. I also added some embossed snowflakes and inked the edges of the card with some Tumbled Glass Distress Ink to give it a snowy background. I adhered the whole scene onto a4x9 card base from Canvas Corp. I love these long and skinny cards for creating scenes, and the unusual size makes it that much more interesting!
Im also linking this card up with :
Simon Says Stamp's Wednesday Challenge! Thanks for stopping by! If you are interested in this cute stamp set, head over to the Brutus Monroe store to place on order!
For me, keeping some cards simple makes my crafting fun and stress free. Sometimes I feel I put too much pressure on myself to create that one, mind-blowing piece of art that I put all my time and energy into. Then, when I finish the project that I had such high hopes for I usually feel like I fell short. I find that I am most satisfied with my cards when I stick to techniques I know how to do well.
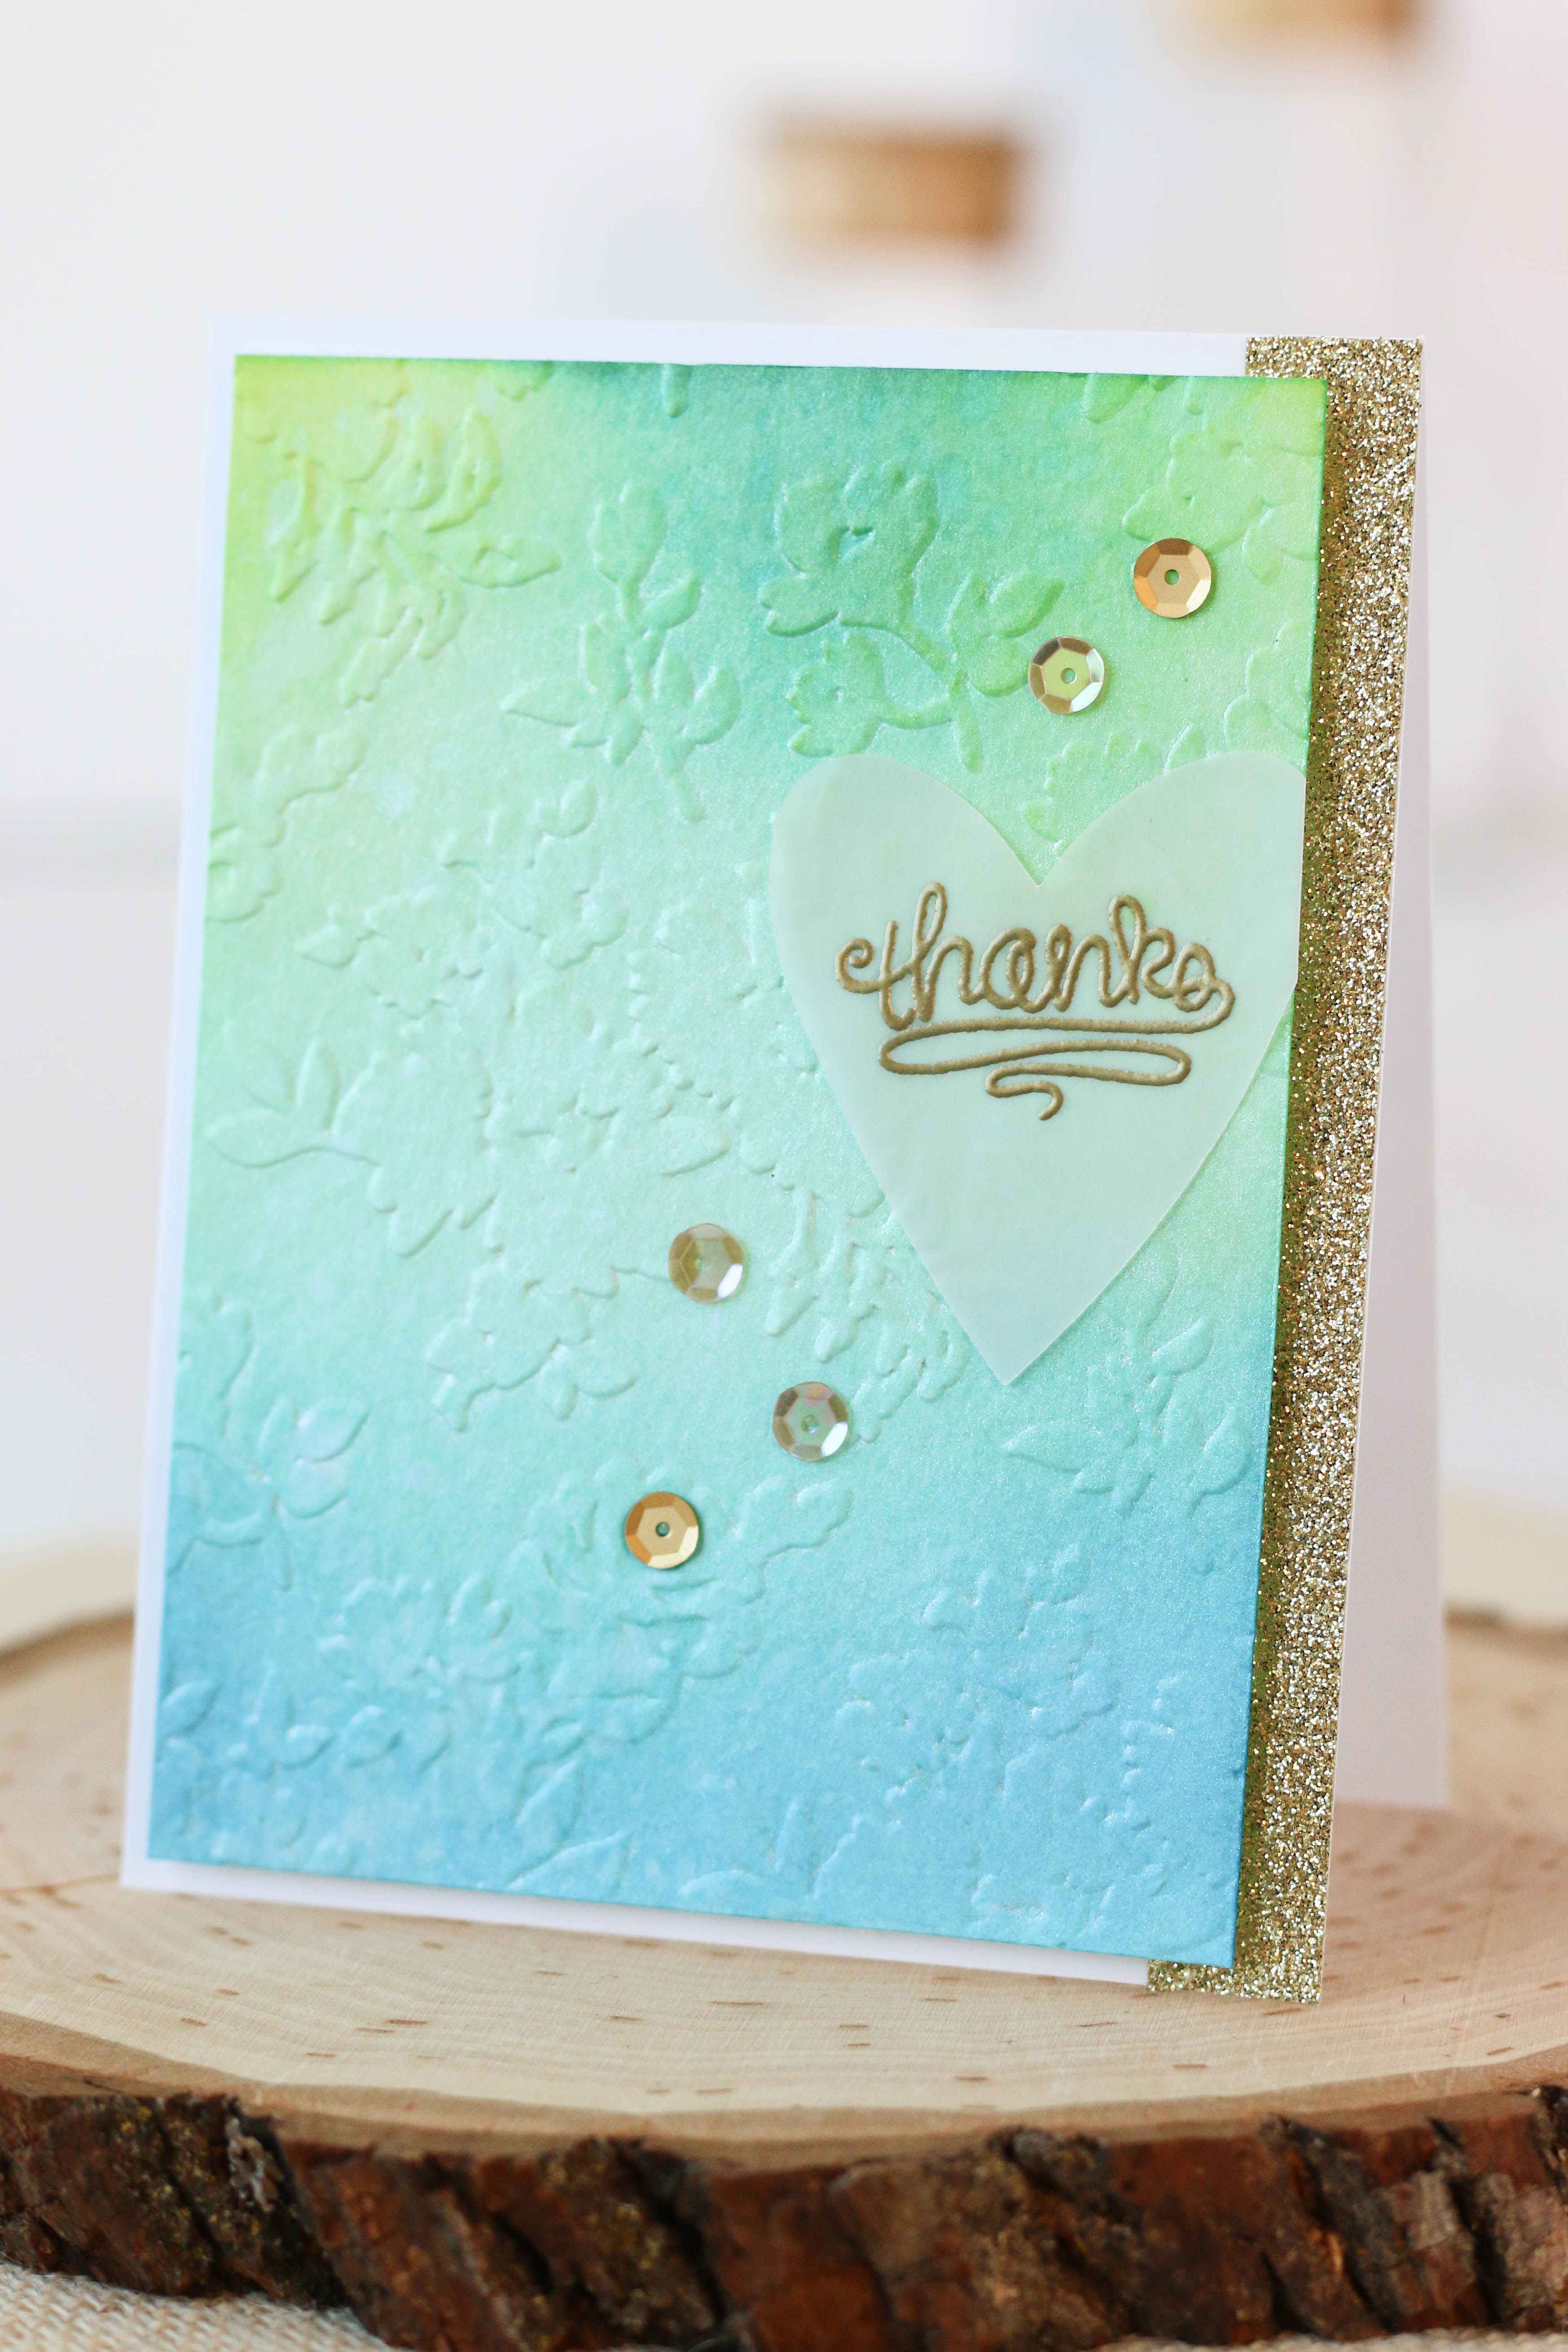
This card is a simple example of just that. I love doing ink blending and sometimes I just like to play with colors. for the background of this card, I blended together some Twisted Citron, Mermaid Lagoon, and Tumbled Glass. It ended up being a gorgeous blue-green background. I then ran it through my Sizzix with a floral embossing folder. I added a strip of gold washi tape down the right side of my card base, and then adhered the Distress Ink panel over that. I used some craft foam behind the front panel to give it some dimension and to pop it up some. I kept the sentiment simple by die cutting a little heart out of vellum, and then stamped on the word "Thanks" with a sentiment from Lawn Fawn's "Love You A Latte" stamp set. I then glued the heart down to the side and then finished the card by adding a few gold sequins. 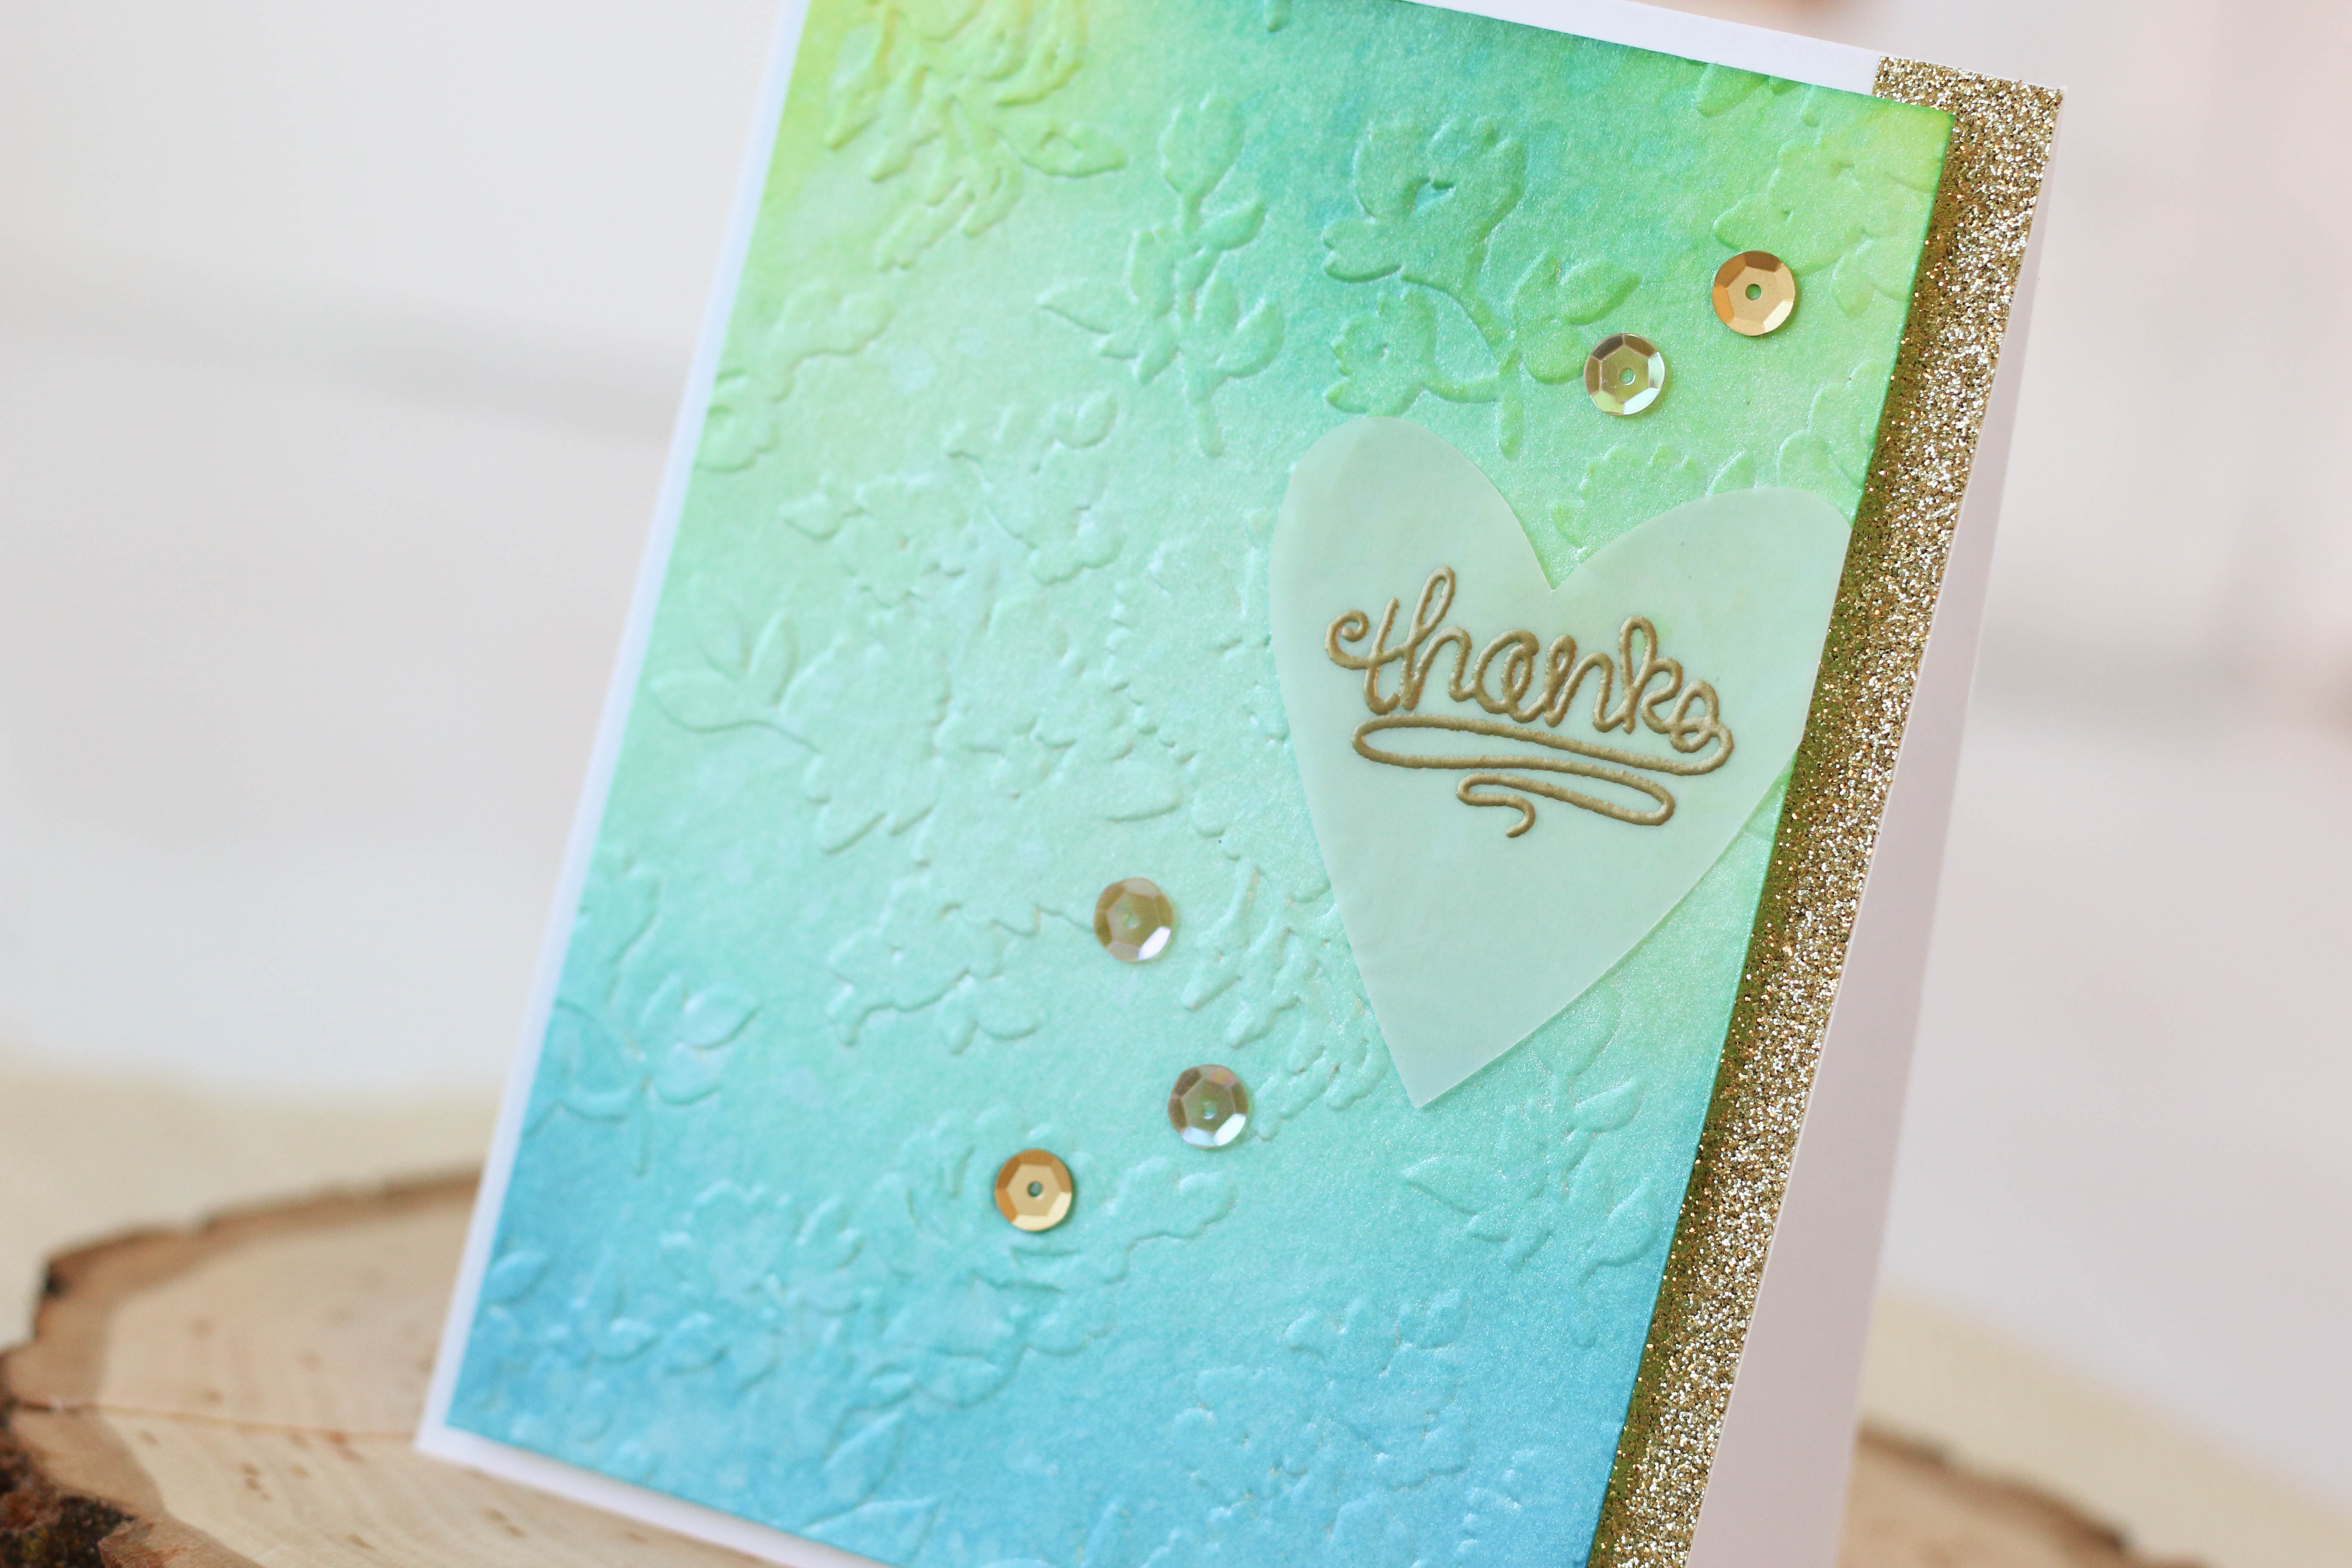
Thanks for stopping by to check out today's simple card! If you are interested in some of the products I used, I've added a few links below. I'm also linking this card up with Simon Says Stamp's Monday Challenge! Happy Crafting!
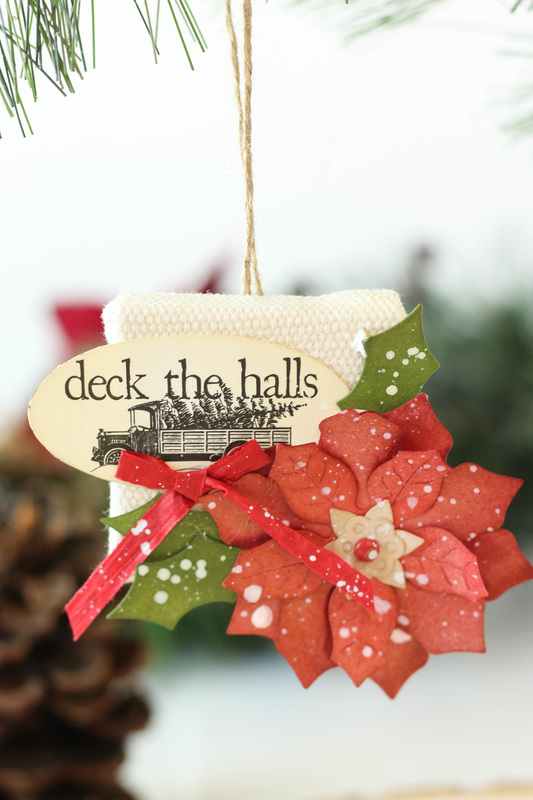
Christmas is quickly approaching and I find myself doing a lot of Christmas themed projects lately! I've had a few 2x2 canvases from Canvas Corp in my possession for some time now and I finally decided to go ahead and make them into some ornaments. These ornaments were super easy to make and they really didn't take that much time, either! I think they would be super cute to give as a little gift or even tie them onto a gift as a gift tag. 
One of these little canvases was burlap and the other was the traditional canvas fabric. I started by cutting out some poinsettias using my Sizzix Pillowbox die set. I just cut out the flower pieces and a few leaves. Then, I colored all the die cut pieces with Distress Ink and then spritzed them over with some Kraft Glimmer Mist, too. The Glimmer mist gave the flowers a pretty goldish shimmer. I personally think that all Christmas crafts could use a little shimmer! After the poinsettias were colored I assembled them and used a tiny brad in the center to hold them together. Then, I glued them onto my canvases. For the little truck image that says, "Deck the Halls", I cut out some tags from the Farmhouse Christmas Mix and Match pad from Canvas Corp. I also inked the edges of these tags just a tiny bit so they looked a little more aged. 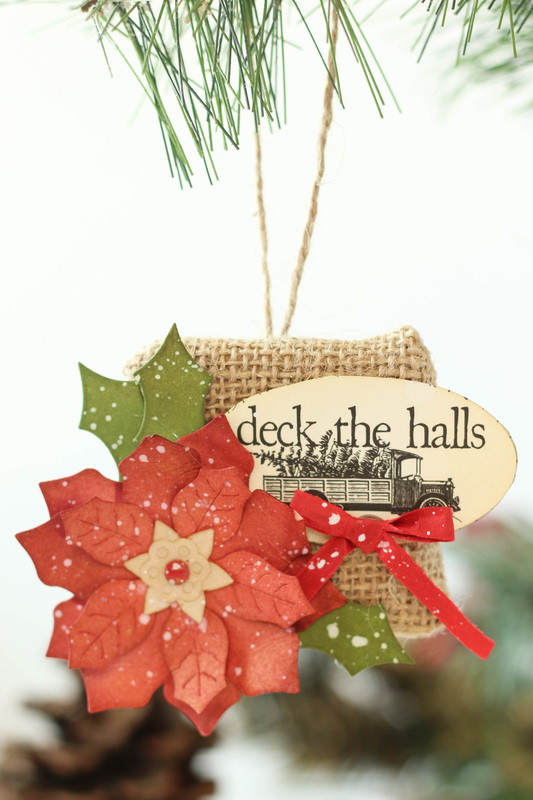
Finally, to finish off these little ornaments, I added a little red raffia bow as well as some white paint splatters to give it a more snowy look. I love how simple and rustic they turned out! The poinsettia is really to focal point and I love the vintage image of that truck.
|

Pin it!

AuthorSo glad you found me! This blog is my little space where I can share bits about my life and my latest crafting projects (mostly handmade cards). My goal is to share, inspire, and to be a positive presence in the creative community. 

Find me on Instagram!Archives
January 2018
Categories
All
Link Love
 

|


 RSS Feed
