|
I'm just loving the forecast for this upcoming week. High 50s and sunny! That being said, please don't be surprised by the spring-y cards today.  This card is for Mojo Monday. I used the sketch for the layout. I started with the cute little pitcher die. I found it on my Country Life cartridge for my Cricut. I spent a while looking for papers that I could pair with it to give it a "country kitchen" feel to it. I love the blue and yellow together. I embossed the background and I also ran it through my sewing machine to give it some zig-zag edges. I didn't use a sentiment because it just looked done and I didn't want to try to fit anything else onto it. The good thing about no sentiments is you can use this card for almost any occasion. 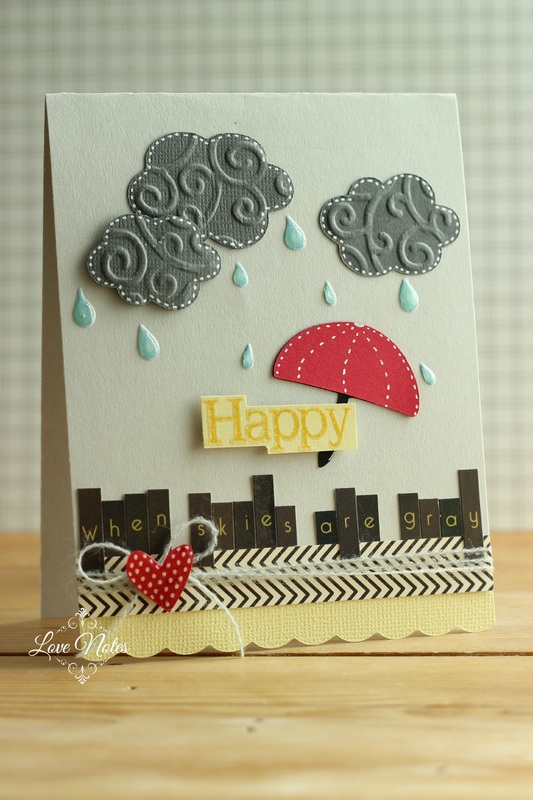 My next card here is for Simon Says Stamp. Their challenge today is anything goes! I thought that was perfect, because I actually made this card a while ago and just haven't had a reason to post it yet. What really inspired me to make this card is the raindrops. I had just picked up a bottle of Glossy Accents for the first time, and I wanted to use it to look like water. I embossed the little raindrops first, then watercolored a little blue on them, and topped them off with the Glossy Accents. I also embossed the clouds, and cut the umbrella with my Cricut. The letters are from a sticker set I picked up on clearance a while back. I love a good deal:) Happy Monday! Some products I used:
4 Comments
Get ready for a lot of links! Since I was gone over the weekend, I decided to just wait until today to post a few cards and link them with several challenges. 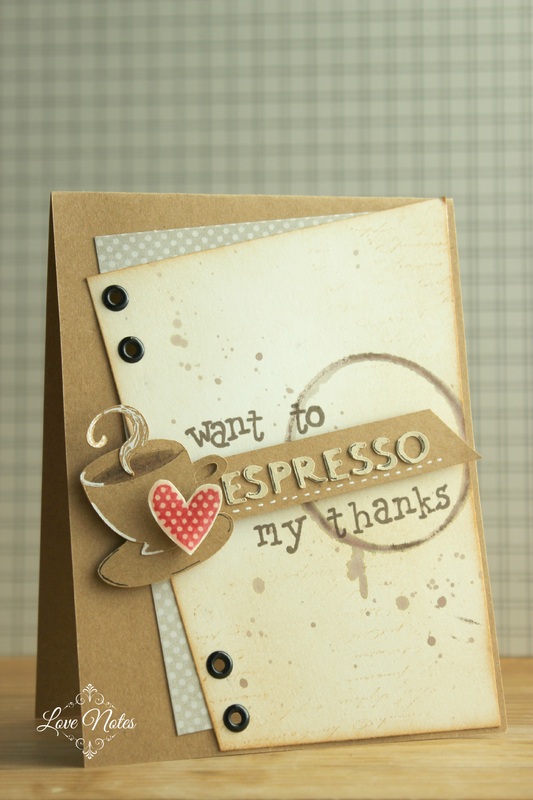 For my first card, I used the sketch from Mojo Monday. I took a piece of white paper and did some distressing around the edges. Then, I took some of my Memento Hot Chocolate ink, mixed it with a little water, and splattered it on. For the coffee mug ring, I just took a small, round ink pad, inked the rim, dipped it in water, and stamped it on the paper. I also stamped some faded text very lightly with Distress Ink. The letters were cut with my Cricut, as well as the coffee mug. I added a little Glossy Accents to the heart as my transparent element for Simon Says Stamp's Monday Challenge. Here's a closer look in case you can't see very well...  I was thinking of several coffee lovers I know that I'd love to have a reason to send this to. :) My next card is very clean and simple. Definitely not as much inking as the first. 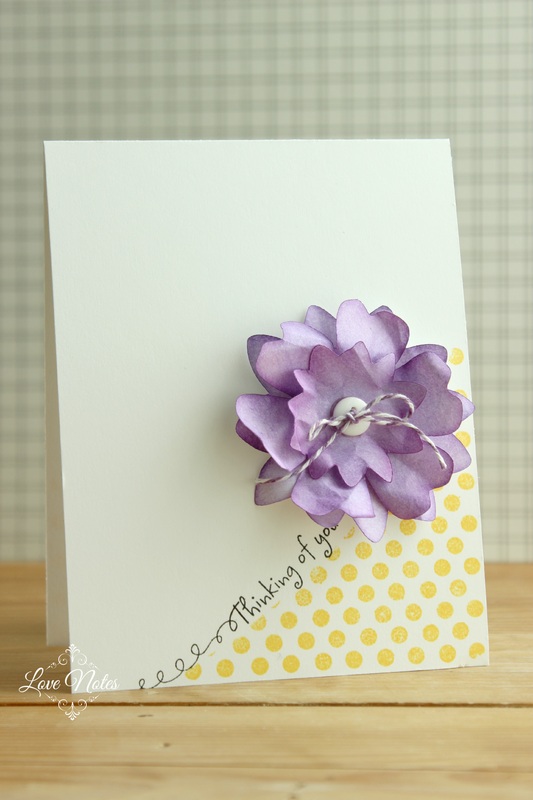 I cut three flower layers from my Cricut out of plain white paper. Then I used my Grape Jelly Memento ink and a cotton square to rub on the color. I stamped just the corner with yellow polka dots, and stamped the sentiment in black. In the center of the flower I added a button with a baker's twine bow. I'm linking this to House of Cards as a CAS with a button. I used the color scheme of purple in yellow in response to OWH's Midweek Throwdown. I used the button for SSS's Wednesday Challenge. And... for the first time I'm participating in SSS's Work it Wednesday for March. They want to see what spring projects we are working on. Whew! I think that's enough links for one post. Some products I used:
Well, I usually like to try to do two challenges in one card, but that didn't work this morning. Operation Write Home's challenge is to use circles on your card. Simon Says Stamp's challenge is to use glitter. I love glitter as much as the next girl, but there are rules about glitter when making cards for OWH. It's just not as easy to send cards to troops if they are covered in glitter. So, I made two cards. I need more birthday cards in my stockpile, so I decided to make a masculine and a feminine birthday card. 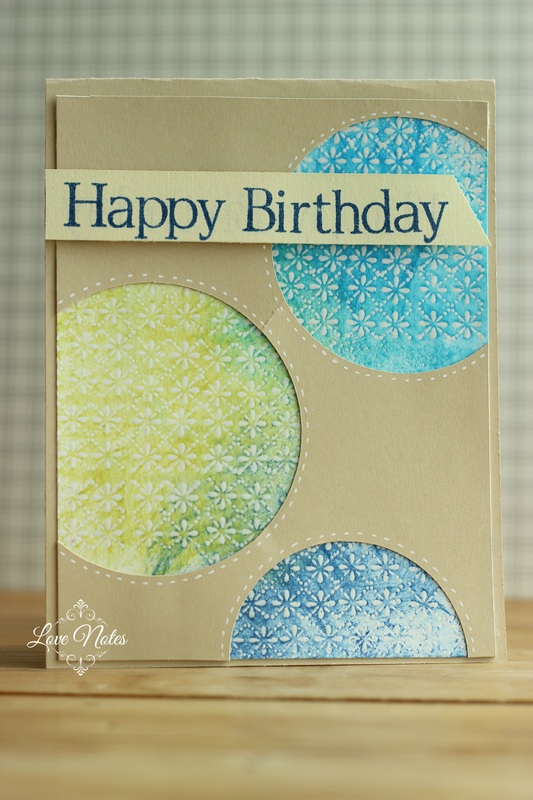 Here's my masculine card for OWH. I embossed the pattern in the circles with clear embossing powder, and then inked it up to create a resist. Then I cut the circle overlay with my Cricut, and added a few dash lines with my white gel pen to make them stand out a little more. 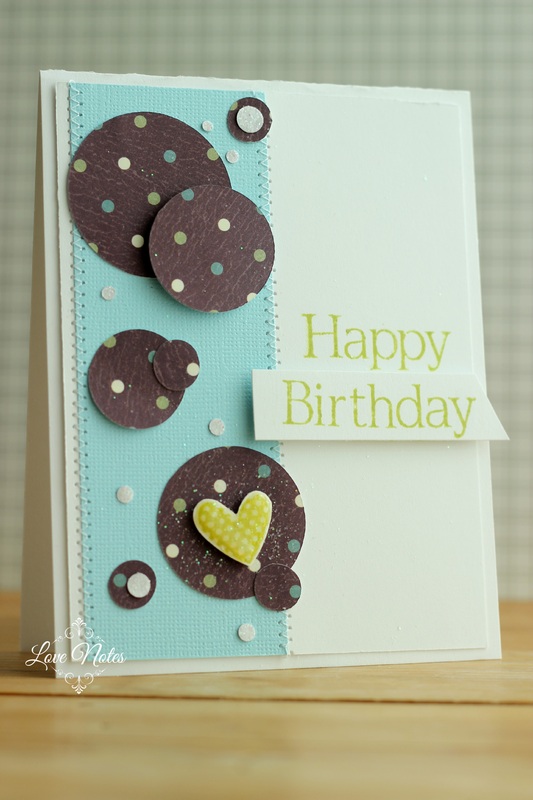 Here's my feminine card with glitter for Simon Says Stamp. I continued with the circle theme. The blue strip in the background I ran through my sewing machine. Then I cut the circles with my Cricut and glued them on. I used some glitter paper to punch the little white circles. The heart is stamped and fussy-cut, and I added some Glossy Accents and then sprinkled some glitter on it. I hope you can see it. Here's a closer look: 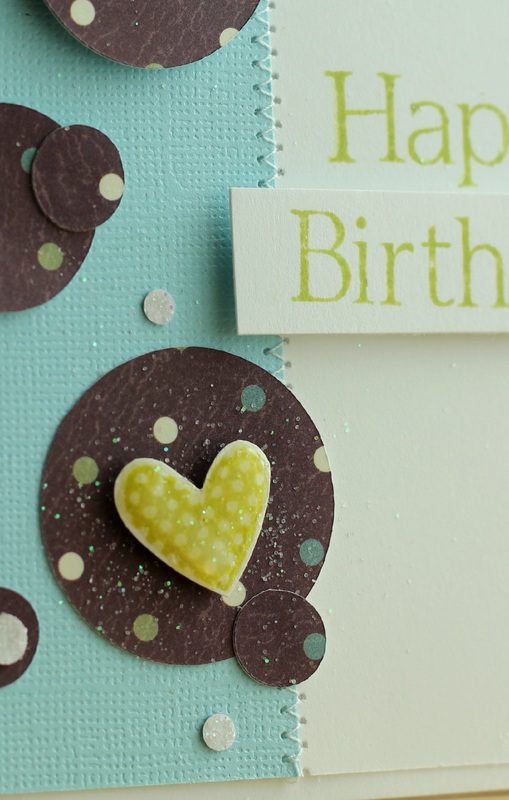 So, there you go! My Wednesday cards. Hope you enjoy! A few products I used:
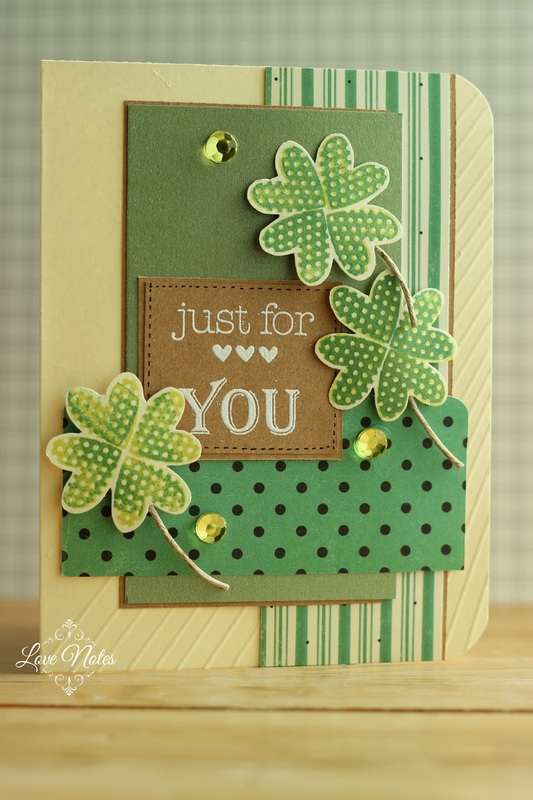 This was a fun card to make this morning. I used the sketch from Mojo Monday and the theme from Simon Says Stamp. I started by searching through my papers to find anything green. I came up with a few fun, coordinating patterns. I did a little scoring on the base of my card- some diagonal lines on one half of the card. It's subtle, but it gives it a little texture. The clovers I made by using a heart stamp that I have. I just stamped them four ways to make it look like leaves, and then fussy cut them out. I have absolutely no St Patrick's Day themed stamps or anything, so I improvised. The stems of the clovers is just a bit of thick twine I cut and glued to the back. I was so excited to be able to use these green/yellow rhinestones. I've had them forever but never used them since they never seem to match the cards I'm making. The sentiment is stamped with Versa Mark and embossed in white. ***UPDATE- Wow! I'm so excited to announce that this card was selected as a challenge winner for Simon Says Stamp! *** Some products I used:
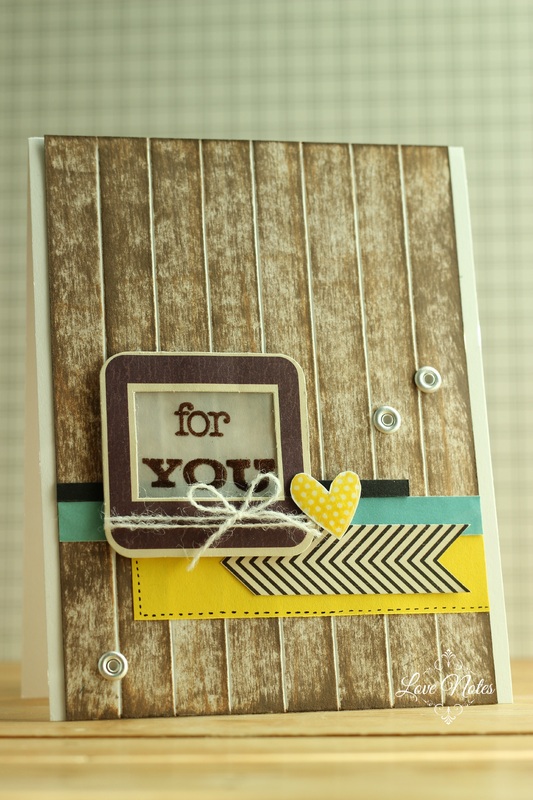  I had some fun on this cloudy Saturday morning creating some woodgrain backgrounds for a few cards. This is so easy to do! All you really need is an ink pad or two and some paper. I started off by scoring some straight lines in my paper to make it look like planks of wood. You probably wouldn't even need to make any score lines, but I think it gives it a nice effect. Then, I just took my ink pad and dragged it down across the paper. You will have to drag your ink pad across your paper a number of times before it starts to really look like wood. For the first card I have pictured, I used two shades of brown- a light and a dark. The second card pictured is just a light brown. One thing in particular I learned while playing with this technique is to always start at the edges, and drag the ink pad all the way across and off the other side of the paper. That way, you don't get odd lines on your paper from where you stopped. It also makes the edges much darker than the middle, which I think is a nice effect. I love the look it gives to the cards, and its simple, easy, and fun! If any of you would like to try out this technique and share, I'd love to see what you come up with! Just put a link to your card down in the comments! Some products I used:
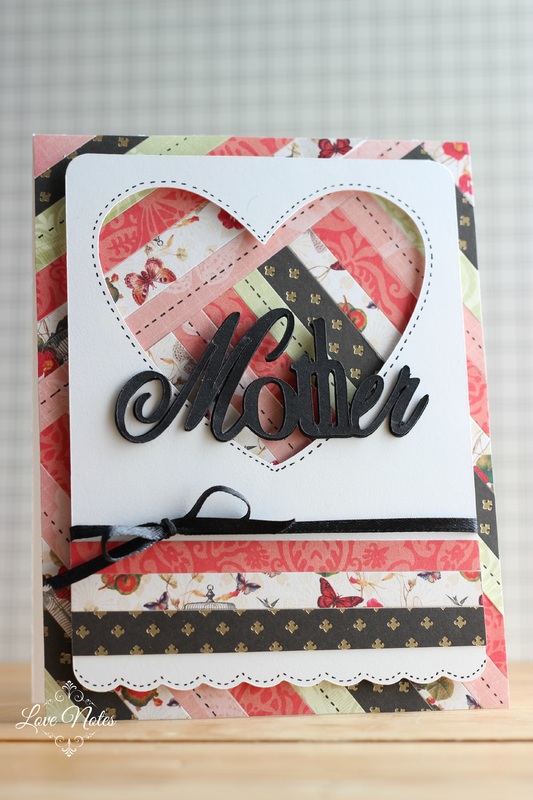 Operation Write Home's Midweek Throwdown is about scrappy backgrounds. Simon Says Stamp's Wednesday Challenge is to make a mother/special girl card. I decided to mash the two challenges together into this one card. I started by cutting strips of paper from my Mariposa Matstack. I didn't measure my strips, I just cut them into similar sizes. Then I arranged the strips on my card so they would cover the whole front. It started to look a little bit like a quilt to me, so I added some dash lines on some of the strips so make it have the look of being sewn. The front window panel I cut with my Cricut. I added some faux stitching around the heart and bottom border as well. The "Mother" sentiment was cut with my Cricut as well. I cut it three times and then adhered them together to give it a little more dimension. I really wish I had some glitter to add to the sentiment. I think that would make it really pop. Some products I used:
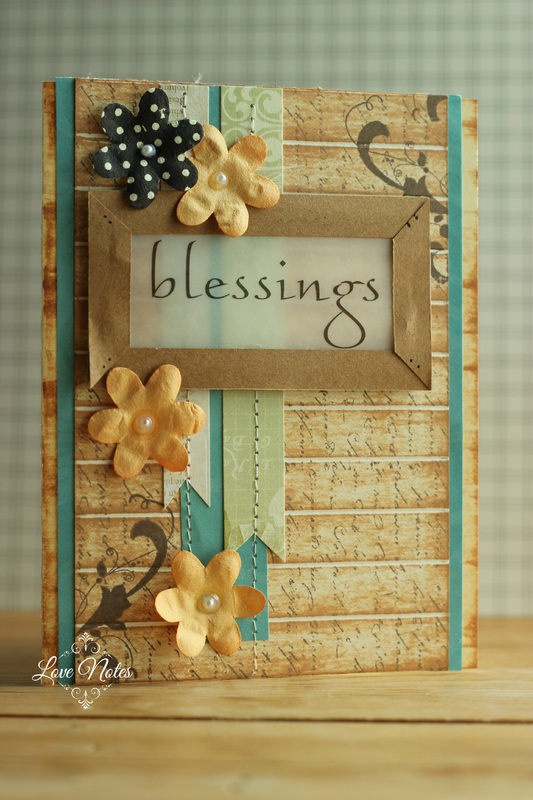
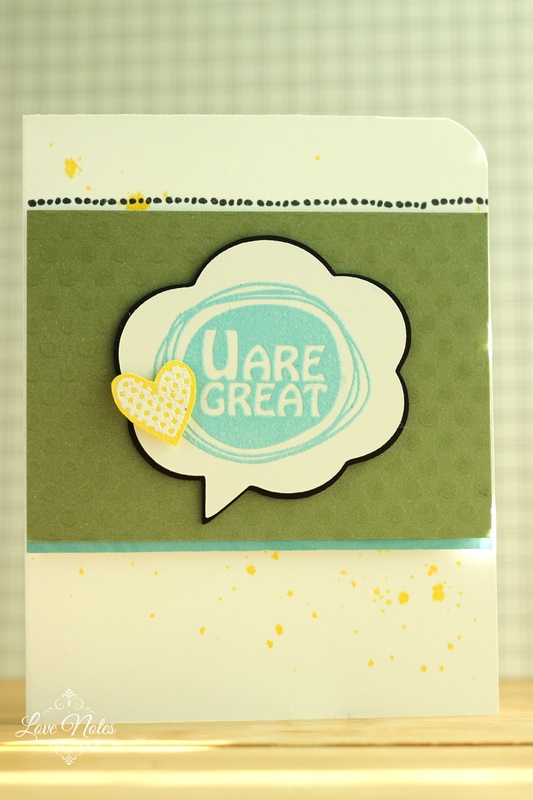 I have a few fun cards to share with you today! This first one I'm linking up to Mojo Monday's Sketch Challenge. I used their sketch to create the layout. The background is just regular white cardstock. I added some paint splatters by mixing some of my yellow ink with a little water, and then using a paintbrush to flick some of the ink on. Then I used some green carstock from The Shimmer Matstack by DCWV. I stamped a polka dot background onto it with Versa Mark, and embossed it with clear embossing powder. Finally I cut out the speech bubble with my Cricut, and stamped and embossed the sentiment. The little yellow heart is also stamped and embossed. Its a pretty simple look, but I like how it turned out. I think it has kind of a comic book vibe going on. 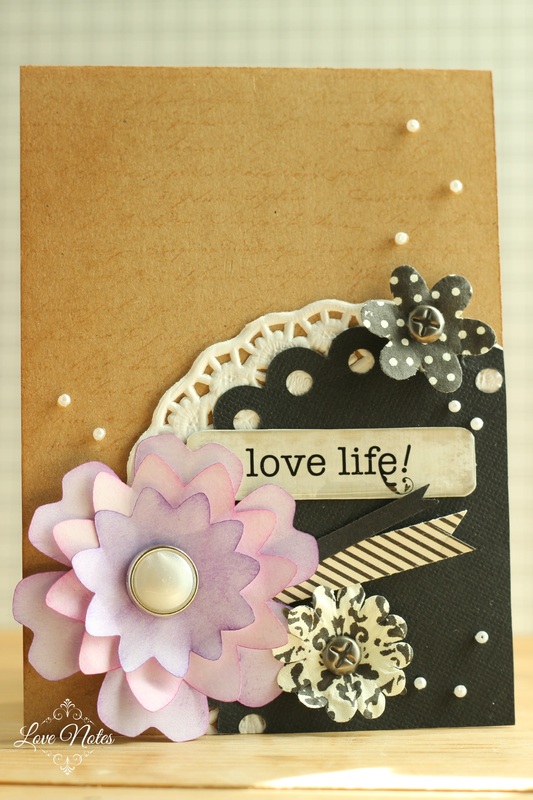 This next card I am linking up to Simon Says Stamp's Monday Challenge Blog, and it has a totally different look. The challenge was to use distressing in your project. I only own one shade of distress ink- Tea Dye. I used it to stamp the faded text background, and I also did a little more distressing around the edges. I used a paper doily and a scalloped circle cut from my Cricut to cover the bottom corner. Then I inked up the purple flower, which is also cut from the Cricut. The two little flowers I bought somewhere, but I can't remember the brand. I added some fun brads to the center of all the flowers. My sentiment is an epoxy sticker which I stuck to some paper and then cut out. The little pearls I glued on with some Glossy Accents. So there it is! Two very different cards for today's challenges. Enjoy! Some products I used:
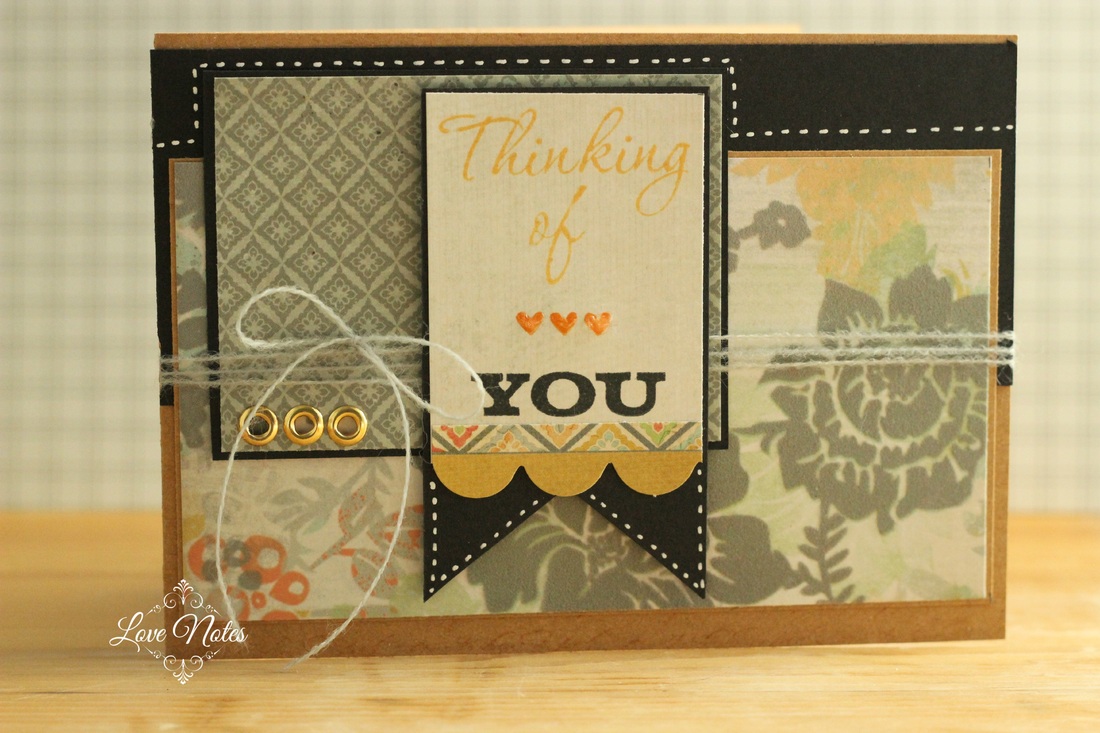 Another OWH Sketch Challenge! The sketch is for a vertical card but I turned it on its side. I've been doing a whole lot of vertical folds so I wanted to shake things up a bit. I used a kraft cardstock as the base. Then I used black cardstock for the first layer. The patterned papers are from Kaiser Craft's Lush collection. I have their 6x6 paper pad and its just perfect for creating cards. I stamped my sentiment and added some eyelets with my Crop-a-Dile. I like how the shiny gold gives the card another fun focal point. Of course I also added dash lines with my gel pen and some string tied in a bow. 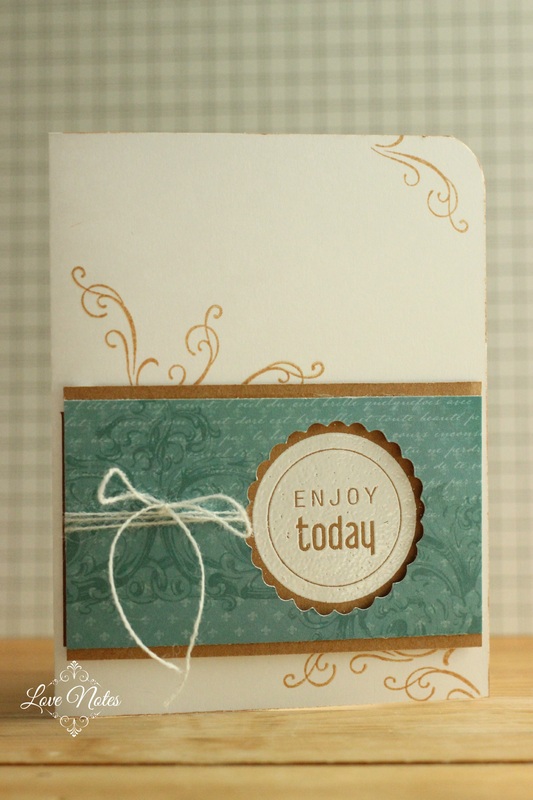 This next card isn't linked to any challenges, its just one I made alongside the first one. I kept it very simple. I used the leftover cut-out from another card to create the window layer. I hate wasting any patterned paper so I like to try to use every bit of it. I heat embossed the sentiment with a white embossing powder. The background is just white cardstock, and I stamped some flourishes with some Tea Dye Distress Ink. Some products I used:
 This card isn't linked to any specific sites or challenges, just a fun creation to share with you today. I've been dying to use this super cute paper with the stars on it since I got it. I saw it and right away I knew I wanted to hit a few of those stars with some glossy accents to make them stand out. I paired the starry paper with a few other coordinating ones, and I thought these little chipboard letters with glitter on them would also go just perfectly. The silver star embellishments were cut with my Cricut, and then I inked them up with Versa Mark ink and embossed them with some metallic silver powder. I love how they turned out! I also had to add a string bow, just because, well... that's what I do. :) I finished it off with some clear rhinestones. I love how shimmery it all is. Happy Friday! A few of the products I used:
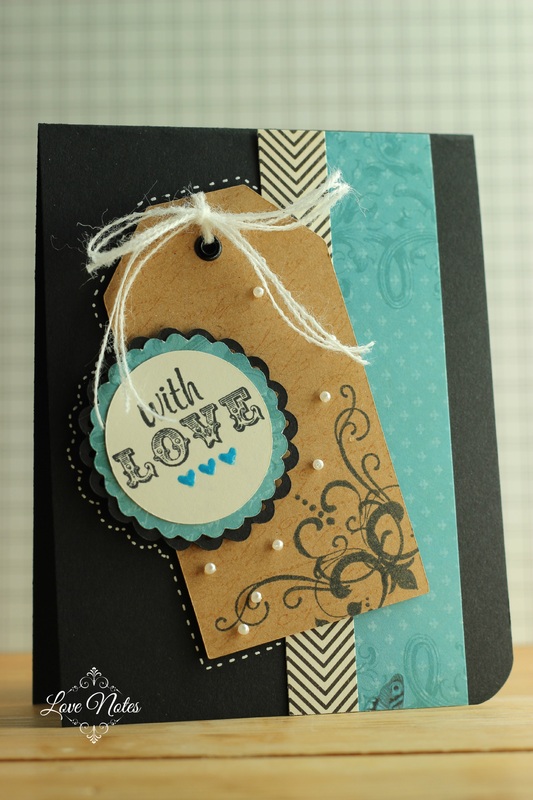 Today's card challenges stumped me. I read the challenges. At Operation Write Home the challenge is to make a Mother's Day Card. Simon Says Stamp's challenge is to create something with a tag. I decided to combine the two into the same card. I knew what I wanted to do. I had it all figured out. I gathered my supplies and started... and I didn't like what I had. So I changed it, and it still looked horrendous. Since I had other things to accomplish today, I figured I'd leave my card, come back to it, and see if I had any better luck later. Nope. So I left it again, and came back later. Still hated it. Well, third time is the charm, right? I guess, but I'm still not sure if I'm loving it or just ok with it. What do you think? A Few of the Products I used:
|

Pin it!

AuthorSo glad you found me! This blog is my little space where I can share bits about my life and my latest crafting projects (mostly handmade cards). My goal is to share, inspire, and to be a positive presence in the creative community. 

Find me on Instagram!Archives
January 2018
Categories
All
Link Love
 

|


 RSS Feed
