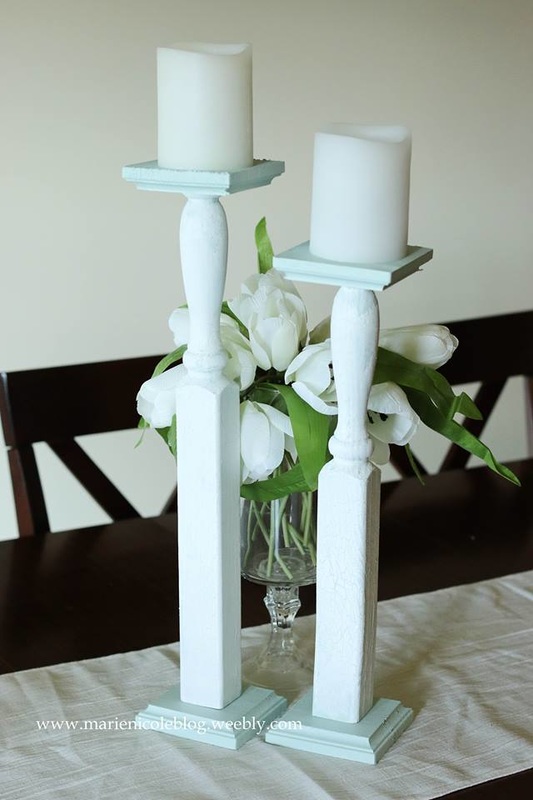
I love the look of really tall, elegant candlesticks. I think they just add a lot to the feel of your decor. I DONT, however, love the prices on those things!
I figured there had to be a cheaper way to make your own, so here's what I came up with! First, I found a wooden baluster at my local home improvement store. I think this particular one I bought was about $5. I now wish in hindsight that I had taken pictures during the process of this project but since it was mostly an experiment I didn't bother. It's fairly simple to do, though, so I think you will get the general idea! I enlisted the help of my husband to chop the baluster in half using his miter saw. He also shortened one a bit so it gave a little variation to the two candlesticks. Then, I painted them! I picked up a small container of sample paint from the home improvement store as well. Its a light greenish-blue and its just gorgeous. I put this color on first and let it dry completely. After the paint was dry, I applied a layer of Valspar crackle glaze. I let the glaze dry for about an hour before applying the second coat of paint. For the second coat of paint, I used Canvas Corp's Crystal DIY paint. It's a beautiful white. Applying it over the glaze, I could see the cracks begin to form almost immediately, showing some of the blue underneath. The effect is just gorgeous! 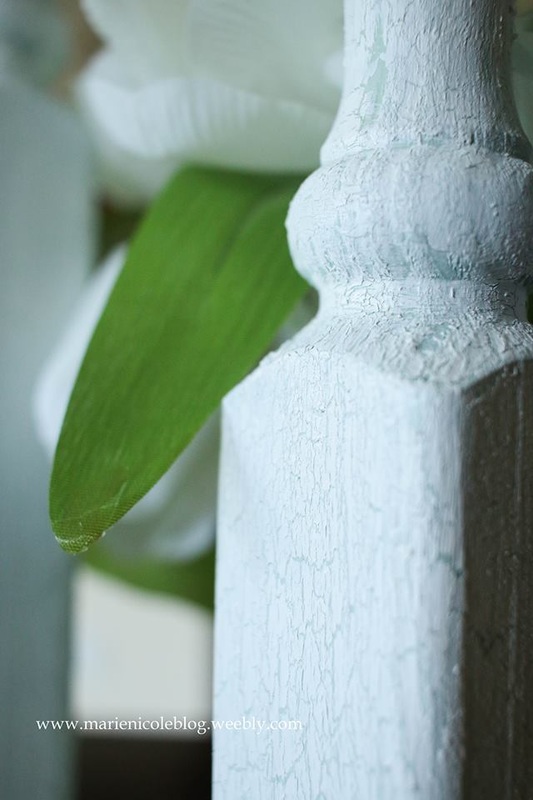
I let the candlesticks dry completely. Then, for the tops and bottoms of the candlesticks, I found these wooden squares at my local Hobby Lobby. I applied the same blue that I used on the candlesticks but I didnt bother to crackle them. I thought it looked nice to have a bit more of that gorgeous blue showing.
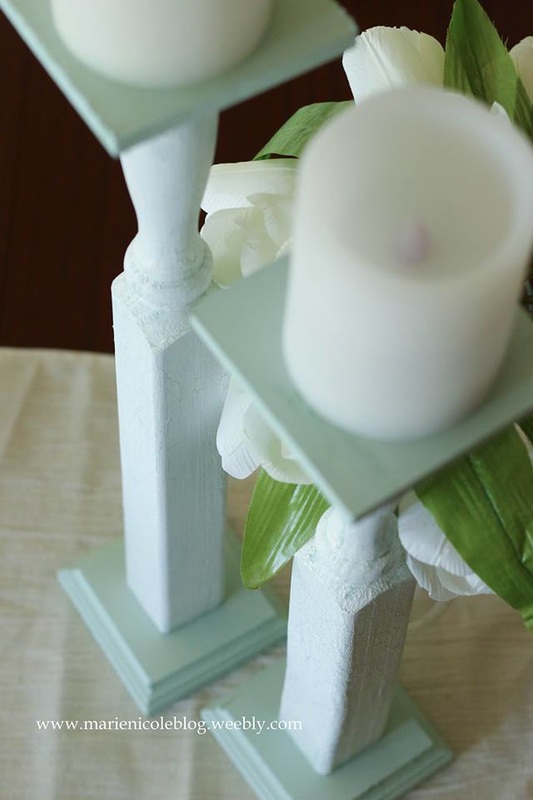
When the tops and bottoms were dry, I just adhered them on using a small amount of wood glue. I just applied the glue, added the wood squares, and then placed a can of soup on the top of each candlestick to give it some weight while it dried.
Voila! Thats it! I have these candlesticks on my table right now with some battery candles on top. They really add the "wow factor" to my table. I feel like I could also embellish them in the future with some burlap or cute charms or something. Maybe change out the look for the seasons. Thanks for taking the time to stop by! Happy Crafting!
0 Comments
Leave a Reply. |

Pin it!

AuthorSo glad you found me! This blog is my little space where I can share bits about my life and my latest crafting projects (mostly handmade cards). My goal is to share, inspire, and to be a positive presence in the creative community. 

Find me on Instagram!Archives
January 2018
Categories
All
Link Love
 

|


 RSS Feed
