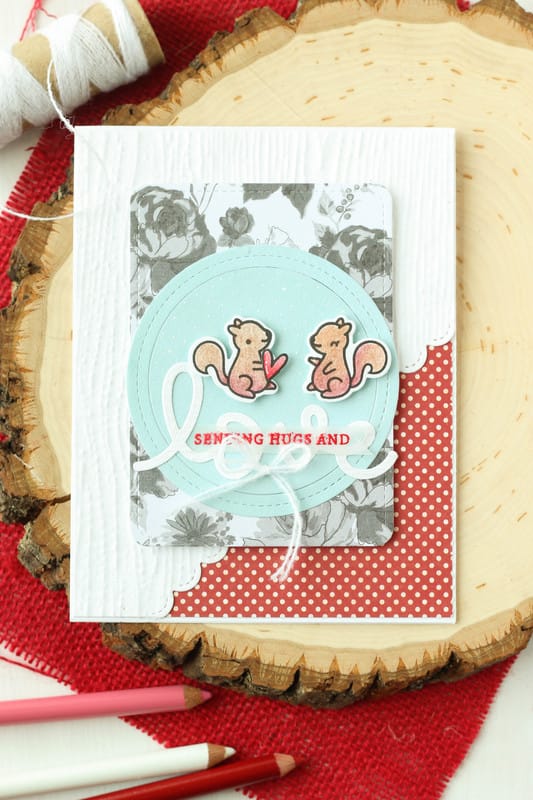
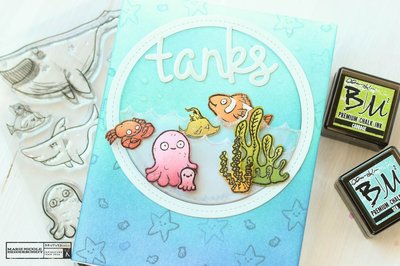
Did you get any fun crafting supplies for Christmas? I received a few items this year. The cute little squirrels on this card are from Lawn Fawn's Cheery Christmas stamp set. I stamped them out with Versafine Black ink and then colored them in with my new Prismacolor pencils. I have to say, I am LOVING these new pencils for coloring my stamped images. I am not that great at watercoloring, especially on regular cardstock. I dont like when the paper warps when you add water to it. These pencils blend great and work on my cheap cardstock. I used the coordinating dies from the stamp set to die cut the squirrels and the little heart. Then, I used Lawn Fawn's Stitched Circle Frame Dies to cut out the circle from some blue paper. I adhered that down to some floral paper that I also die cut, using the Stitched Journaling Card die from Lawn Fawn, as well. All my papers I pulled from my scrap bin. I am trying my best to use up scraps! I then cut the background white paper on an angle with the Stitched Border dies, and ahdered it over some red polka dot paper that peeks out on the bottom right corner. I then added the sentiment, the squirrels, and some white twine to the front, and placed the whole stitched journal die cut piece to the front of the card with foam adhesive. Cute, easy card that has a Valentine's Day feel to it, without being too overly red and white. 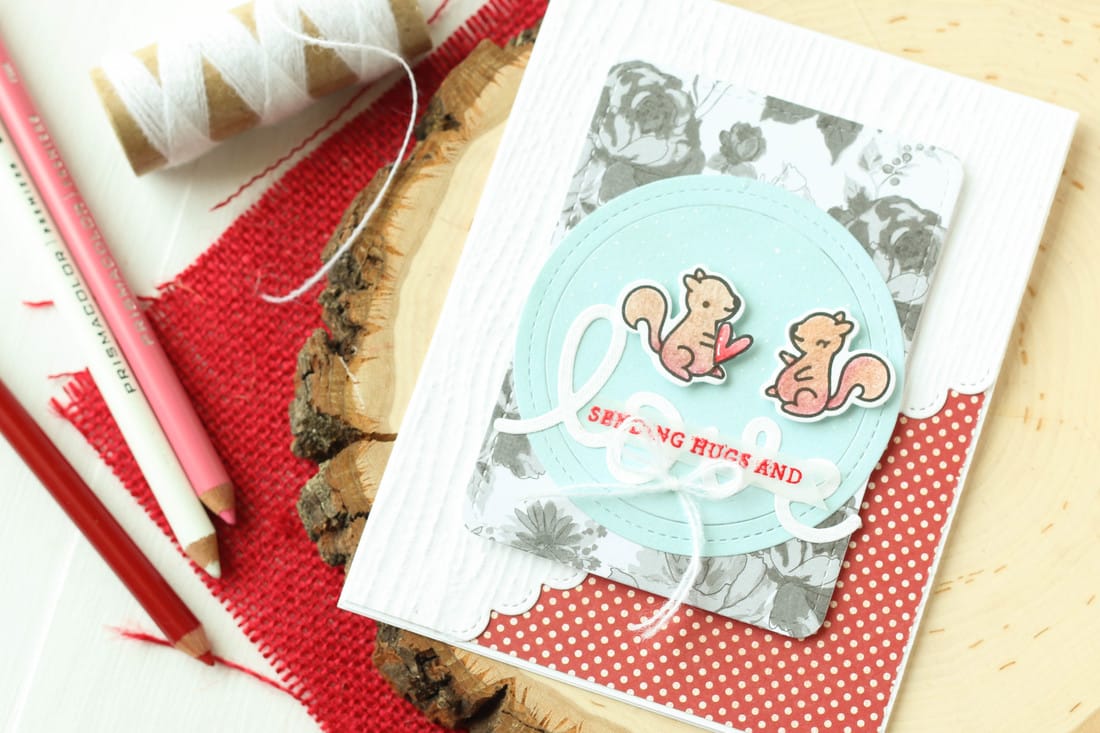
Thanks for checking out my card today! I have been slacking on making YouTube videos lately with the business of the holidays, but I hope to get back into it soon! If you are interested in some of the items I used on this card, I've included some links below. Happy Crafting!!
Check out these other fun posts!
2 Comments
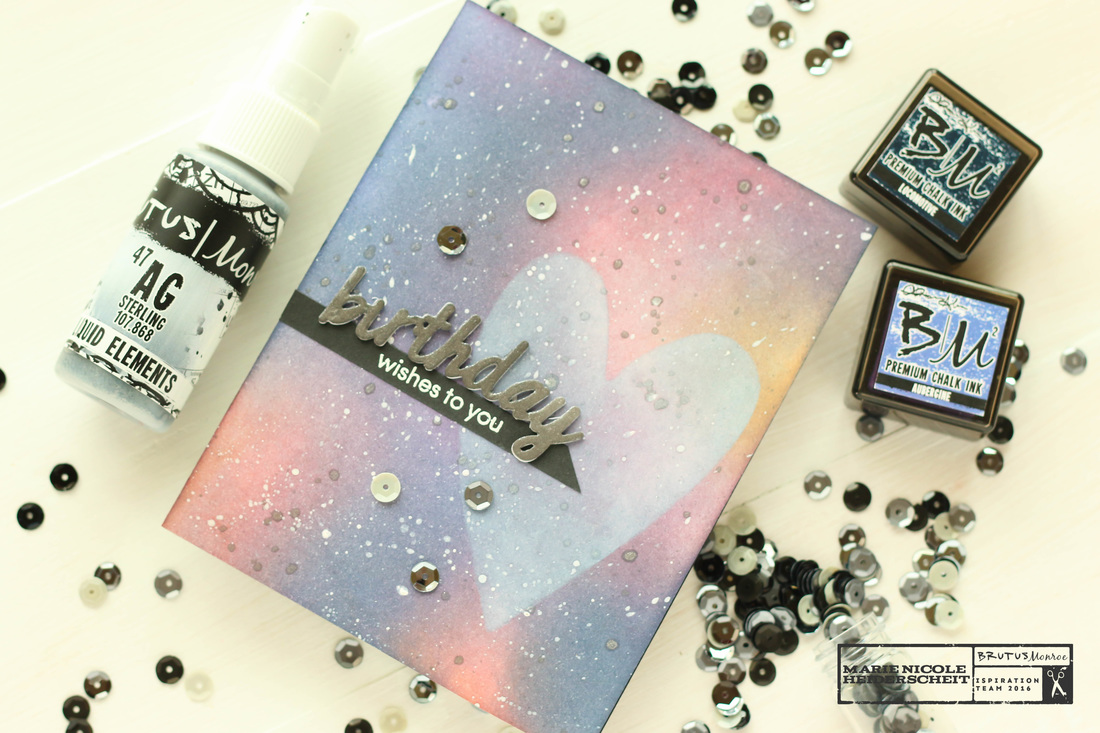
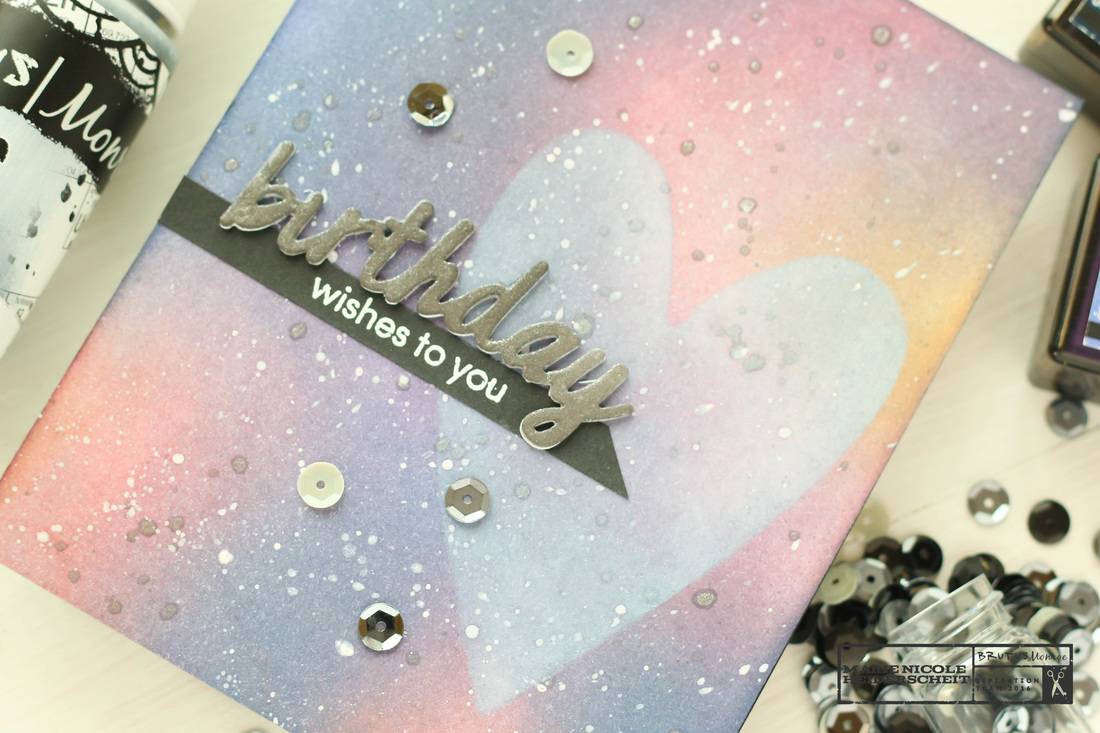
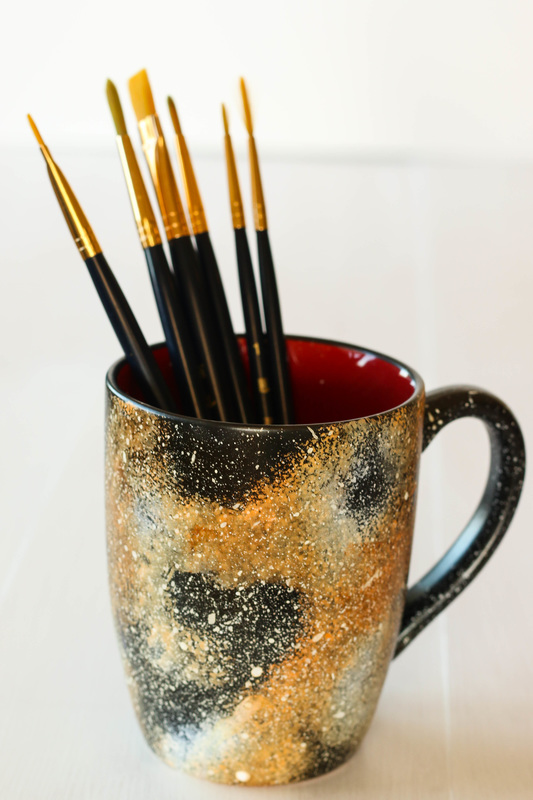
I've been on a little bit of a galaxy background obsession. Most of the time, I apply this technique to paper. I love taking a plain white piece of cardstock and applying all the colors to watch the background come to life. Below is an example of a card I recently did for Brutus Monroe featuring the galaxy background.
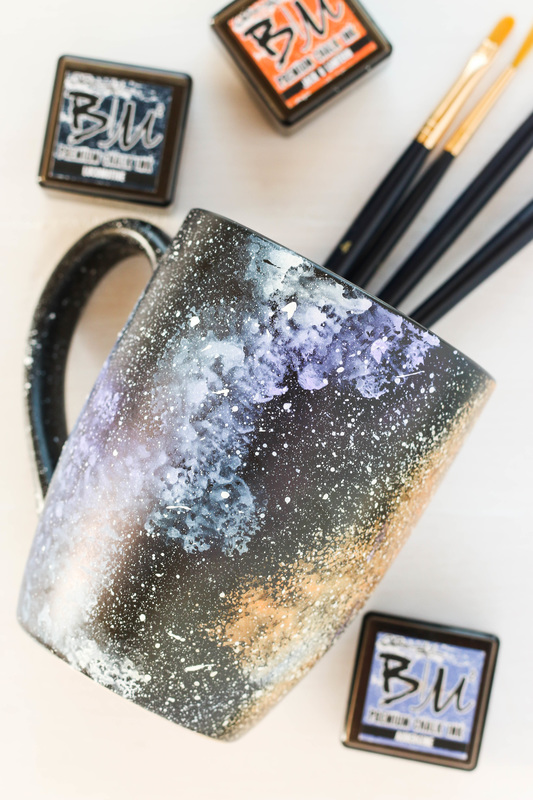
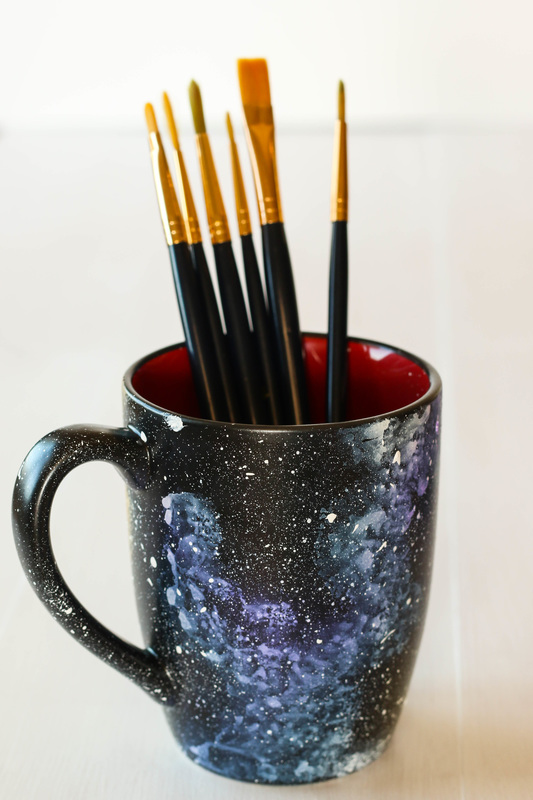
 This card was created using a combination of Distress Inks, Brutus Monroe inks, and some Liquid Elements from Brutus Monroe, as well. If you want more details on it, hop over the the Brutus Monroe Blog where I have a description of the process as well as a video. Since I was having so much fun with these backgrounds, I decided to take it a step farther and discover what other surfaces I could apply these galaxies to. I have a black mug in my craft room that I store my heat tool in. I thought it was the perfect blank canvas to do a little galaxy-ing to (yes, I did just turn the word "galaxy" into a verb). I started by applying some Crystal Tattered Angels paint to the black mug. Then, since I am impatient, I sped up the drying process with my heat tool. The next step was to add some color which I did with Brutus Monroe's Chalk Ink. I decided to use this ink because it does become permanent when dry. Distress Inks would wipe off much too easily. After I had some color down, the last step was to add paint splatters to give the impression of stars. I did this using more of the Tattered Angels paint and flicking it on with a paintbrush. Then, I dried the whole surface again with my heat tool. I plan on using this mug in my craft room to house my heat tool, paintbrushes, and any other little craft tools that might need a home. If you plan on using your mug for drinking or eating out of, you might want to go ahead and find a food-safe and dishwasher-safe sealant to apply over the galaxy background. Without the sealant the paint and ink may rub off and would definitely not be something you would want to ingest. 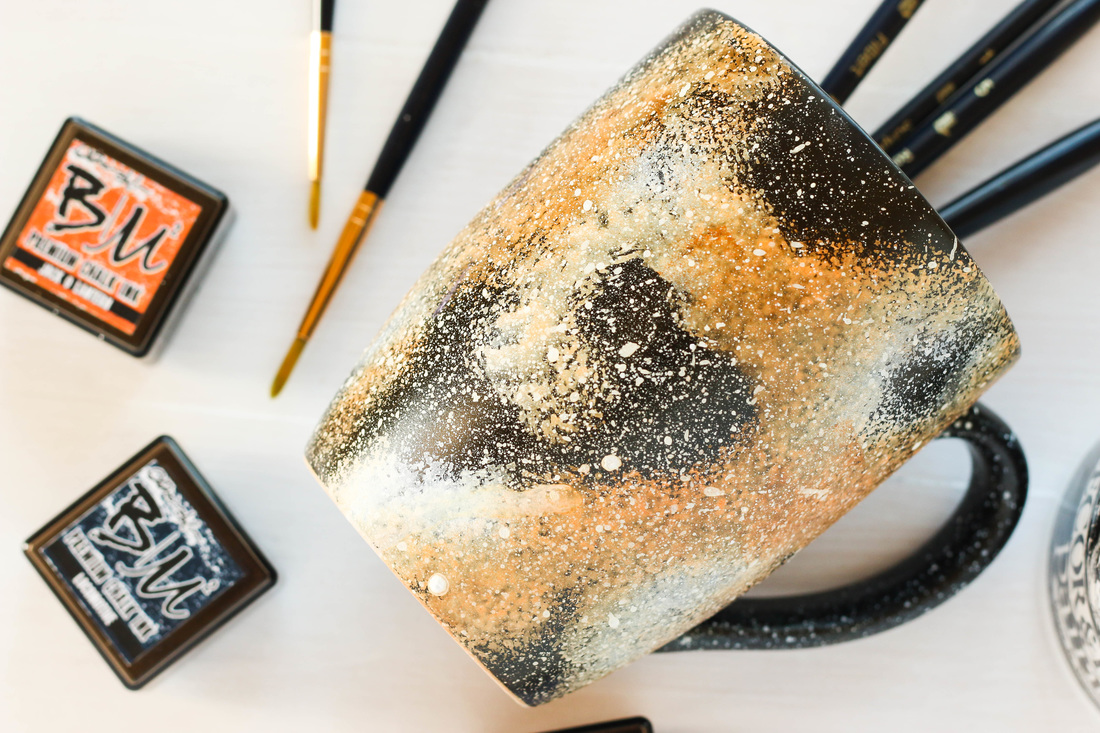
 Thanks for stopping by today and happy crafting!
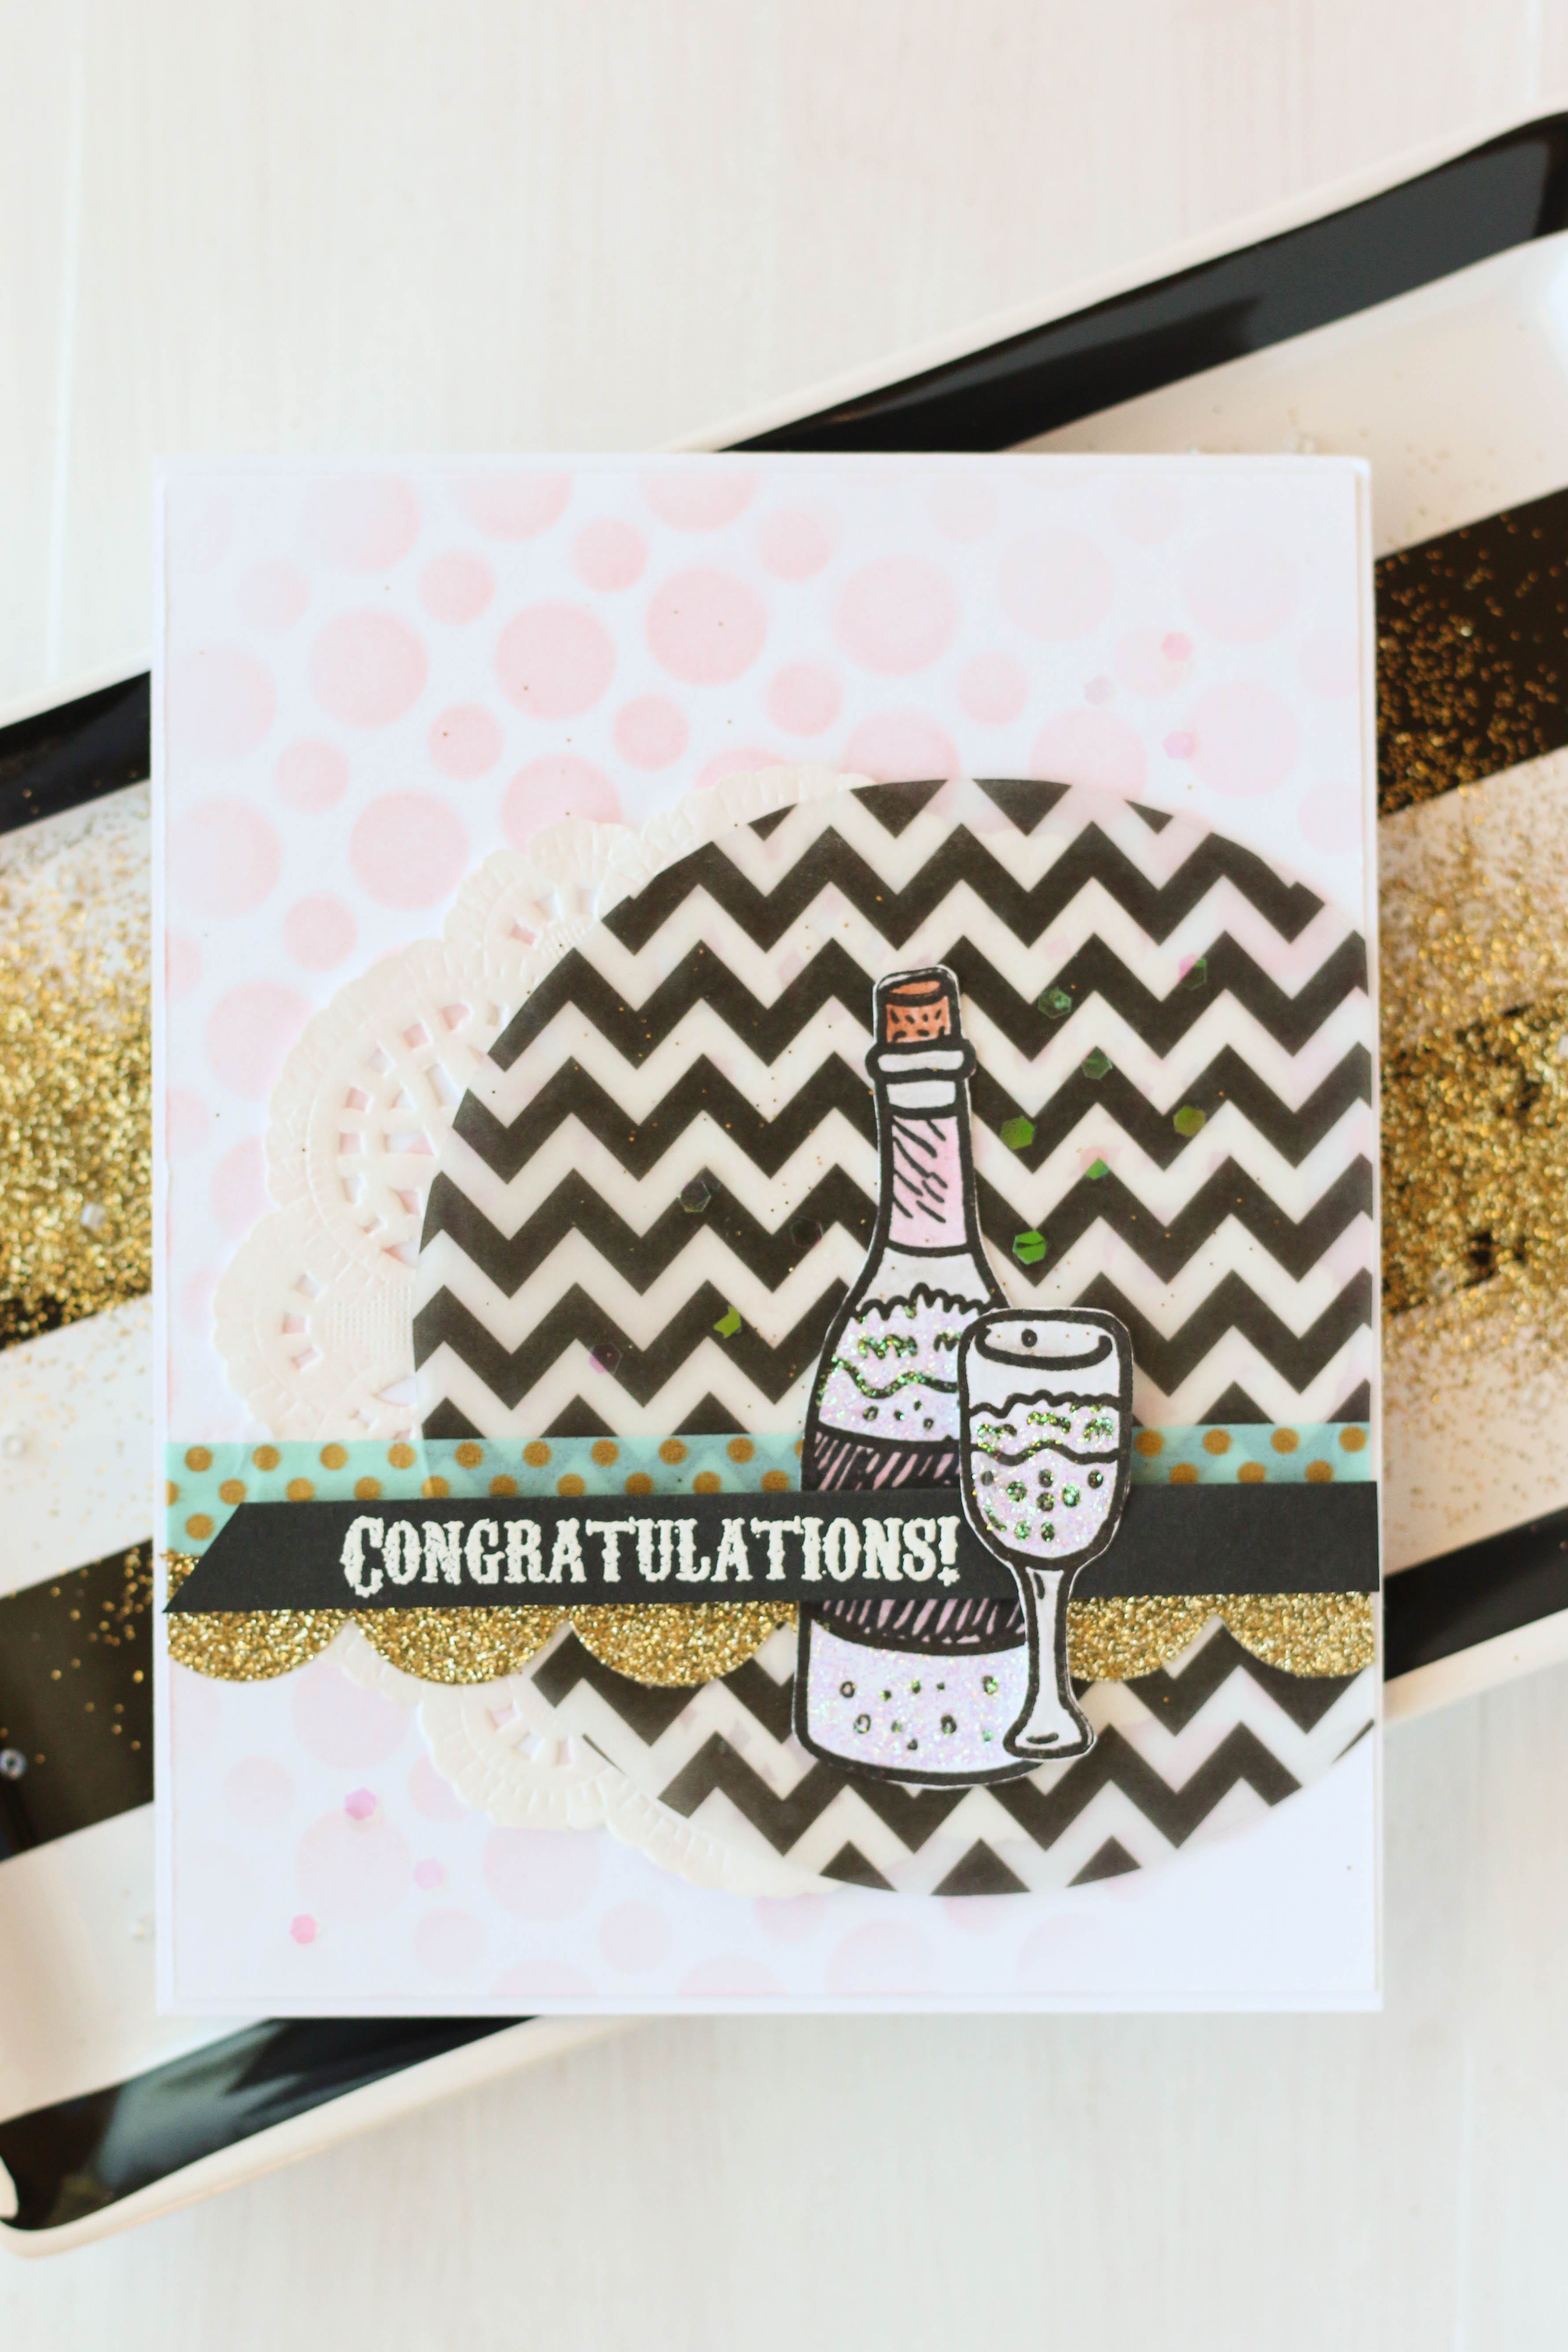
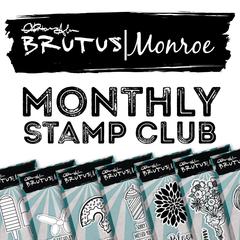
Brutus Monroe offers a great deal with the monthly Stamp Club. Each month, there is a special stamp designed by Christopher Allen and it is totally unique to the stamp club, so it wont be available in the store. December's stamp this year is this fun bottle and glass image.
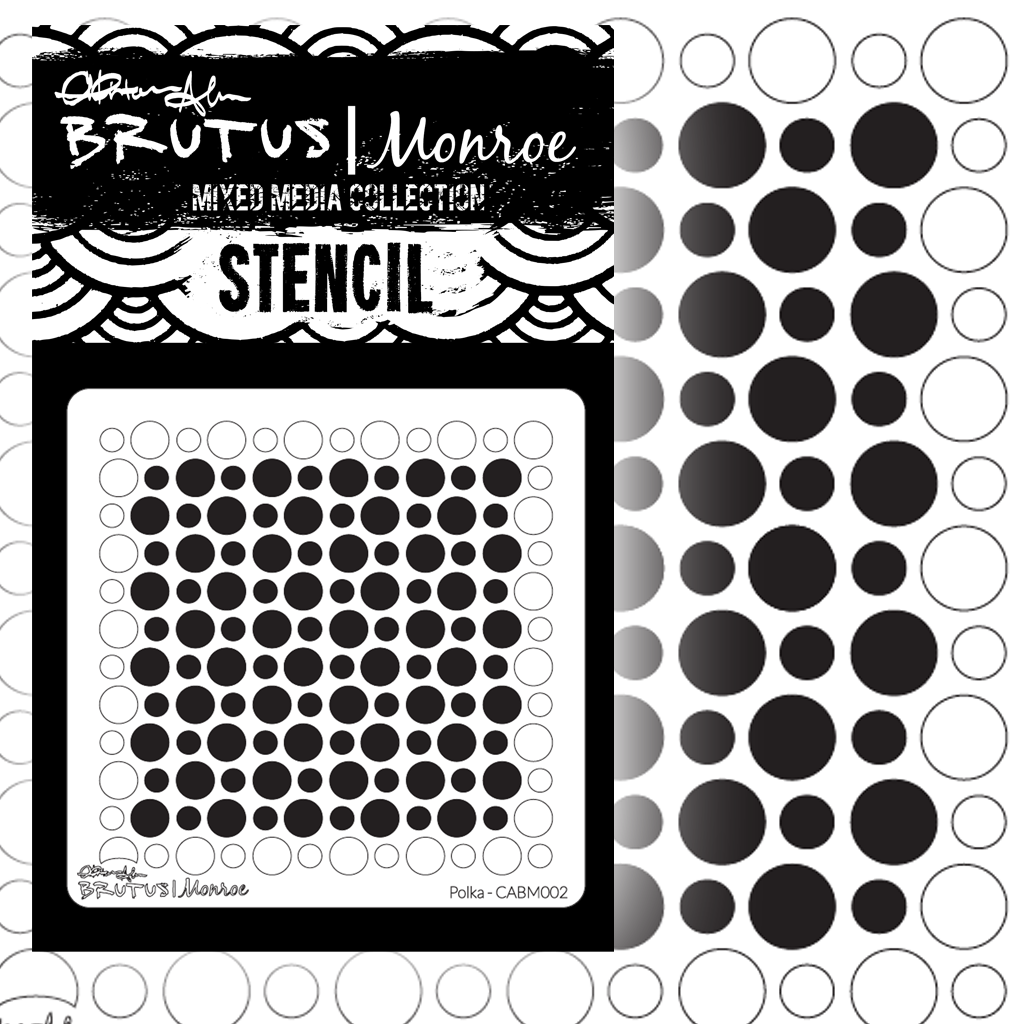
I stamped out the image, fussy cut it out, and set it aside. Then I started building the base of my card. I stenciled some light pink circles on the card base usingBrutus Monroe's Polka Mixed Media Stencil. I thought the circles kind of looked like bubbles. I then cut out a large circle from a chevron piece of vellum paper and layered it off to the side with a paper doily behind it. Then I added some fun washi tape. The gold tape I ran through my Sizzix with my Scalloped Border Die from Lawn Fawn. 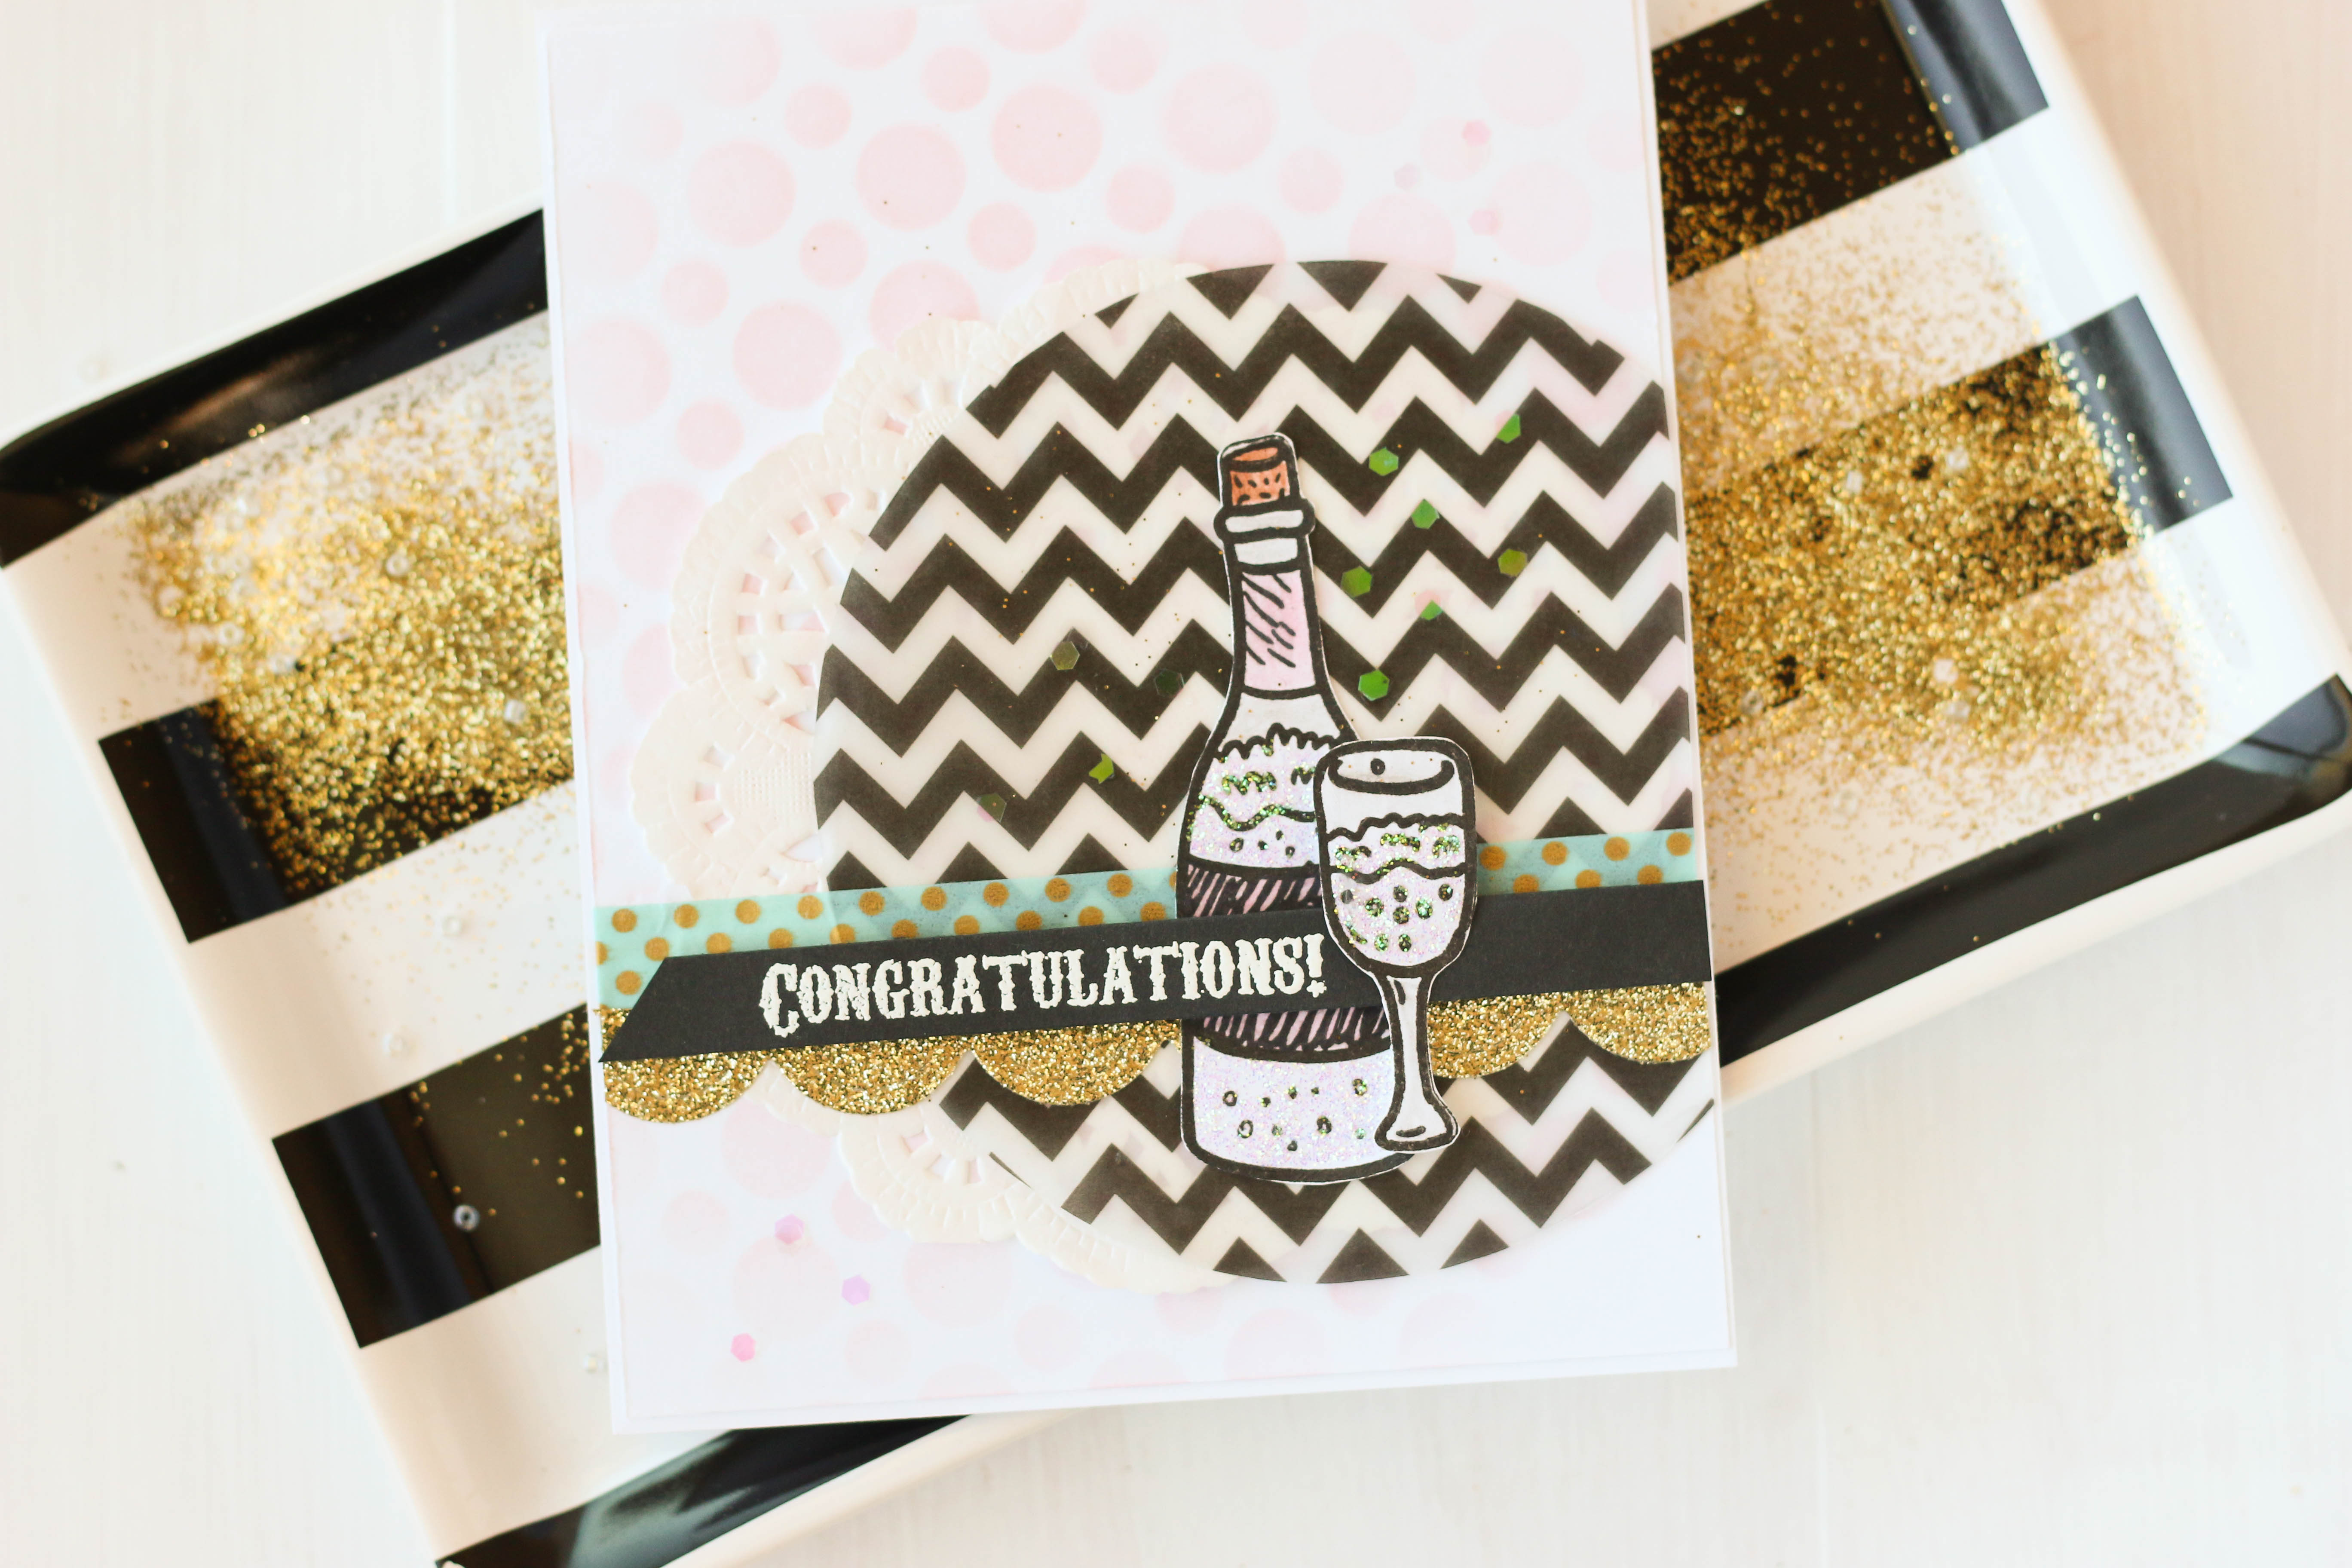
I then adhered the bottle down over the washi tape. I stamped the word "congrats" on a thin piece of black cardstock, and embossed it in white. I stuck it down over the bottle using a few pieces of foam adhesive to give it some dimension. Then, I added the glass off to the side and over the sentiment strip, again using some foam adhesive.
The very last thing I did was add some tiny pieces of iridescent glitter to the background, and I also added some Stickles to the liquid inside the bottle and the glass. 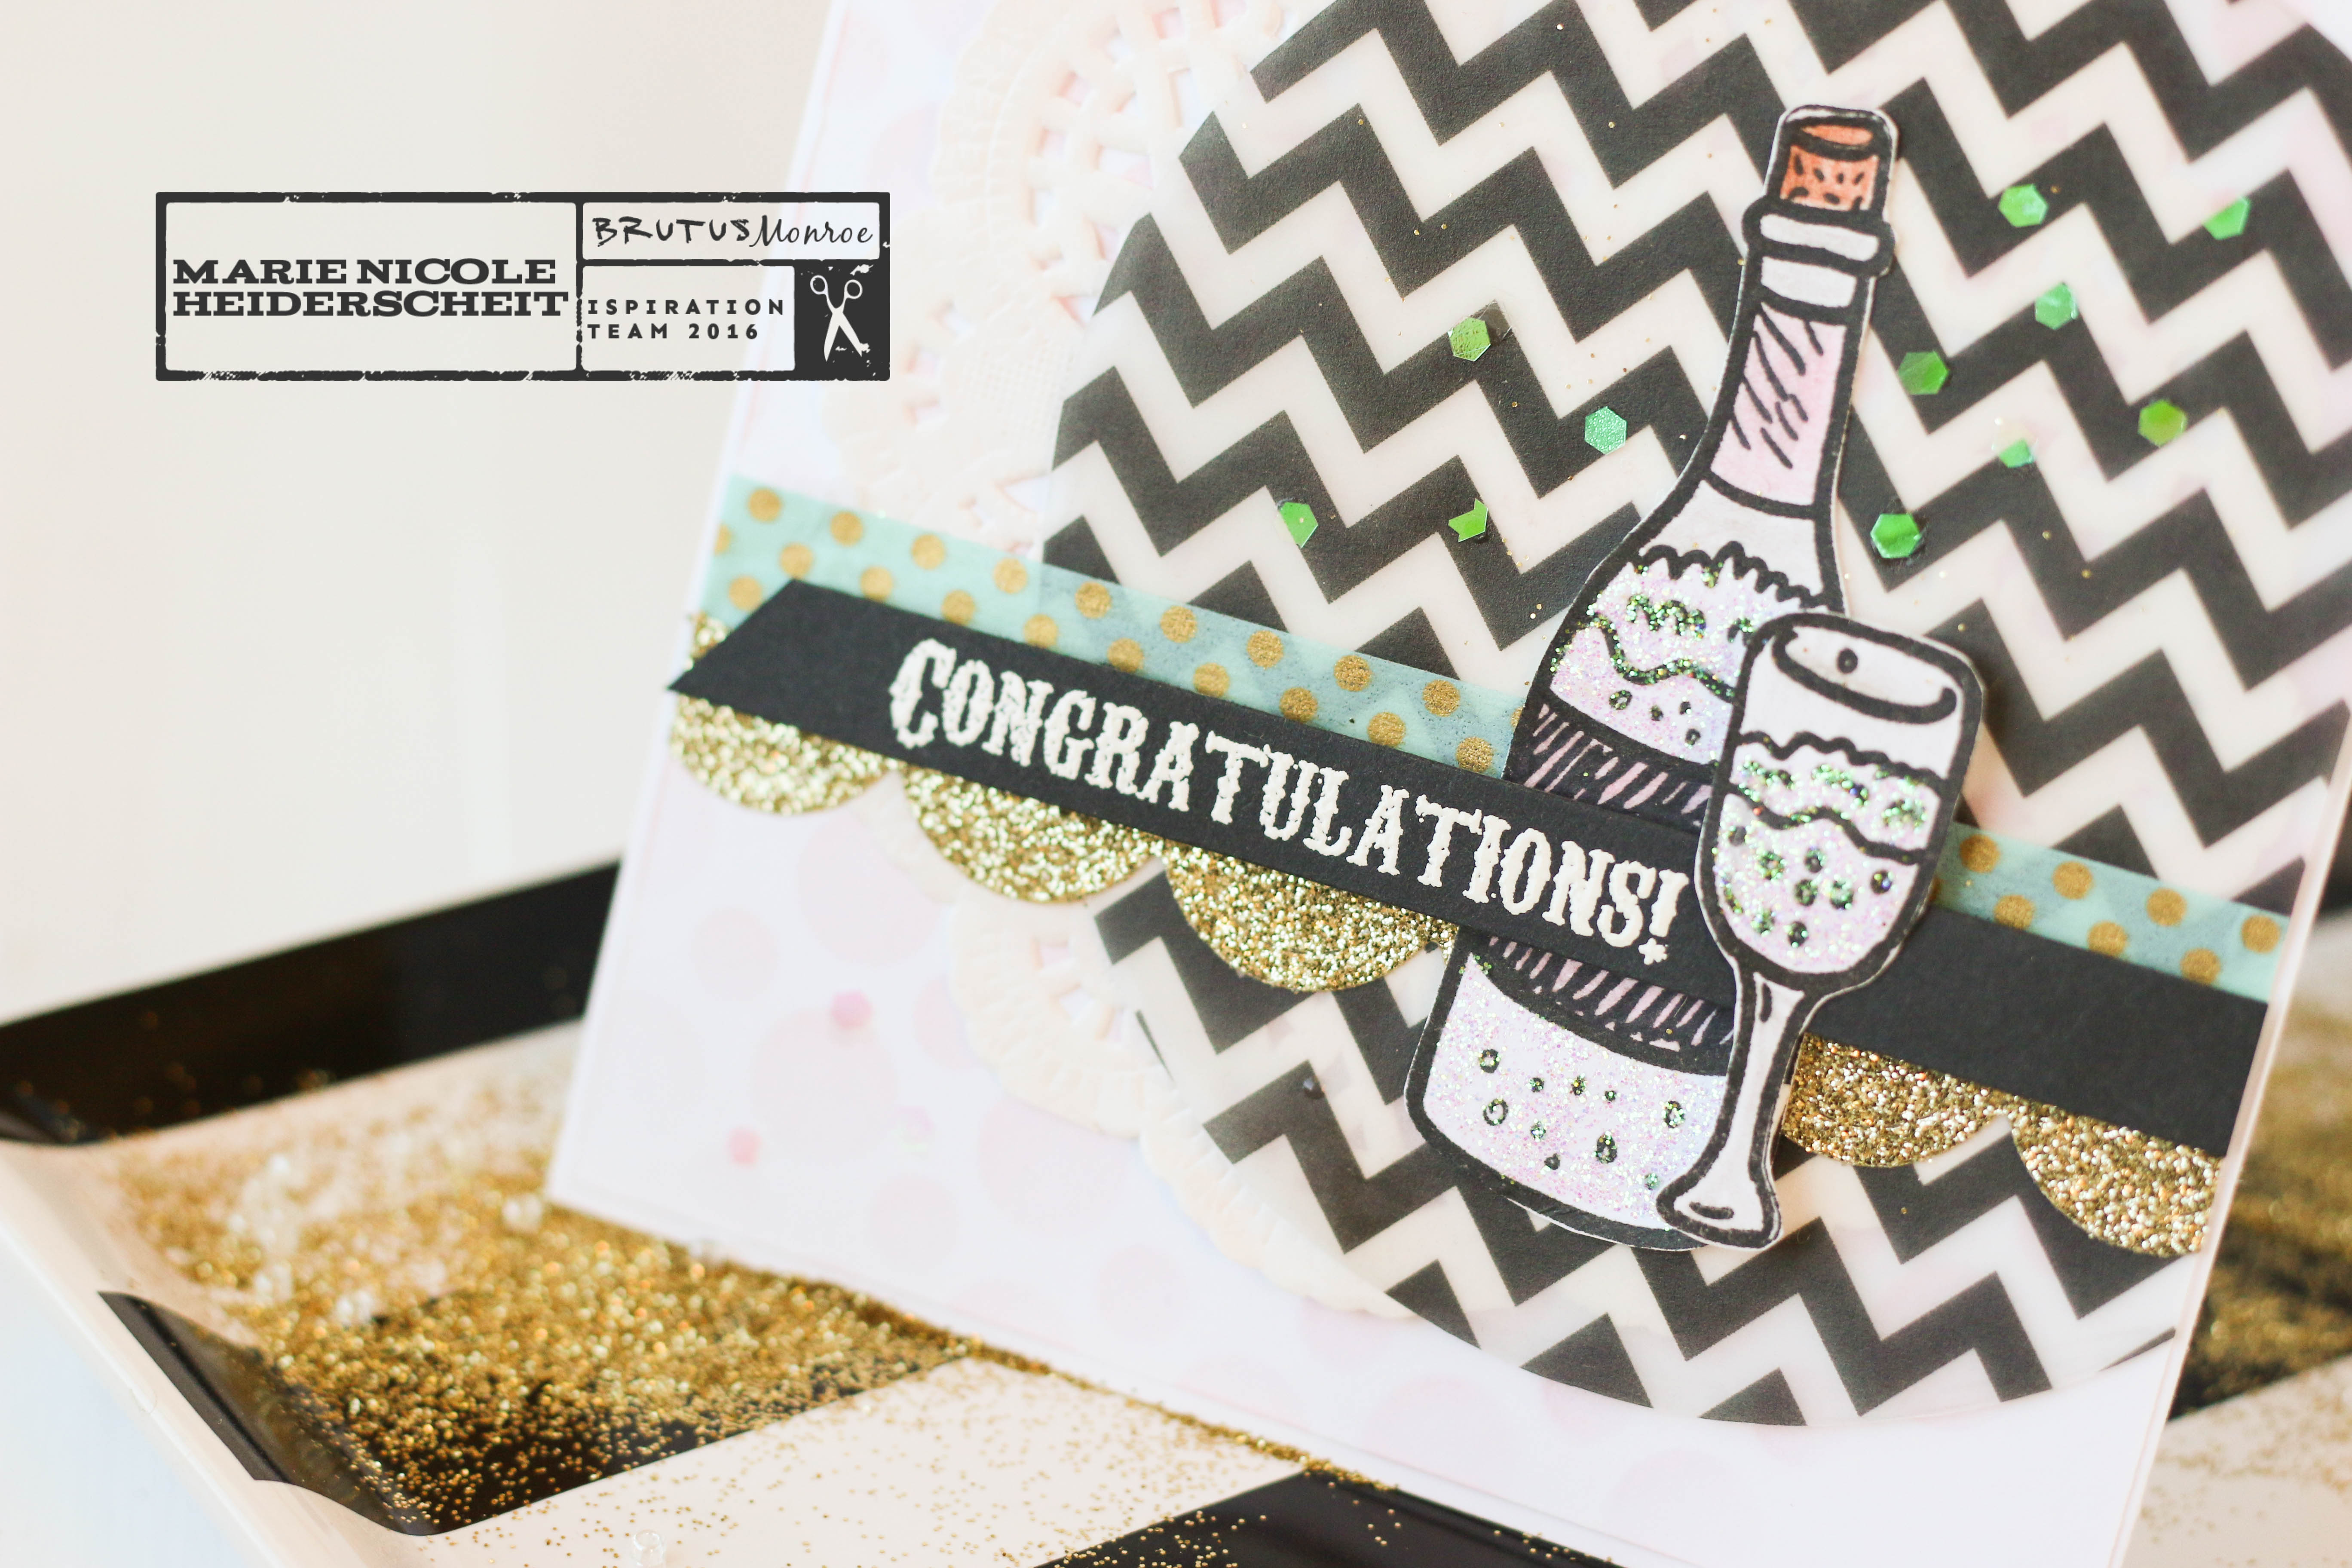
I thought this was a really fun stamp set, and not only is it perfect for New Year's, but it can also be used all year long for weddings or other events that you might want to celebrate. This card ended up having a somewhat girly feel with the light pink and the glitter, so I think it would be perfect for a bridal shower or bachelorette party! Thanks for stopping by today! Dont forget to check out the Brutus Monroe store and Stamp Club. If you are interested in any of the other items I used on this card, I have included a few links below. I'm also linking up with: Simon Says Stamp's Wednesday Challenge! Happy Crafting!!
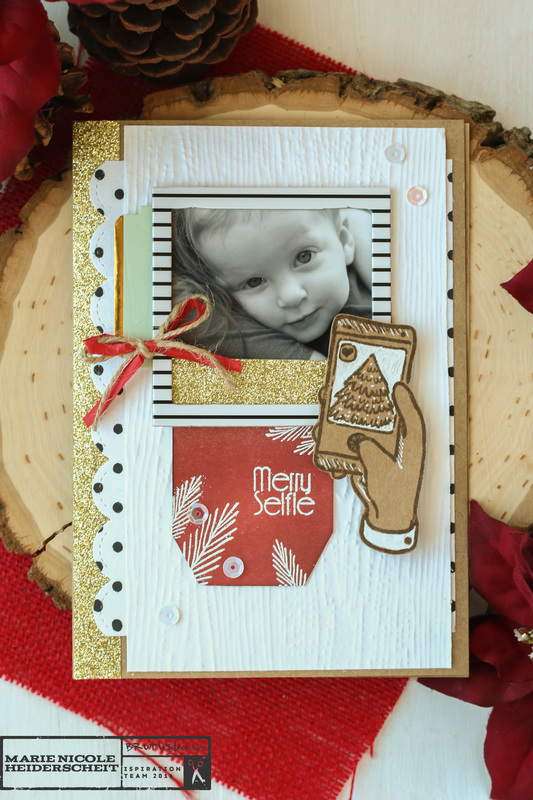
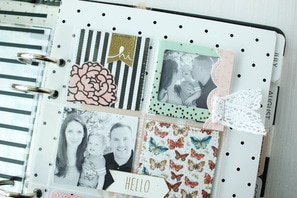
Hey, everyone! Did you catch my card last Wednesday over on the Brutus Monroe's blog? I used their November stamp from their stamp club as the inspiration for this project. Since the stamp is centered around photos and selfies, I felt it was perfect for adding a little something special to a Christmas card with a photo on it. We love sending and receiving photos during the holidays, anyway, so why not just incorporate that idea into a card? You can "scrap" your photos on a card and send the whole thing off to your loved ones. This particular card is on a 5x7 card base, so I love that if you wanted to, you could just place the whole card into a frame and set it on display. What Grandma wouldn't love that?!? Anyway, if you want to see more photos and details on how I put this card together, you will have to hop on over to Brutus Monroe and read all about it there. Thanks for stopping by and Happy Crafting! 
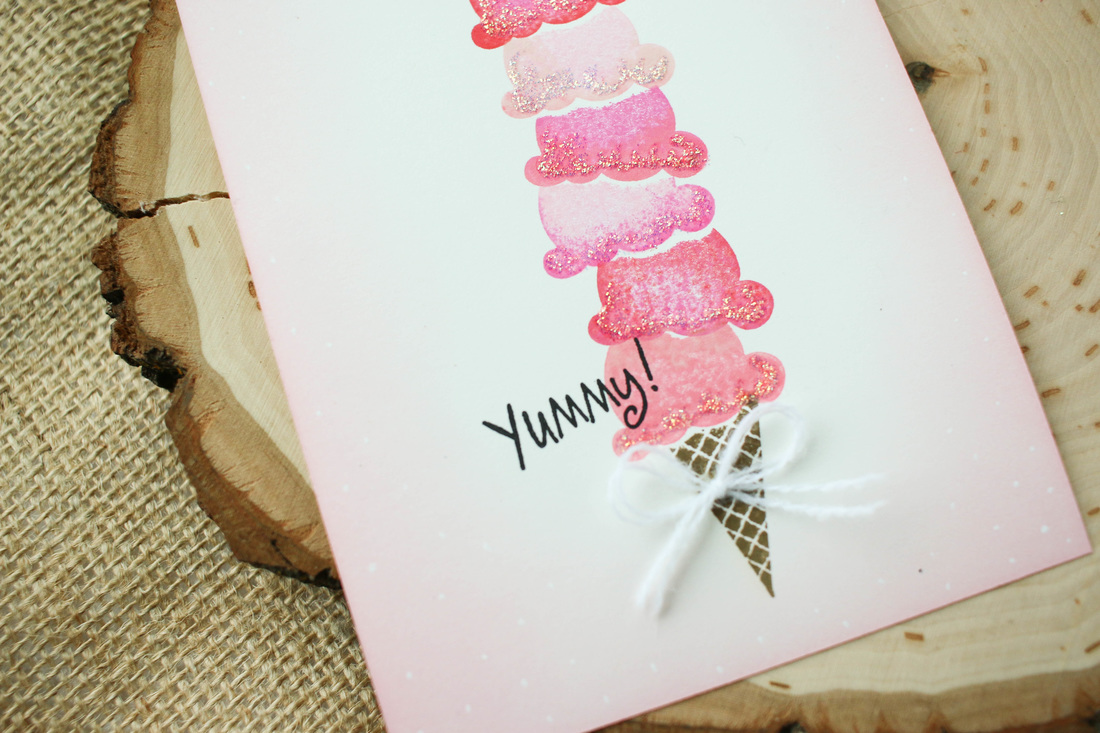
I have a pack ofCanvas Corp postcards and lately they have just been begging me to be decorated. I decided to go ahead and decorate them to send to my nieces and nephews.
I have a Stampin Up! ice cream cone stamp set that I thought would be fun to create a super tall ice cream cone with. I first stamped the ice cream scoops onto some post it note paper, then cut out the image to use for a mask. Each time I stamped a scoop, I covered it with the mask and then stamped another scoop over the top in order to stack the scoops on top of each other. Then, I used a bit of Distress Ink to ink around the edges. A little Versafine Black Onyx ink was perfect for stamping my sentiments with. To finish, I glued on a little bow and added some glittery Stickles to the pink postcard. 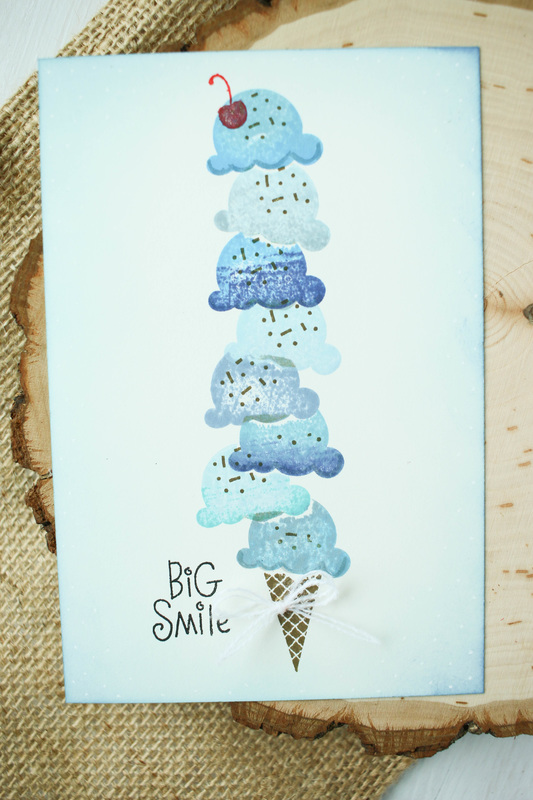
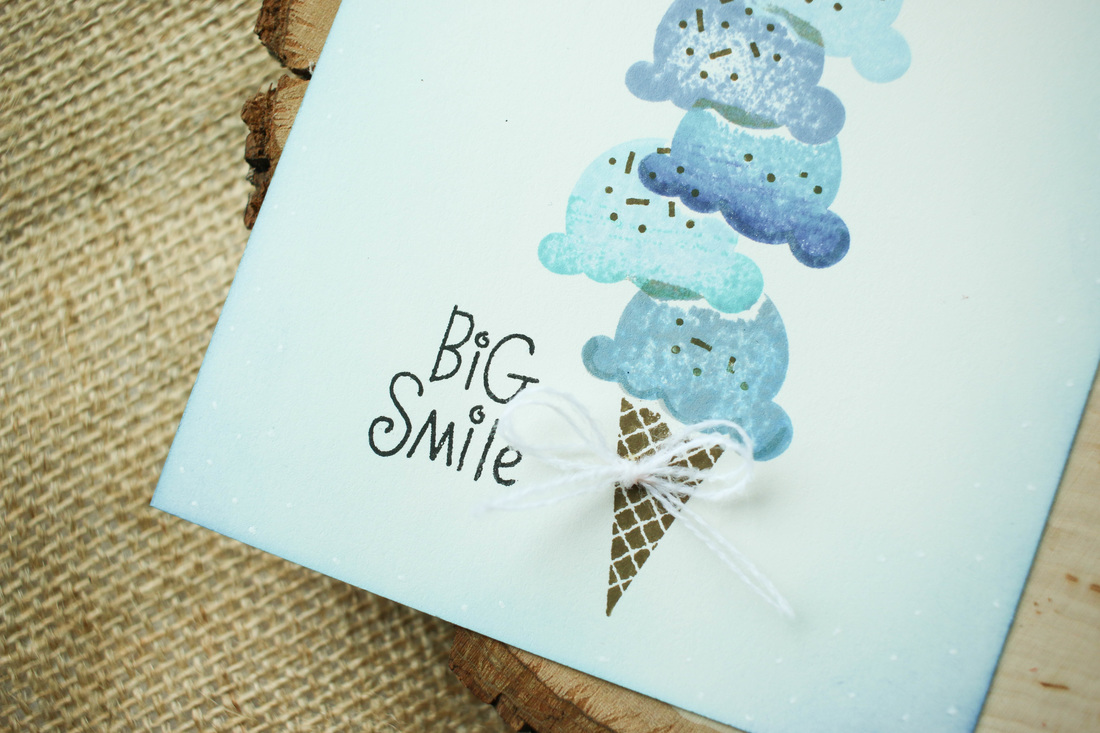
Canvas Corp postcards are 4x6 in size, and they are able to be sent through the mail like a regular postcard. I decided to put my postcards into an envelope to send them together. I also added in some cute die cuts that I thought the kids might like to play with. Super easy and cute! If you do ever decide to send a decorated postcard of your own, it might help to just ask your postal worker for some tips, and if it meets postal regulations. Im also linking this up with: Simon Says Stamp's Monday Challenge! Simon Says Stamp's Wednesday Challenge! Happy Crafting!
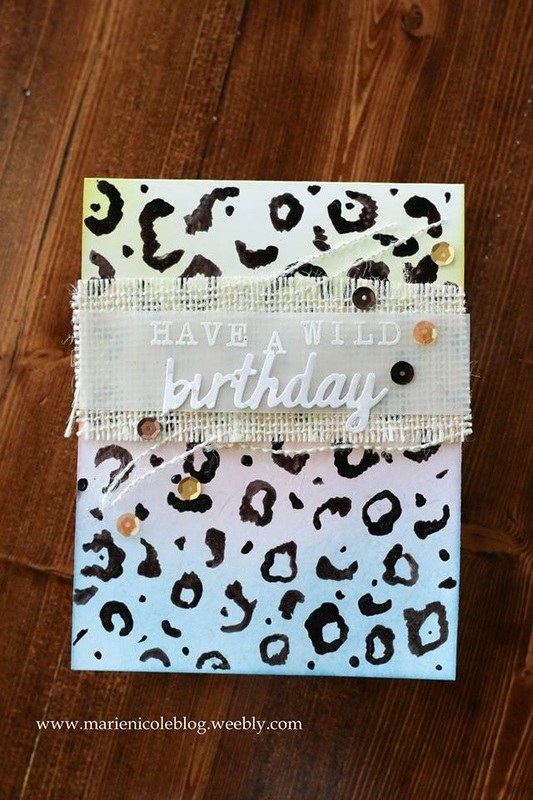
For this card I channeled my inner Lisa Frank. I remember being a girl and saving all my earnings so I could go buy that set of Lisa Frank stationary or stickers. I loved all the bright colors and fun animals! I started by blending several colors of Distress Ink on the background. I used Broken China, Spun Sugar, and Squeezed Lemonade. Then, I took some Java Glaze from Tattered Angels and painted on the cheetah print with a paintbrush. I have a cheetah print pajama top that I actually copied the print from (glamourous, I know!). When the glaze was dry, I cut a piece of CCB burlap and then embossed the sentiment in white on a piece of vellum. The word "birthday" I cut with my Sizzix and then used my Tombow Stamp Runner to adhere it down. The last step was just to embellish it using a few Doodlebug sequins! I'm linking this card up with: Simon Says Stamp's Wednesday Challenge! 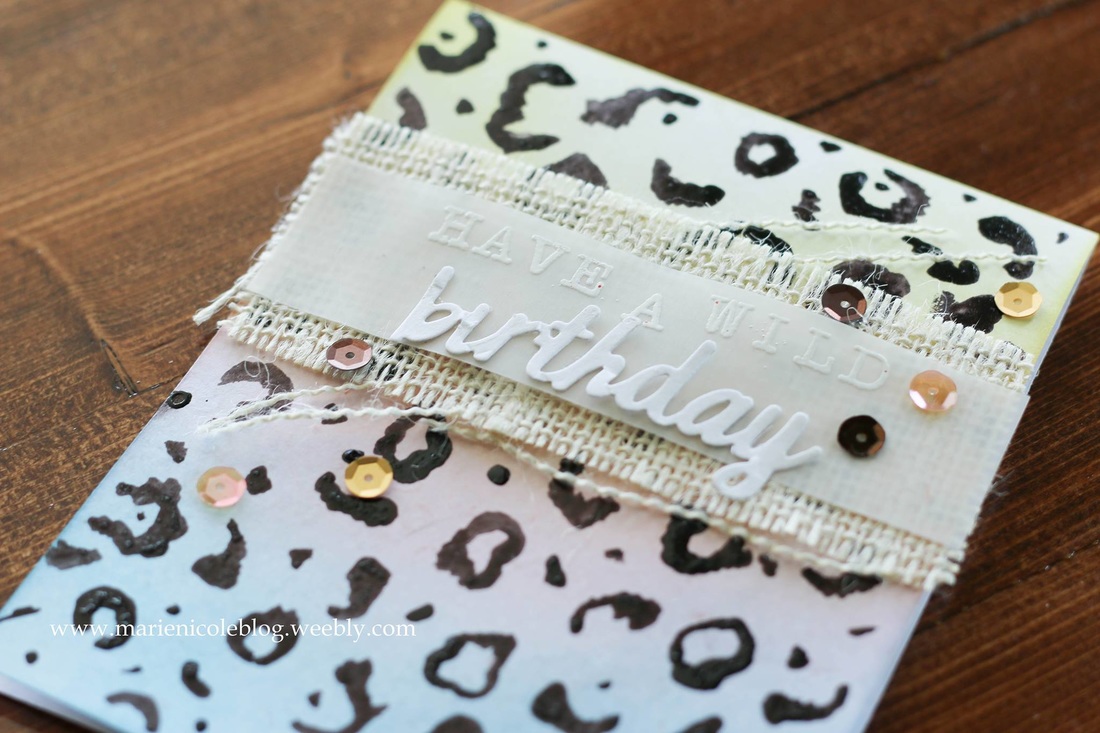
Thanks for stopping by today and if you are interested, check out some of the products I used!
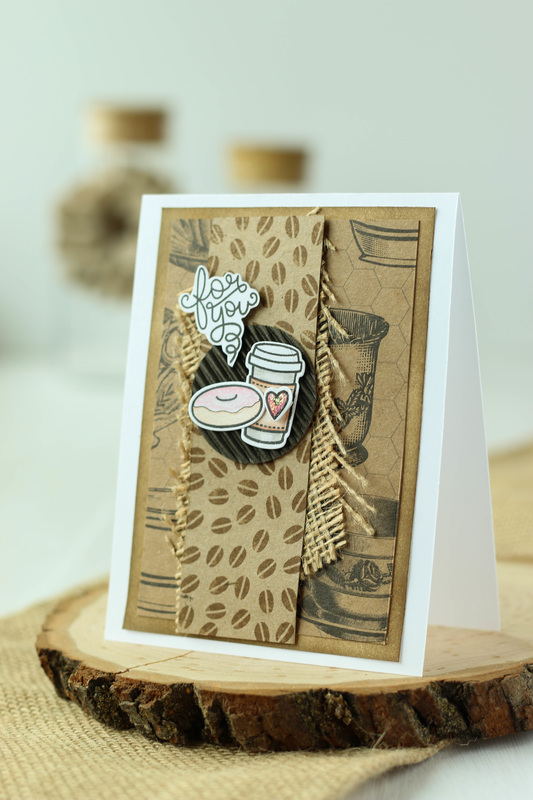 I just love Lawn Fawn stamps. They have such cute images and clever puns! I recently got their "Love You A Latte" stamp set and Im in love! Its full of cute little coffee and tea stamps. When I was looking through the stamps I immediately thought of Canvas Corp's Beans and Bags papers. I thought they'd go well together so I went ahead and matched them up! I built the background using a scrap of Beans and Bags papers. I also added a few other layers, including a piece that I Distress Inked to match, and a kraft piece that I stamped some little coffee beans on. I also added a scrap of burlap for some texture. 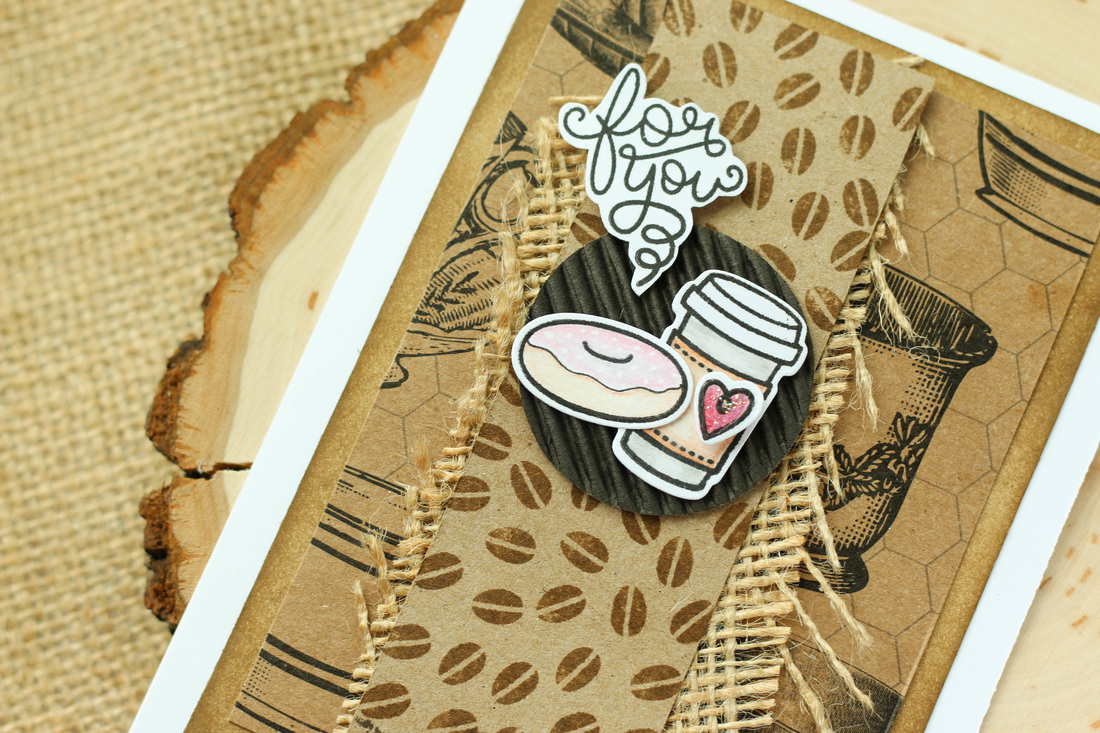 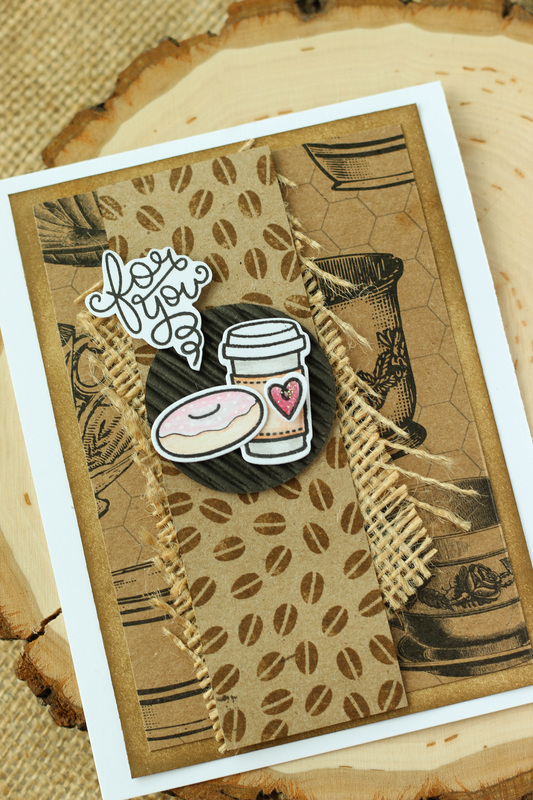 I also got the dies that coordinate with the stamps, so I stamped them out, colored them, and added them to the front of the card. I love how the background is so neutral, and then the stamps add a pop of brightness. I had some of the die cuts leftover that I wanted to use, so I went ahead and created a gift card holder out of Canvas Corp's mini bags, as well! 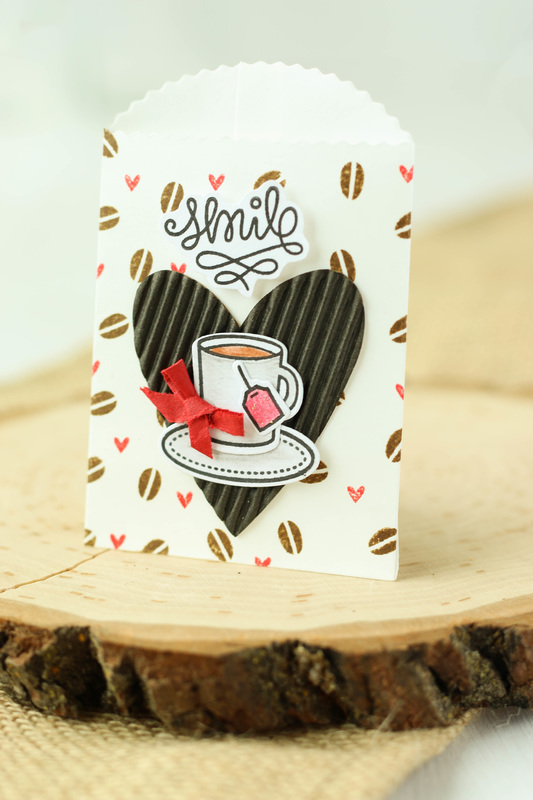 Its so fun to take a plain white palate and stamp a pattern on it! I used Distress Inks to stamp the hearts and coffee beans on the background. Then, I layered some E-Flute paper in Chocolate brown over the pattern. I die cut the E Flute into a heart. I thought at first that maybe the E Flute wouldnt work so well being dir cut, but it went through my Sizzix beautifully! I then just adhered the die cuts on top of the heart. It's so cute! I could see giving someone a gift card to their favorite coffee place in this bag. 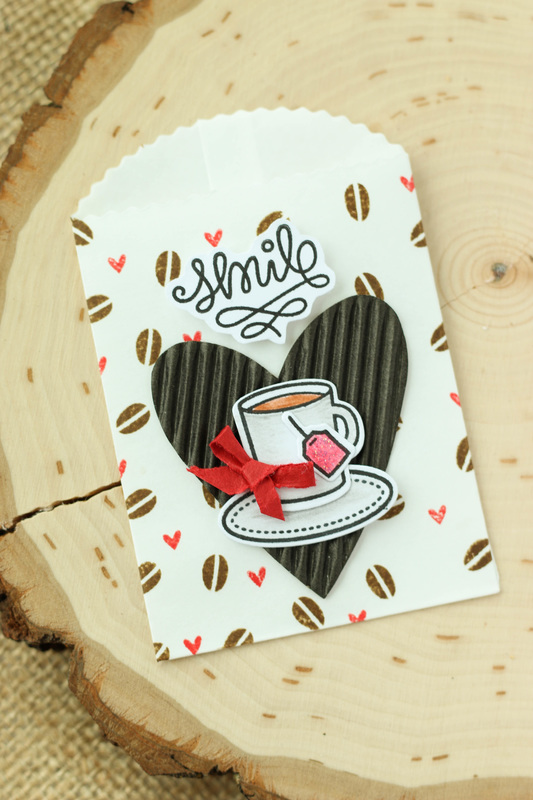 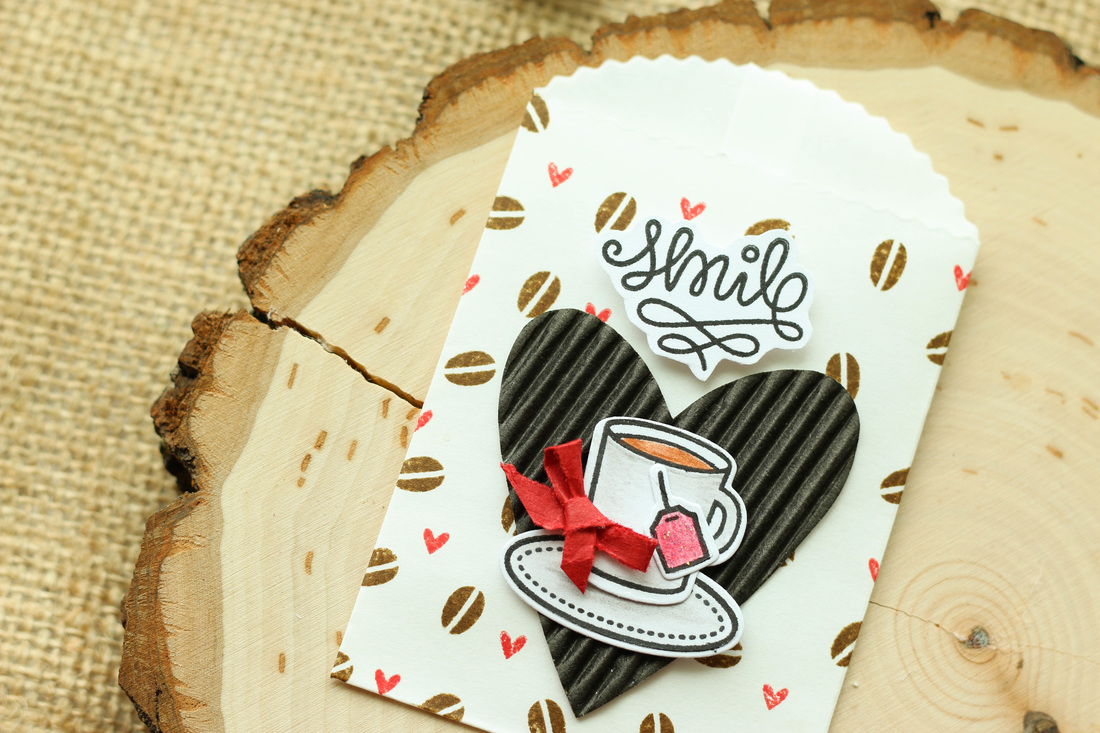 So don't be afraid to match up some of your favorite brands and craft with them side by side! You might find that Canvas Corp pairs beautifully with a lot of stamps and products from other companies! Happy Crafting!!! 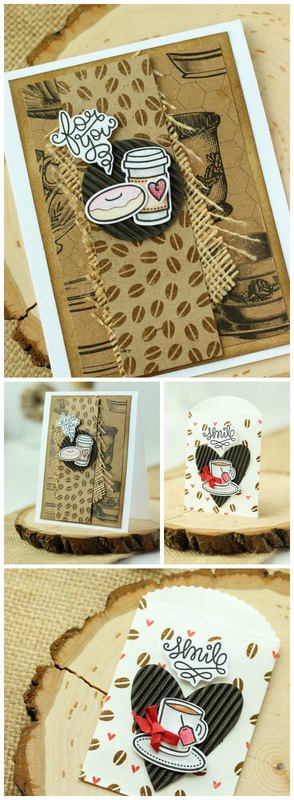 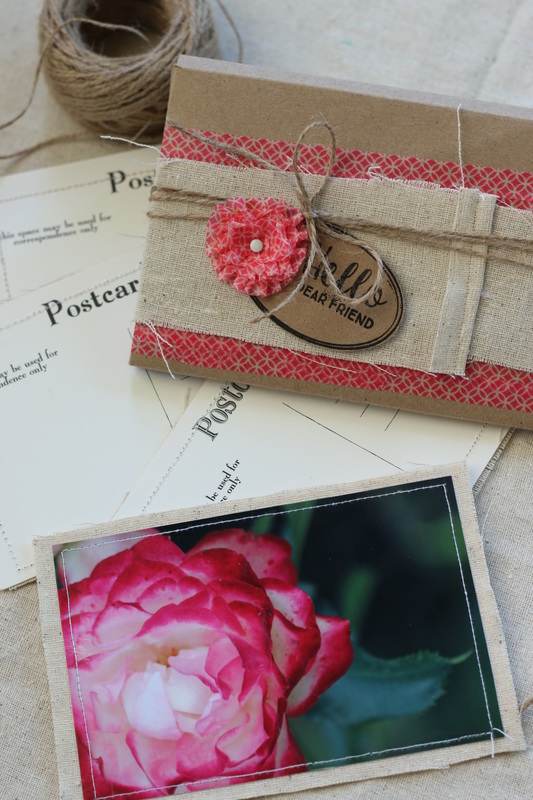
I thought I'd share with you a fun and easy way to use some of your own photos to create some amazing postcards!
CCB has some fun postcards in their shop that I used for this project. I started out by cutting the postcards down to size from the 12x12 sheet (they also have precut postcards available, but this is what I had on hand). Then, I cut a piece of canvas fabric just a tad larger than the postcard. Then I adhered the canvas to the postcard and my photos to the canvas. To add a border and to make sure all the layers stayed together, I also ran along the edges with my sewing machine. It's that easy! To bring the whole set together I also made a fun little box to put them in. I have the whole process and instructions in this video. Enjoy! 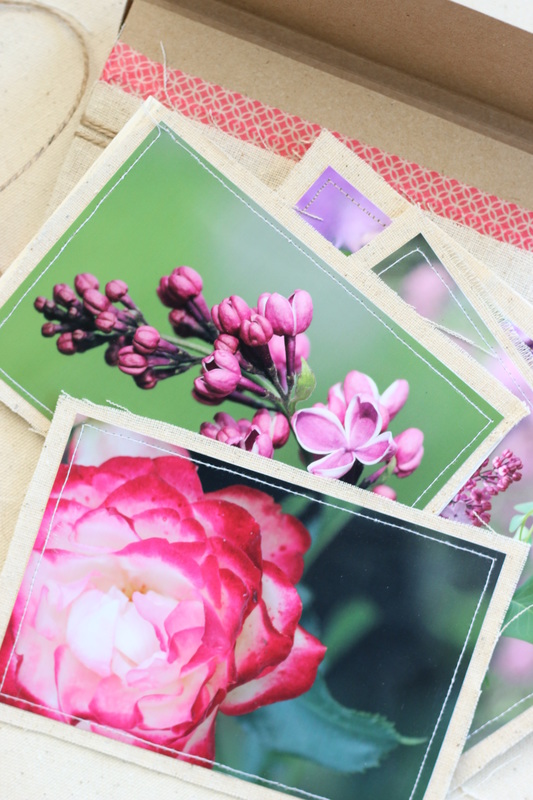
Thanks for stopping by and I hope you enjoyed it!
Happy Crafting!
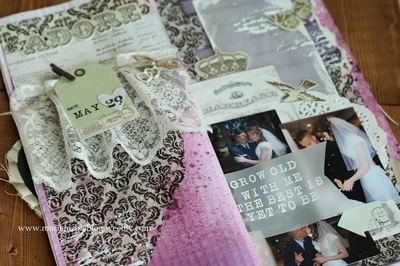
Over at Canvas Corp's Facebook group, they like to do some fun swaps from time to time. I recently took part in a postcard swap and a tag swap. Let me just say there are some very talented artists out there and I have enjoyed swapping with them! I wanted to share the items I received from these swaps, because I just can't bear to get these beautiful pieces and then put them away where no one will see them. That totally goes against what creating is about- SHARING! This first photo is my postcard that I received from Kim over at Craftisan Studios. When I first took this postcard out of the envelope I thought the flowers were a stamp that she colored in, but after reading her little note on the back, I learned that she drew it! Isn't it amazing? I wanted to get a good photo of it so you could see the lovely details she added. Thanks so much, Kim! 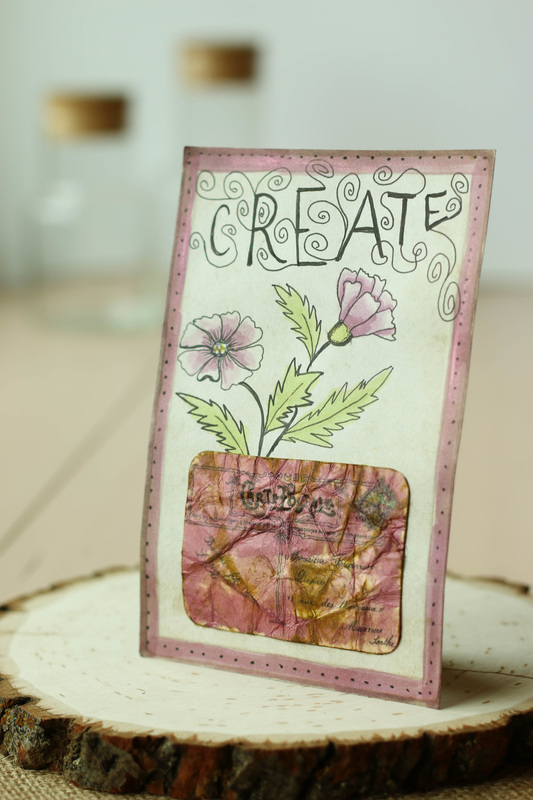 For the tag swap that I took part in, my swap buddy was Midge from Midge and Madge Mingle. She sent me this adorable little ice cream truck tag, and she explained that she used some Canvas Corp canvas fabric for the tag itself, and then added her embellishments on top. Its so cute and summery! 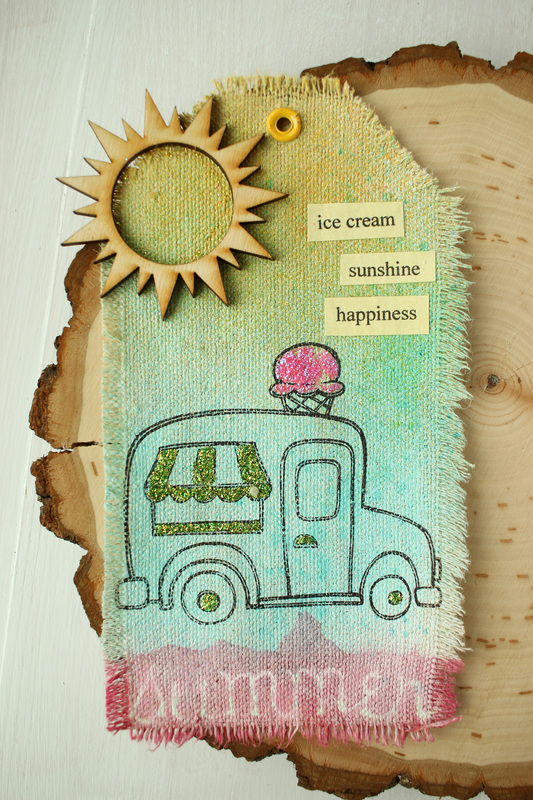 She also sent me some fun rub-ons which Im totally tickled about, because we crafters always need to increase our stash, right? :D
I absolutely love getting to know more people in the crafting community and I look forward to future swaps! If you are interested in any CCB swaps, or are just looking for inspiration, giveaways, challenges, and more crafty fun, join the Canvas Corp Brands Collective group on Facebook. See you there! 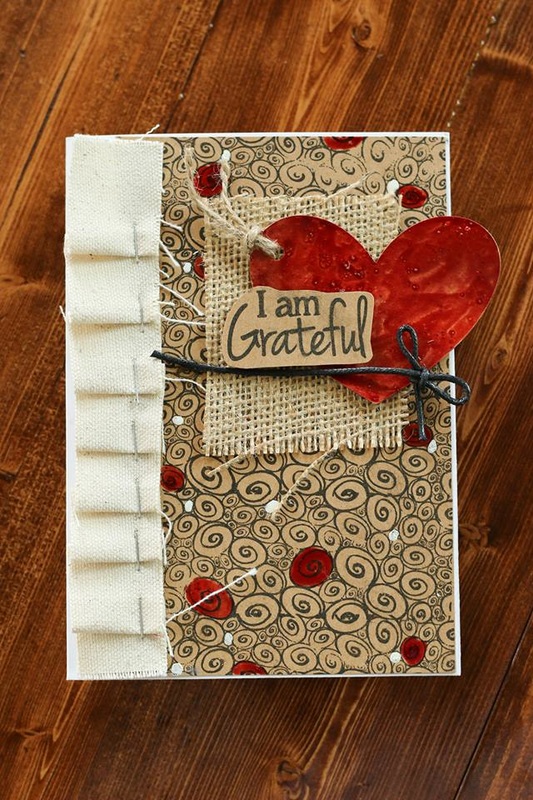
This card was really fun to do. I used all Canvas Corp products so if you'd like, you can head over to their store and put together this card for yourself! Check out the Canvas Corp Blog post HERE.
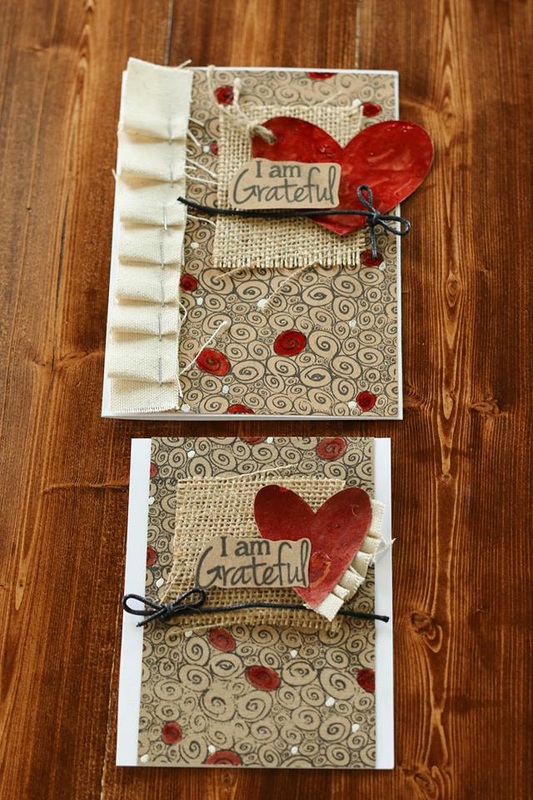
I did some stamping with the Grateful Stamp set and a little painting on the background. Then, I layered on some burlap, heart tags, and added some fun canvas ruffles. It's all very simple but comes together easily!
Happy Crafting!
Watch the video I put together to see the whole process in detail!
Here's some fun products I used:
|

Pin it!

AuthorSo glad you found me! This blog is my little space where I can share bits about my life and my latest crafting projects (mostly handmade cards). My goal is to share, inspire, and to be a positive presence in the creative community. 

Find me on Instagram!Archives
January 2018
Categories
All
Link Love
 

|


 RSS Feed
