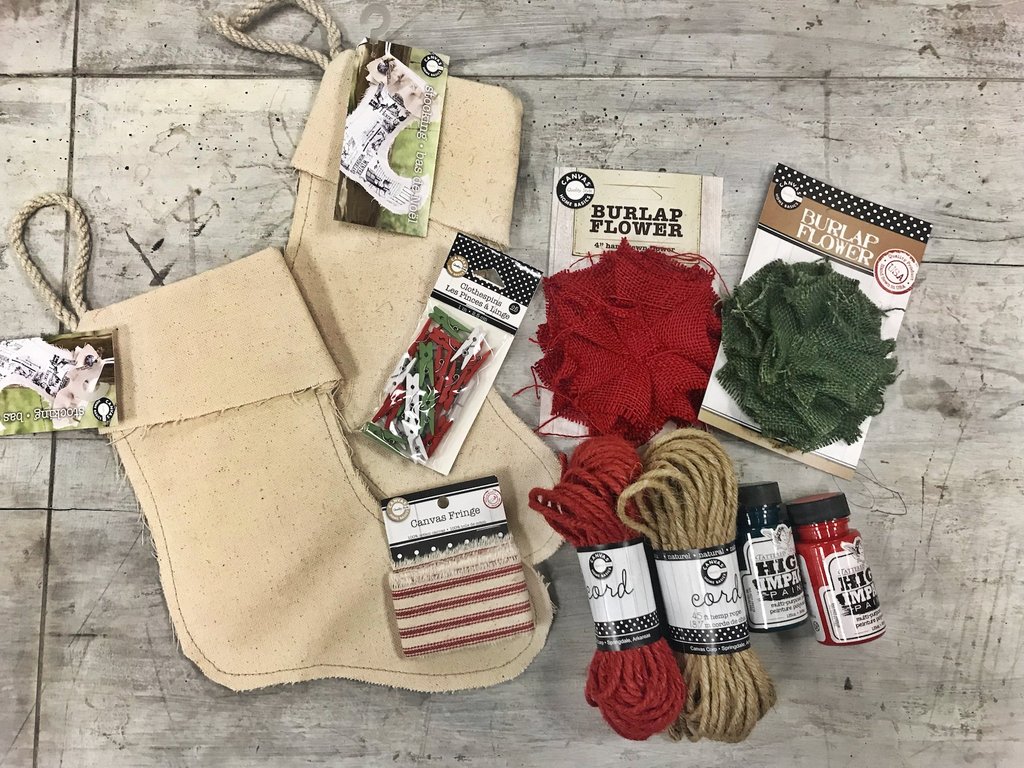
 I'm so excited to let you all know that this year for the holidays, I have teamed up with CANVAS CORP BRANDS to bring you this fun stocking decorating kit! CCB asked a few of us on the Crew to pick some of our favorite things to group together and offer it at a discounted price. This box is valued at $40, but Canvas Corp is able to offer it at about $25. That's a huge discount! I selected these items with the theme of red and green DIY stockings in mind. There are two plain canvas stockings along with burlap flowers, ticking fringe, two colors of cord, a package of mini clothespins in Christmas colors, and two bottles of Tattered Angels' High Impact paint in red and green. Everything you might need to create some stunning stockings with! I will be doing my best to decorate a few samples of these stockings and posting them here on the blog as inspiration for what you might want to do with your stockings, as well. These are fantastic blanks to stencil, write, iron-on, applique, sew on, and much more! I think they would make fabulous gifts, too, if you filled them with goodies to give away. So please, take a look at this kit in the CANVAS CORP BRANDS STORE! ***GIVEAWAY ALERT!*** Canvas Corp has also been so generous they are letting me GIVE AWAY ONE of these kits to one of my lucky followers! I will be working on the best way to go about a giveaway and I'll be posting it soon, so keep an eye on my social media for your chance to win! Thanks for stopping by. Happy Crafting!
0 Comments
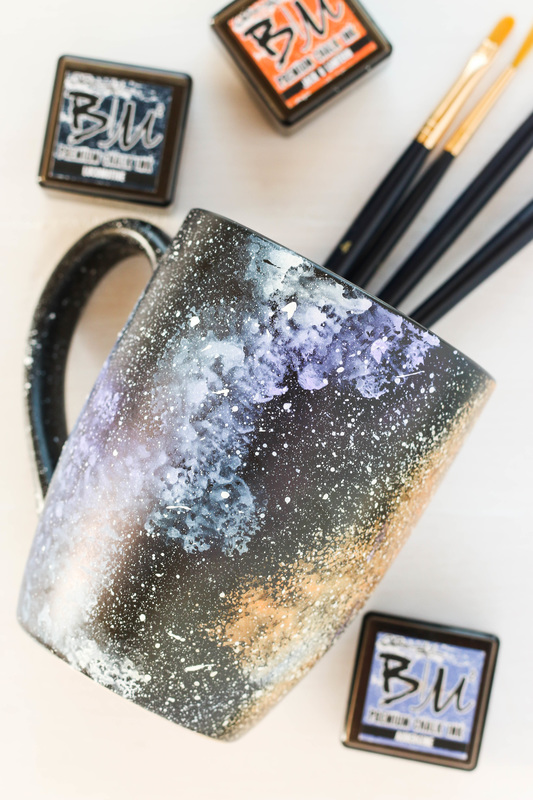
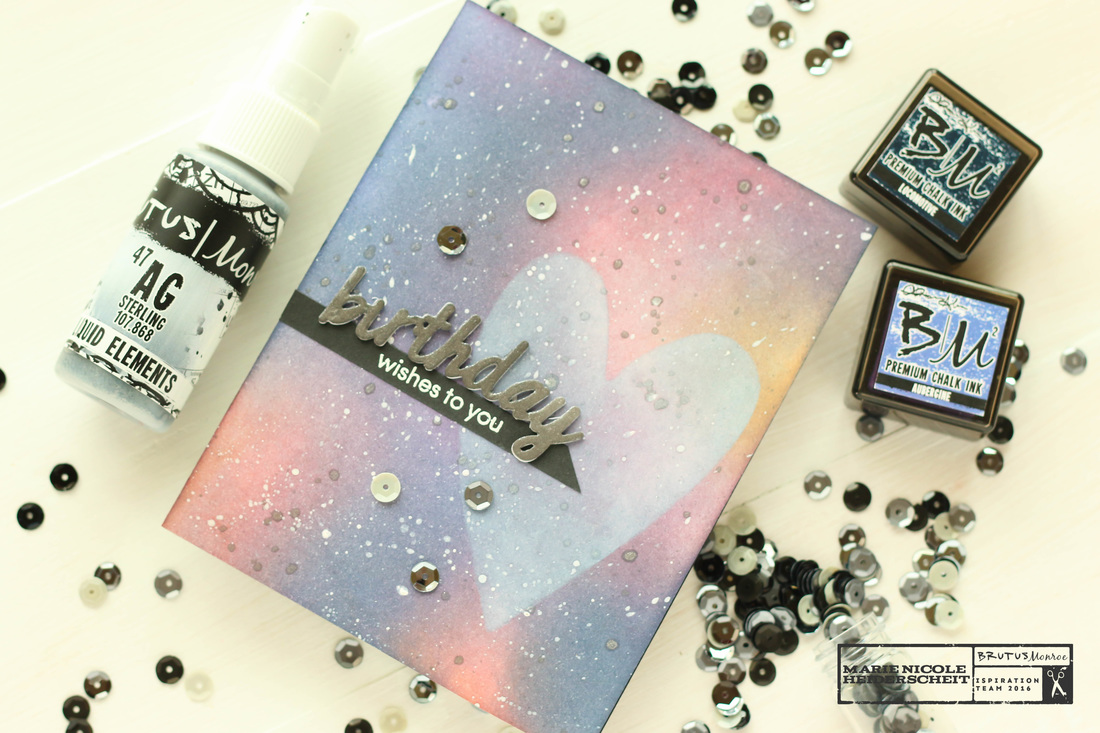
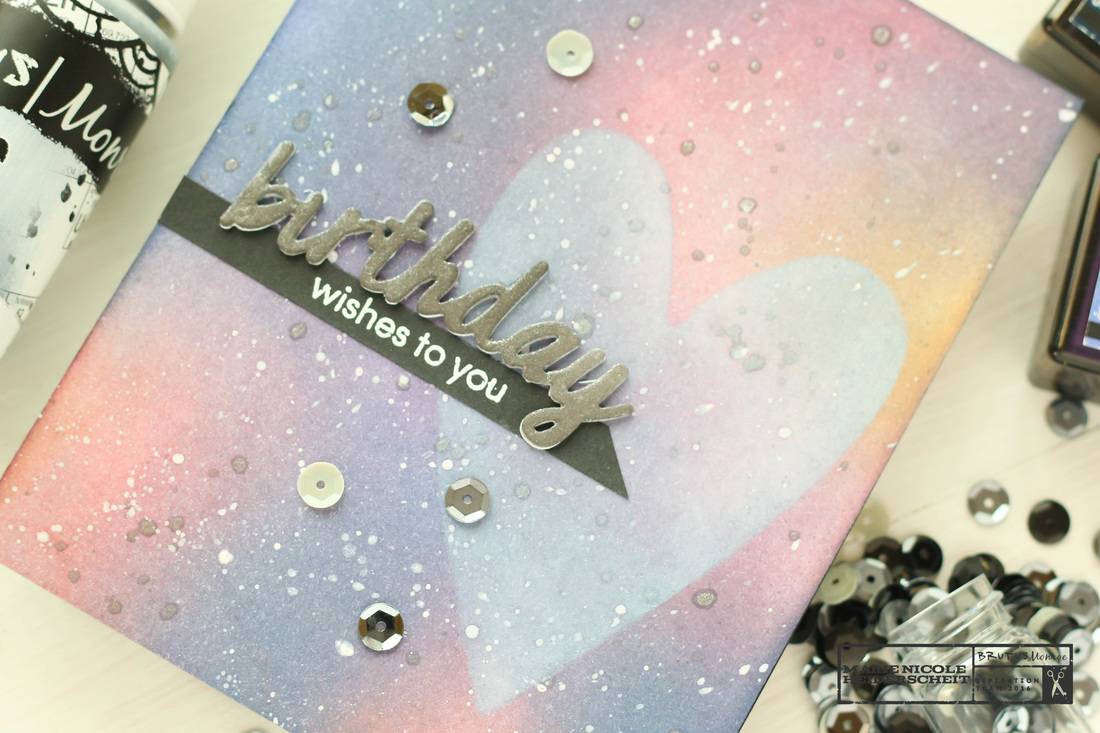
This year at Creativation, 7 Gypsies revealed an exciting new line of products called Architextures. These pieces are little embellishments and goodies that you can craft with, and they are vintage-inspired to look and feel like the real thing! They have so many pieces to choose from, including a little mason jar that looks 3D and you can actually see through like glass. 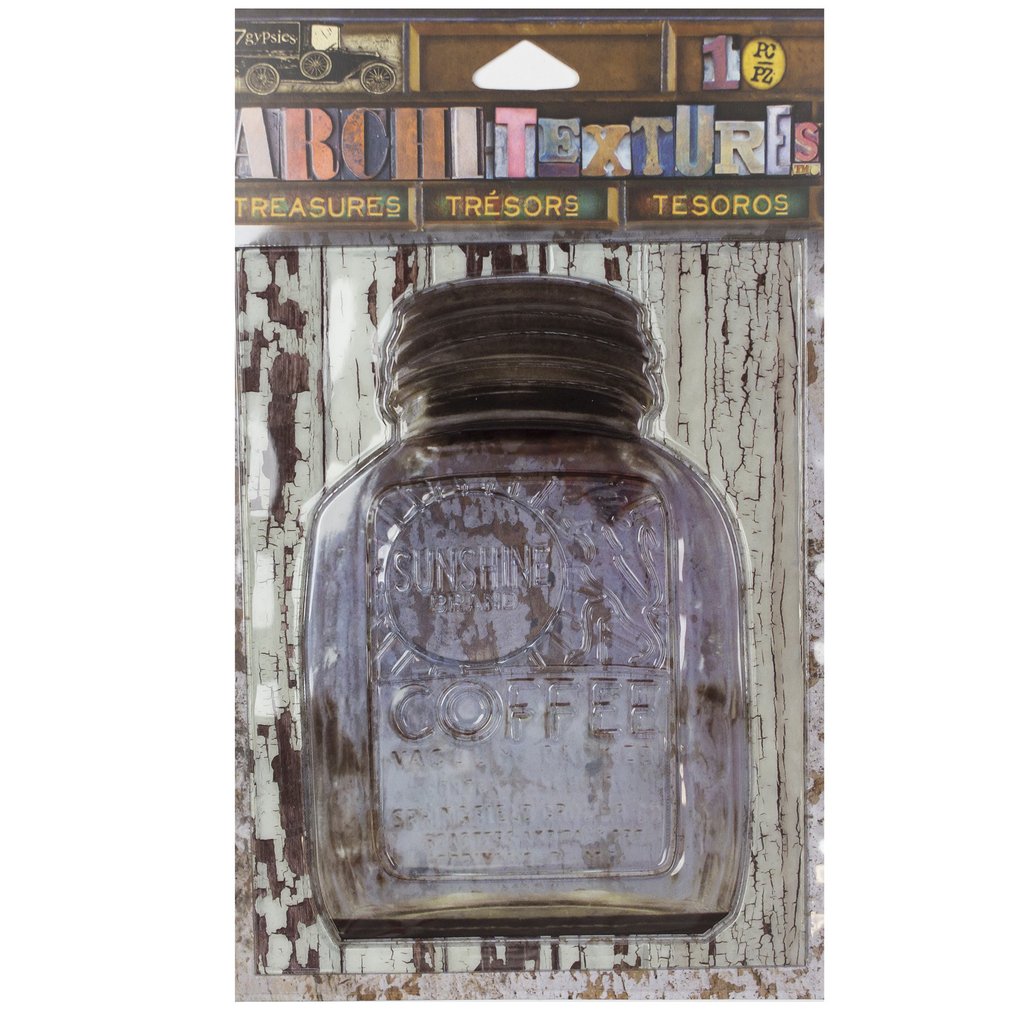 This mason jar is just one piece in a collection of hundreds that are so inspiring to play with! The other cool thing about it is that the packaging has been designed so that it can also be used in your craft projects. I think this is just brilliant! Another piece that I was able to work with while at Creativation is this fun dressform. This piece is 3D, feels soft just like a regular dressform would, and is so much fun to dress up and embellish! I pieced together some packaging and some embellishments to make a little dress on this piece. CLICK HERE if you would like to see the post for this dressform! 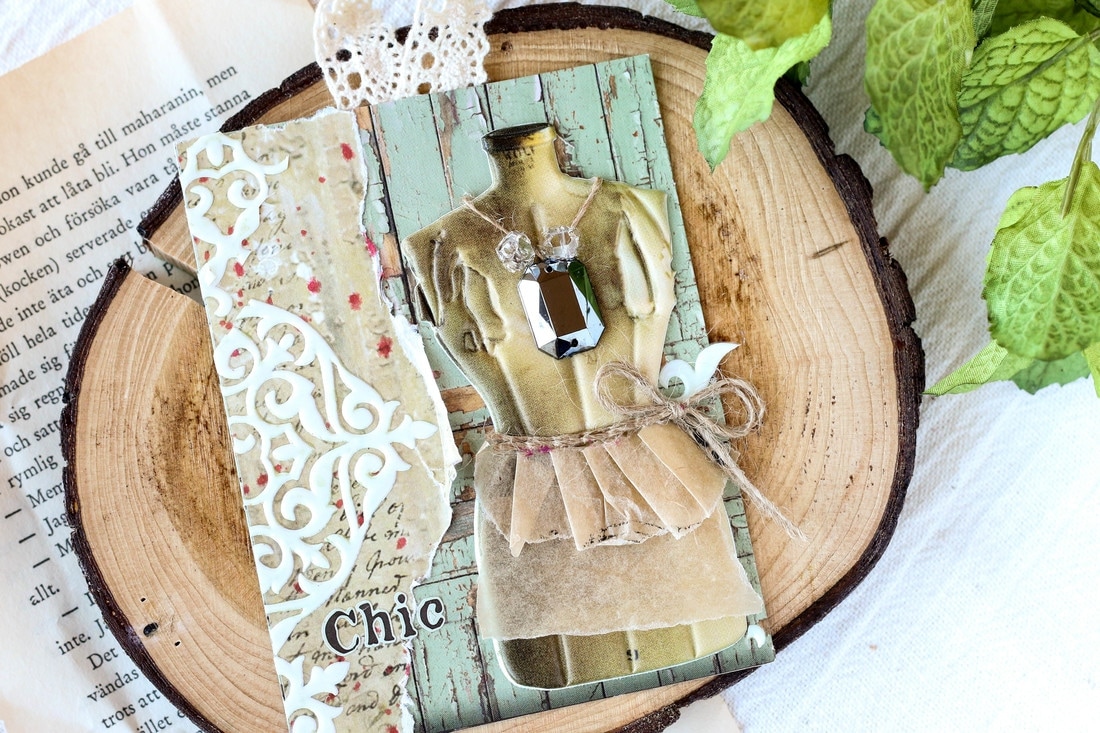 I managed to get my hands on a few Architexture pieces that are found at Michael's stores. There are so many fun ones there but I found these little silver crosses that look like a pendant or necklace piece, and decided to use them on an altered paintbrush. 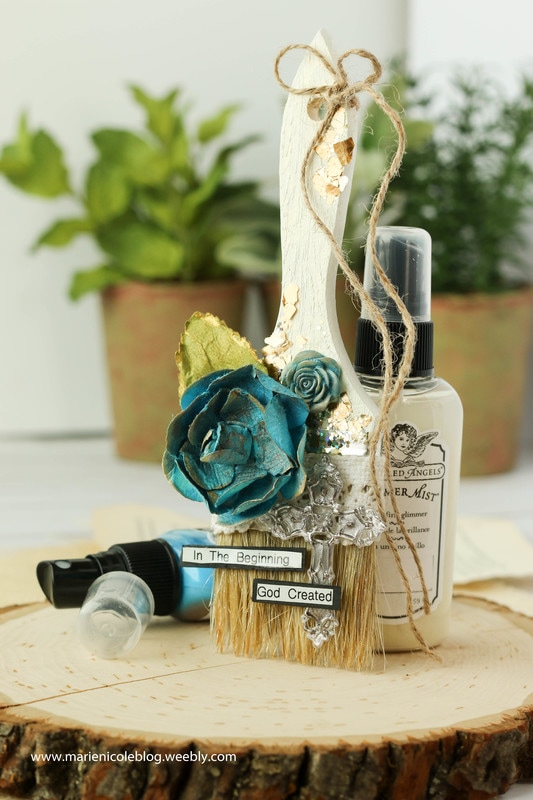 I have done one Altered Paintbrush in the past. I loved how it turned out so I actually went to Lowes and picked up a few of those $1 wooden paintbrushes for the purpose of altering them. I started by applying a coat of Tattered Angels Crystal DIY and Decor paint. This is a white paint that covers almost any surface very well. Once that layer of paint was dry, I misted over it with some Iridescent Gold Glimmer Mist. I thought the paintbrush just needed a little shimmer! I then applied some tacky glue to a few areas on the handle, and stuck some gold glitter flakes to that. I also added some bits of ribbon, a few flower embellishments that I colored with more Iridescent Gold and also some True Turquoise Glimmer Mist, and then moved on to applying the Architextures Cross. 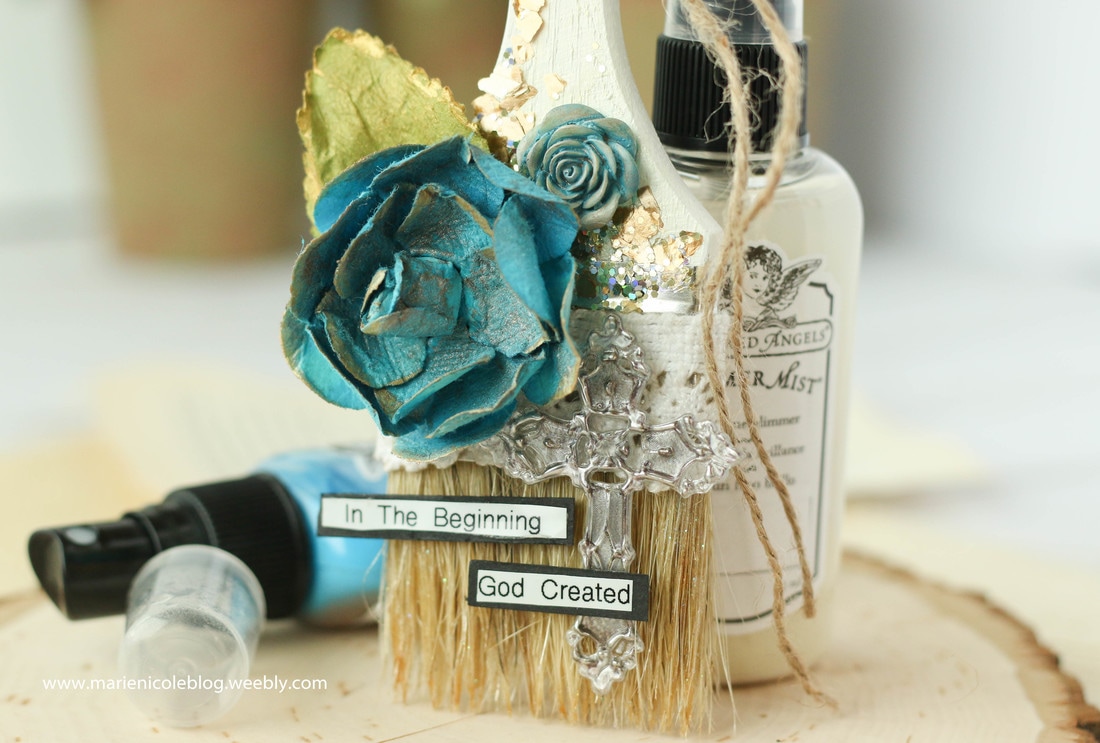 Although the cross is self-adhesive, I wanted to pop it up a bit so I used some small bits of foam adhesive to adhere it down to the paintbrush. Then, using my labeler, I typed out the verse, "In the beginning, God created..." and adhered the words to small strips of black cardstock. I applied the verse with foam adhesive, as well. 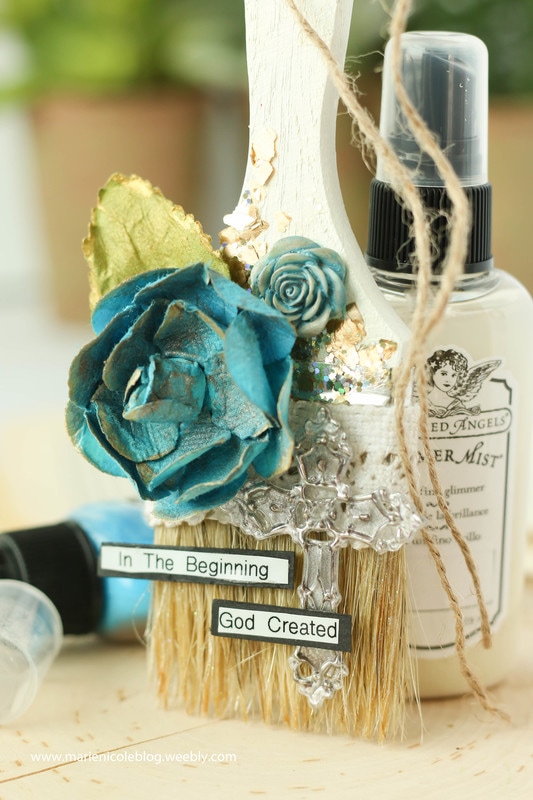 To put some finishing touches on the paintbrush, I added some Chandelier Glimmer Glam to the bristles, and also tied some Jute Cord around the handle, letting it fall down to the side. Very simple embellishing job on this paintbrush, but I love the overall message of it! I have it in my craft room and it reminds me who our Original Artist and Creator is. 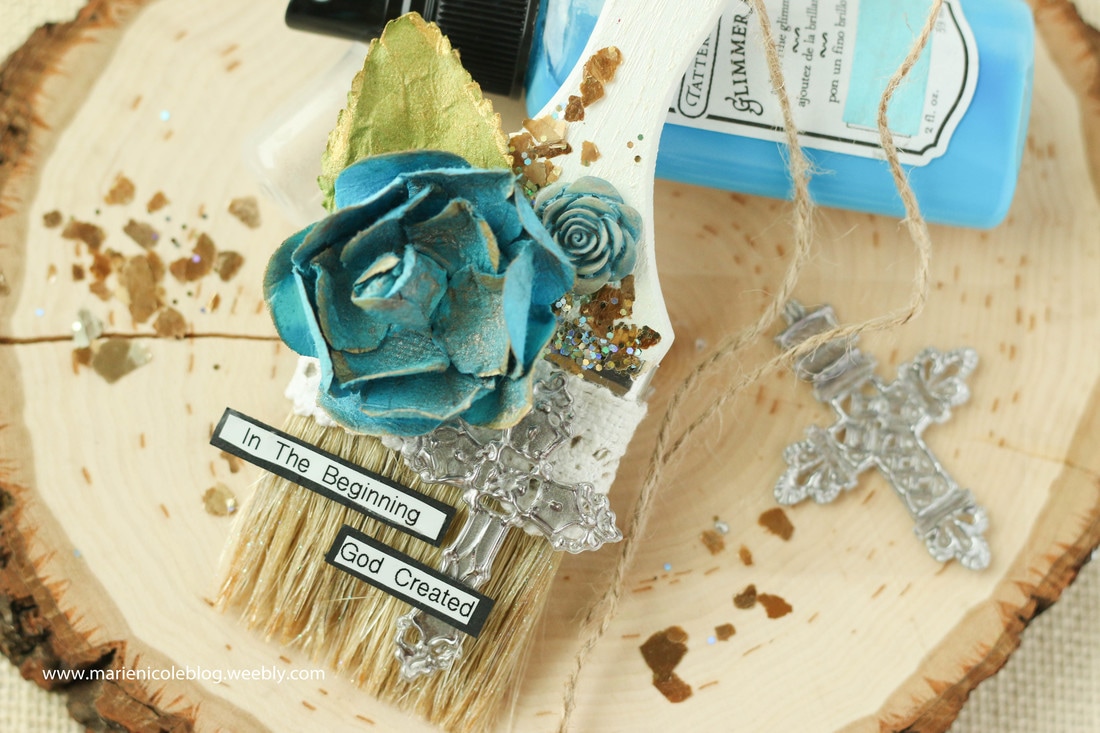 If you are interested in seeing more 7 Gypsies Architextures, check out the Canvas Corp Brands Store or visit your local Michaels to see what they have there! Thanks for stopping by, and Happy Crafting! More from Marie Nicole...I've been on a little bit of a galaxy background obsession. Most of the time, I apply this technique to paper. I love taking a plain white piece of cardstock and applying all the colors to watch the background come to life. Below is an example of a card I recently did for Brutus Monroe featuring the galaxy background.
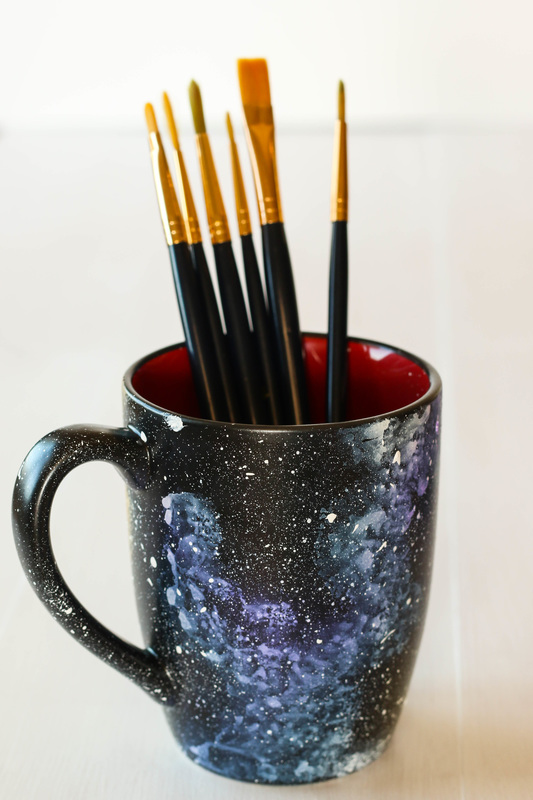
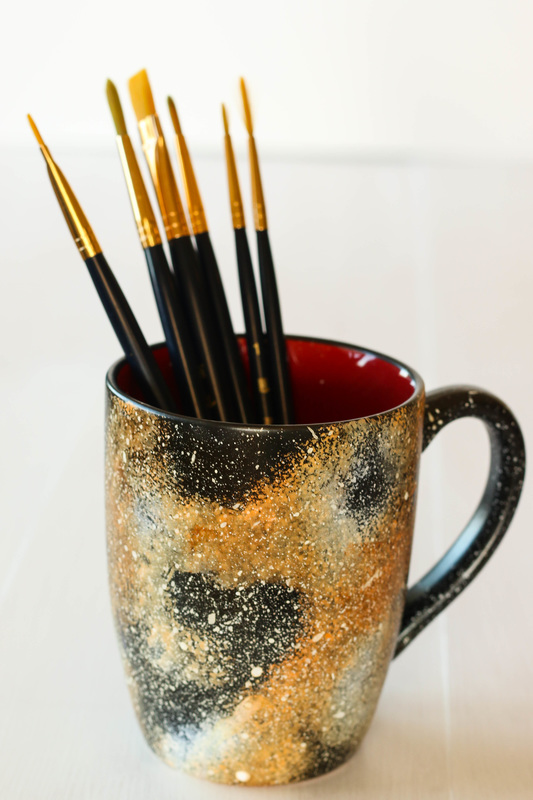
 This card was created using a combination of Distress Inks, Brutus Monroe inks, and some Liquid Elements from Brutus Monroe, as well. If you want more details on it, hop over the the Brutus Monroe Blog where I have a description of the process as well as a video. Since I was having so much fun with these backgrounds, I decided to take it a step farther and discover what other surfaces I could apply these galaxies to. I have a black mug in my craft room that I store my heat tool in. I thought it was the perfect blank canvas to do a little galaxy-ing to (yes, I did just turn the word "galaxy" into a verb). I started by applying some Crystal Tattered Angels paint to the black mug. Then, since I am impatient, I sped up the drying process with my heat tool. The next step was to add some color which I did with Brutus Monroe's Chalk Ink. I decided to use this ink because it does become permanent when dry. Distress Inks would wipe off much too easily. After I had some color down, the last step was to add paint splatters to give the impression of stars. I did this using more of the Tattered Angels paint and flicking it on with a paintbrush. Then, I dried the whole surface again with my heat tool. I plan on using this mug in my craft room to house my heat tool, paintbrushes, and any other little craft tools that might need a home. If you plan on using your mug for drinking or eating out of, you might want to go ahead and find a food-safe and dishwasher-safe sealant to apply over the galaxy background. Without the sealant the paint and ink may rub off and would definitely not be something you would want to ingest. 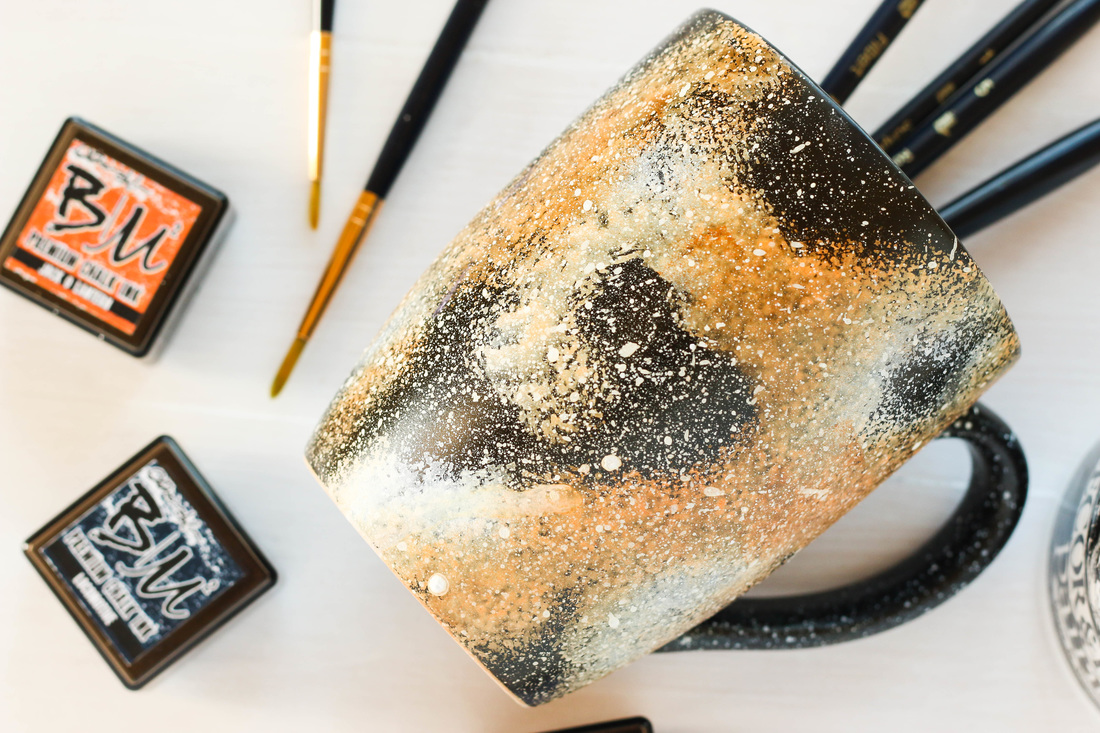
 Thanks for stopping by today and happy crafting!
Christmas is coming soon, and as much as we crafters and DIY-ers love to make our own home decor, lets not forget about our kids!
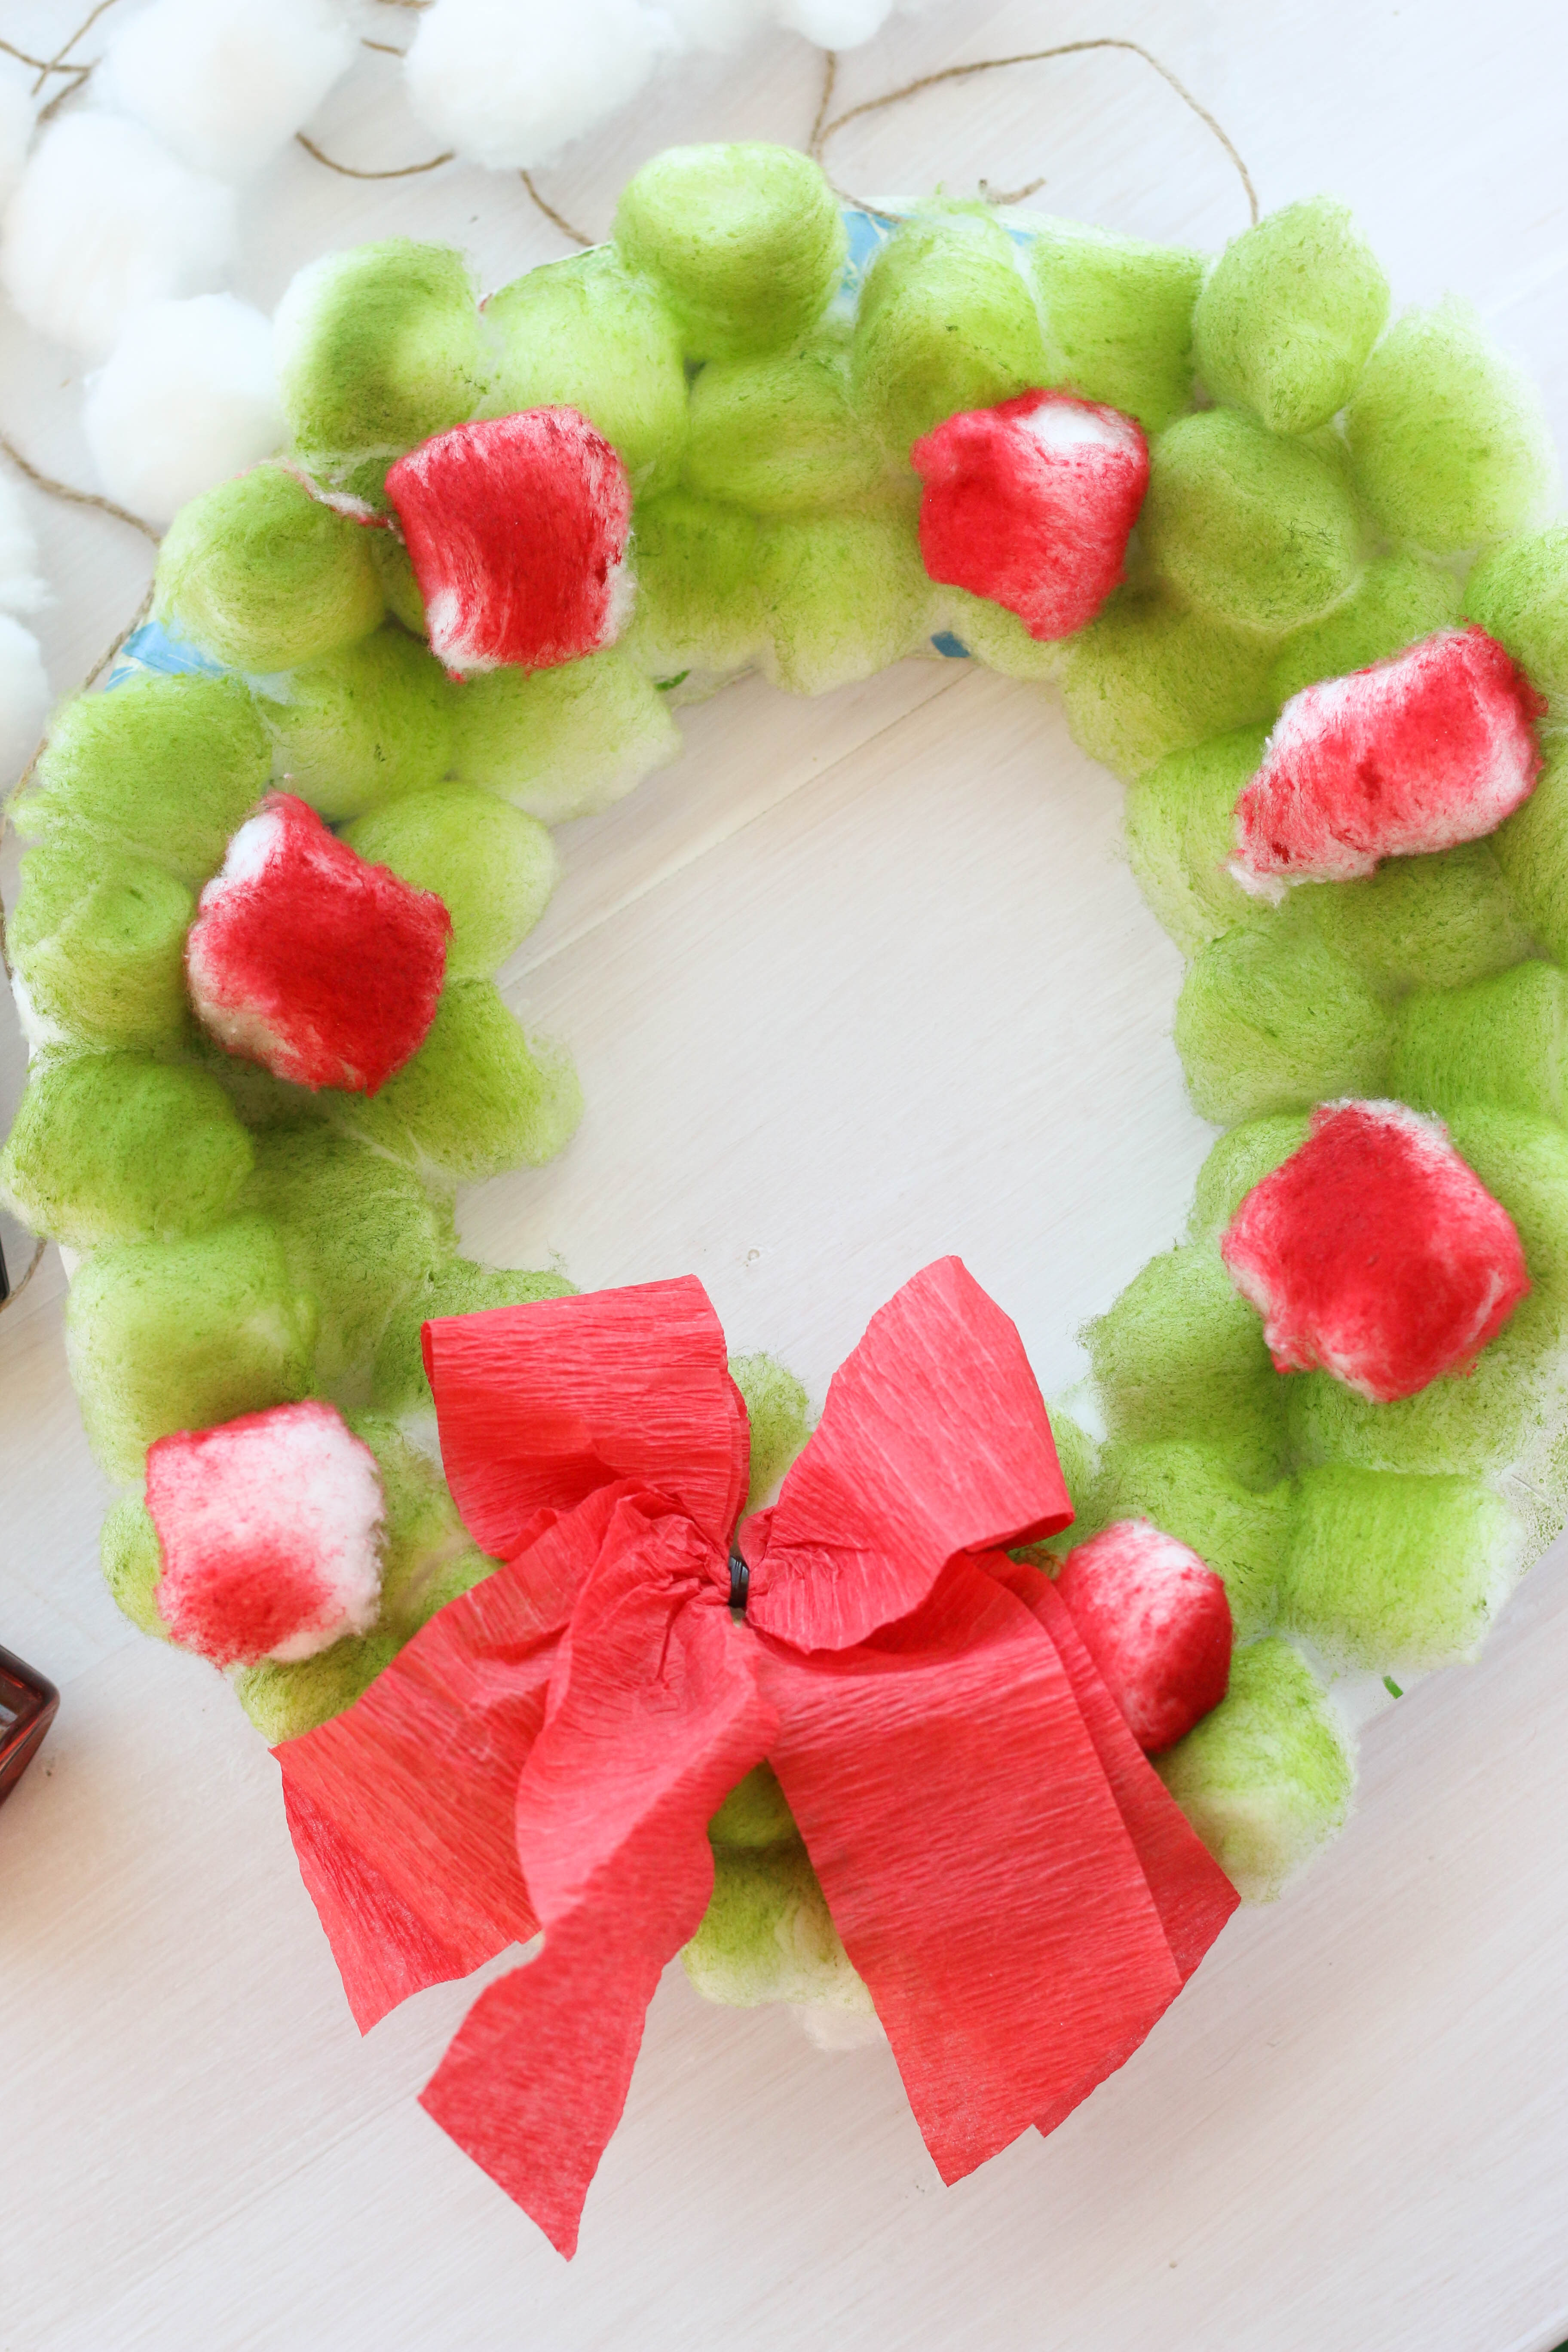
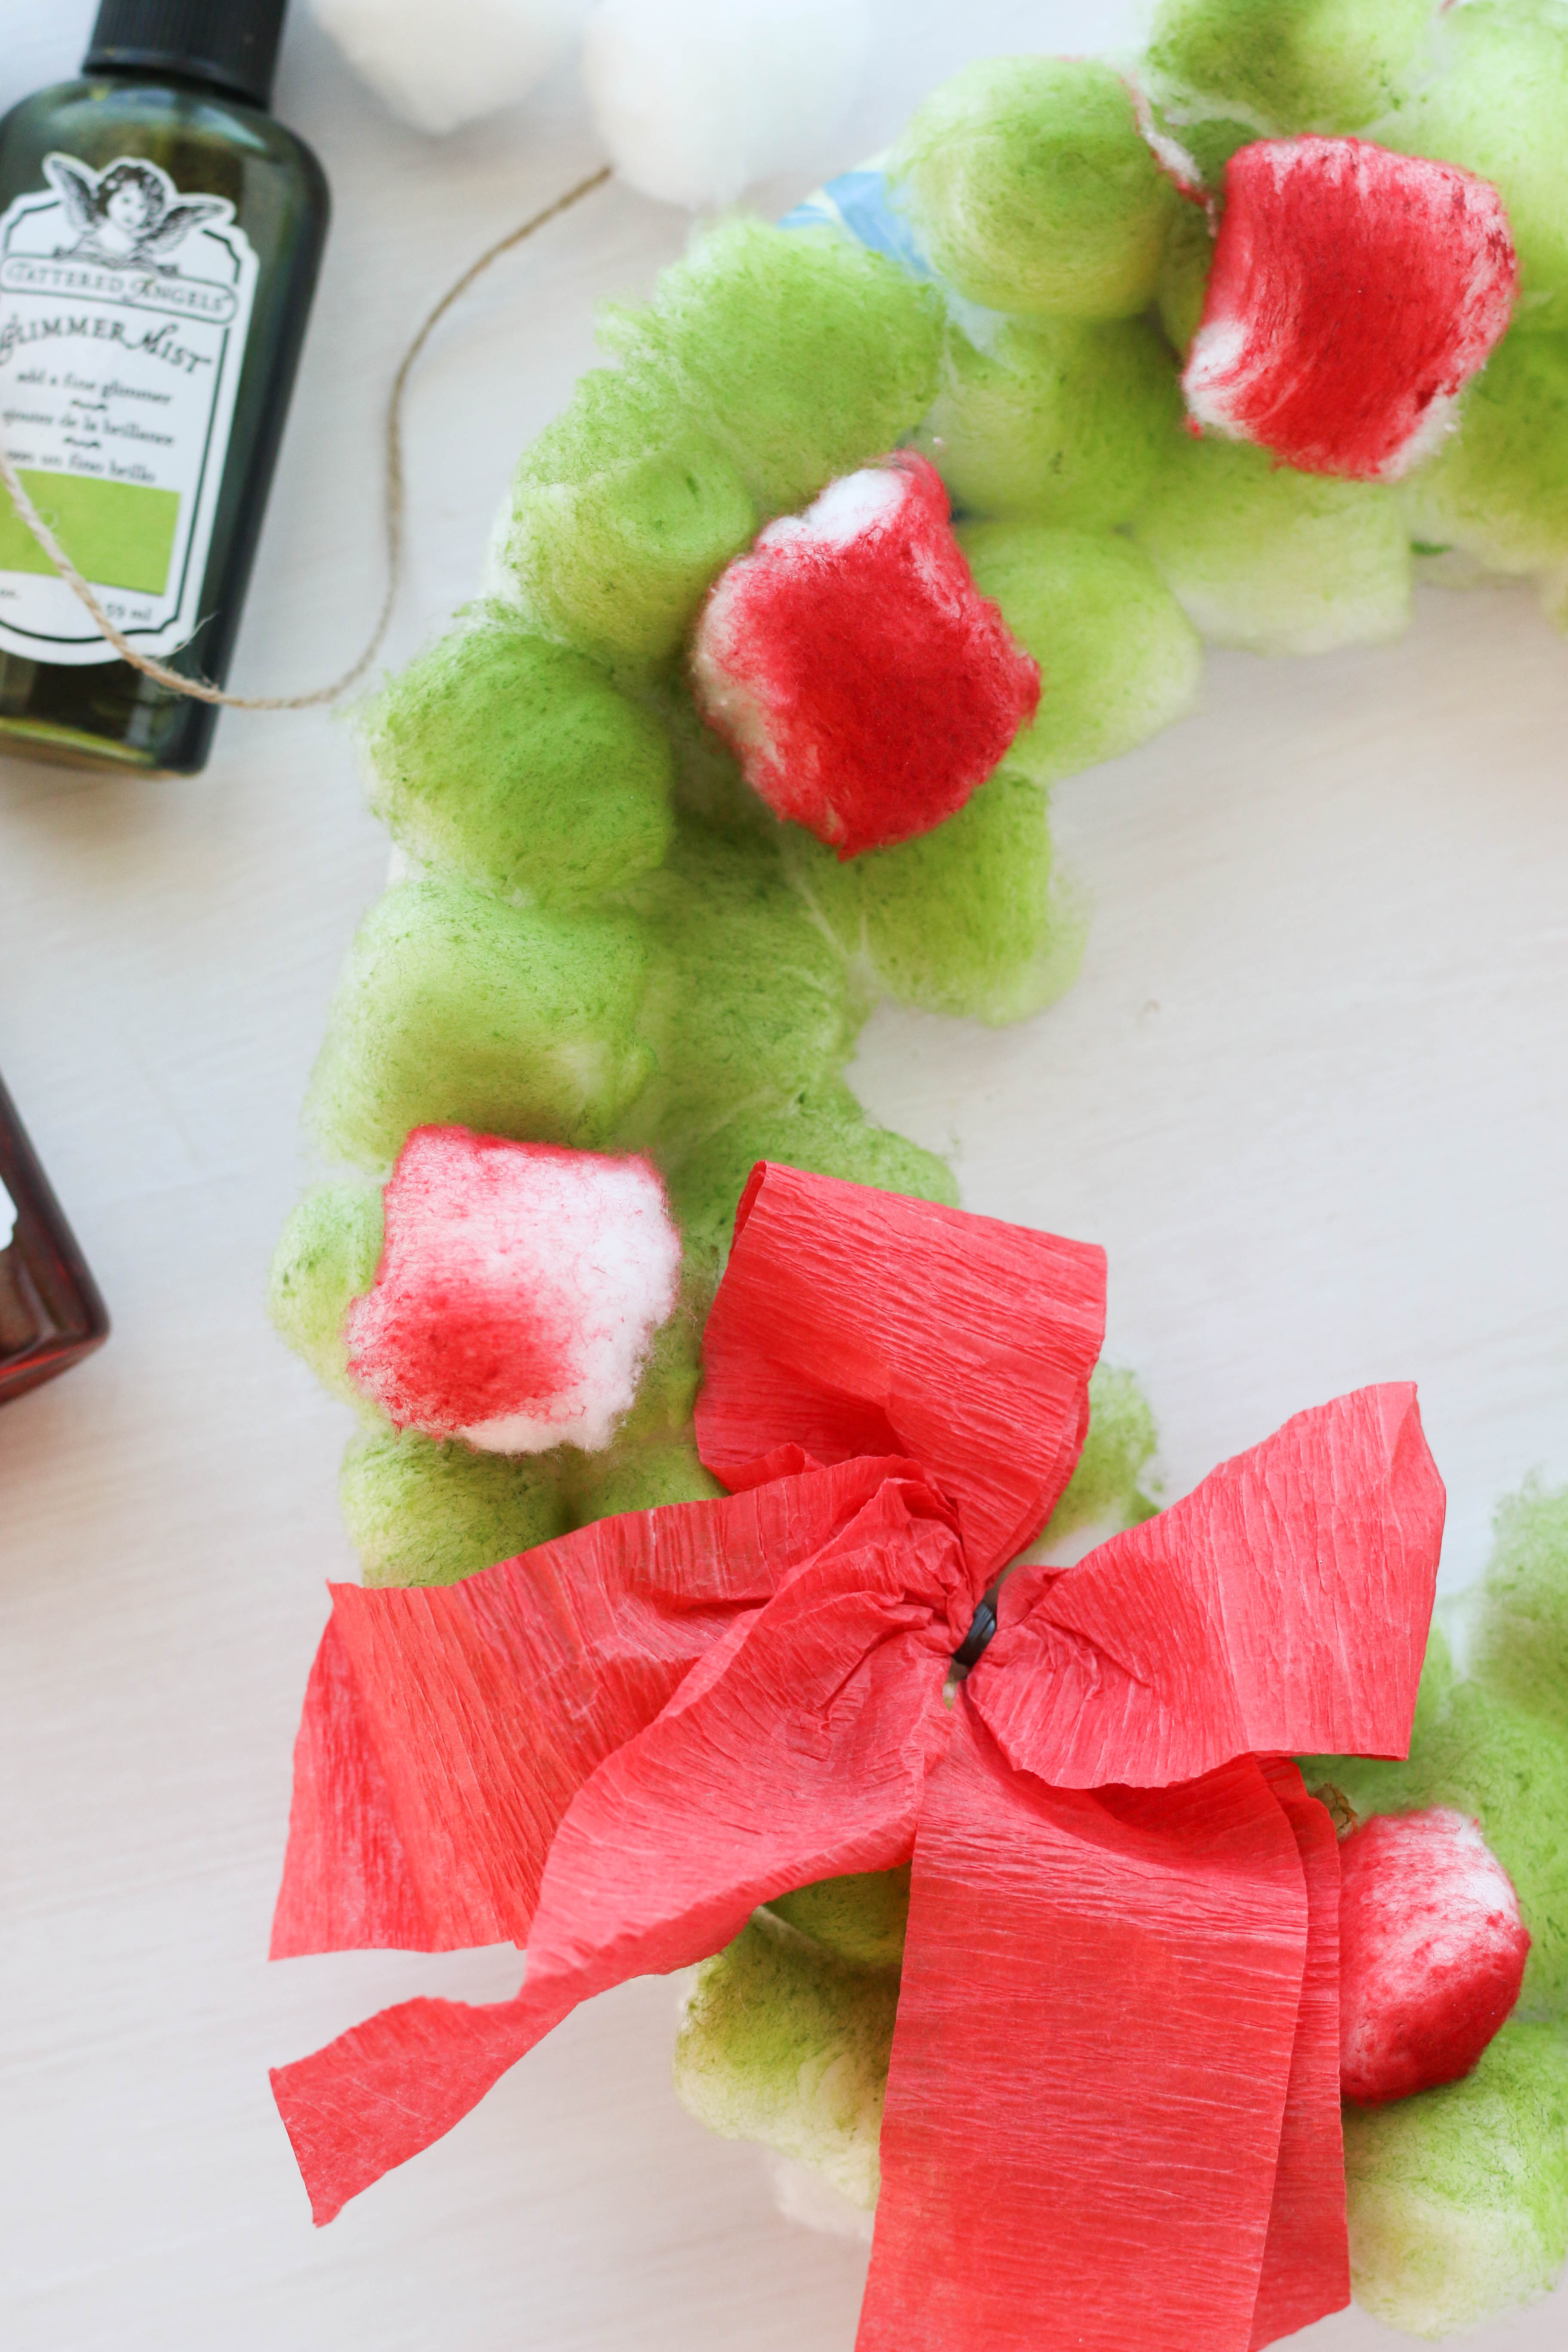
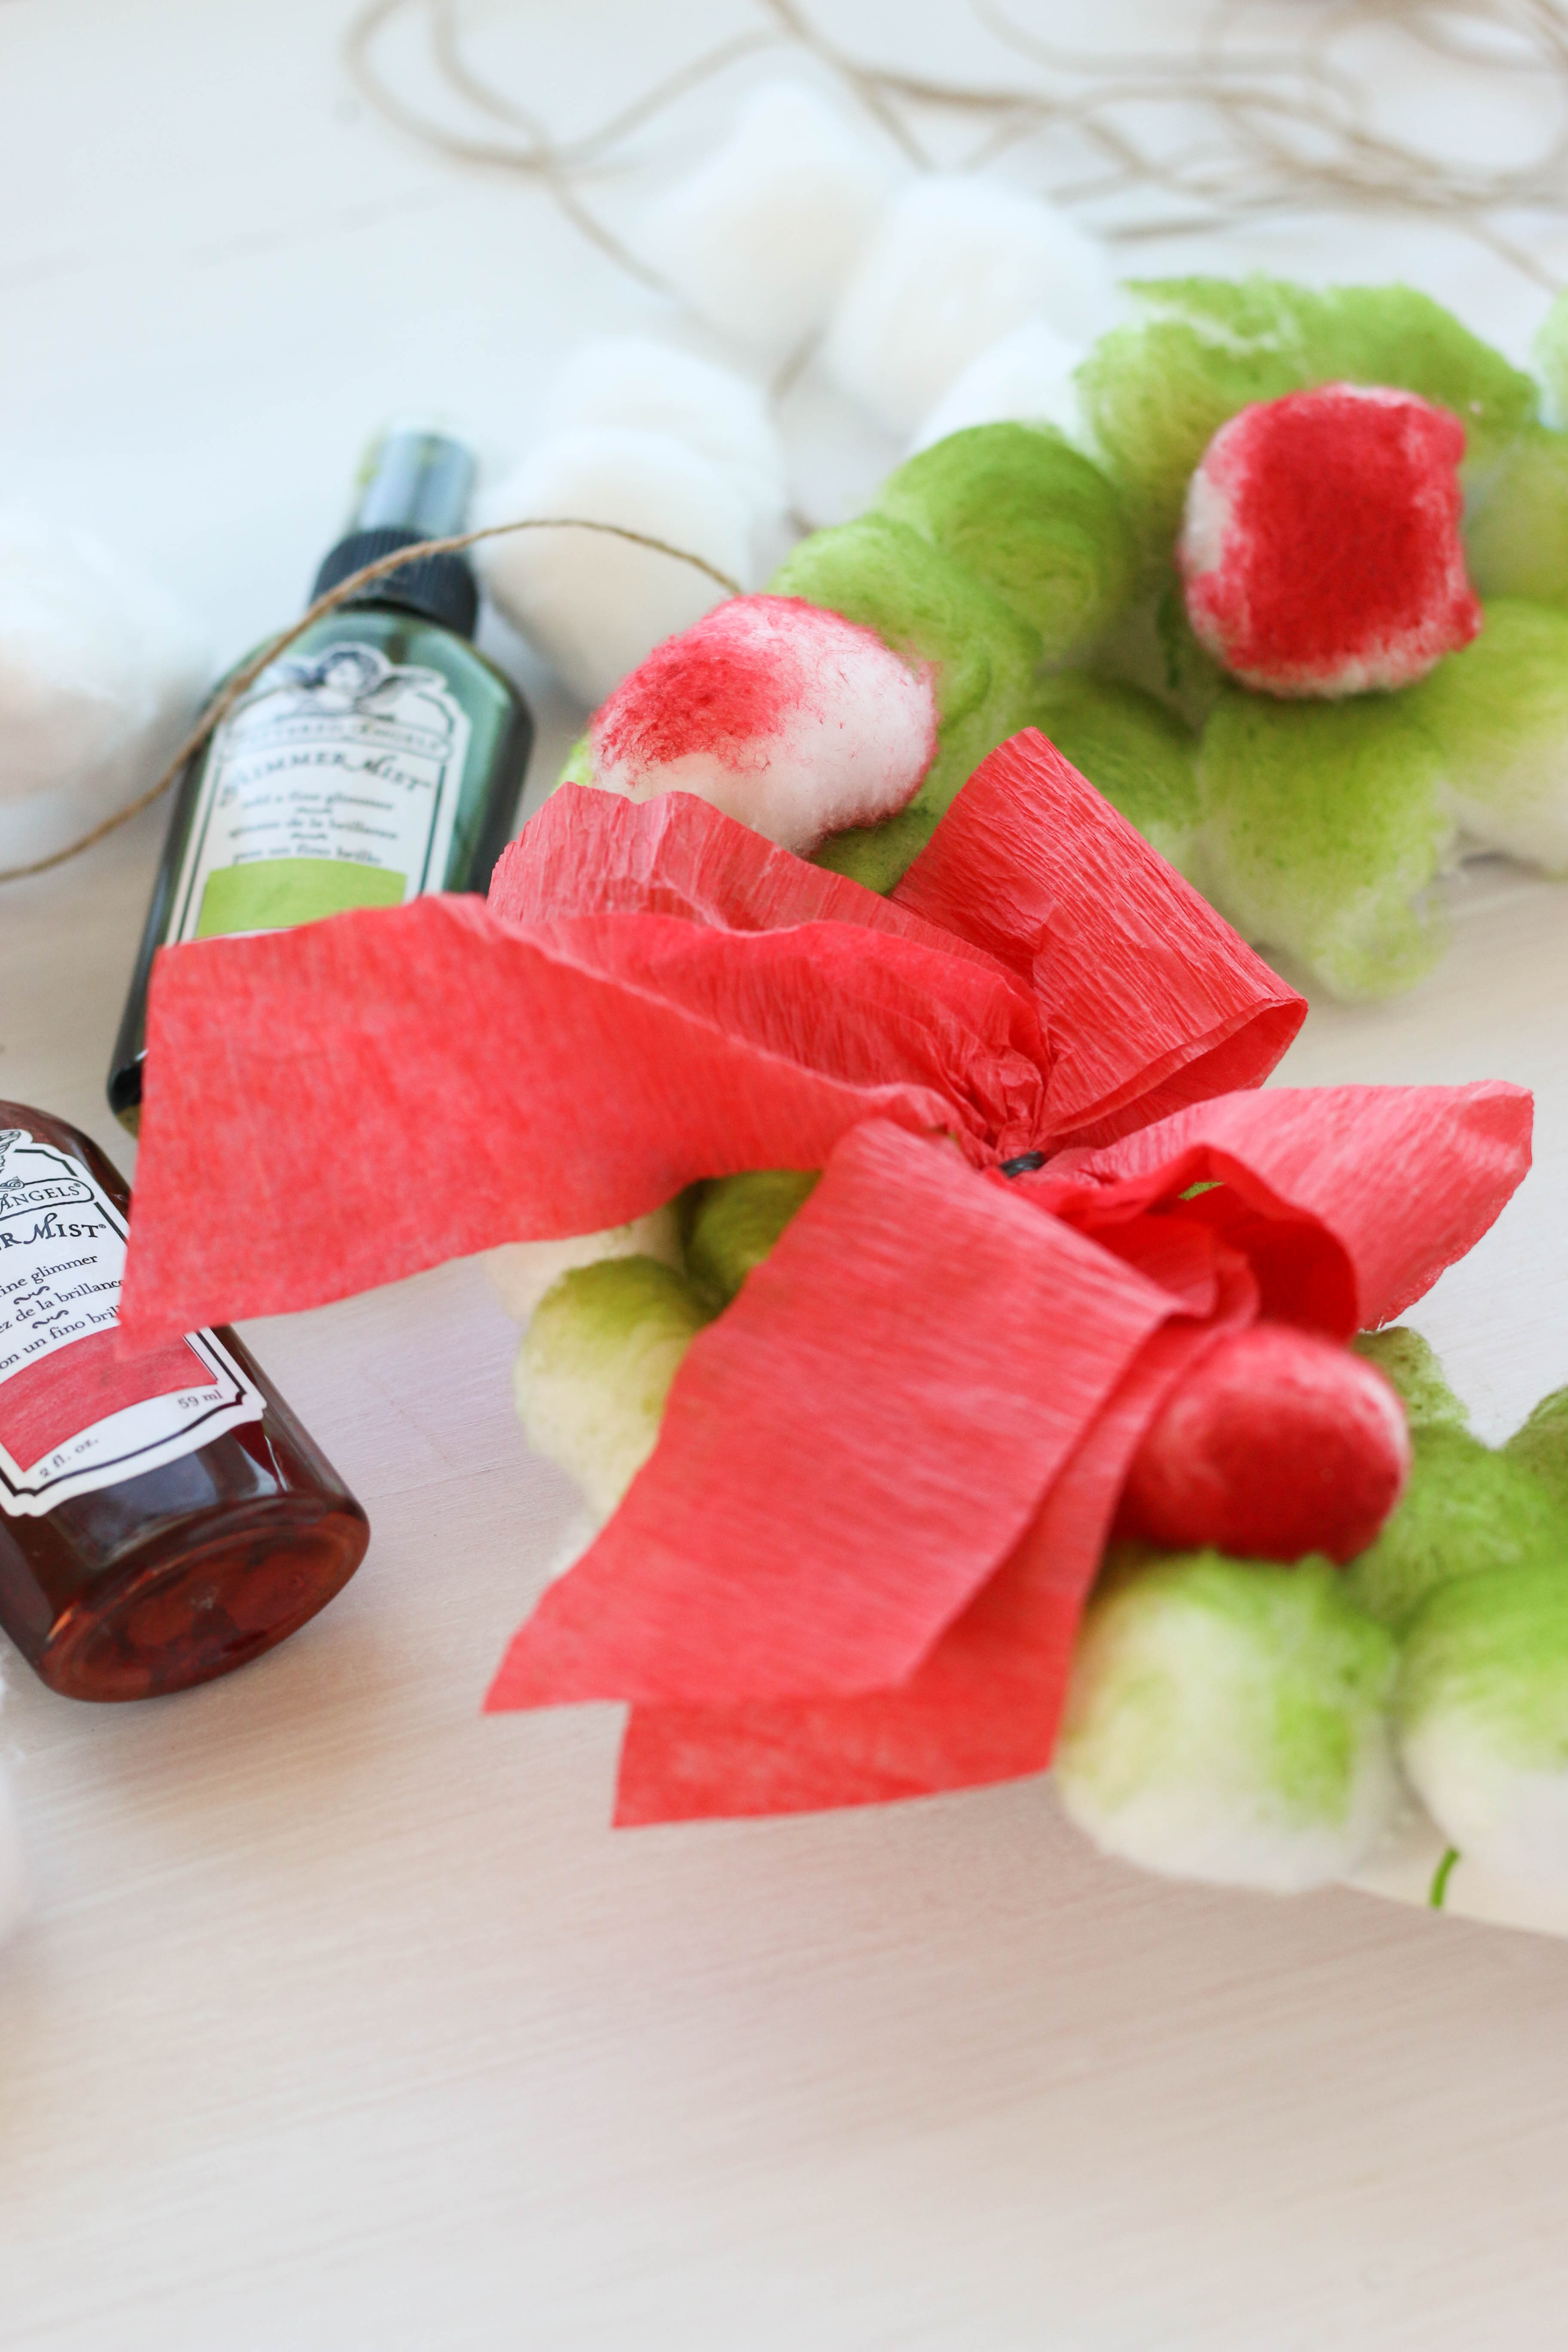
My toddler is getting to where he is curious about my craft room and the things in there. Doesn't bother me a bit! I think its fun when we can do a craft together, especially on a day that we are stuck inside. This project is super simple and you probably have most of these inexpensive items on hand already. All you need is: A paper plate Cotton balls Glue (I used Aleene's) Tattered Angels Glimmer Mist A box, towel, or some other kind of table covering Ribbon and embellishments String or cord 
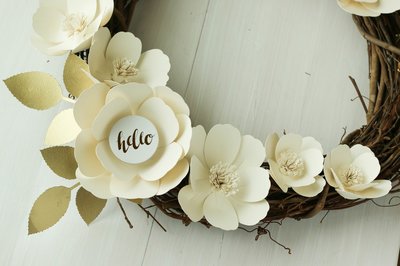
Start by cutting a hole out of the center of the paper plate. Dont worry about making a perfect circle, you wont see it anyway after the cotton balls are glued on. After your plate center is cut out, glue on the cotton balls to completely cover the surface of the plate. Now comes the fun part! Spraying! I took a cardboard box to place our wreath in to contain the spray, but you could use an old towel, some kraft paper to cover your table, or even take it outside to spray. Go ahead and spray all over your cotton balls in any color you wish. I used Moss Glimmer Mist. I also sprayed a few single cotton balls using Lobster Glimmer Mist because I wanted to glue them on to look like berries. 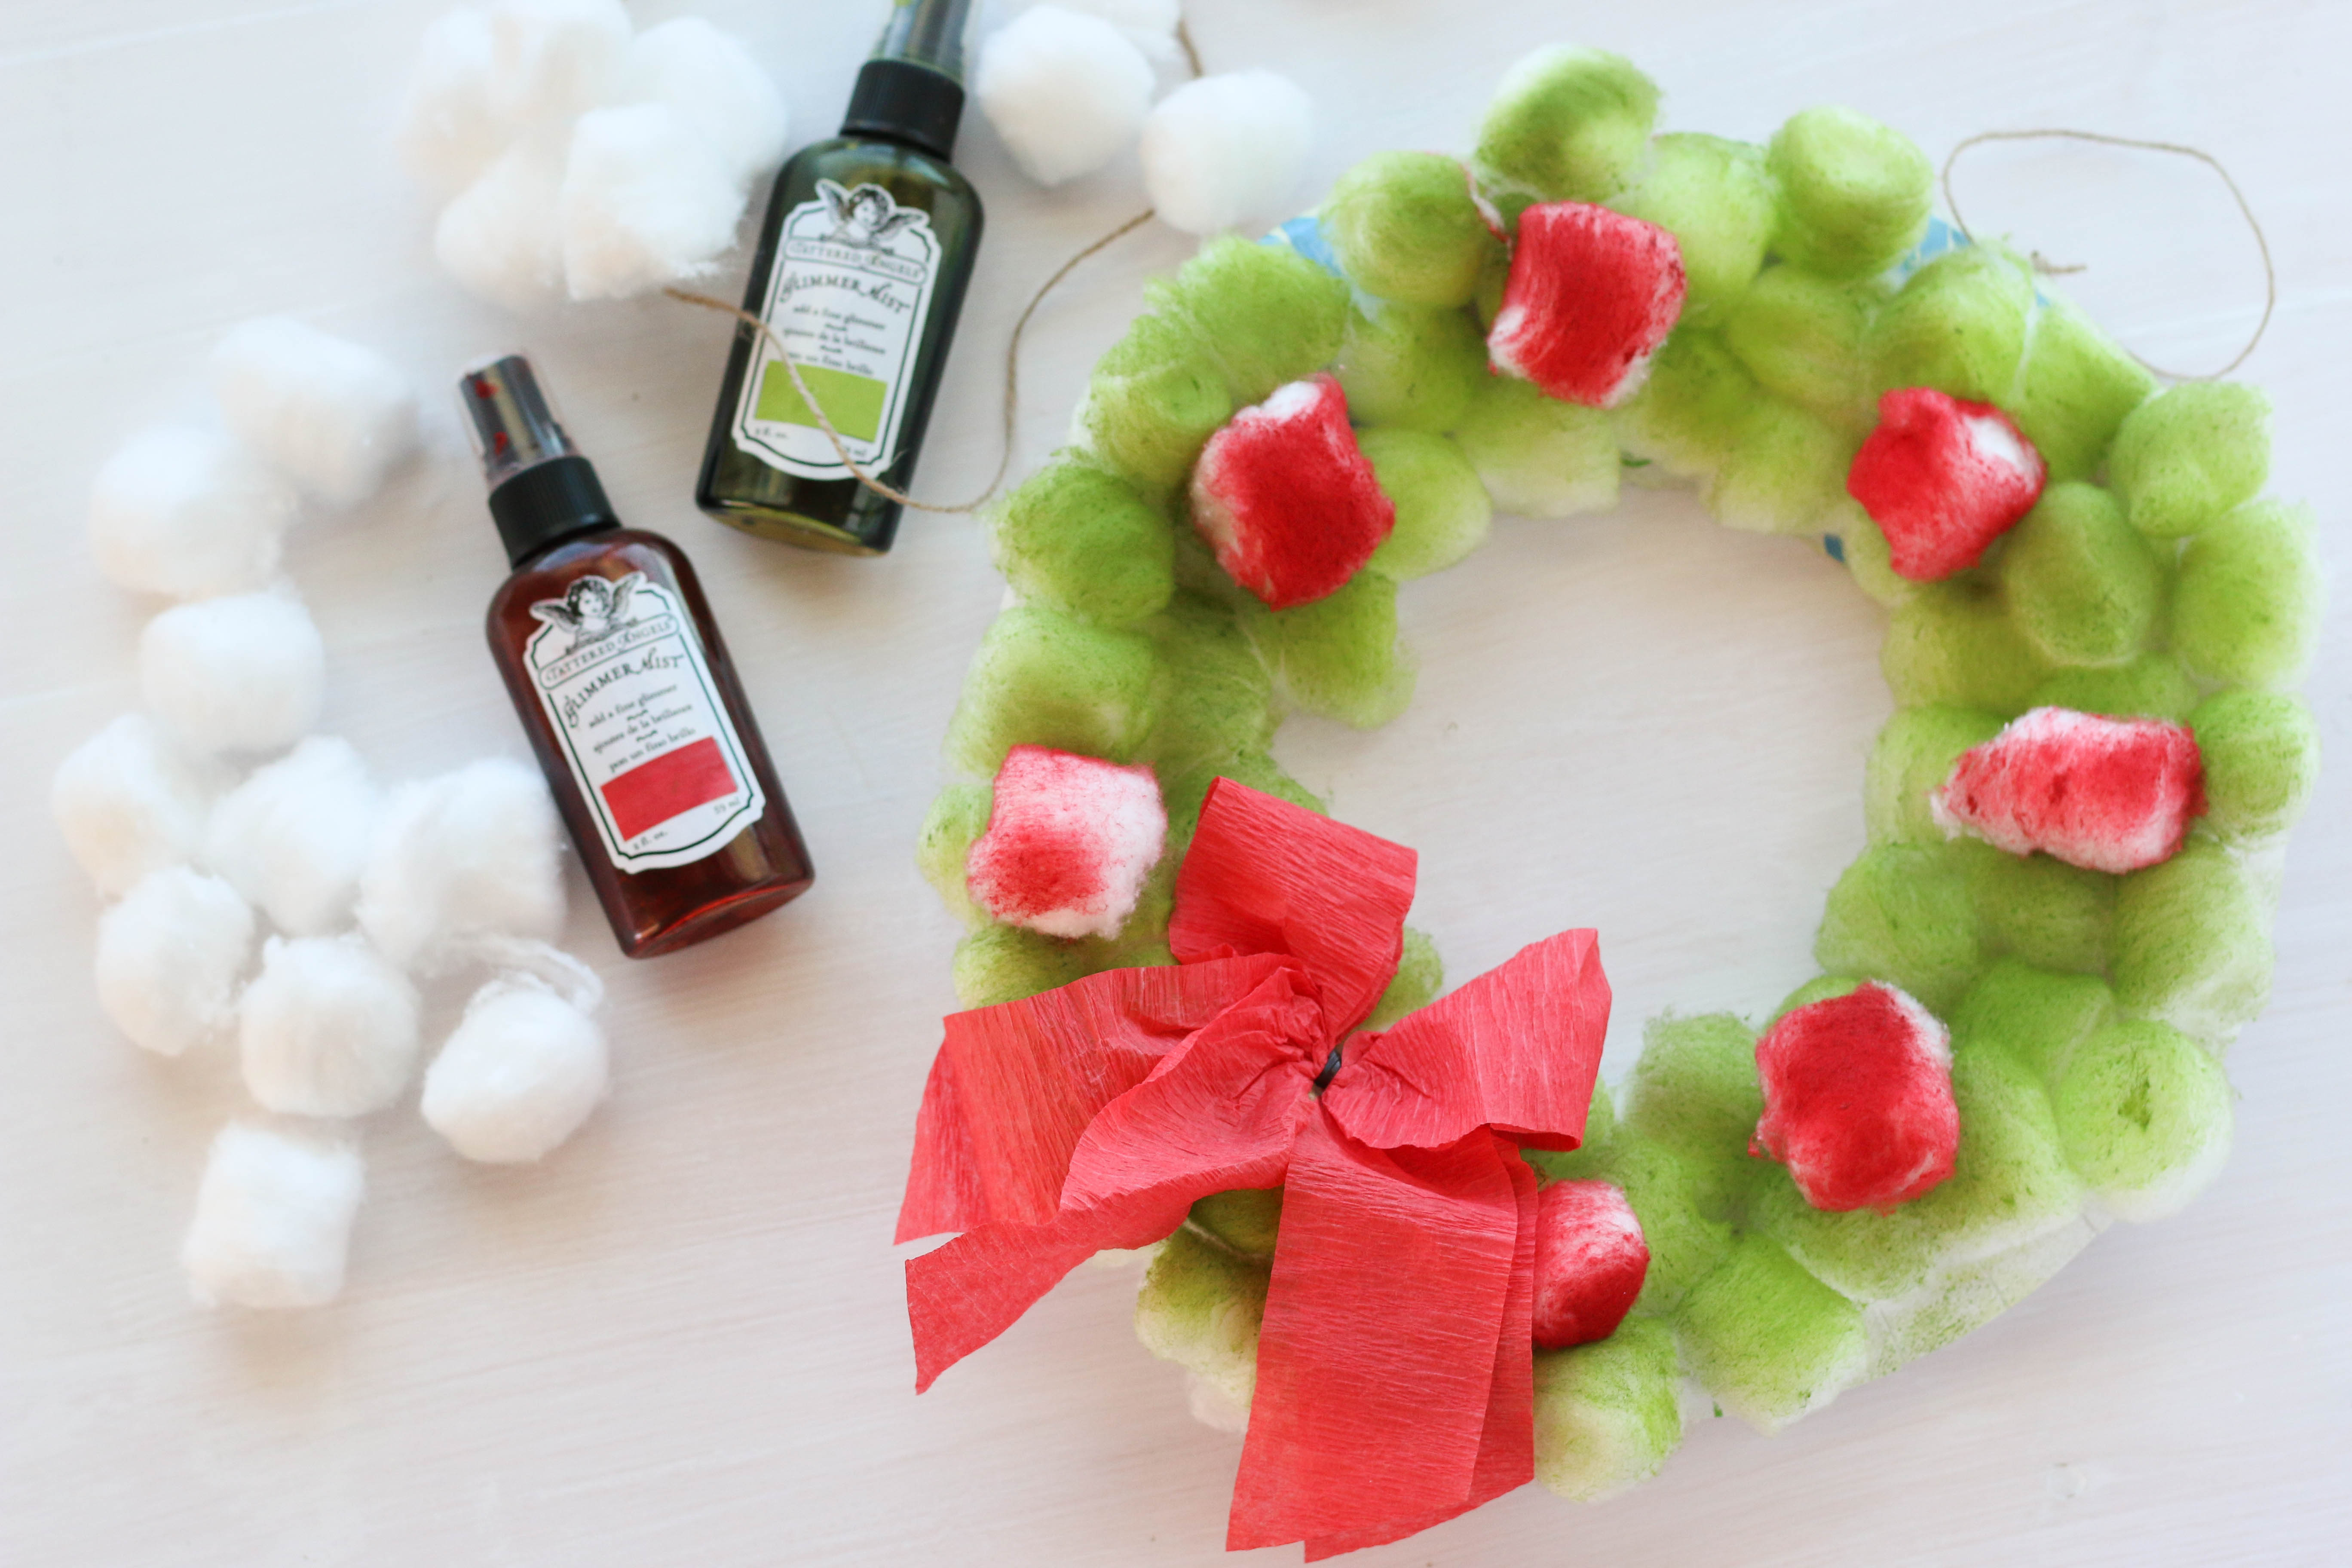
Now, I will warn you, the cotton balls take a little time to dry. They are meant to suck up moisture so go ahead and spray them, let them dry, and come back later to finish!
I glued on the red cotton balls around the wreath and then took some red crepe paper to create a bow for the bottom. Then, all you need to do is punch a hole in the top of the paper plate and add a string to hang it by! Super easy and its something the kids will enjoy! You can get creative with the different embellishments you put on the wreath. Try glittery ribbon, little Christmas bells, leaves, and anything else you have on hand! The kids will love using their creativity! I think it would also be fun to add a photo in the middle and give it to the grandparents. Grandparents love this kind of thing, right?? I did take a video of the process while I was doing this craft with my son. My toddler is almost two, and this is totally appropriate for his age but you can also use it for older kids as well! With a little help with the glue and the spraying my son had no problems doing this (other than just being distracted by all the other cool toys in Mommy's craft room). Hope you enjoy the video! Thanks for stopping by today! I hope this gives you some fun ideas you can do with your kids or in your classroom. Happy Crafting!!! If you are interested in theBrutus Monroe Chalk Ink that I used in the video, I've included a link below: 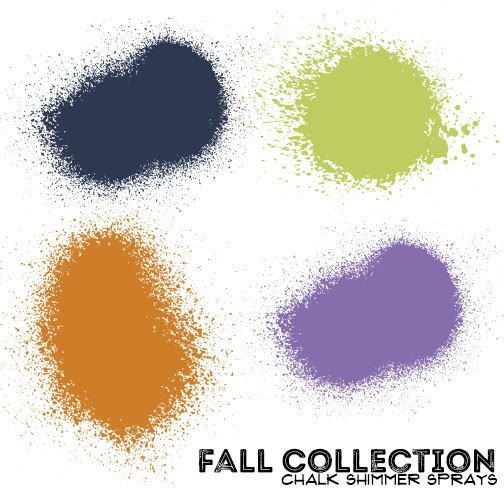
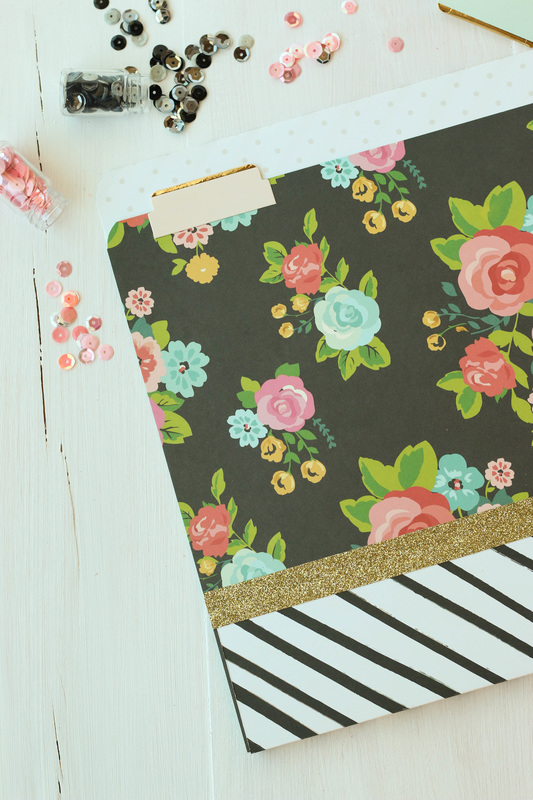
Recently, Shannon Green shared a video on How to Make a File Folder. It's pretty simple! You just need two sheets of 12x12 paper, some adhesive, and a paper trimmer. You can also use whatever embellishments you would like, but thats totally optional. Anyway, after she posted her video, she challenged a few of us from the Creative Crew to go ahead and make our own file folders in our own styles. Well, ok then! I think I can handle this one! I started by grabbing a few papers that I've had for a while now. I like to hoard those pretty papers but then I realize I end up never actually using them and that does no body no good, right? I followed Shannon's instructions from her video and came up with a bright and modern file folder. Here's my video of the process: I've always got more and more papers coming into my house and I really need to keep them organized, so hopefully having the knowledge to make my own folder with help in that area! 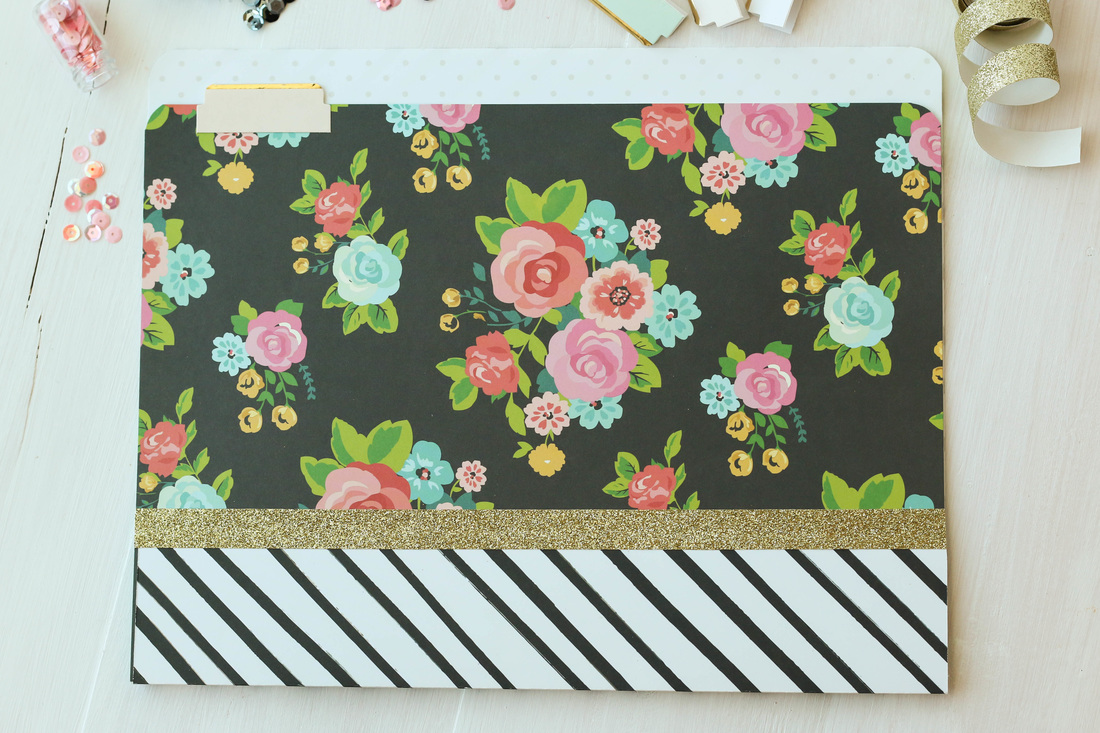
Best thing about making your own is that you can customize them to fit whatever office decor you may have! Hope this gives you some ideas on what to do with that paper you have been hoarding (don't deny it, we all do it)! Thanks for stopping by, and Happy Crafting!
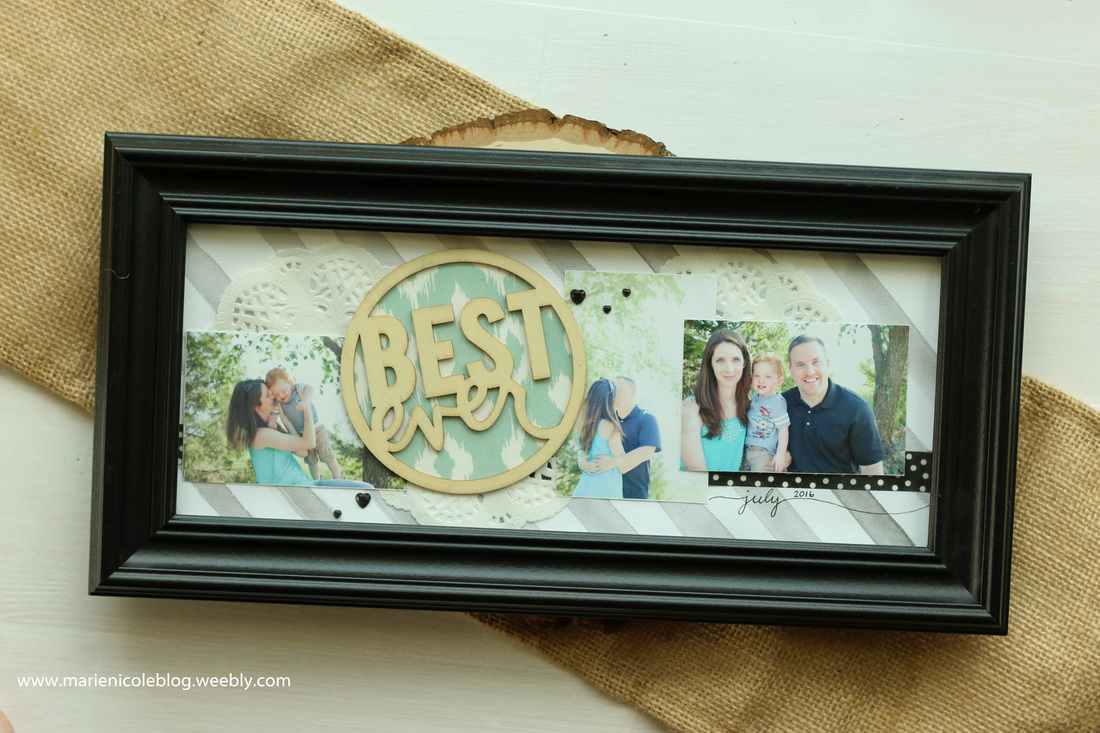
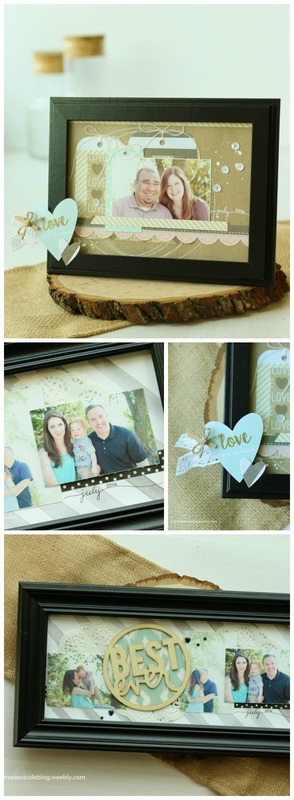
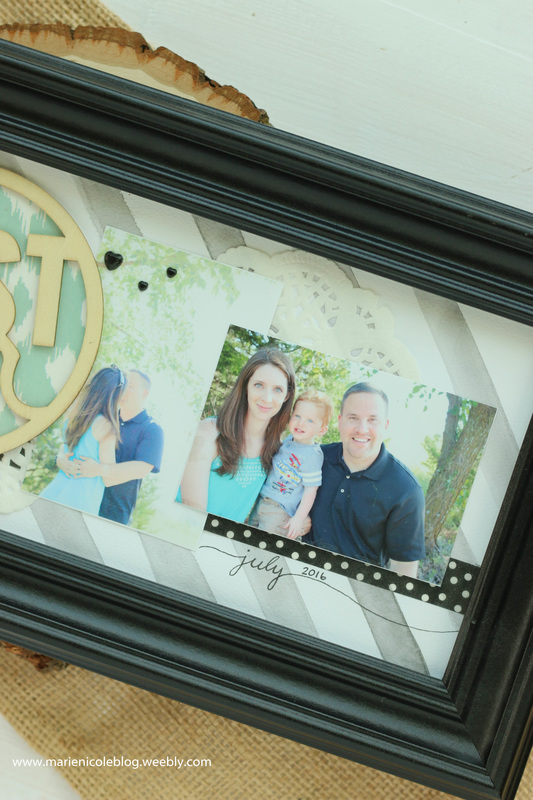
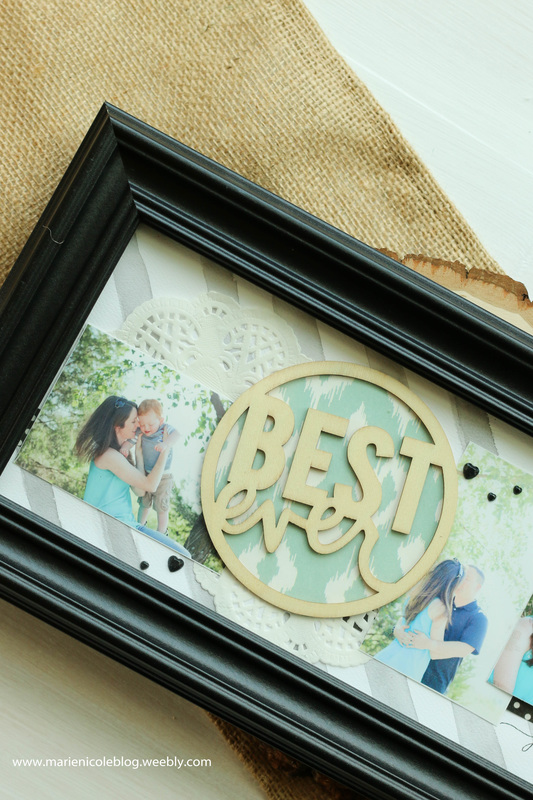
Scrapping some photos to put into frames is my new favorite thing! I just love to scrapbook but I hate to file those layouts away where they will hardly ever be seen! This is a simple way to add a little pizazz to your usual framed photos!
My sister was an angel and took some amazing family photos for us this summer. I went ahead and printed out a few of my favorites in wallet size- 2x3. 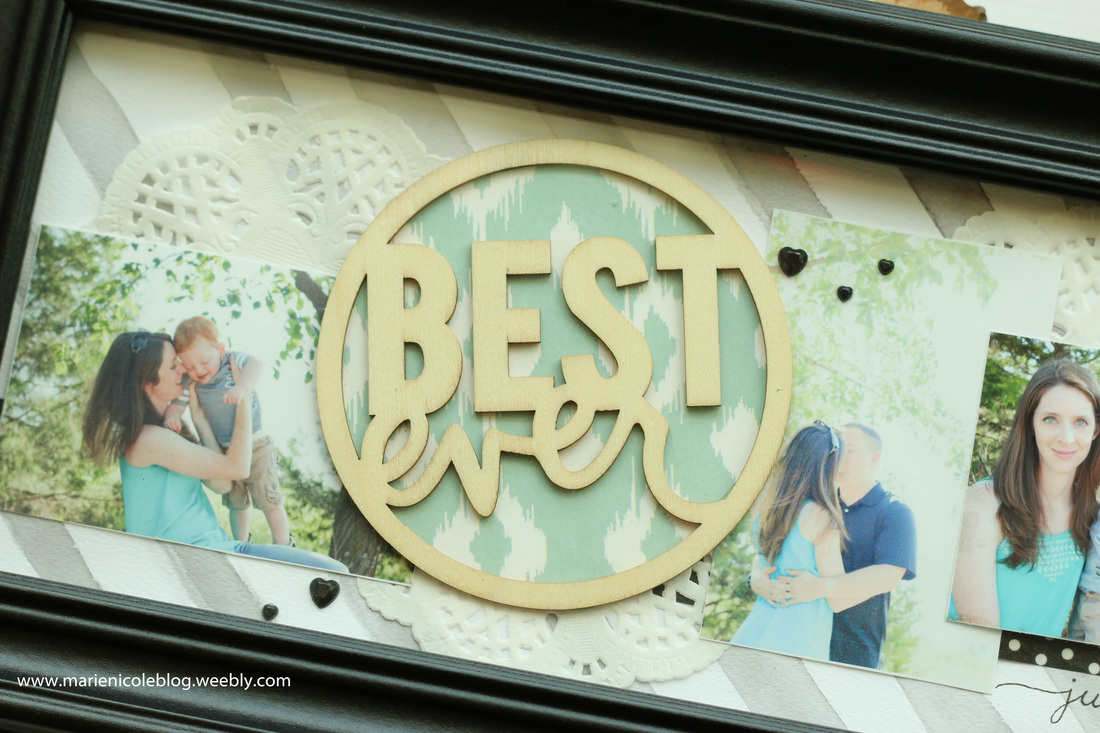
Next, I created the striped background by watercoloring some simple stripes at an angle. I didnt worry about them being perfect. I like the hand painted look!
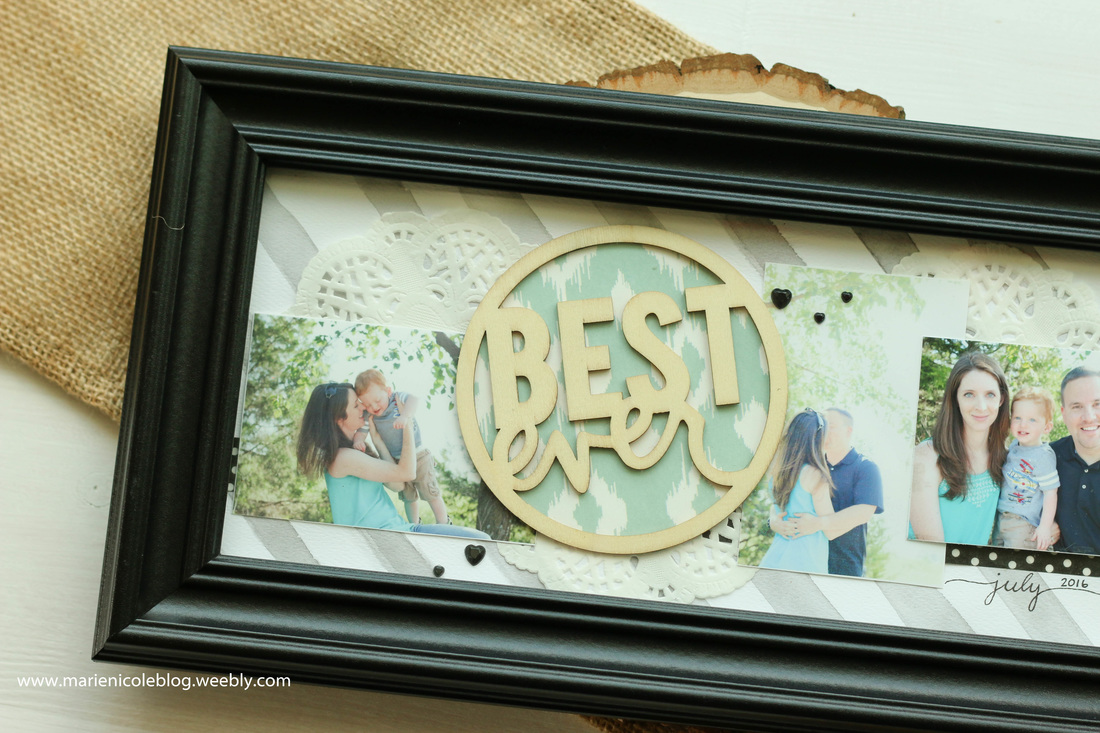
When the background was dry, I arranged my photos, placed soem paper doilies in a few places, a strip of washi tape in the background, and I placed a Heidi Swapp wooden saying towards the left side. I just love this wood cutout. It came with the printed paper that I used to cover the back of it. It fits the colors in the photos perfectly! 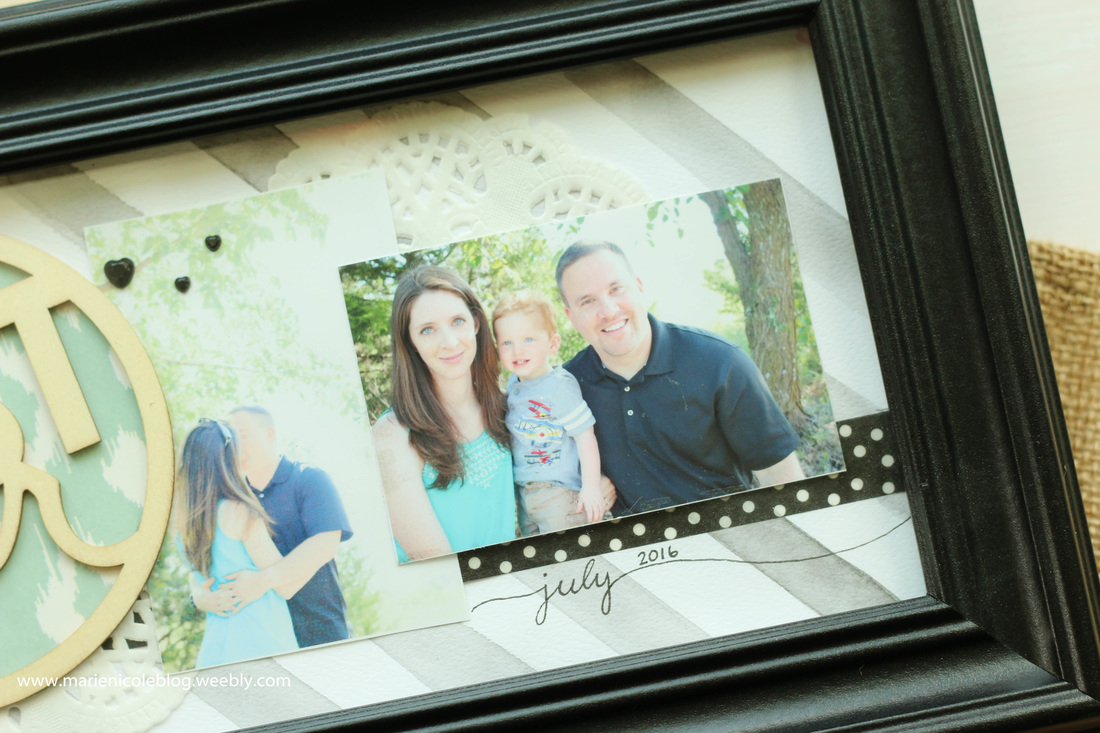
For a few last details, I placed some black heart rhinestones here and there, and then wrote the date in with a black Micron pen.
I kept it super simple, because I always feel like if I try to do too much it just doesnt look right! I havent decided where to place my frame yet, but Im thinking of just keeping it in my craft room for a while. The colors match perfectly with my craft room, and these two guys are the inspiration for most of my projects! Im also linking this up with: Simon Says Stamps Wednesday Challenge!
I'm half tempted to go ahead and just use all the frames in my house to scrap in! I think its a fantastic way to add a little personality to your decor.
Happy Crafting!
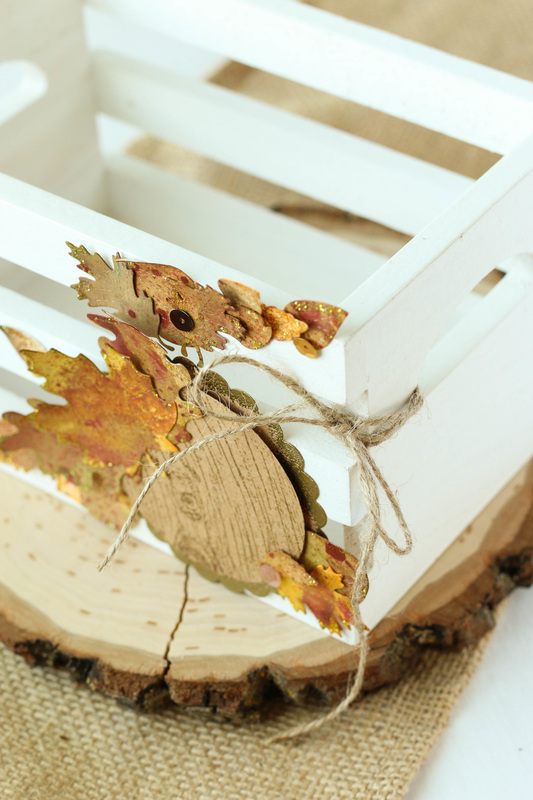
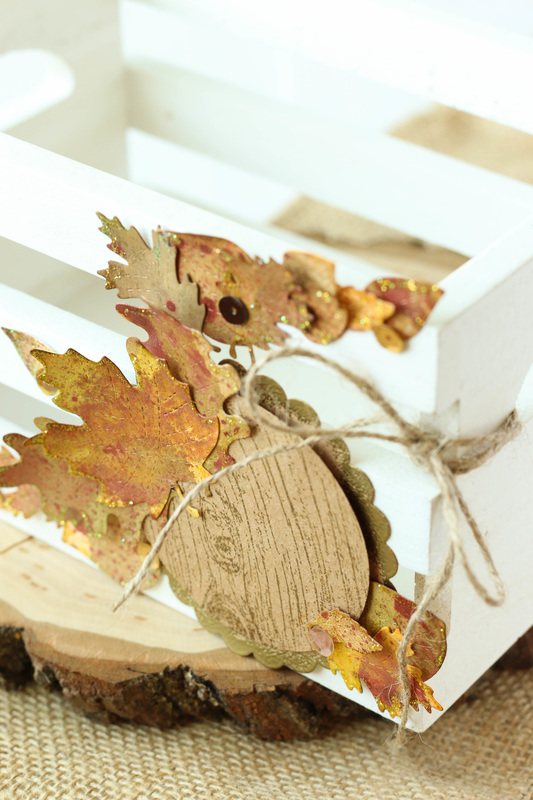
I don't know about you, but as soon as August rolls around each year I immediately jump to Autumn! Fall is my all time favorite season so I love decorating for it.
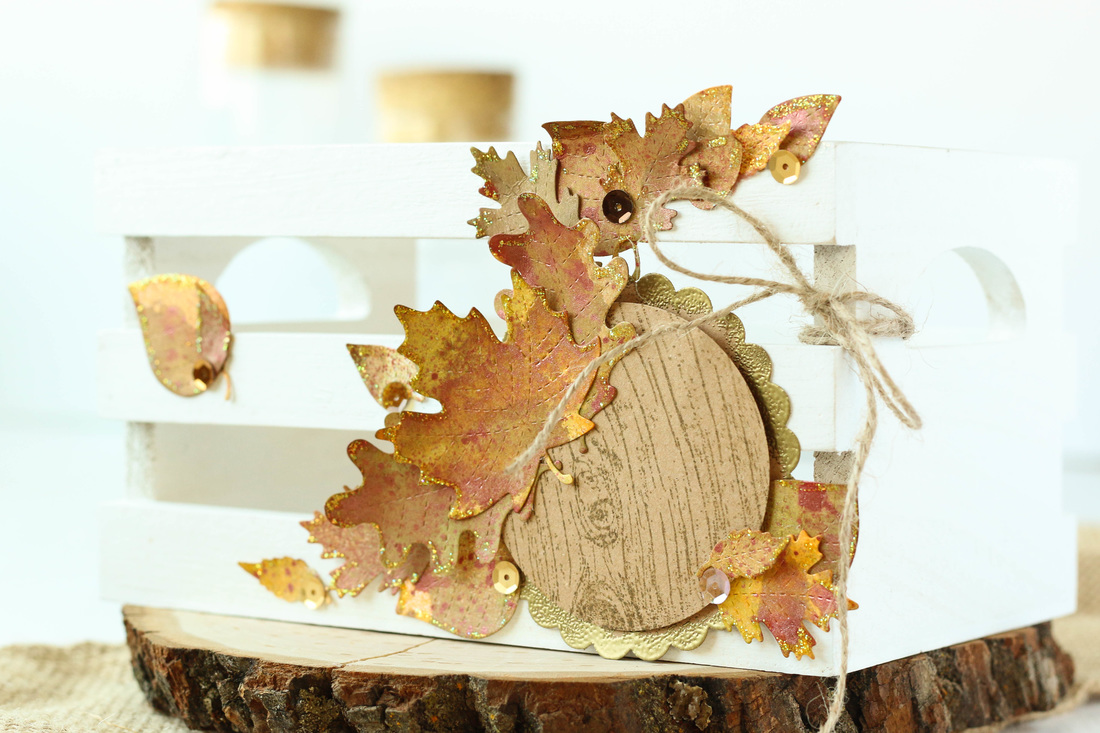
I have this little white 7 Gypsies crate that has so many fantastic uses. I've used it in the past for a S'mores Party, but I thought it was time for an update. I took my Stitched Leaves dies from Lawn Fawn and cut a ton of leaves from plain white paper. Then, using a number of fall colors from Tattered Angels, I misted the leaves with Glimmer Mists.
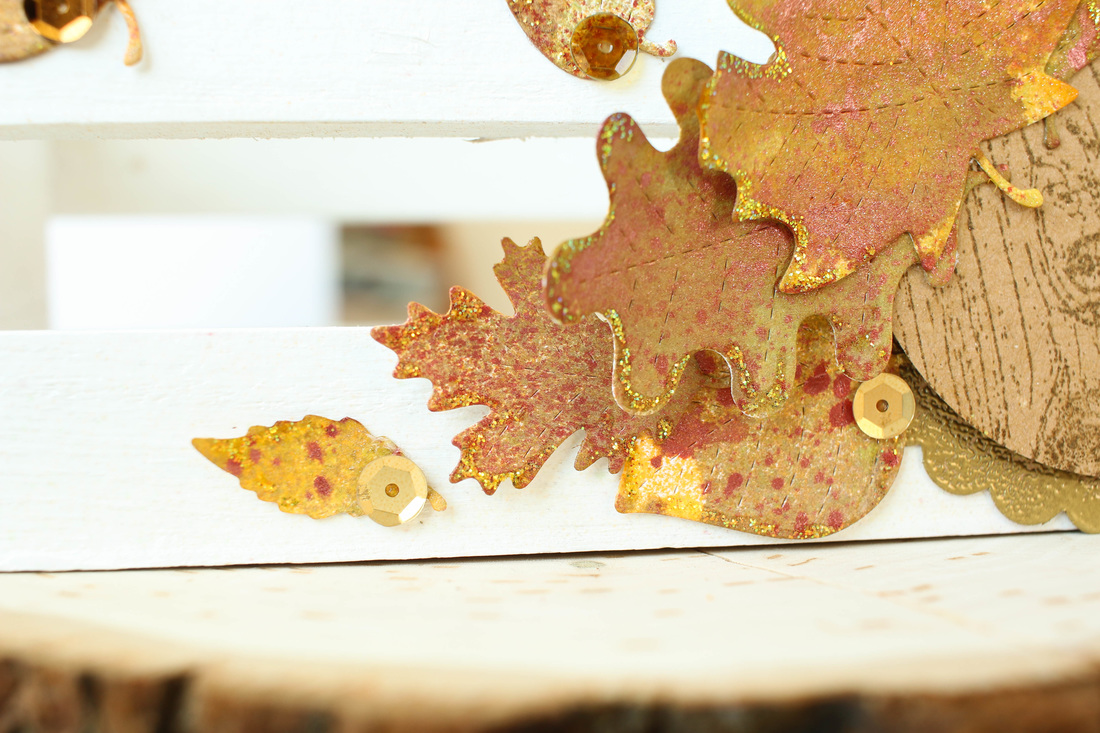
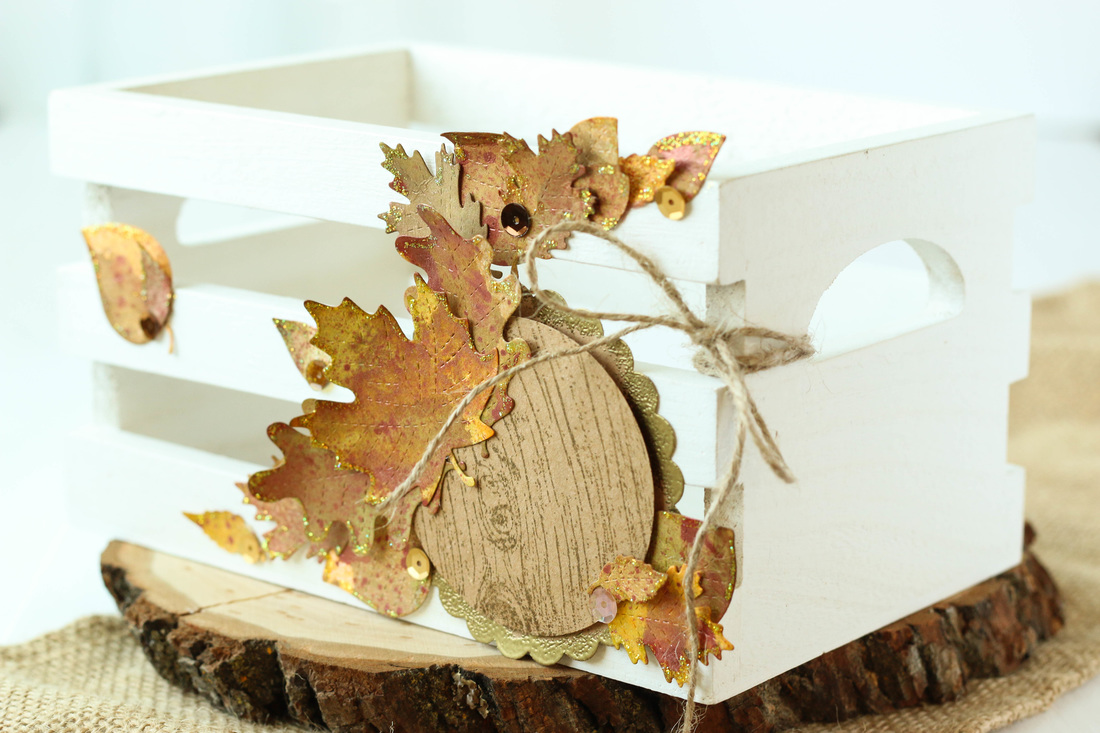
After my leaves were dry, I glued them onto the crate using some Tombow liquid glue. I also cut a circle and a scalloped circle to layer the leaves on. I stamped the front circle with a woodgrain stamp, and the scalloped circle I embossed the edges with gold embossing ink.
For a finishing touch, I added some gold sequins from Doodlebug and then tied some cord around the side. I don't actually know what I want to fill this crate with yet, but I'm sure I'll think of something! I made a little show-and-tell video just to give you a better idea of the process. Enjoy! Im also linking this project up with: Simon Says Stamp's Monday Challenge!
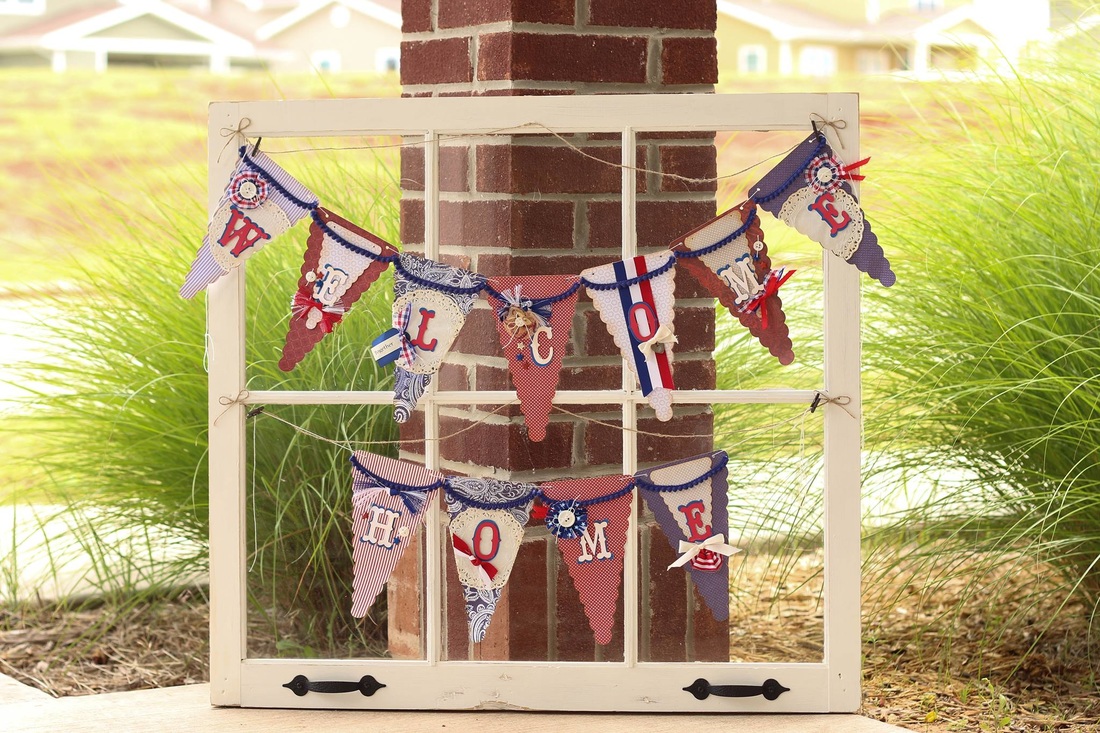
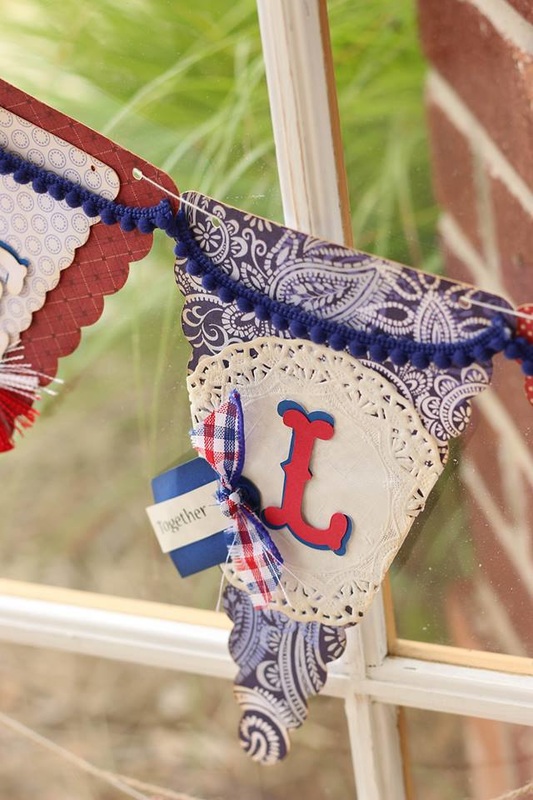
Welcome Home BannerI just love banners! I think they are so easy to change up for every season or event. I have made multiple banners in the past, and I usually keep them all tucked away, ready to be strung up when I need them. The first banner you see above is a sentimental one for me. I made it while my husband was away for 4 long months. Gave me something to keep busy doing while he was away, and I loved decorating the house for him when he returned. I also have the dates of when he was gone and the places that he went written on the back. Anytime he goes away I can just add that info. Then in the future we can just look back on all his travels. So sweet! 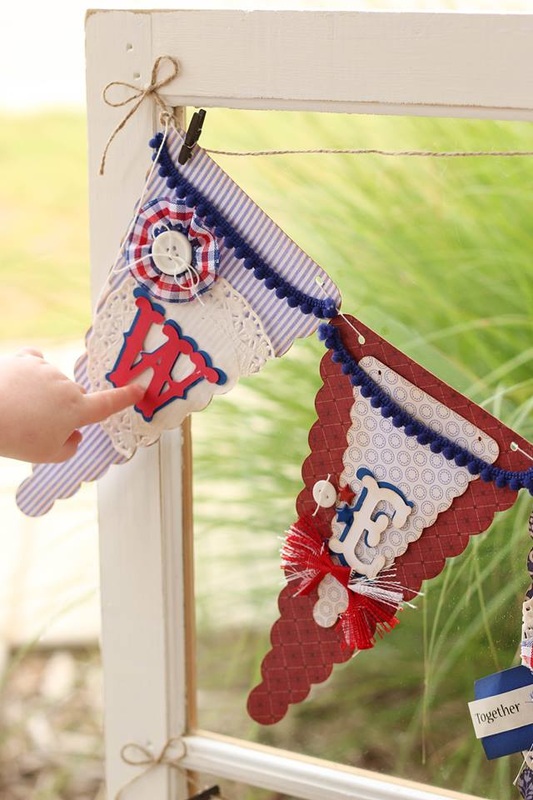

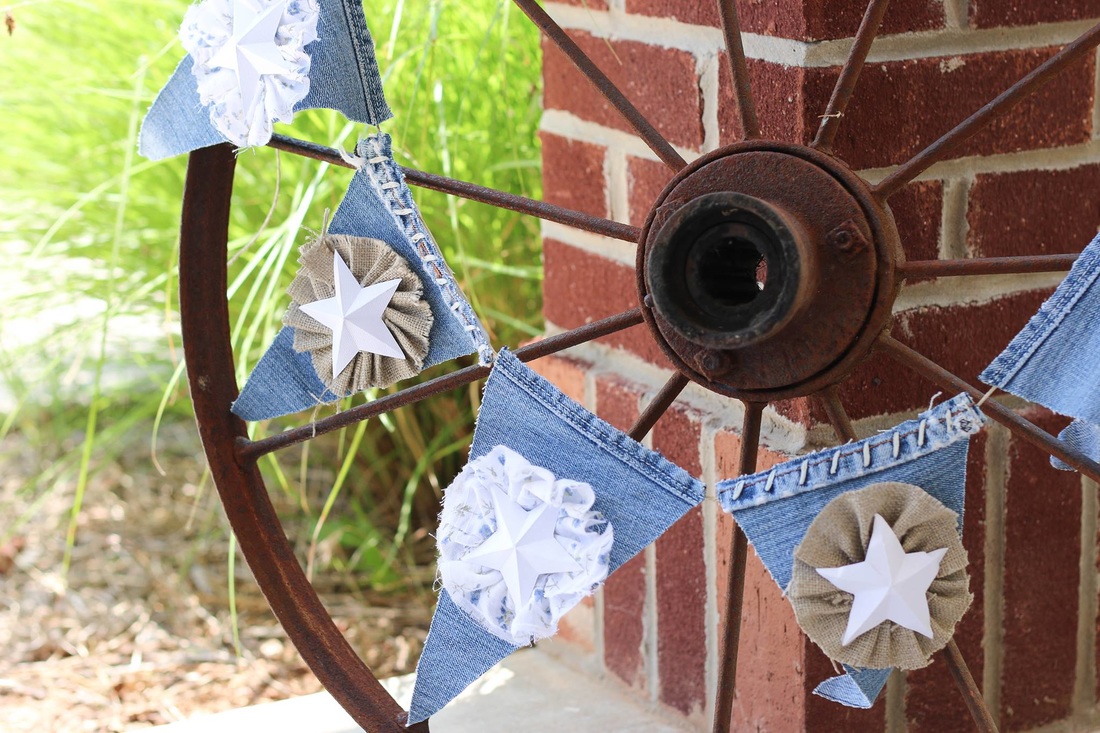
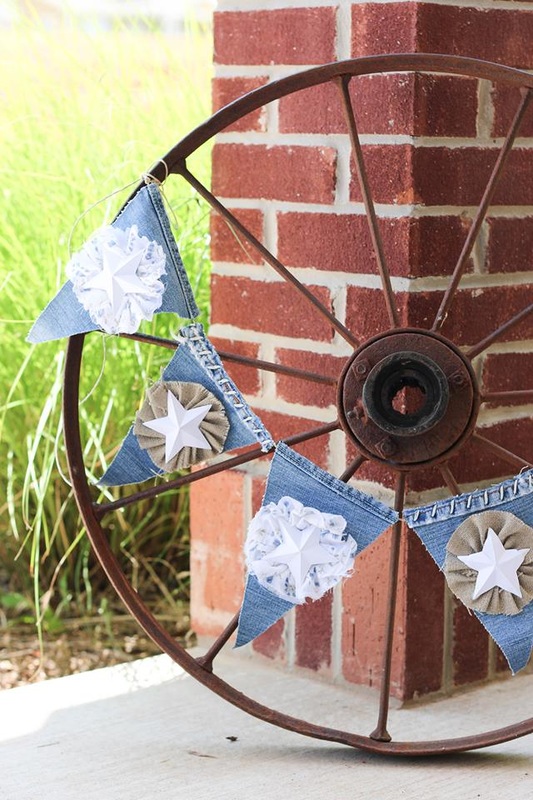
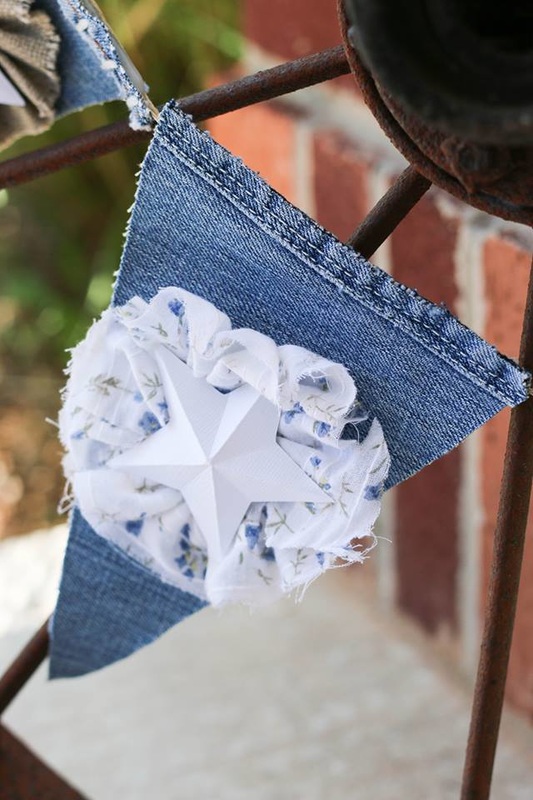
Denim and Stars BannerThis next banner I also made quite a while ago. No special occasion in mind, I just wanted something that had a little more of a rustic feel. I cut up an old pair of jeans for this one, and then hot glued some Ruffled Flowers on each flag. The flowers here are made from burlap and an old shirt that I ripped into strips. The stars were cut out with my Cricut, and then I scored and folded them to give them some dimension. This banner is currently hanging in my craft room, just for fun! 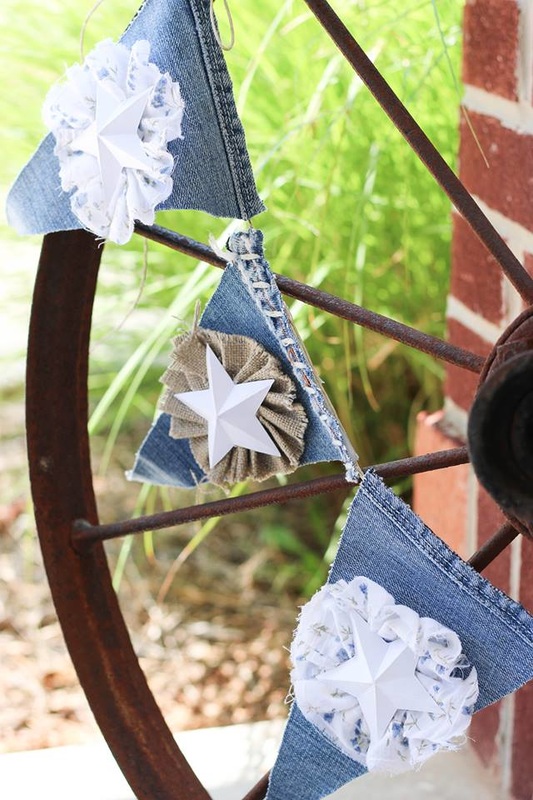
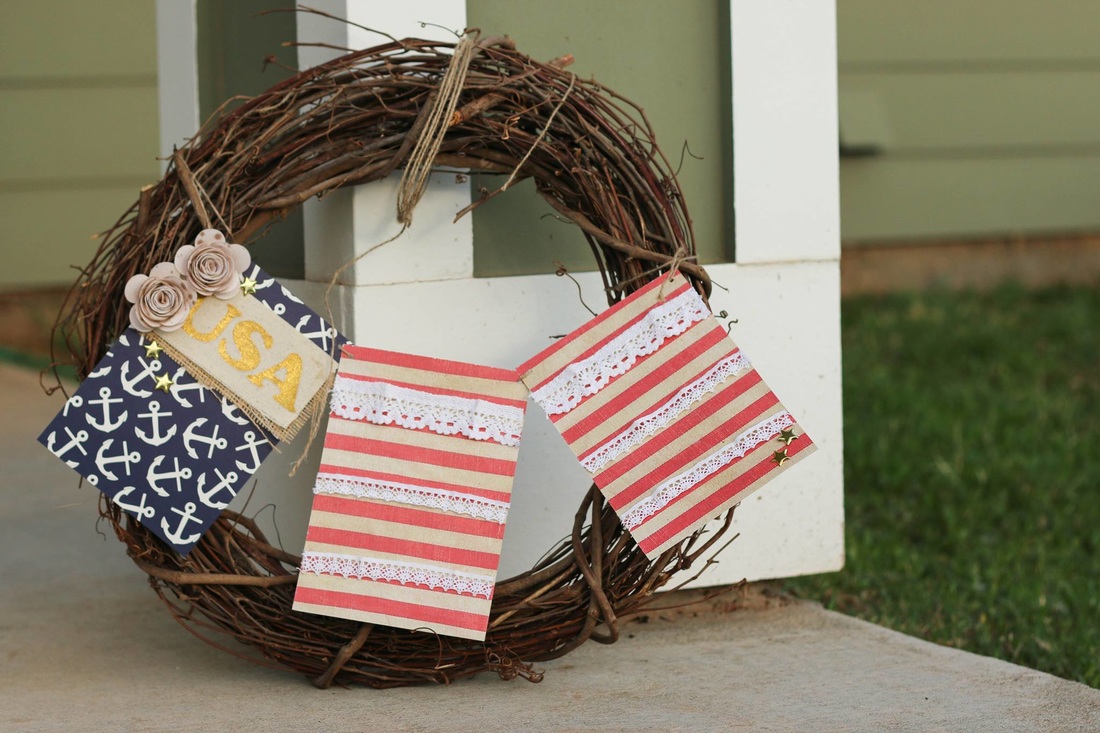
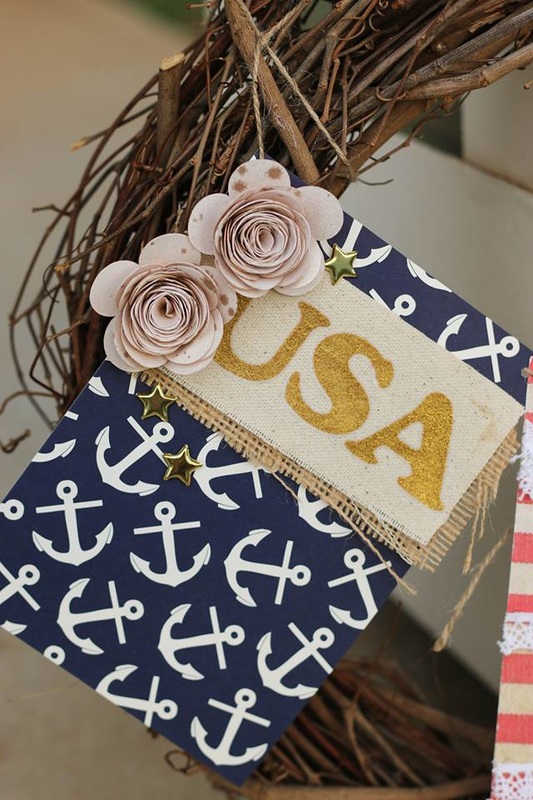
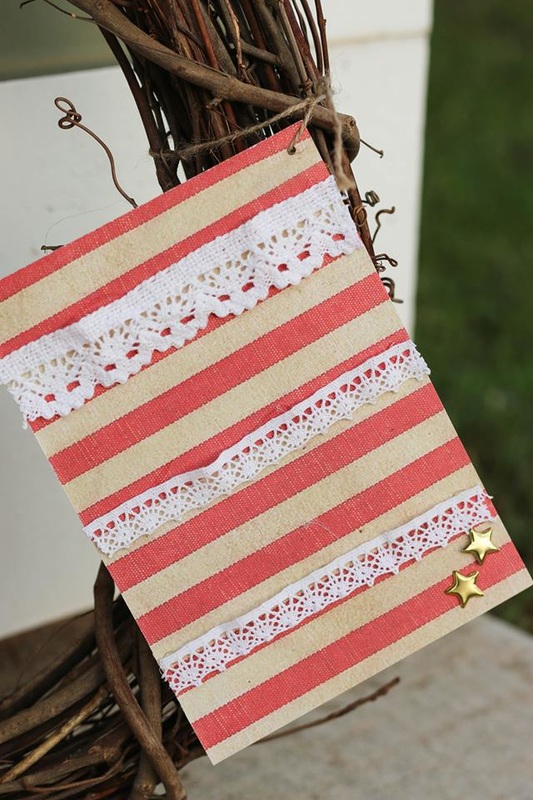
USA Wreath BannerThis last banner is one that I just made this year for the 4th. I tied it onto my grapevine wreath so I could hang it on the door. I kept the embellishments very simple, just hot glued some lace trimmings, burlap, canvas, and rolled roses onto some Canvas Corp papers. The letters are ironed on. To finish it I used some shiny gold brads in a few places.

I also put together a video for this one, so go ahead and watch how it all came together!

I've had a few canvases in my possession for quite a while now. I think we got them all in a bundle at an auction years ago.
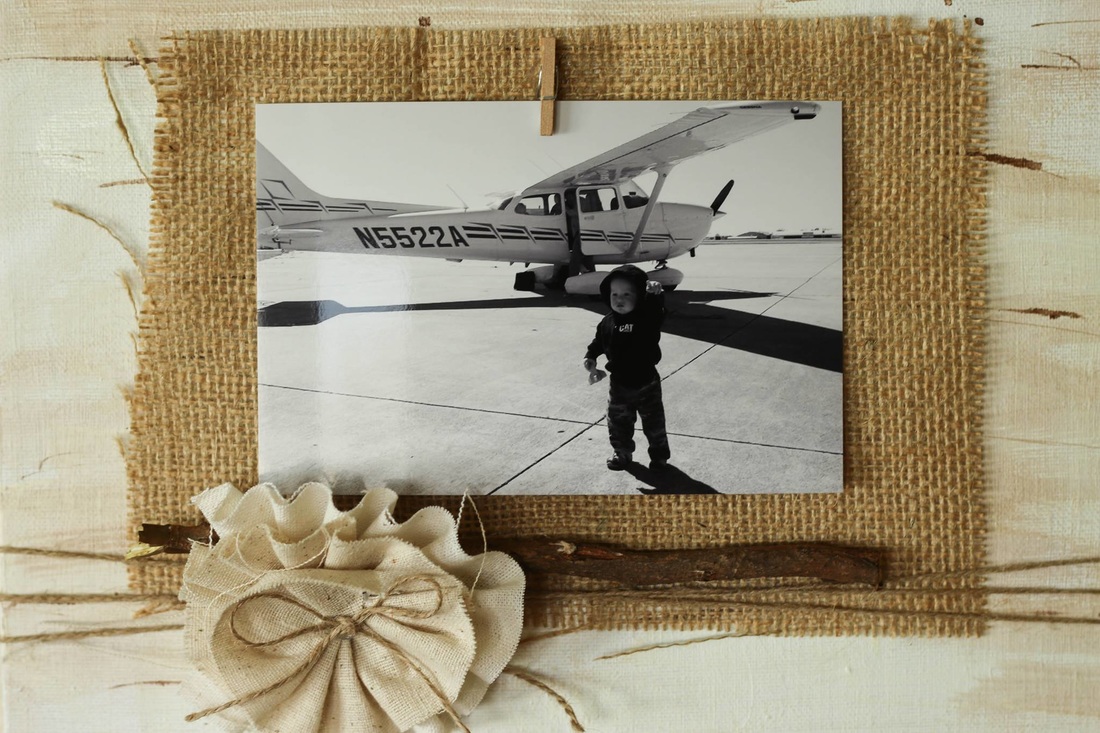
These canvases have been many different colors and themes in my house over the years. More recently I had painted them black, hoping to achieve a chalkboard look. I ended up not liking it and sticking them back in storage. Well, I decided to attempt another makeover and this is what I came up with! I love the lighter birchwood feel. I have these three canvases hanging up in my hallway now. They go great next to my window that has a grapevine wreath on it- it carries over that simple, rustic look. 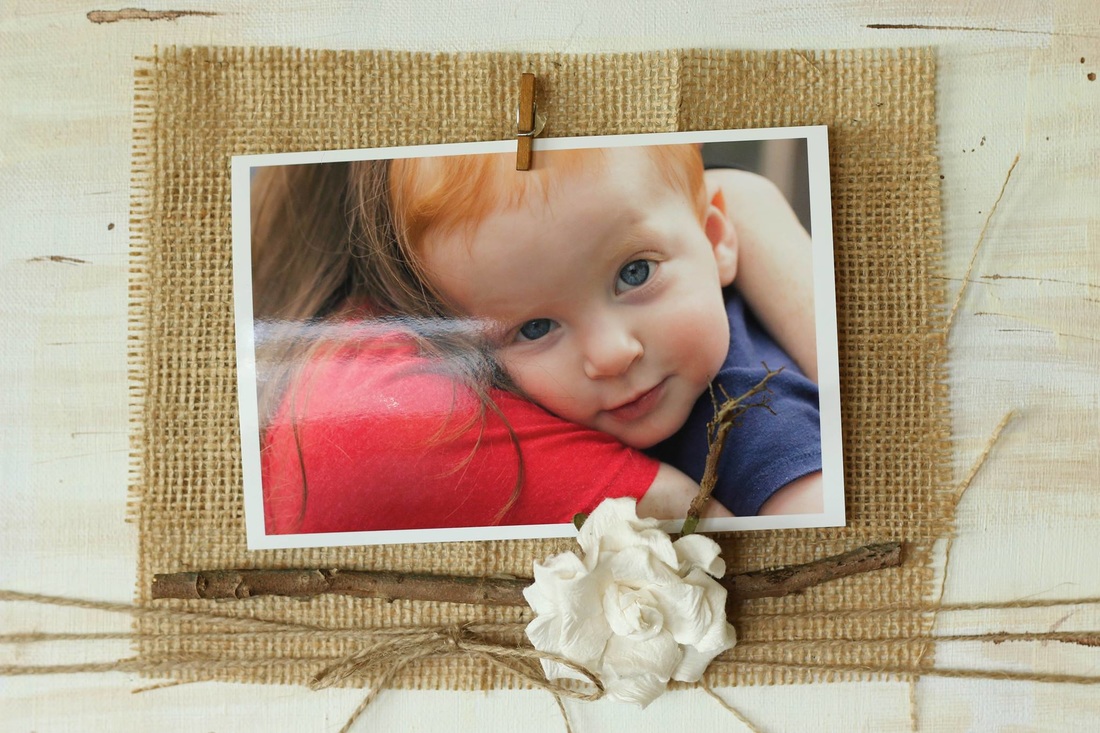
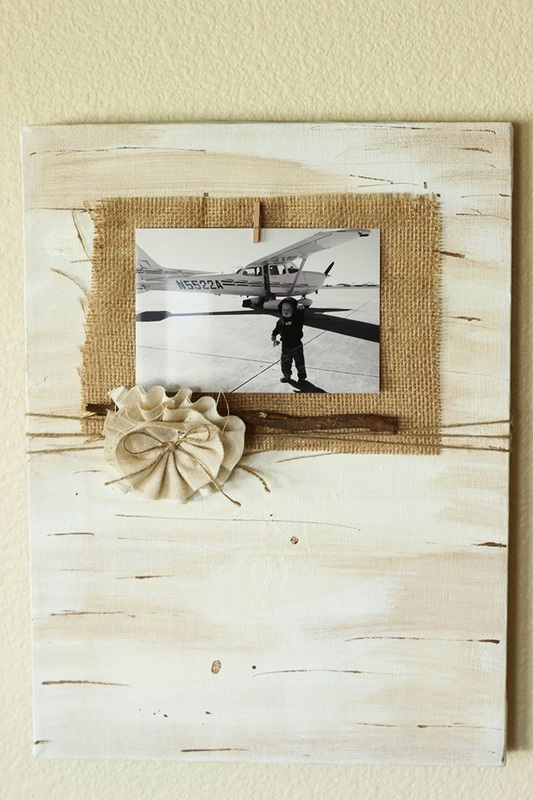

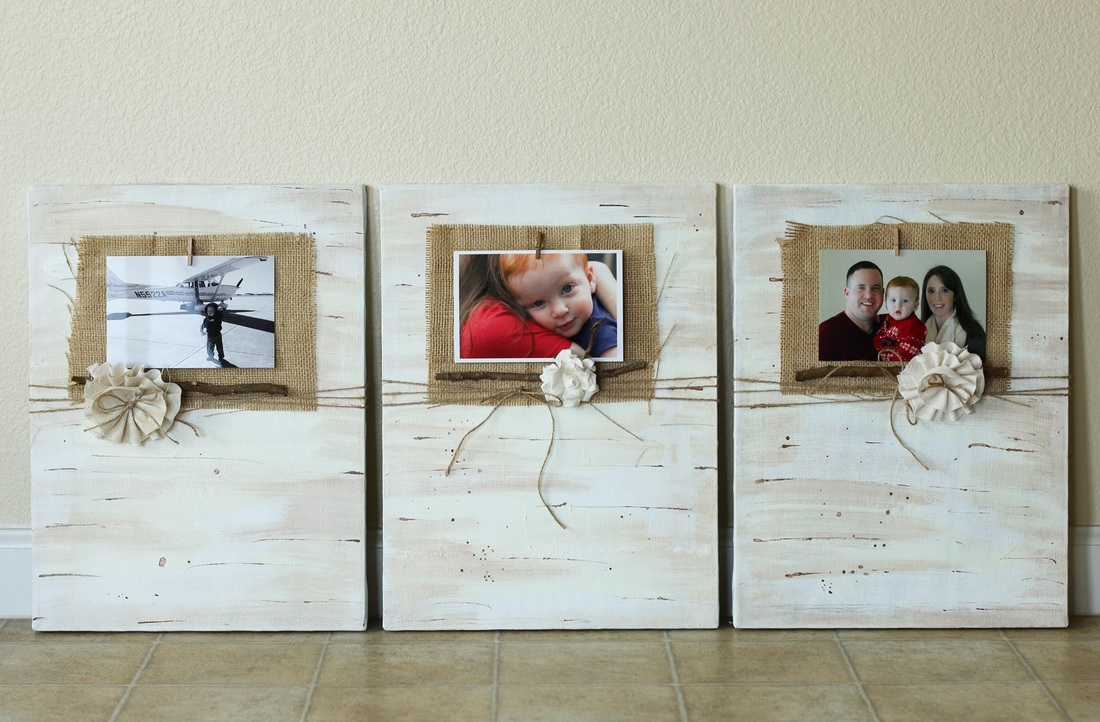
I love how they turned out! The best thing is these canvases are also very light, so I have them hanging up with just a push pin. No big holes in the wall!!
Check out the video I put together if you are interested in learning how to do your own birchwood background. Happy Crafting! Here's a few products I used:
This was such a fun project to do!
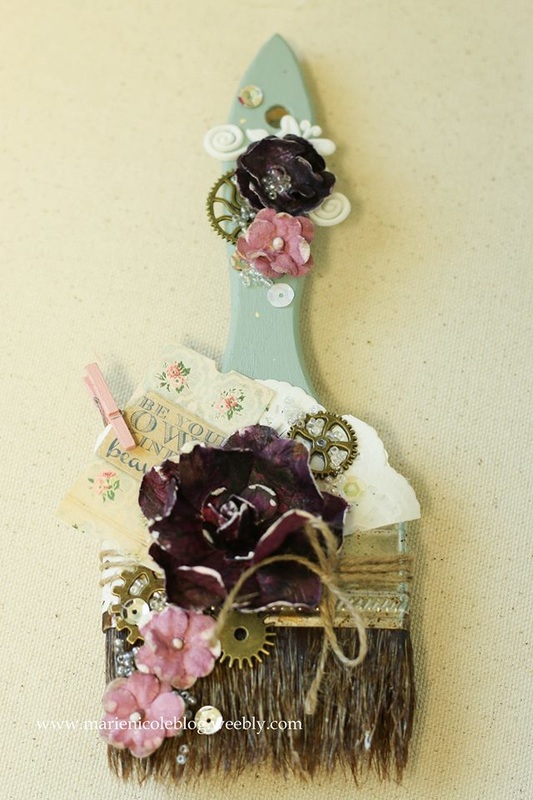
I teamed up with a few of my Creative Crew members to do a video collaboration showcasing Canvas Corp Brands' products. Our theme was "rainbow", and this is what I came up with! My colors are more of a pastel rainbow since those were the paints I had on hand. I started by taking a dirty, old paintbrush that was past its painting days (which was my fault for not properly cleaning it after I stained a piece of furniture!). I applied a coat of Mankato Decor and DIY paint to the handle of it. Then, I wrapped a paper doily over the front, and some jute twine around just over the bristles. For the embellishments, I dug through my stash and found several flowers that I liked. They werent the colors I wanted but a little Tattered Angels' paints fixed that! I used Black Orchid and Violet Rose Chalkboard mists.

After the flowers were misted I added some Ivory High Impact paint just to the tips of the petals. I felt like this helped define the petals so they would stand out and not get too lost.
When I figured out how I wanted them arranged I glued them down. I also added some metal gears from Lollibeads and some Doodlebug sequins. 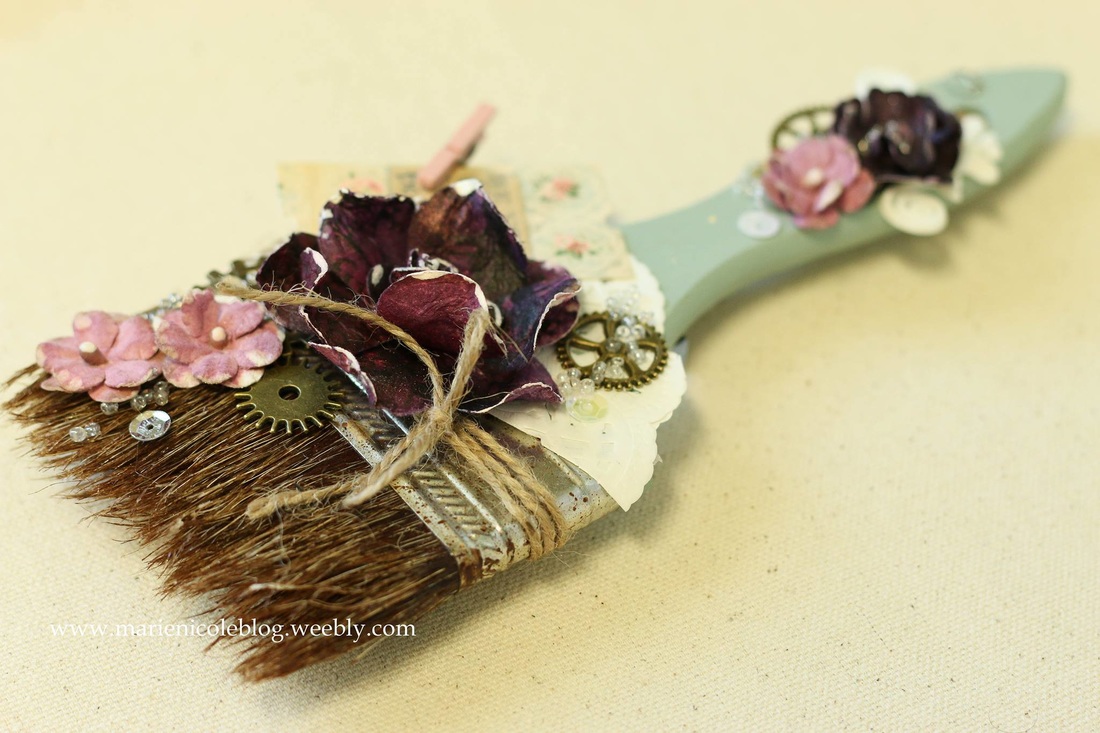
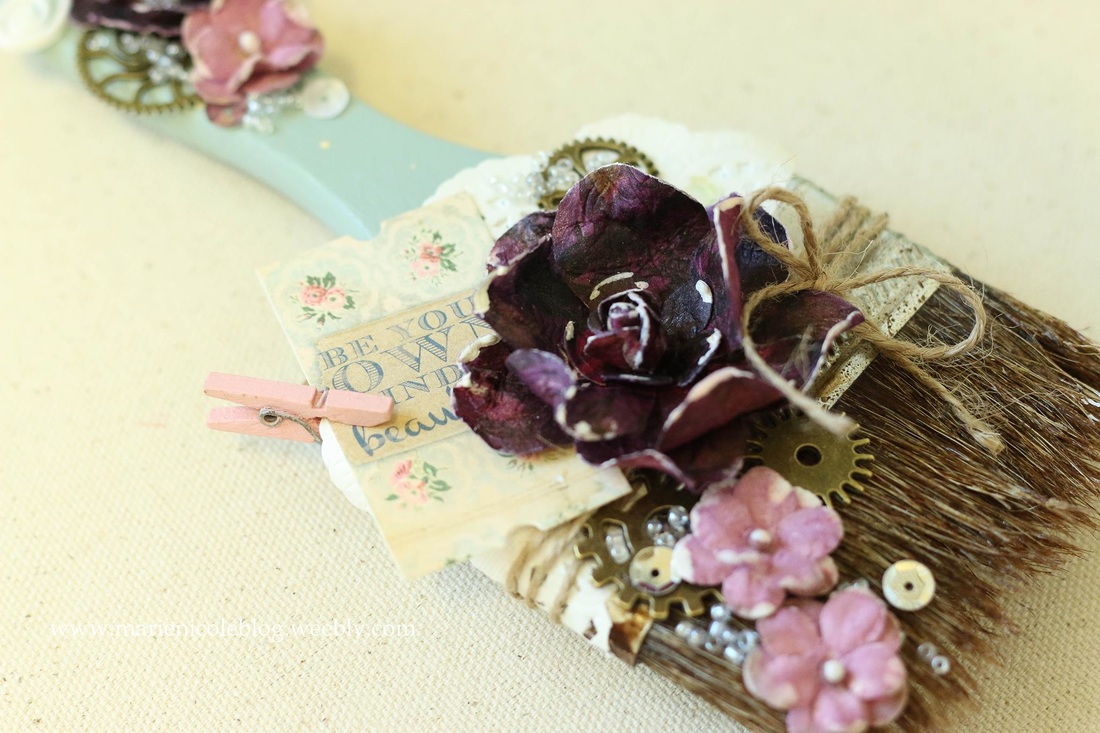
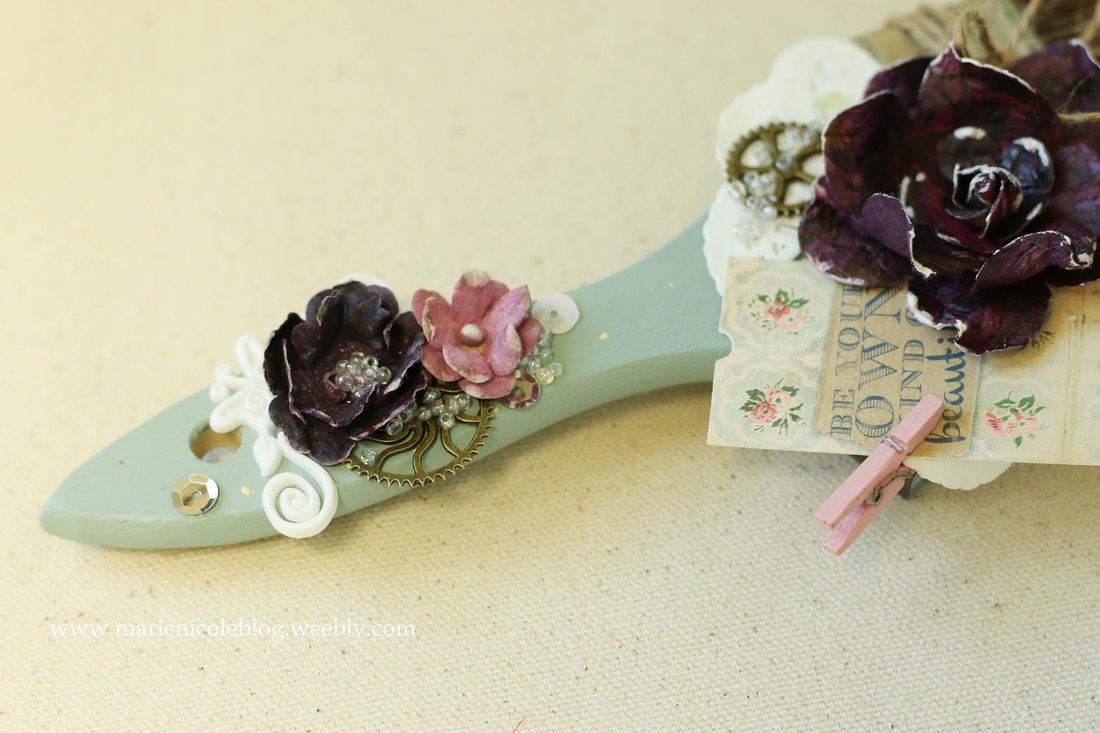
After I recorded the whole video I went back and added some tiny glass beads here and there because I thought it added a little more bling to the piece. I hope you'll take the time to watch the process video and to stop by some of the other Creative Crew member's channels!
Happy Crafting!
Here are the links to ALL the Creative Crew's Collaboration videos!
Linda Svendsen: https://youtu.be/LPIBXUyCcp84 Yasmina TINSANG: https://youtu.be/uofyfS0cH6o Lena Holmström: https://www.youtube.com/watch?v=uCFft... Erin Reed: https://youtu.be/TsygKOXXmTs Gina Knuppenberg: https://youtu.be/VBjvMf28-Nk Shel Forart: https://www.youtube.com/watch?v=l9O-_... Marie Heiderscheit: https://www.youtube.com/watch?v=xg8KY... Tracy Sagriff: https://youtu.be/bq6aYsWaGP8 Here are a few products I used:
|

Pin it!

AuthorSo glad you found me! This blog is my little space where I can share bits about my life and my latest crafting projects (mostly handmade cards). My goal is to share, inspire, and to be a positive presence in the creative community. 

Find me on Instagram!Archives
January 2018
Categories
All
Link Love
 

|


 RSS Feed
