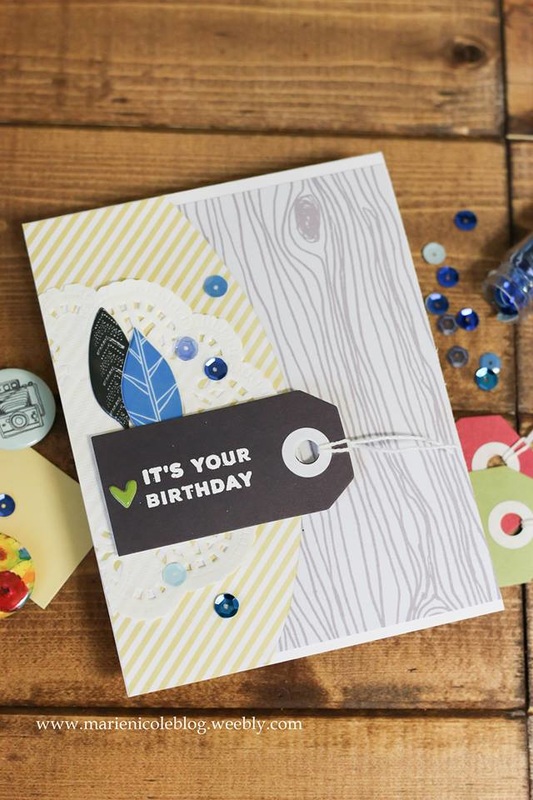
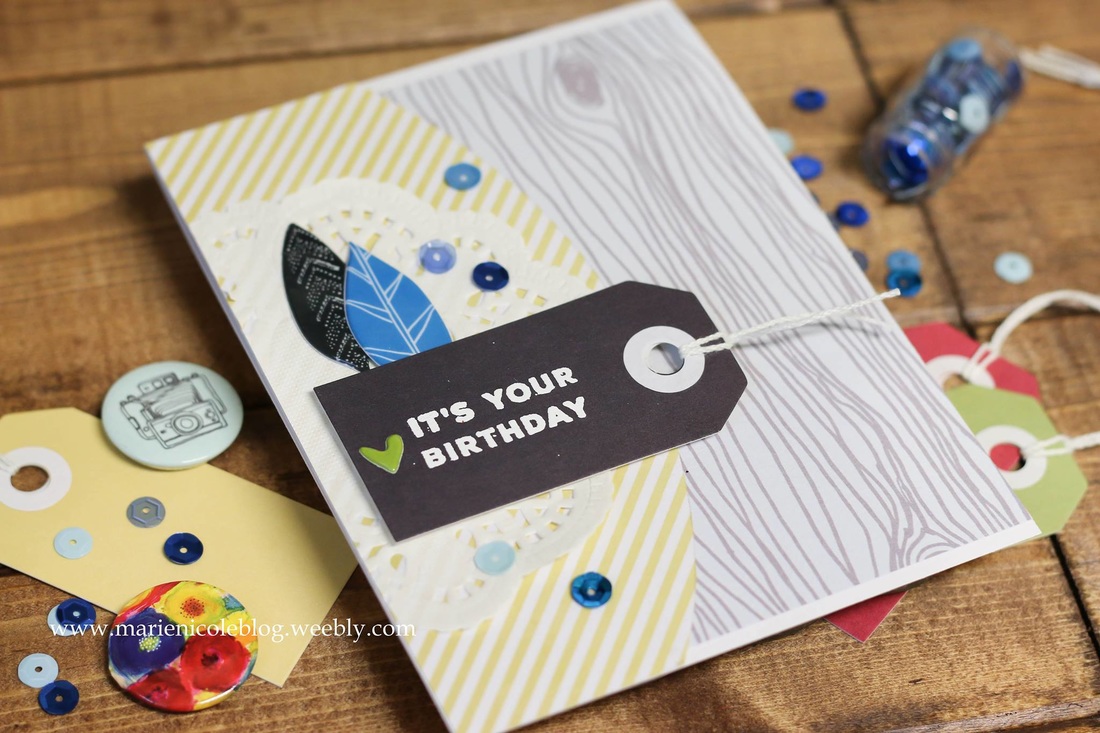
For today's card I used the Attwell collection by Fancy Pants Designs. I absolutely love this collection. It's so colorful and fun!
I used their woodgrain paper as the background, and then layered their yellow stripes on top along with a paper doily. Then, I took one of their black tags and embossed the birthday sentiment with a stamp set from Simon Says Stamp. 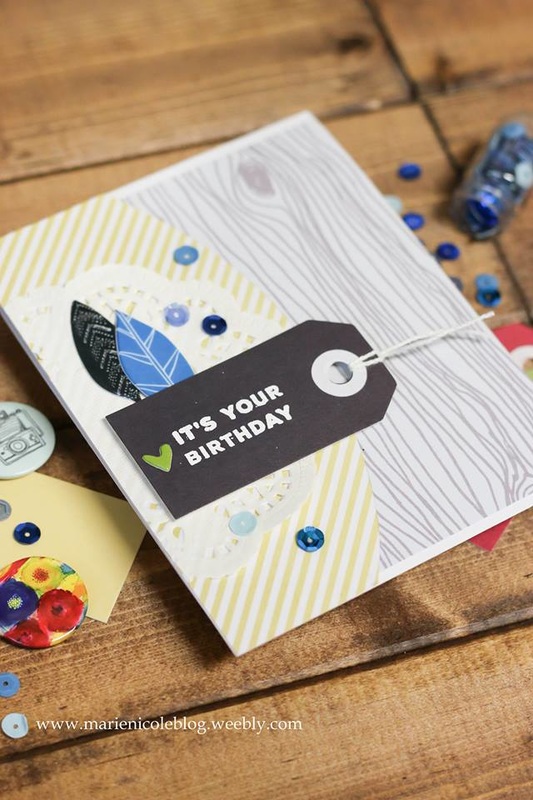
I used a few of the Attwell puffy stickers and some blue sequins by Doodlebug Designs to finish embellishing this card.
Thanks so much for stopping by!
Check out a few of the products I used!

3 Comments
Happy National Scrapbook Day! Tombow has teamed up with some amazing companies like Graphic 45, May Arts Ribbon, Stampendous!, Fancy Pants Designs, Art Impressions, and Simple Stories to celebrate this fun day. They sent me a box stuffed full of goodies to play with and share with you!
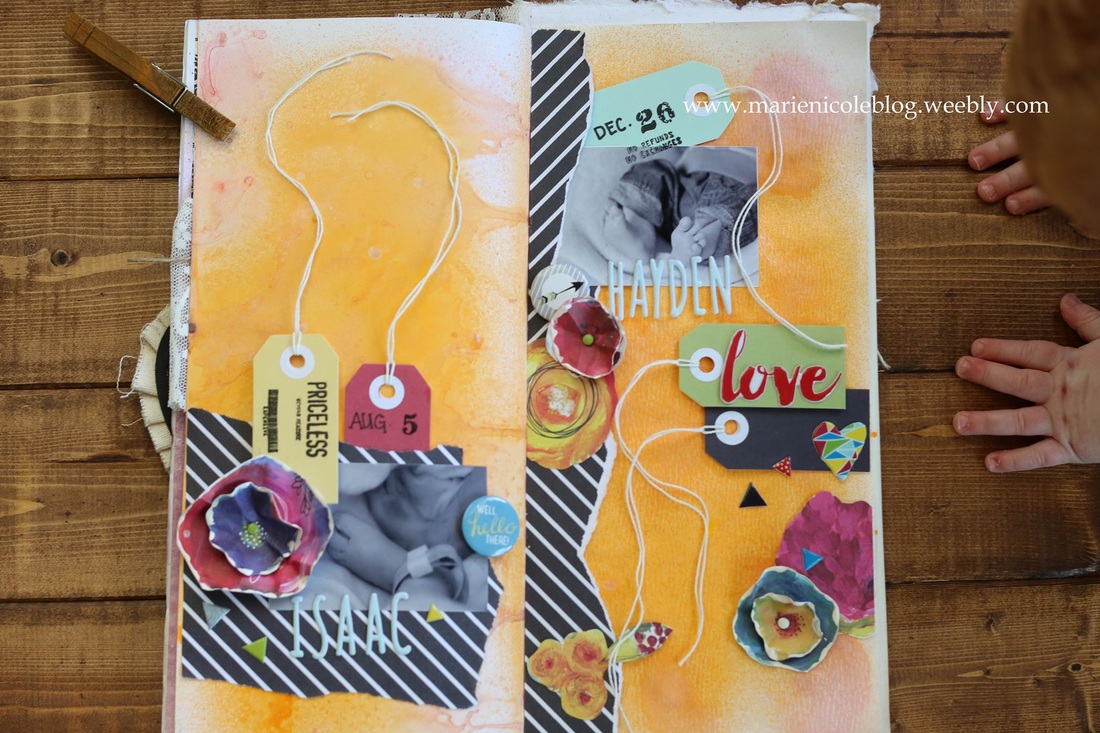
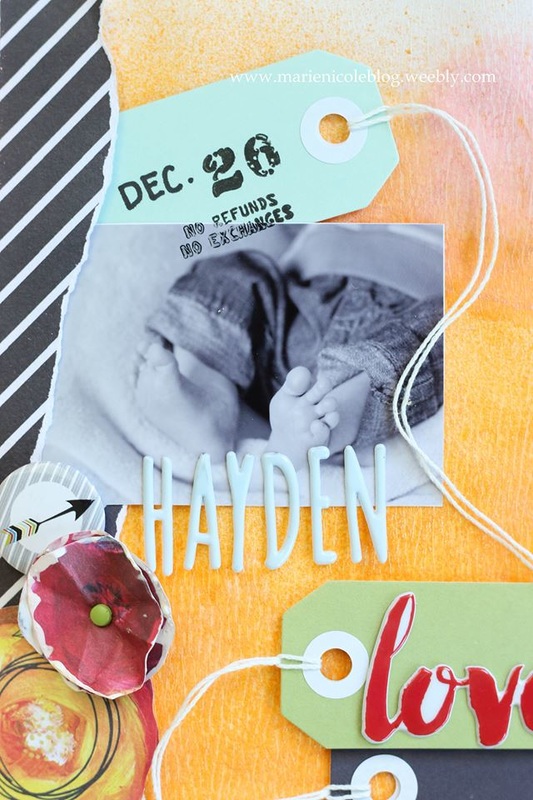
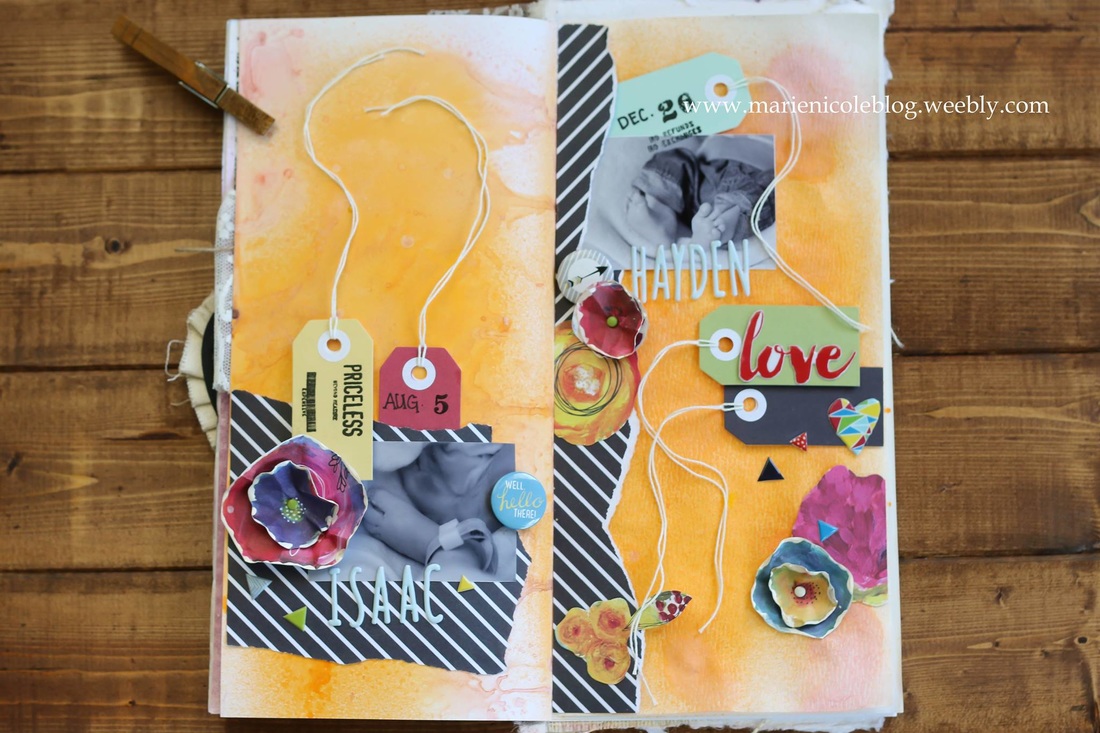
I have been slowly filling up my Recollections Mixed Media Journal that I titled, "Things I Love". This is the third layout in my journal. Here is how I did the COVER and then my WEDDING THEMED page. For the page I am sharing with you today, I used the Attwell collection from Fancy Pants Designs to create a page dedicated to my two sons, Isaac and Hayden. 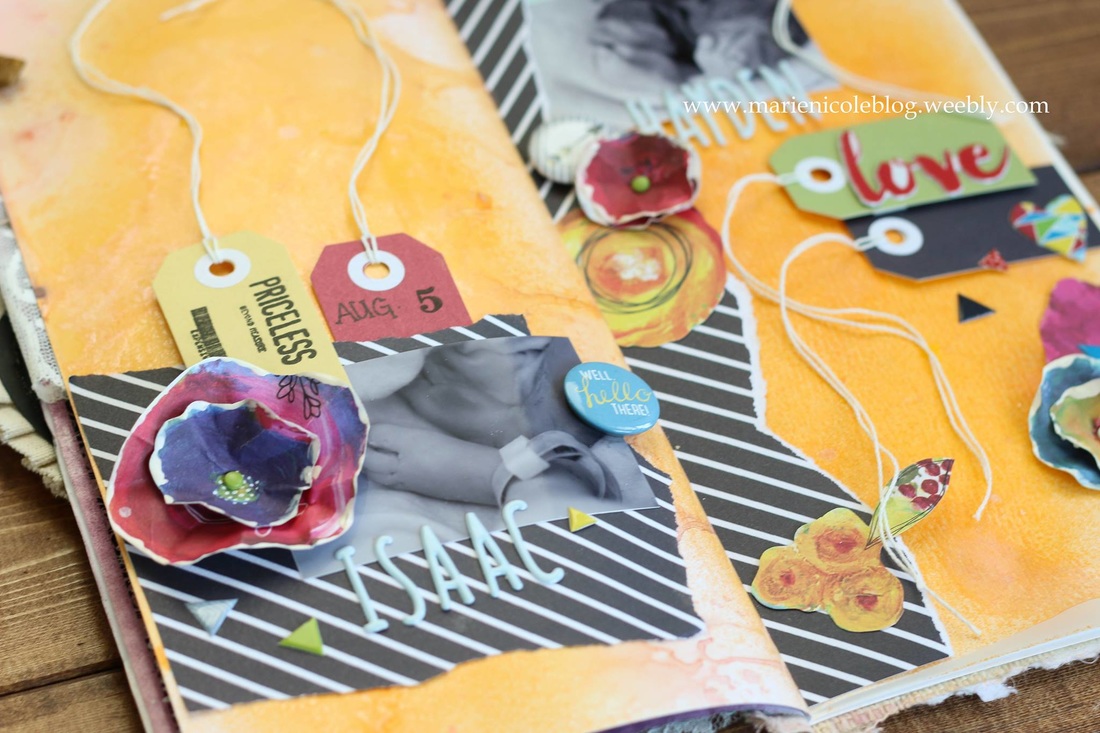
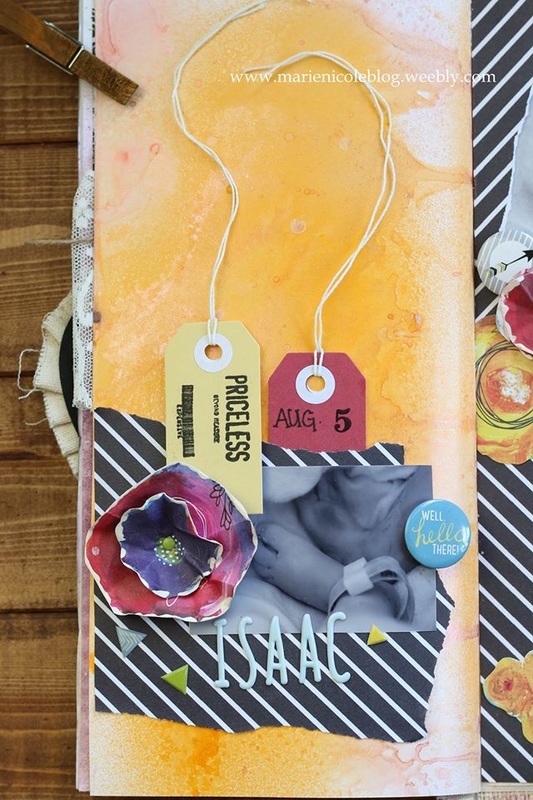
Let me tell you a little bit about our first son, Isaac. We were thrilled when we found out we were expecting him, but at our very first ultrasound we discovered that he had serious complications that would not allow him to live past childbirth. In fact, we didn't even know if we would make it to full term.
We went ahead with the pregnancy because we believe all life is precious, and we wanted to give Isaac the best shot at life we could. God was gracious, and allowed him to grow to 34 weeks and 4 days. Our short time with him was precious, and I treasure the few photos we have of him. If you want to hear his whole story in detail, CLICK HERE, 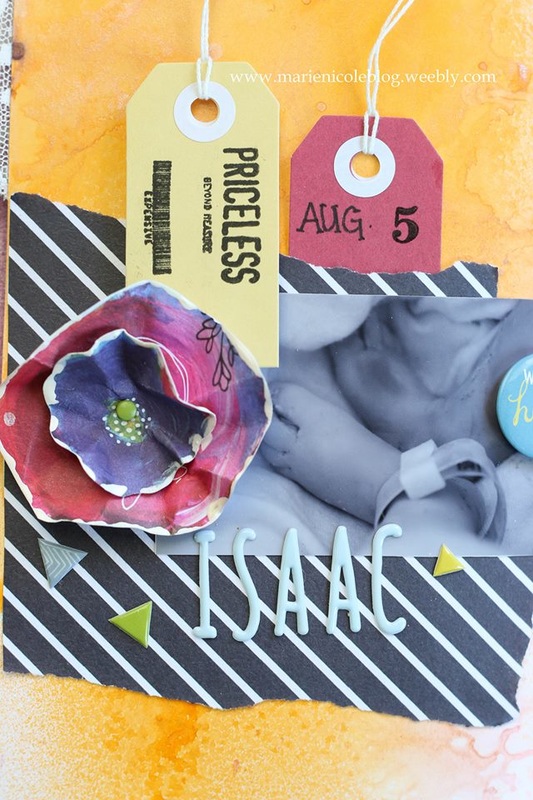
About 8 months after we lost Isaac, Hayden's story began! The colorful theme of this layout really fits since Hayden is our rainbow baby.
We treasure each day we have with Hayden. Losing a child brought on a lot of different emotions, and I sometimes still have days where I feel all those emotions. But going through that pain also helps me put into perspective how precious Hayden- and EVERY child- is. 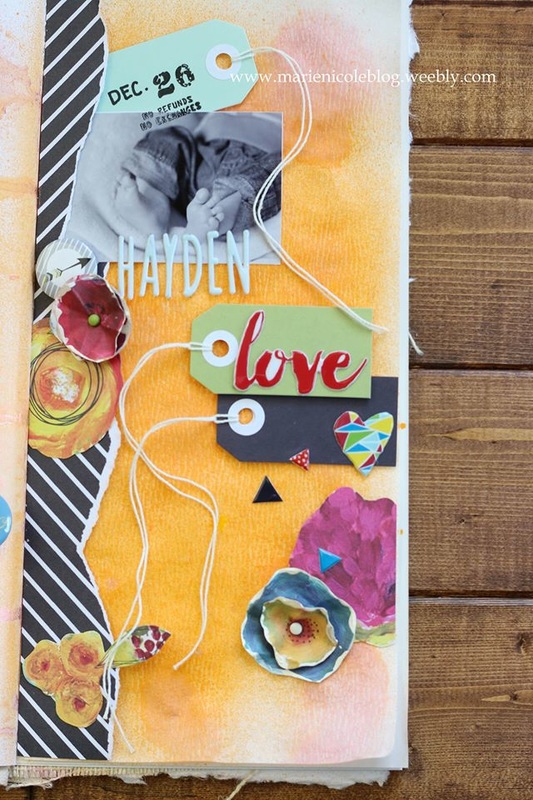

So thank you so much for taking the time to stop by, hear a little bit of our story, and (hopefully) appreciate how scrapbooking can help preserve your precious memories.
If you like what you see from Fancy Pants Designs, follow them on social media!
Fancy Pants Designs: Instagram- @fancypantsdesigns Facebook- Fancy Pants Designs Twitter- fancypantsd Pinterest- https://www.pinterest.com/fancypantsdsgns Blog- http://blog.fancypantsdesigns.com/ Check out some fun products I used!
National Scrapbook Day 2016 is just a few more days away! I also have a few more fun projects to show you!
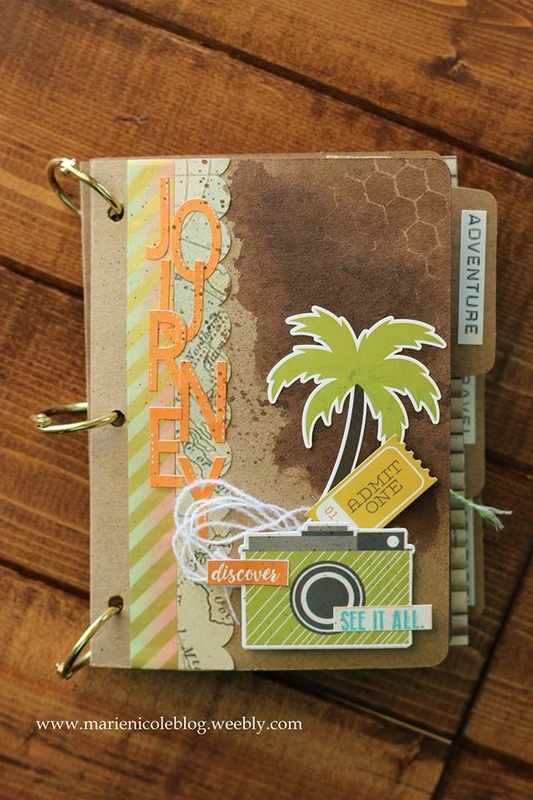
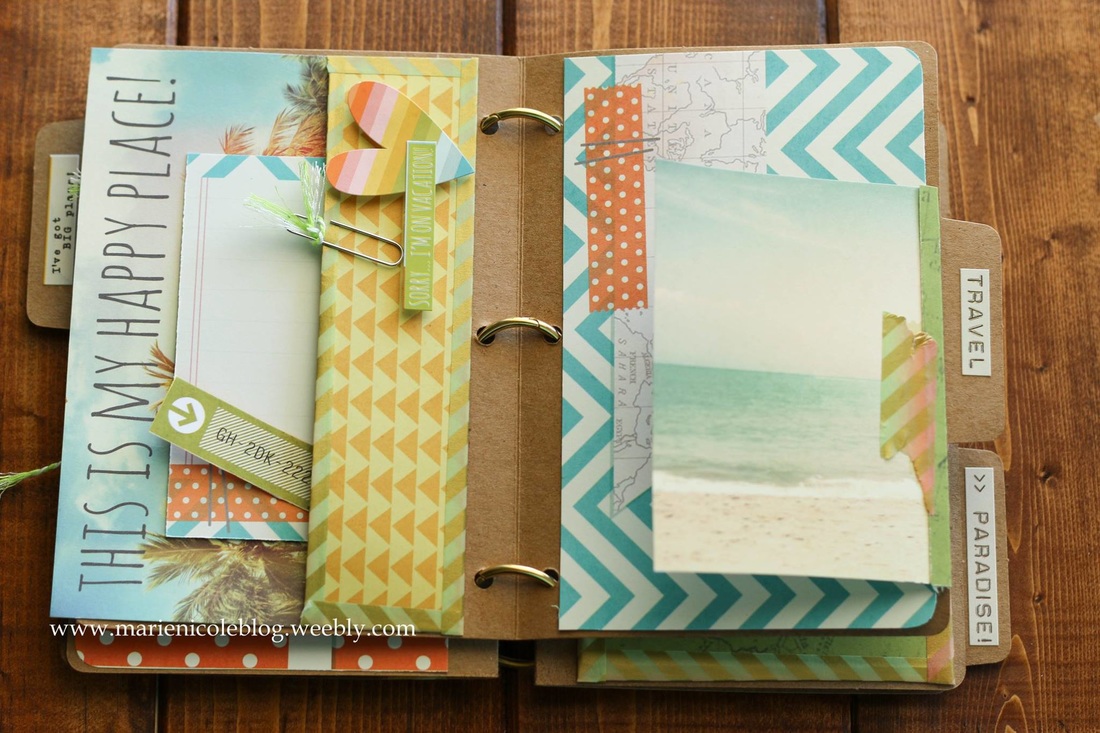
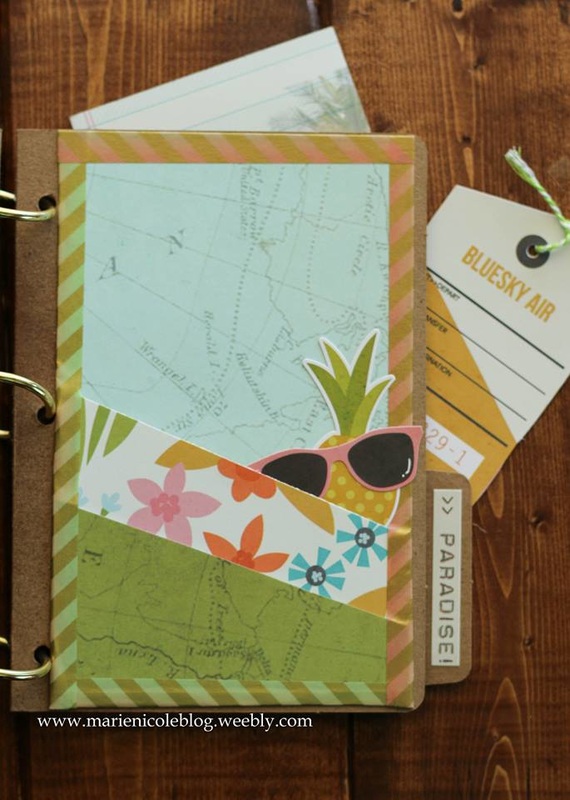
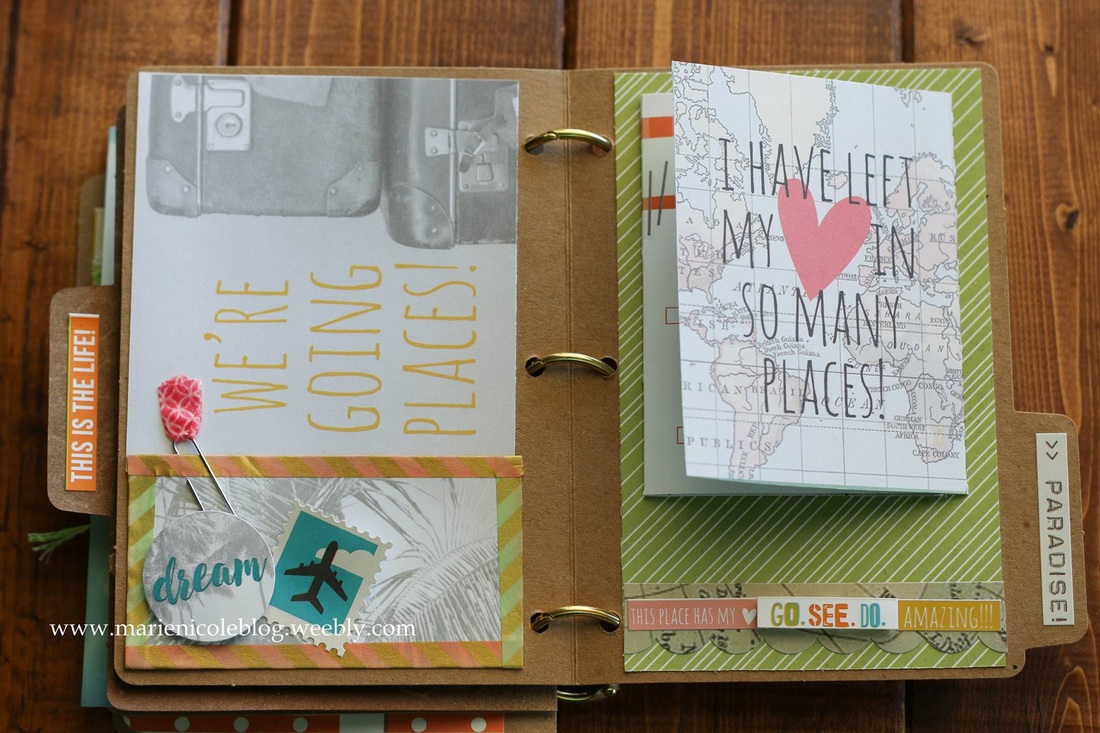
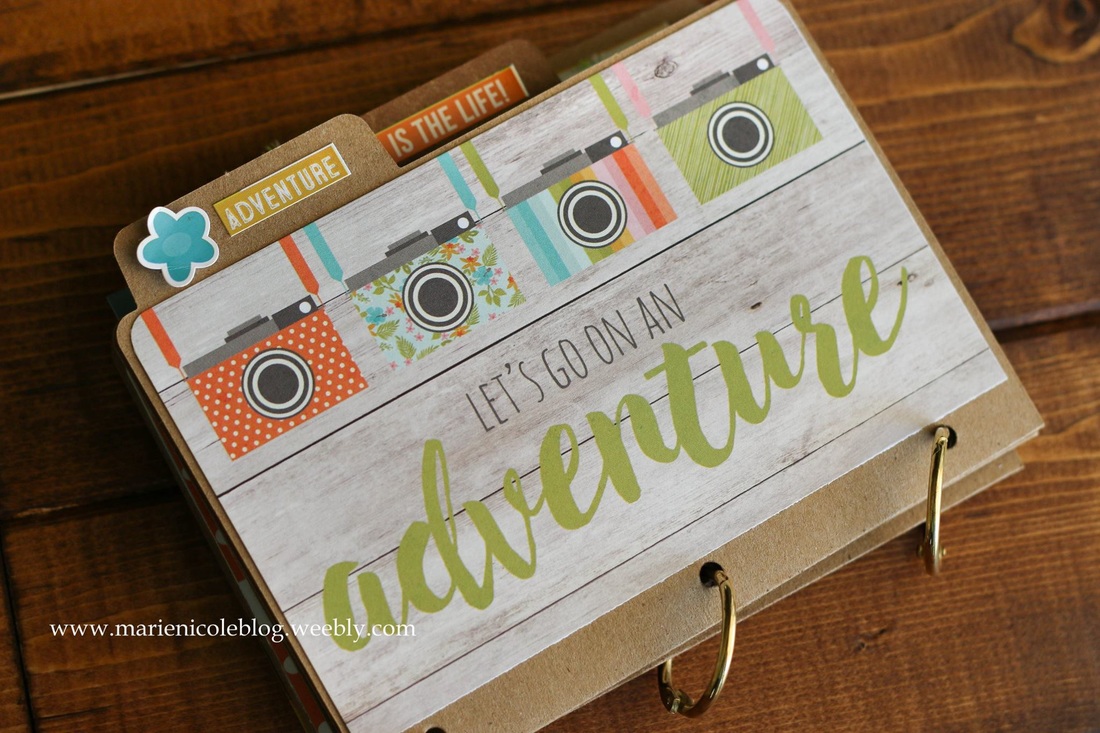
Today Im showing this mini file folder album featuring Simple Stories papers. I have the travel themed papers and they are so much fun. I put together this cute little travel journal/album using the papers and some mini file folders from Canvas Corp Brands. All I had to do was punch holes in the sides of the files and then bind them together using some 1" album rings from The Paper Studio. I've put together a video walk-through of the album, and Ill post some photos as well. 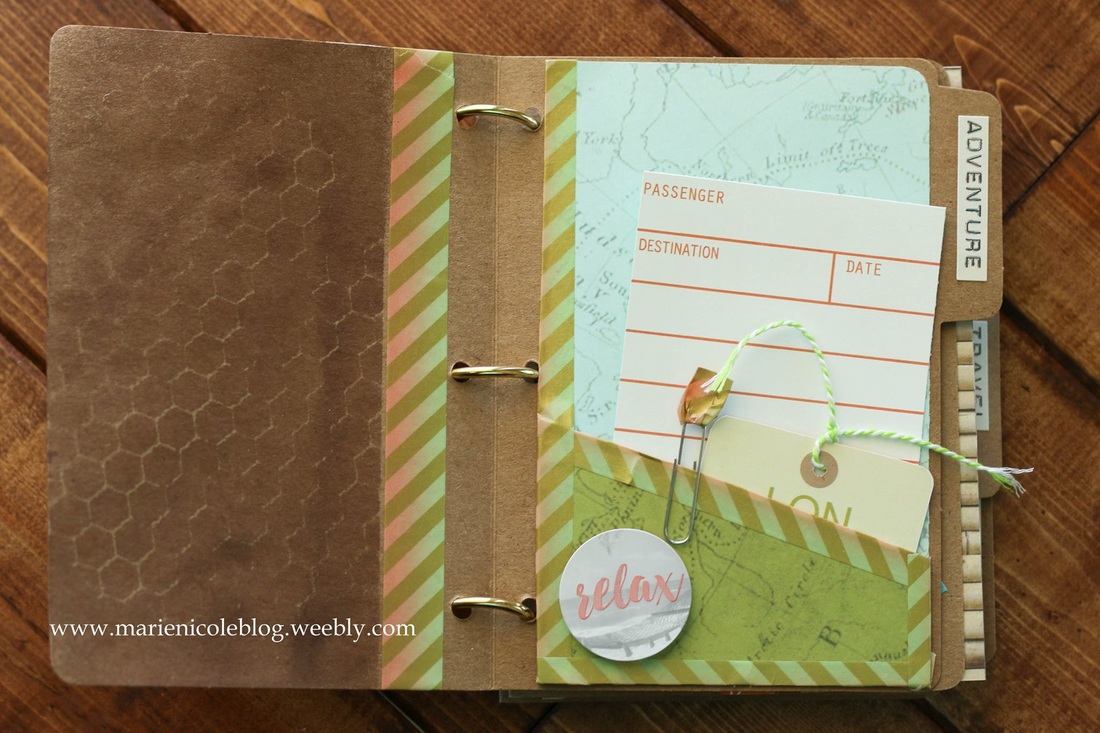
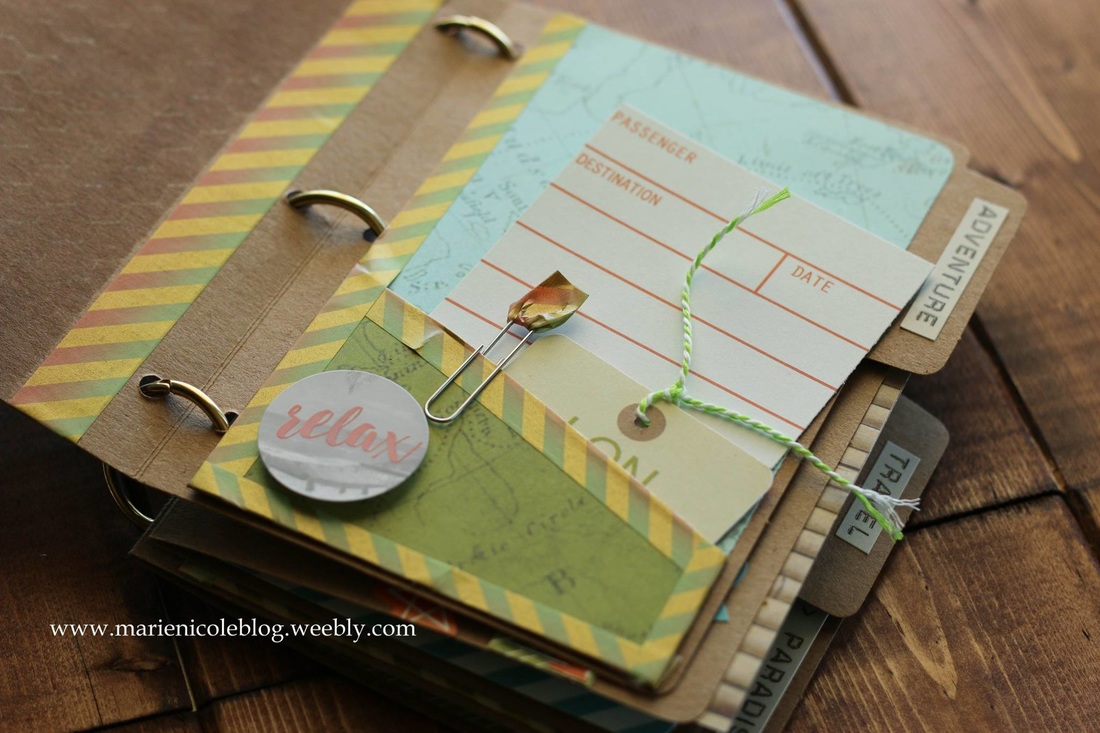
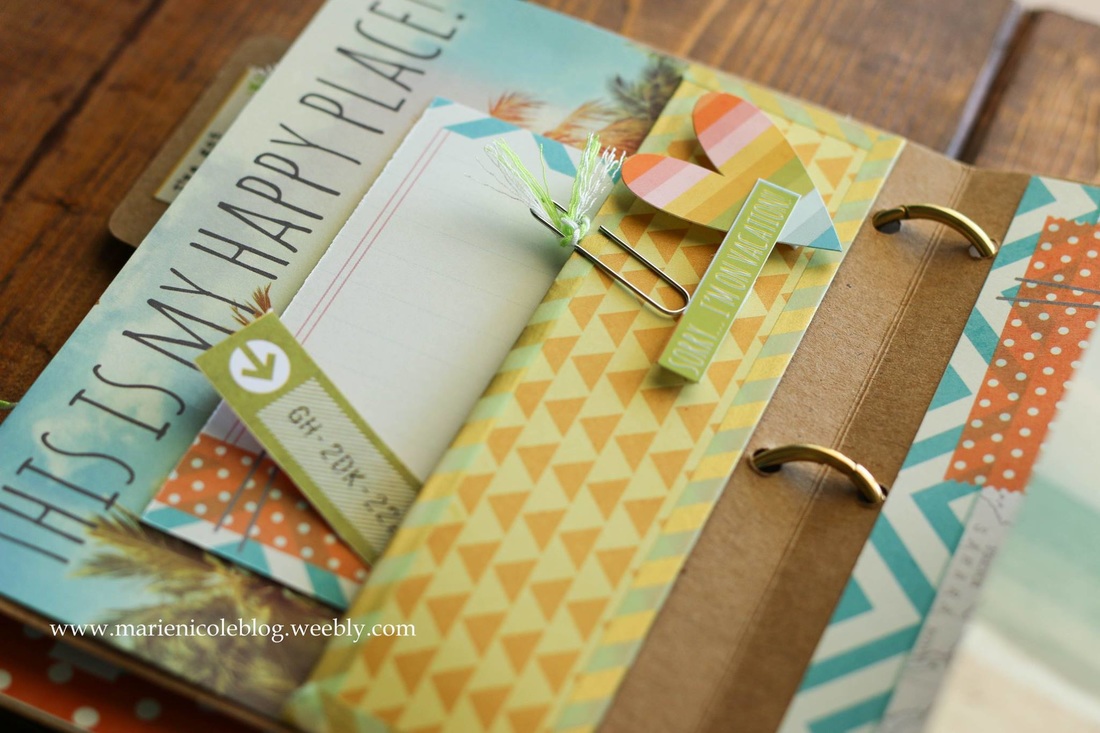
I wanted to include lots of pockets, journal notes and tags so it would be quick and easy to collect and store vacation trinkets, memories, and photos. 

I also did a little misting using TCW's Mini Chicken Wire stencil and Tattered Angel's Tattered Leather Glimmer Mist on a few pages. 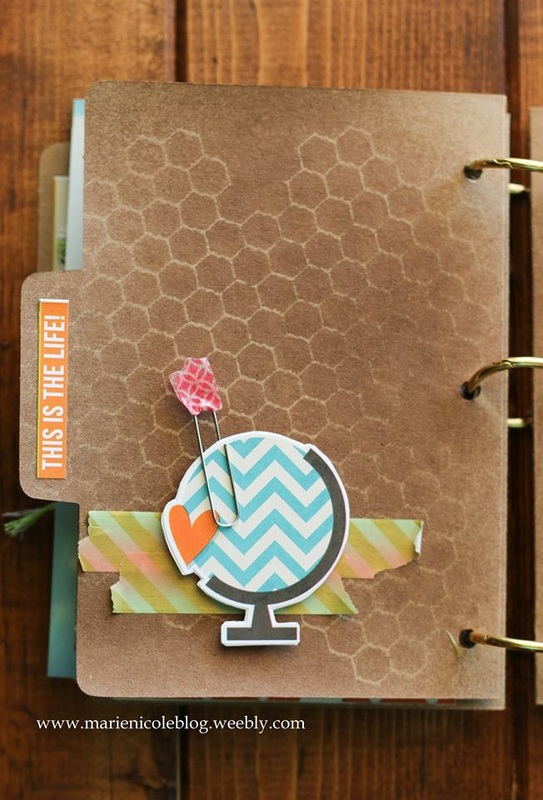
Go ahead and check out the video for the "official" album tour and more info on how I put this together. Also, THANKS to Tombow for teaming up with Simple Stories and helping to get these amazing products out there! Follow Simple Stories on their social media! Simple Stories: Instagram- simplestories_ Facebook-@simplestories Blog- https://www.simplestories.com/blog Happy National Scrapbook Day!
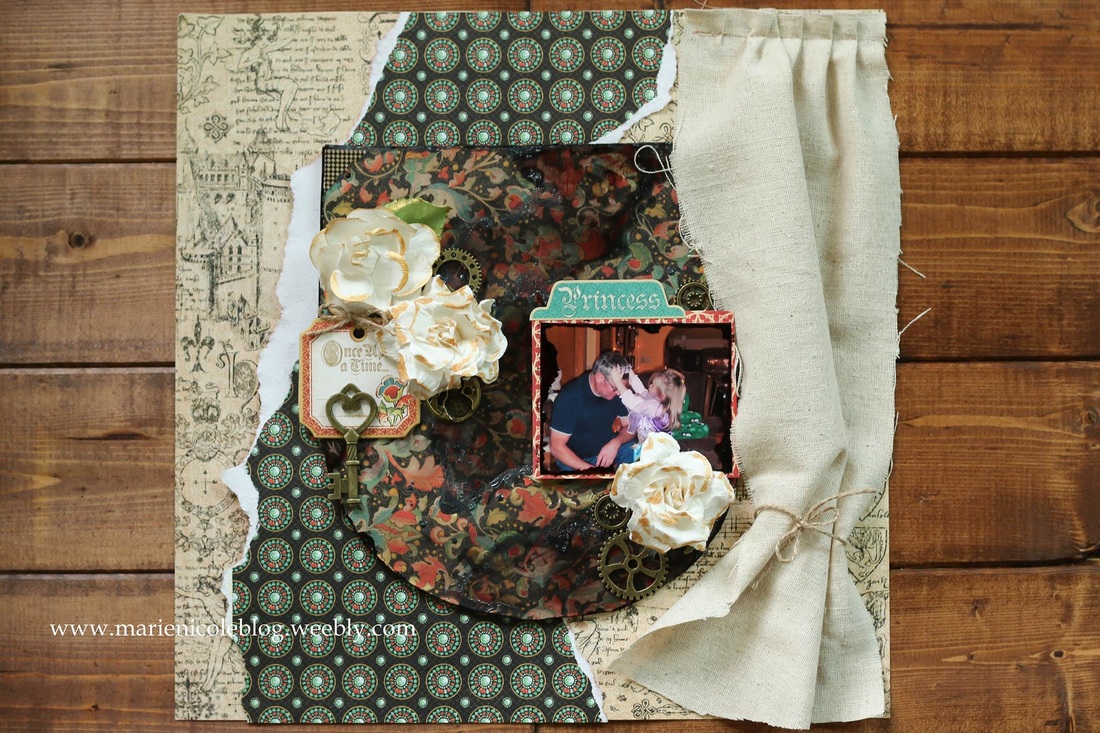
Graphic 45 sent me some of their new Enchanted Forest products. I received their 12x12 paper pad, stickers, and chipboard pieces. These papers are GORGEOUS! It's a medieval theme, so lots of princesses, knights in shining armour, a few dragons, and some amazing patterns!
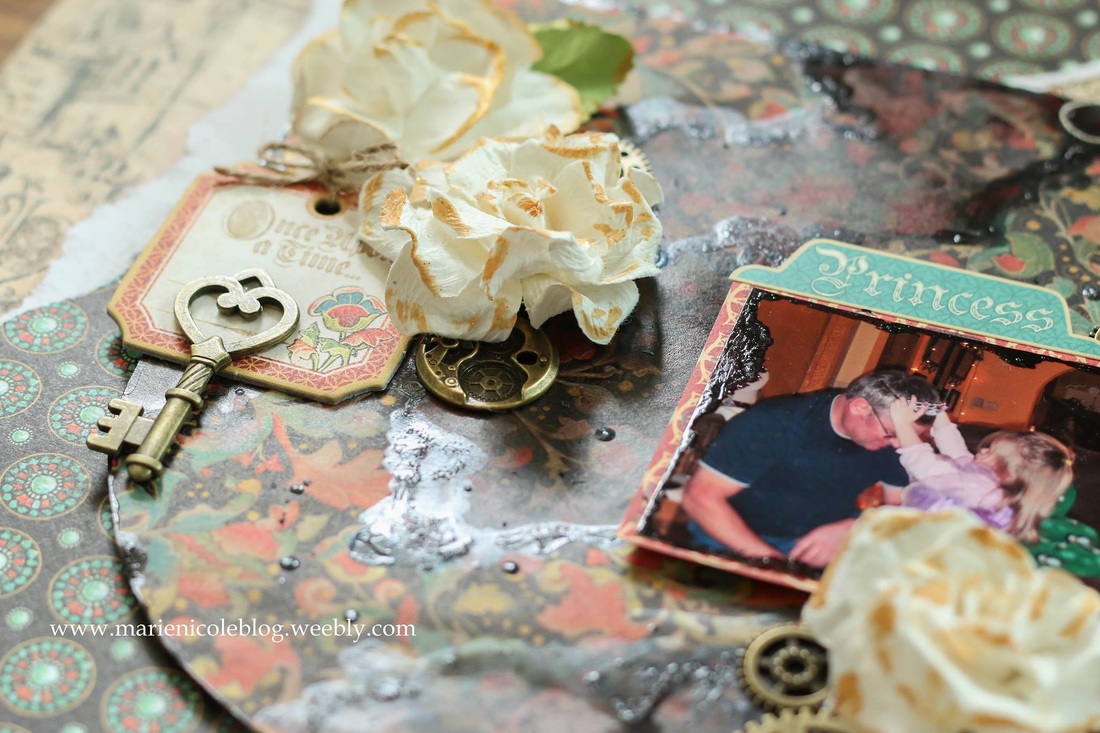
I thought the theme was perfect for a little princess so it immediately made me think of my niece. She loves dress-up, and I used a photo of her "crowning" her grandpa. I was inspired by the shields in the papers. I wanted to make a larger shield to display the photo and some embellishments on, so I cut a shield shape from a cardboard box and covered it with some of the patterned paper. Over the paper on the shield I added some Tattered Angels Java Glaze and some glimmer mist in the color of Tattered Leather. It achieved the aged look I was going for. Then, I also added a touch of Tattered Angel's Pewter glaze, as well. That really gave a metallic look in a few areas. 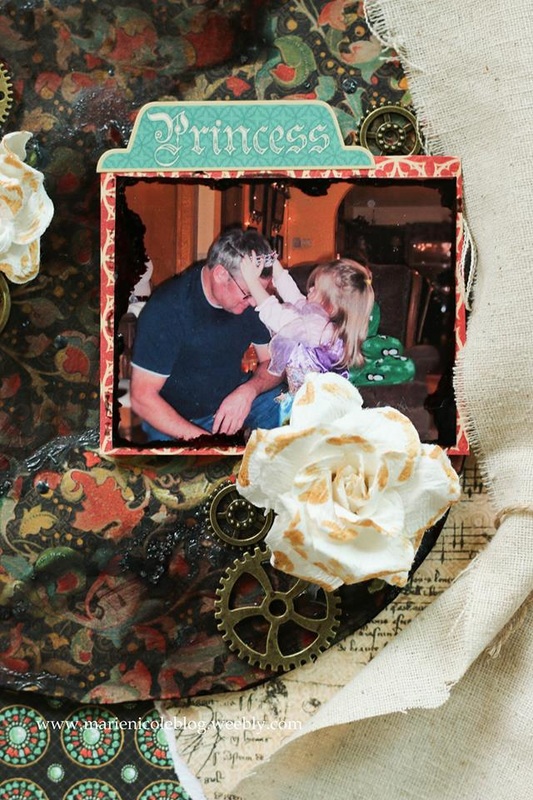
I also used a few embellishments I had on hand. These white roses are from Michael's dollar bin. I adhered them using Tombow's Mono Multi Liquid Glue, and then painted on some gold with some Camel Glimmer Glam. The gears I found on Amazon.
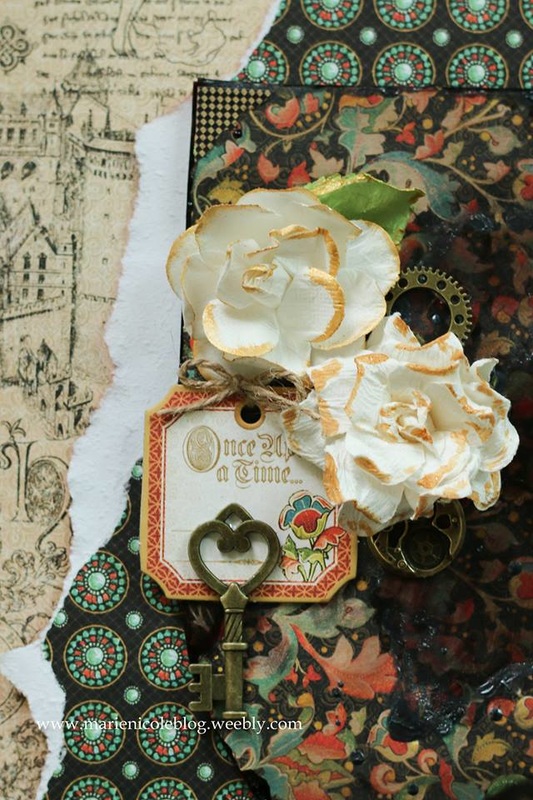
I also added a key from Michael's, and one of the chipboard pieces from the Enchanted Forest collection.
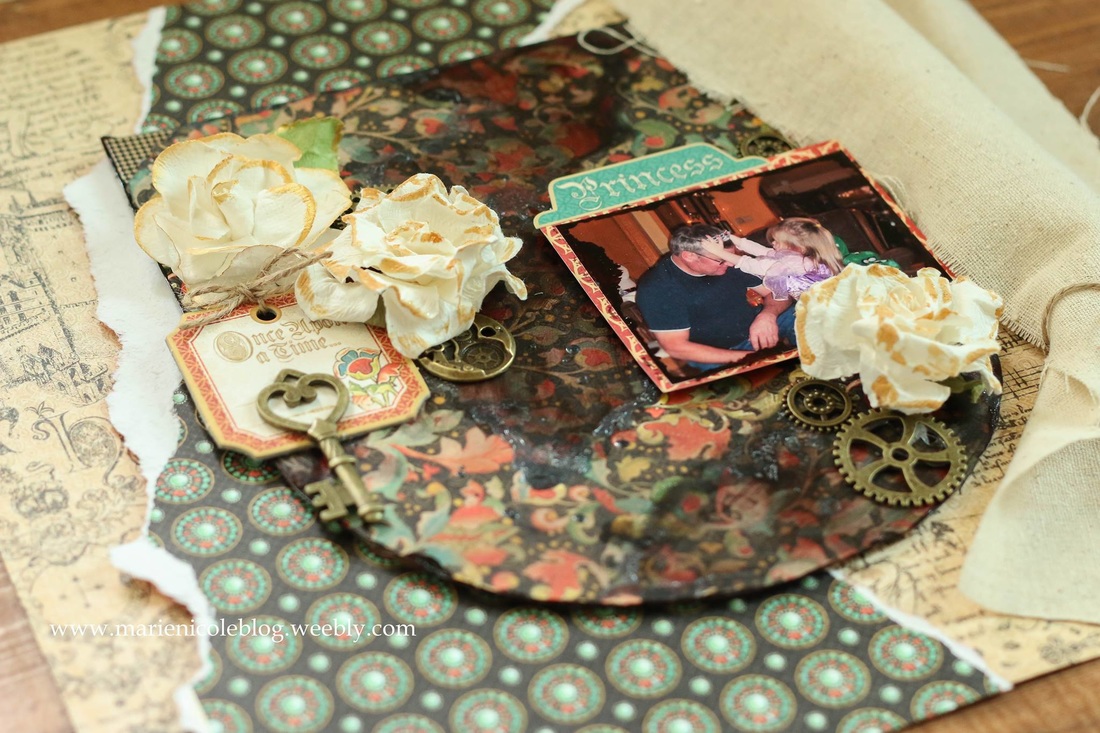
For the background I took a piece of the patterned paper and tore it, and then placed it behind the shield. Then, off to the right side of the shield, I attached some fabric to make it look like a curtain. I sewed just the top of the curtain down using my sewing machine.
I made a process video of this layout. I hope it gives you more detail into how I put this together. Some of these last minute touches I did off camera, but most of the process is there in the video. Thank you so much for your interest in this layout! Also, don't forget to check out Graphic 45 on their Facebook and Instagram accounts! Graphic 45: Instagram- Graphic45 Facebook- Graphic45 Here's a few of the products I used:
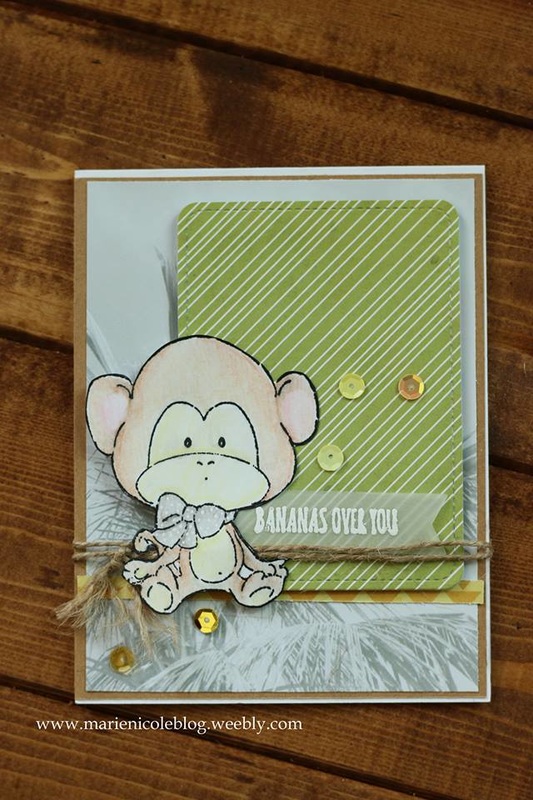
May 7th is National Scrapbook Day! Tombow teamed up with some amazing friends at Graphic 45, May Arts Ribbons, Stampendous!, Fancy Pants Designs, Art Impressions, and Simple Stories to celebrate this day. They sent me a scrapbooking care package full of goodies that I get to play with and share with you! I'll be featuring their brands this week on my blog, so keep watching my social media for new posts!
I knew immediately that I wanted to get my hands on this adorable little monkey stamp. You can find this stamp at Art Impressions' online store here. I stamped him and then colored him in using Tombow's Irojiten Coloring Set in Tranquil. I then fussy cut him out and set him aside to work on the background of my card. I used the You Are Here papers from Simple Stories. These papers are so bright and cheery, they just make me want to go on vacation! I layered all the papers together and added some CCB Twine and sequins as embellishments. 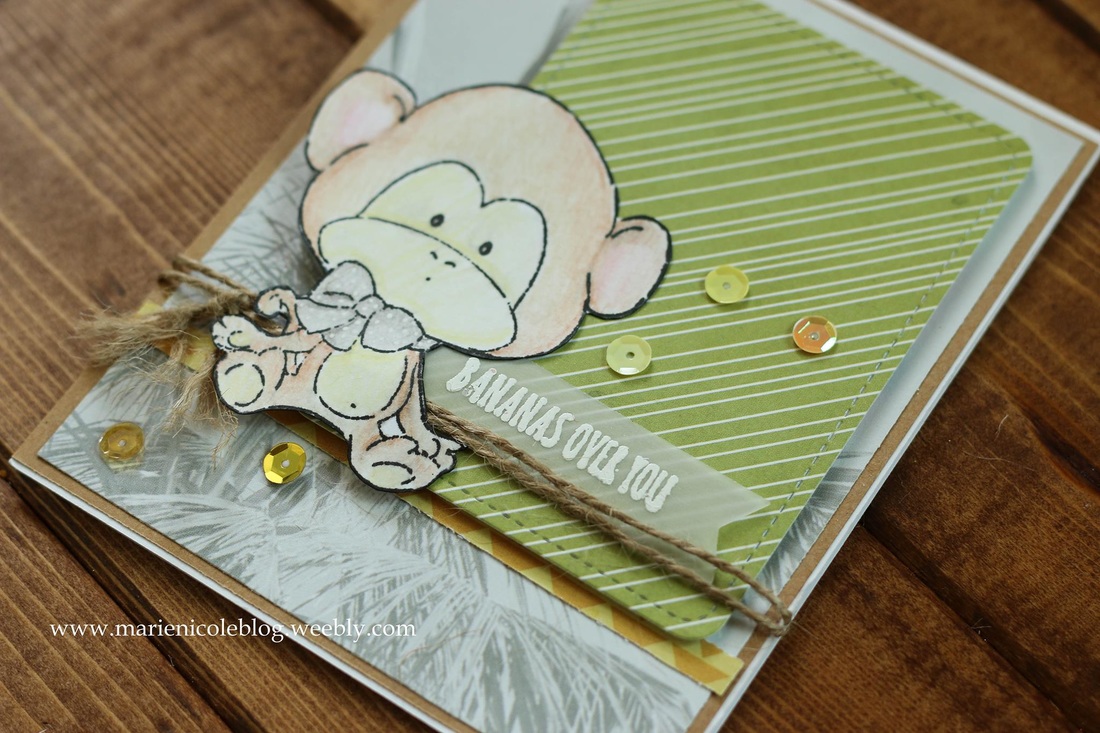
Thanks so much for stopping by! I did manage to put together a process video, so check that out if you want more detail into how I put this together.
Dont forget! Ill be posting more fun projects this week from some amazing brands! Happy Crafting! Some of the fun products I used:
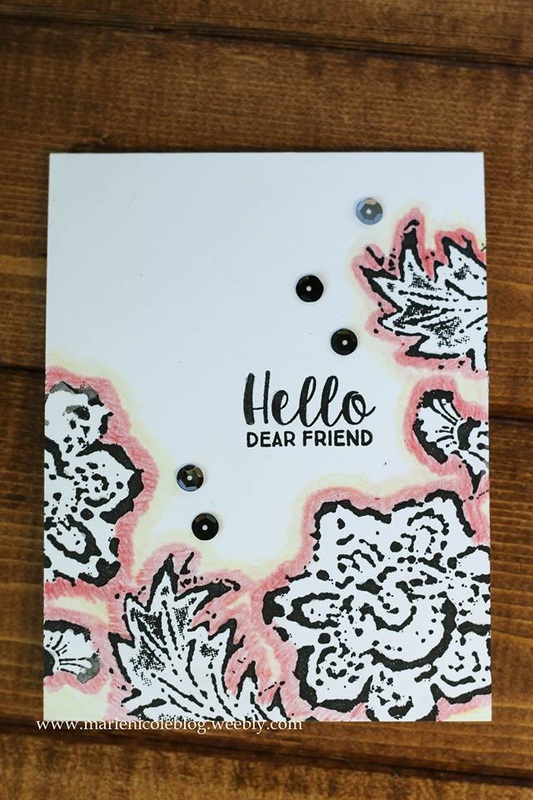
Tombow has teamed up with some amazing companies to bring you some fun inspiration in honor of National Scrapbook Day! This whole week I'll be sharing projects and fun products from some amazing craft and scrapping companies that include:
Tombow USA Graphic 45 Stampendous! Fancy Pants Designs Art Impressions Simple Stories Canvas Corp Brands For this card I used Stampendous! Fiesta Stamp set and added color using Tombow's Irojiten Tranquil Coloring Set. First I used the stamps to create a fun border around the bottom of this card. Then, I took Tombow's Crimson colored pencil, and their Straw Yellow colors to color around the outside of the stamped images. Then all that was left was to stamp the sentiment and add some black sequins! I did also brush on some silver Wink of Stella to add some shimmer. Thanks so much for stopping by!! I managed to put together a process video, so please watch and enjoy. Happy Crafting!!
Check out some fun products I used!
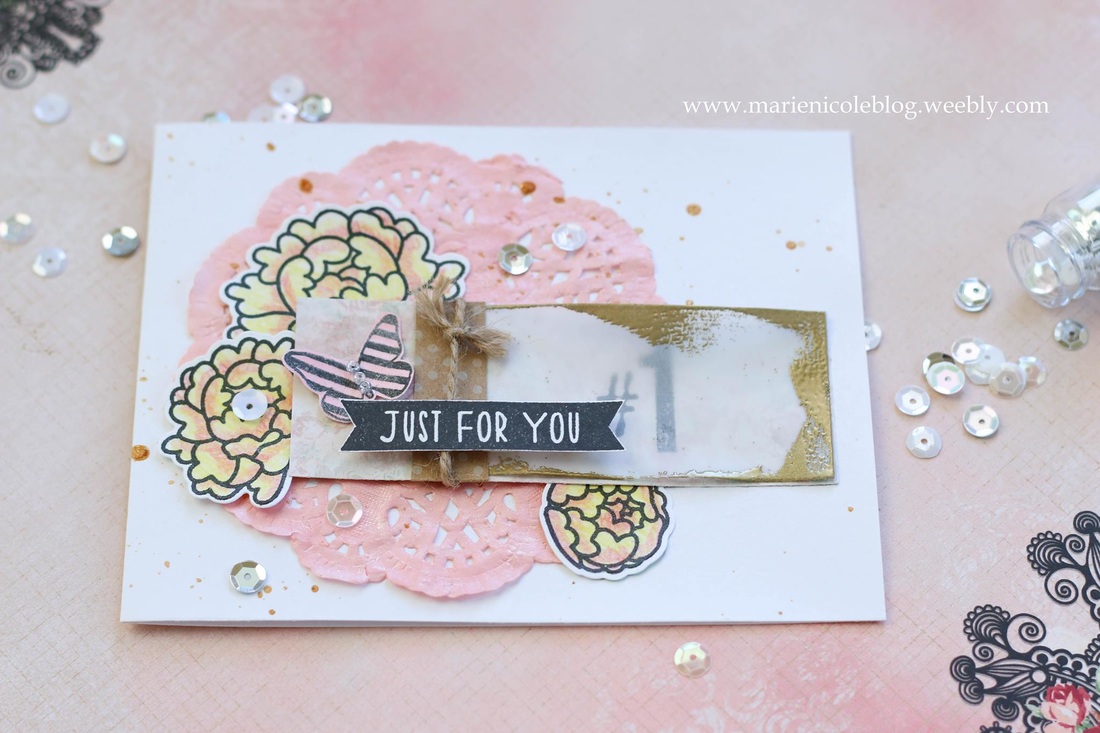
I made a quick video last week sharing how easy it is to color your stamped images with Tombow's color pencils. Today I'd like to share with you just how I used those stamped peonies!
First I took a paper doily and colored it using some Wedding Pink Glimmer Mist. You have to be careful with the doily while it is wet, though. The paper is so thin that it tears easily. I built the little tag in the center by taking a piece of floral paper and placing a piece of vellum over it that I embossed the edges with in gold. Then I tied a little bit of twine around and added a stamped butterfly which was also sprayed with Tattered Angels Mists. I stamped and added the "just for you" sentiment, adhering it down with some foam squares. I also took some Glimmer Glam in Camel and added some golden splatters to the background. After all things were in place, I arranged my colored flowers around the vellum tag, adhering them down with Tombow's Stamp Runner adhesive. To finish, I added some white sequins. 
Thanks for stopping by and happy crafting!
I'm linking this card up with:
Simon Says Stamp's Monday Challenge! 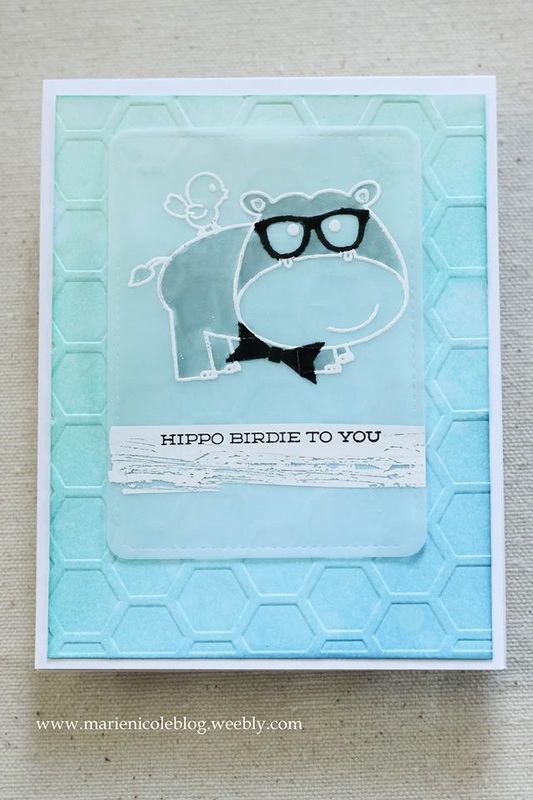
I recently got some vellum, and I just love the look it brings to my cards. For this card, I started by blending some Distress Inks together for the background. I used Cracked Pistachio, Peacock Feathers, and Mermaid Lagoon. Then, I spritzed some Pearl Glimmer Mist over the inks to get them moving together and also for some shine.
The next step was to run my background through my Sizzix with an embossing folder. I first sprayed in some Chalkboard Glimmer Mist, which is similar to the regular Glimmer Mist but a little more opaque. Then, I embossed the background and dried it. I then moved on to the vellum portion of the card. I die cut a piece of vellum with Lawn Fawn's Stitched Journaling Card die. I used some VersaMark ink to stamp the hippo and bird with, and then embossed them in white. Then, I ran some Tombow correction tape down and stamped my sentiment over that. I then took a scissors and scratched a little of the correction tape off to give it a distressed look. I then stamped the cute glasses and bowtie on the hippo with VersaFine Black Onyx ink. I used my Tombow Monotwin permanent marker to fill in areas that did not stamp very crisp. After all that I adhered the vellum to the background using my Tombow Stamp Runner adhesive. 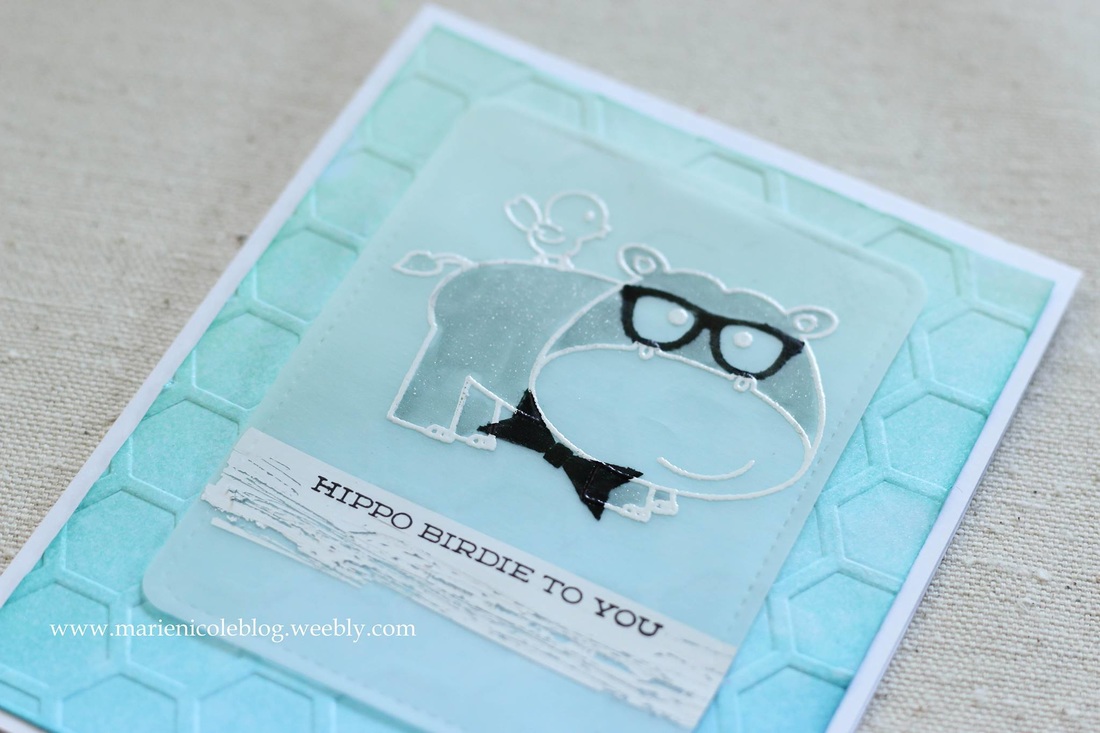
Thanks so much for checking out the card for today! If you are interested in some of the items I used I have included links below. Happy crafting!
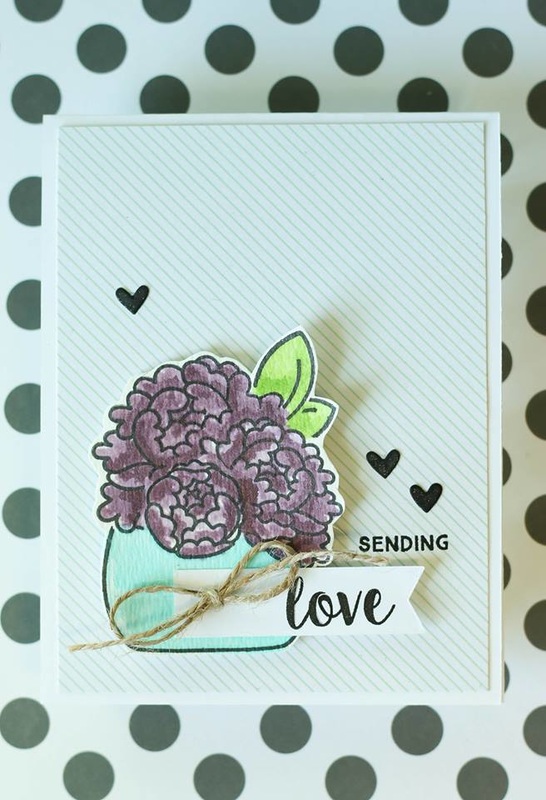
Tombow recently sent me some fun products to play with. One of them, their Tombow Mono Removable Adhesive, seemed like it would be perfect to try to do some masking with.
I wanted to create a single layer image of Avery Elle's Peonies in their vase. I die cut the shapes out of plain white cardstock, and applied them over the coordinating stamps with Tombow's adhesive. It worked great! Not only did it hold the die cut pieces in place, it also did not leave any stickiness behind. The flowers were colored in with Tattered Angels' Glimmer Mists, and then I fussy cut them and mounted them over some patterned paper with some craft foam. To finish the card, I added some black hearts and brushed some Wink of Stella on top of them. Watch the video below to see the whole process! 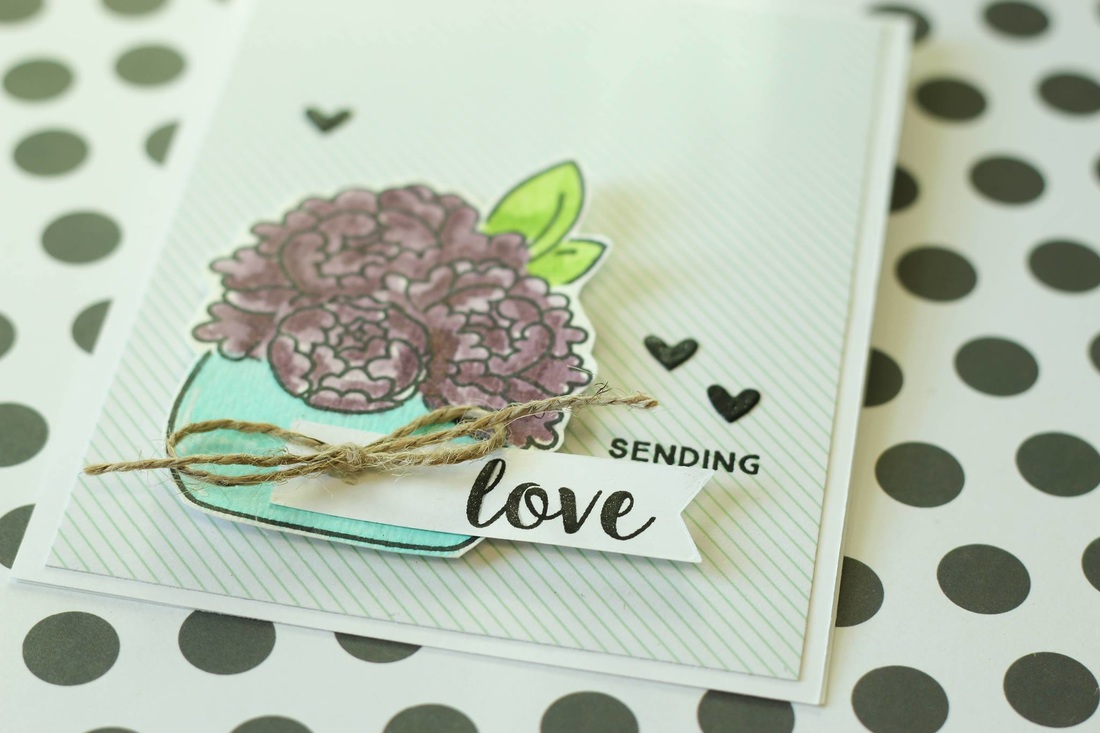
Check out some fun products I used!
|

Pin it!

AuthorSo glad you found me! This blog is my little space where I can share bits about my life and my latest crafting projects (mostly handmade cards). My goal is to share, inspire, and to be a positive presence in the creative community. 

Find me on Instagram!Archives
January 2018
Categories
All
Link Love
 

|


 RSS Feed
