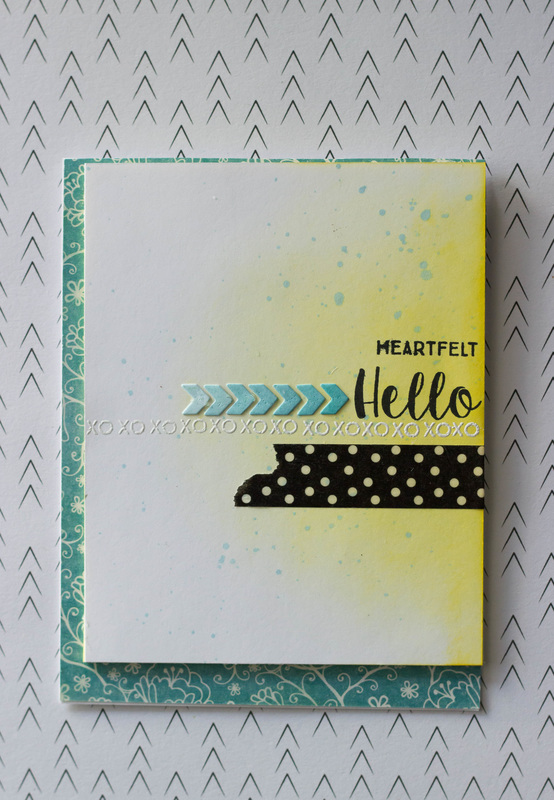
 Well, I haven't had a whole lot of time for crafting lately because of the holidays, but I did manage to make this simple card. I started by applying some Squeezed Lemon distress ink on some white cardstock. Then, I embossed the "xo" in white using a stamp from Avery Elle's peony stamp set. After that was embossed, I stamped the "Hello" sentiment in black. I added some polka dot washi tape, and some little arrows I cut with my Sizzix. For the arrows, I wanted an ombre look so I did some blending on my paper before cutting them. To finish the white panel, I splattered some Tumbled Glass. I took the front panel, mounted it on some craft foam, and then adhered it over some patterned paper. That's it! Have a wonderful holiday weekend! I am linking this project up with: Simon Says Stamp's Wednesday challenge! 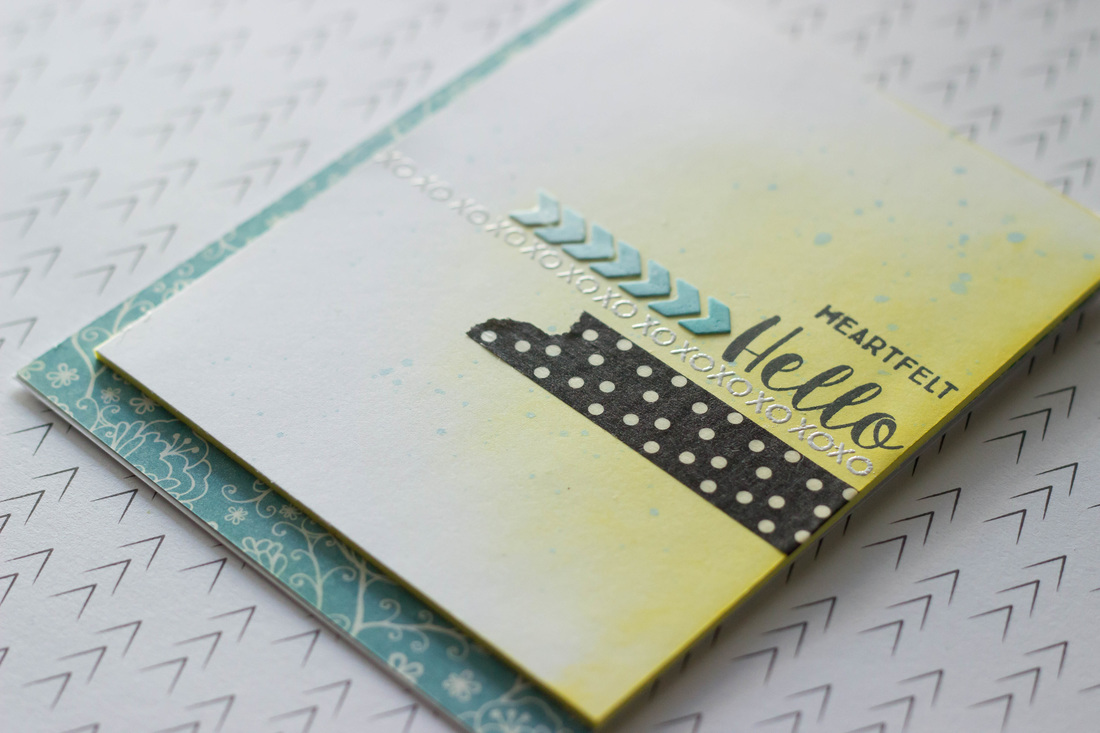
1 Comment
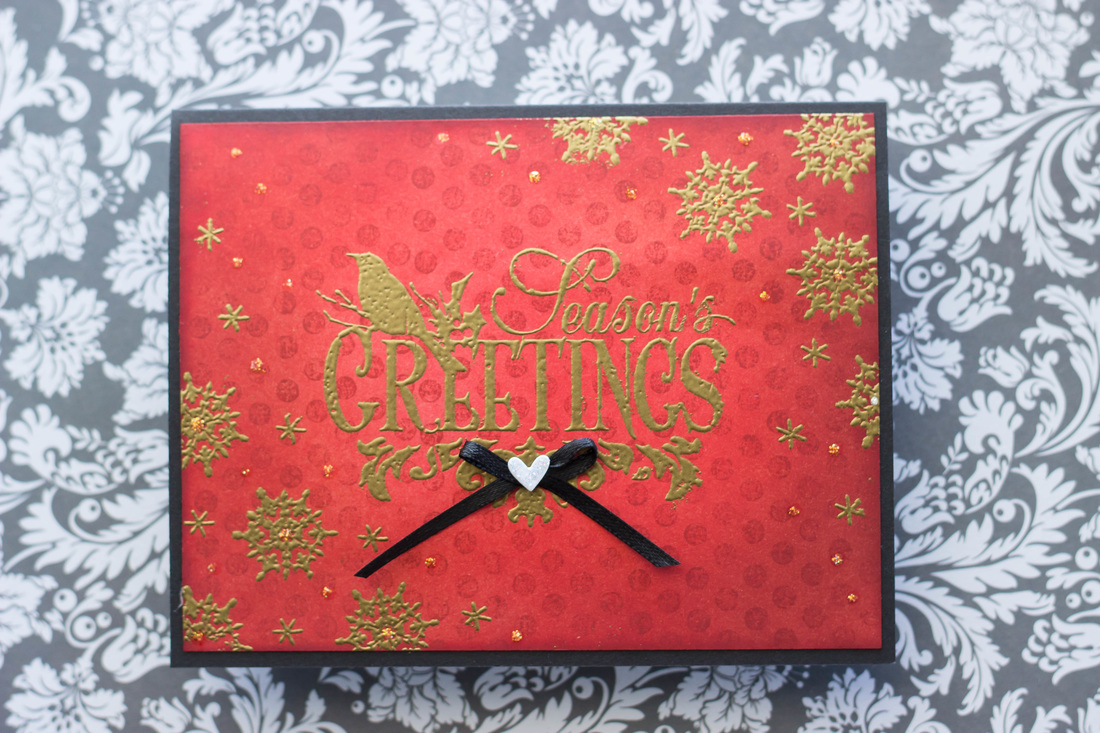
I'm almost done with my Christmas cards this year! Each one is unique but several definitely have the same theme. This year I love the look of red and gold.
For this card I distress inked the background using Fired Brick, Barn Door, and Aged Mahogany. Then, I used some Fired Brick to stamp a polka dot pattern in the background as well. Then, I just stamped the sentiment and all the snowflakes and embossed them in gold. I started with the sentiment and filled in the snowflakes around it. Since the Versamark can be hard to see at times, I stamped the big snowflakes and embossed them first. Then, I filled in the empty spaces around them with the little snowflakes. I added a ribbon and a little heart for some embellishment, and mounted it on a black cardstock base. I also added some Diamond Stickles for some extra glimmer! 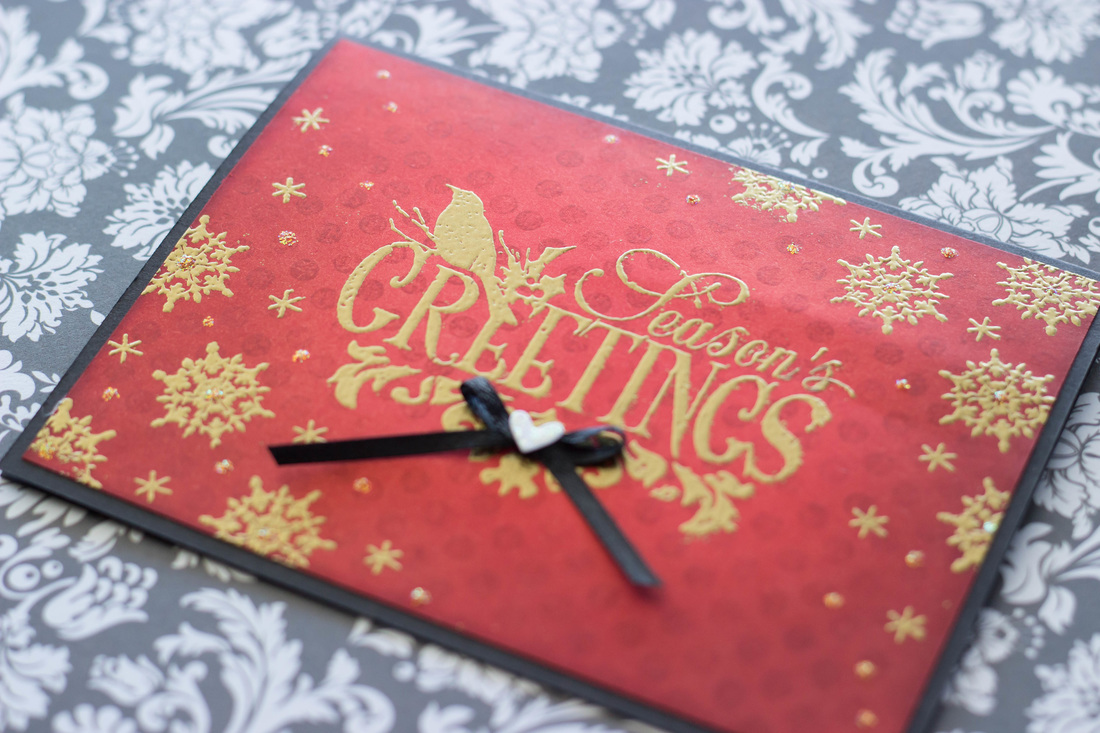
This project is linked up with: Simon Says Stamp's Wednesday Challenge! Check out some of the products I used!
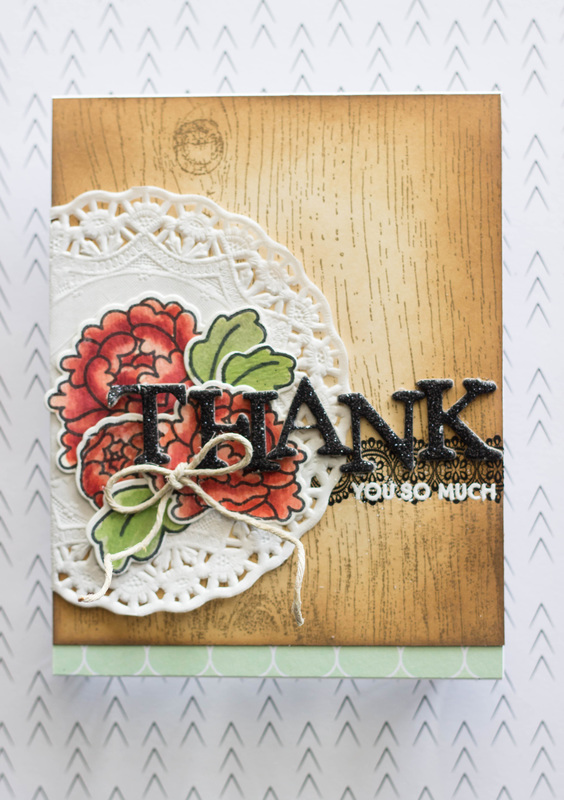
For this card, I started by stamping the background using Heidi Swapp's woodgrain background stamp. I used Distress Ink to stamp it on plain white paper, and then I used several different brown shades to add some color to it. The peonies were stamped using Avery Elle's peony stamp set. I stamped them on watercolor paper and used my Distress Inks and watercolor brush to color them in. Then, I used the coordinating dies with my sizzix to cut them out.
The black lacy detail behind the sentiment is a rub on that Ive been hoarding for a while. I then added a paper doily over that, and arranged the flowers and adhered them down. I found just the right letters I needed to spell "thanks" from a pack of chipboard letters that I bought several years ago. After I had them measured out to where I wanted them, I used some of the sentiment stamps from the Peony stamp set to spell out "you so much" and heat embossed it in white. To finish, I added a bit of twine, and a strip of green patterned paper on the bottom. 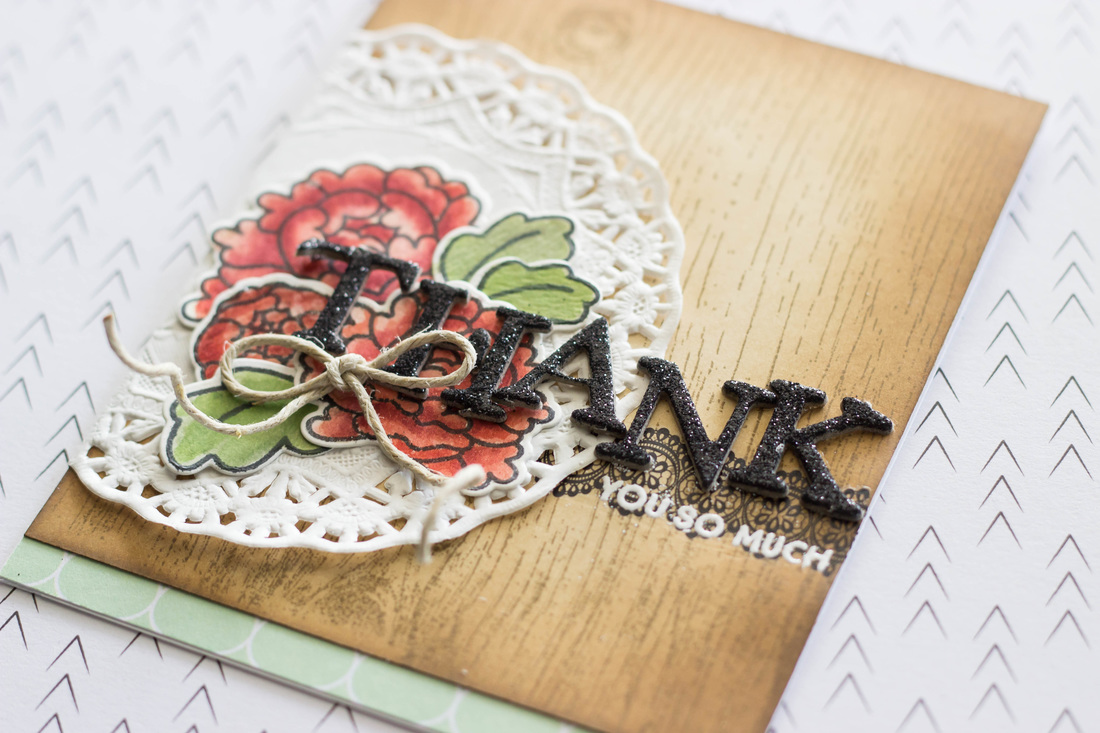
This project is being linked to: Simon Says Stamps Monday Challenge! Check out some of the products I used!
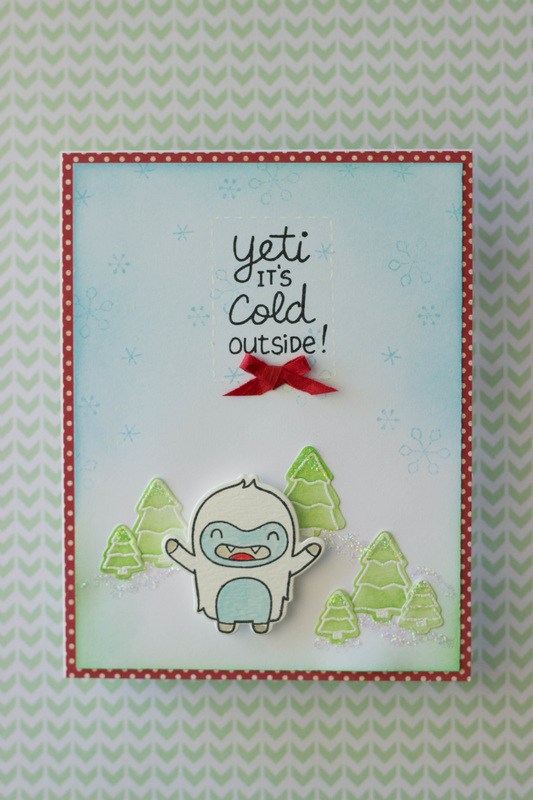
"N" is for NEW STAMPS!
My sweet husband treated me to a new stamp set that Ive had in my Amazon Wish List for a while- Lawn Fawn's "Yeti, Set, Go". So cute! I started by stamping the yeti on some watercolor cardstock and coloring him in with my Distress Inks. I used Tumbled Glass for his face and tummy, Pumice stone for his hands, feet, and mouth, and some Barn Door for his tongue. I set him aside to dry while I worked on the background. I stamped the trees and embossed them in white. Then, I applied some Mowed Lawn with my mini distress ink blender. I then ran the trees through my Sizzix with the coordinating dies for this stamp set to cut them out. The background the trees are glued to is just a white piece of cardstock that I lightly applied some more Distress Ink to. Mowed Lawn to the bottom around the trees, and some more Tumbled Glass to the sky. I also used Tumbled Glass (can you tell its one of my favorite colors?) to stamp the snowflakes with. I arranged all the trees and my yeti and adhered them down. I stamped the sentiment in Soot Black, and used my white gel pen to add a very subtle dash box around it. Then, to finish the card, I applied some stickles and a cute red raffia bow. The whole scene is matted on some red polka dot paper and adhered to a white cardstock base. 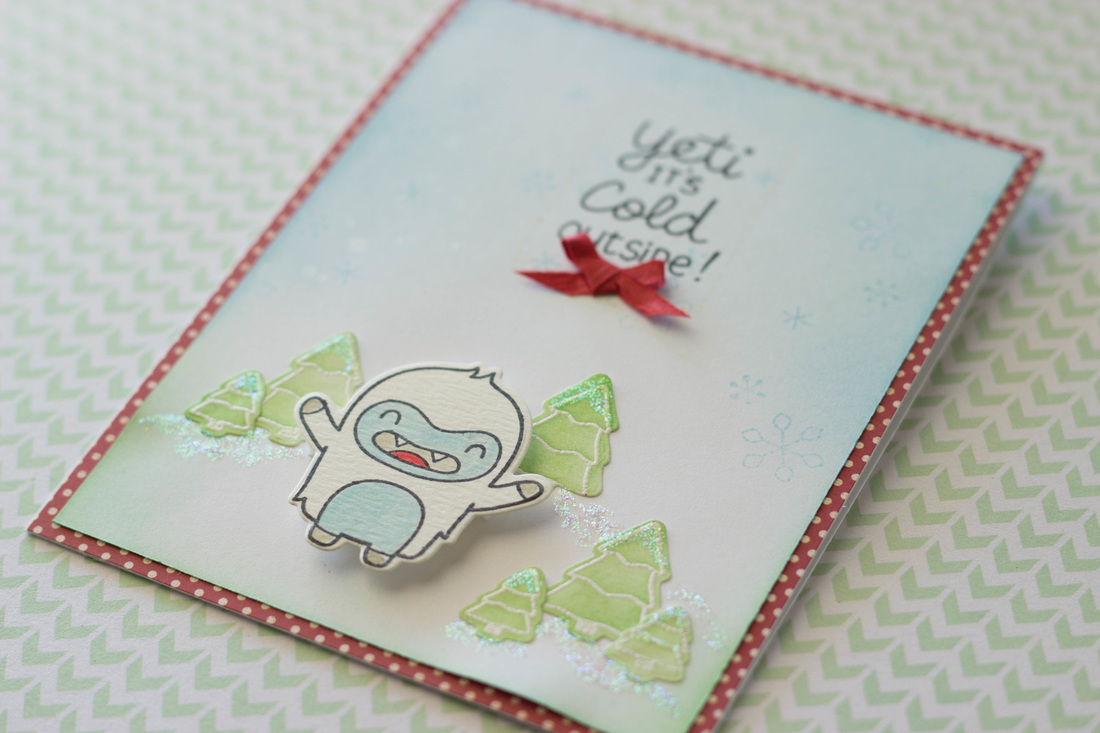
I'm linking this card up with:
Simon Says Stamp's Monday Challenge! Also, check out a few products I used!
This was a fun one!
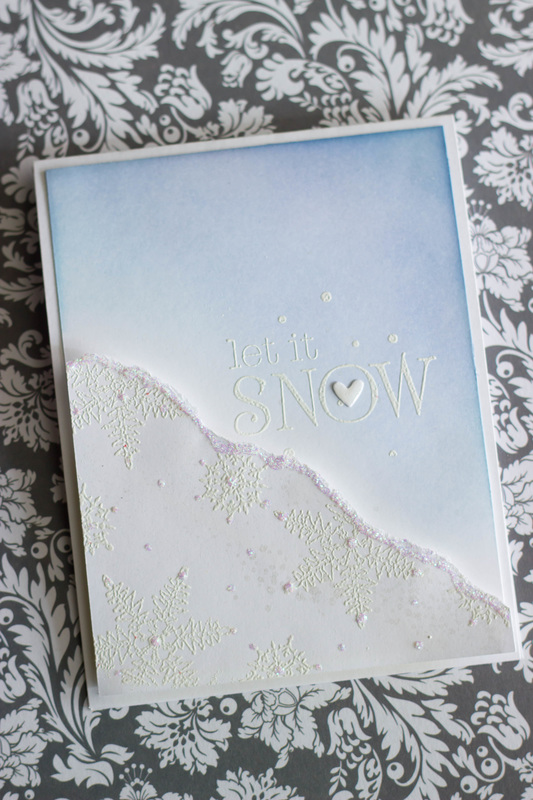
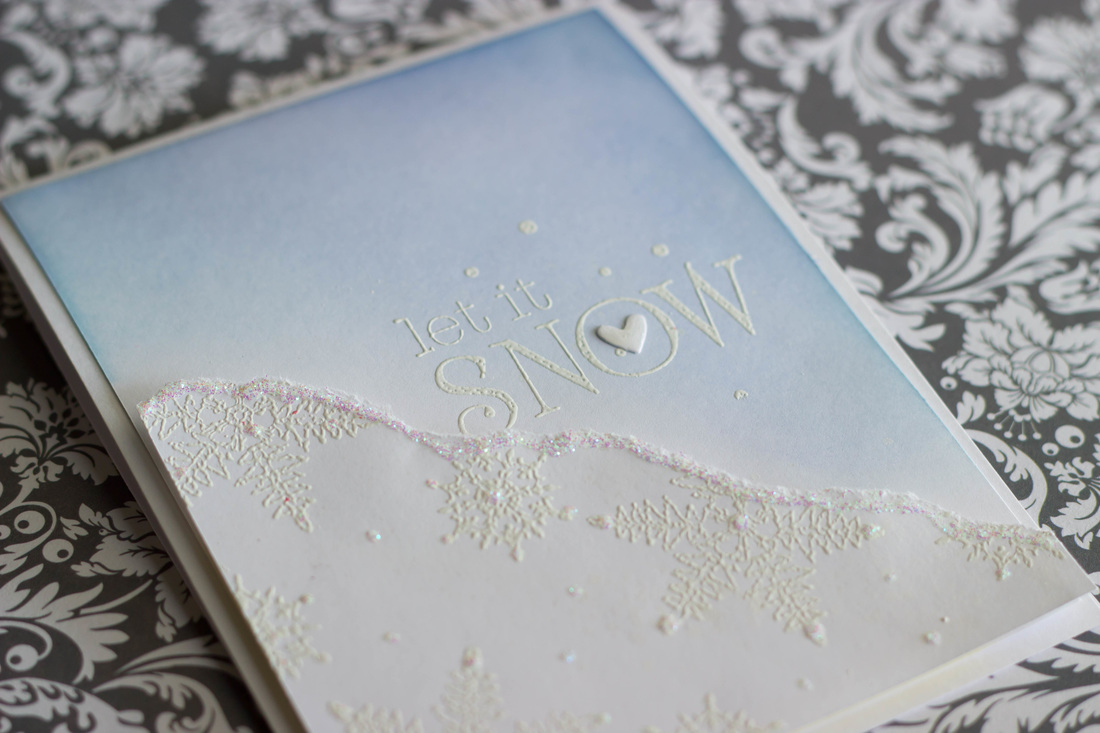
I started by stamping and heat embossing some white snowflakes on top of white paper. Then, I ripped the paper in half on a diagonal, and added some Stickles for some glitter and accent. I also spritzed it with some Frost Shimmer Mist from Tsukineko. Then, I set that piece to the side to dry. For the background, I cut a piece of white cardstock down to 5 1/4 x 4. I took my Shaded Lilac Mini Distress ink and laid down a light layer in the top right corner. Then, I added some Tumbled Glass and just a bit of Faded Jeans. I wanted to keep a very light but frosty look to the card. I also hit the background with some more Frost Shimmer Mist. I then stamped and heat embossed the sentiment in white. I adhered the angled snowflake panel with a little craft foam and foam squares to give it some dimension, and then adhered the whole thing on my white cardstock base. For a finishing touch, I added a Sizzix-cut heart and covered it with a little Glossy Accents. I love how this card came together pretty quickly, so I made another one with the remaining snowflake embossed panel I had left over. 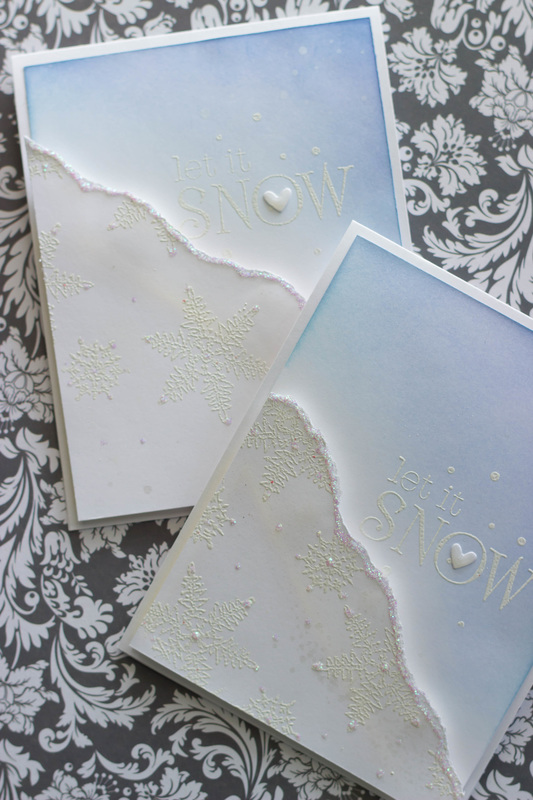
I'm linking this project up with:
Simon Says Stamp's Monday Challenge Blog! Also, check out a few products I used!
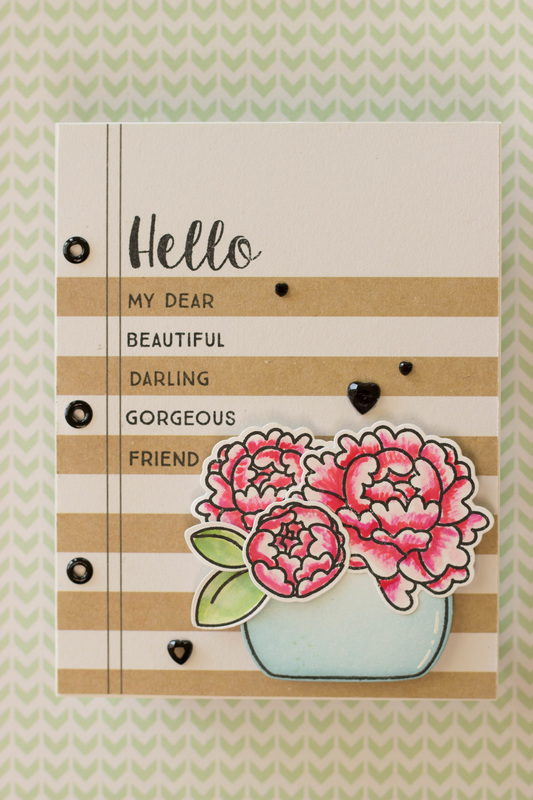
This card was made using Avery Elle's Peony stamp set. I love, love, love this set! Not only are the flowers gorgeous but it also has a lot of great mix and match sentiments that you could use for a number of different cards.
I started by stamping out the peonies and the vase they are in, and I colored them with my mini distress inks. After they were dry I cut them out using my Sizzix and the coordinating dies for the stamp set. As I was looking for some coordinating paper, I found this one that looked like some lined paper. I thought it would look neat if I stamped out a bunch of the words to make it look like someone wrote in a notebook. After stamping out the words, I used my Crop-A-Dile to add a few eyelets on the side. Then, I adhered my peonies down with a little foam adhesive to make them pop out a little. To finish it off I added a few black rhinestone hearts from my stash. 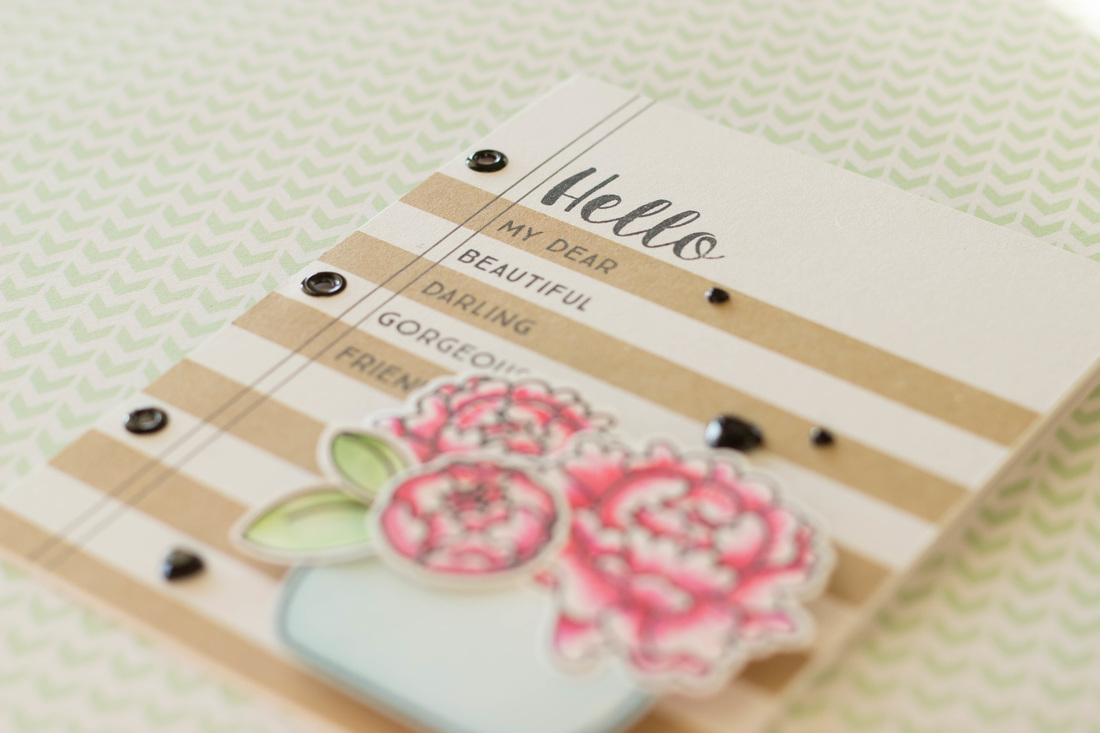
I'll be sending this one off to a dear friend that's been battling some rough circumstances. Hopefully it will brighten their day!
I'm also linking it up with Jennifer McGuire's challenge to Share Handmade Kindness! I think it's a wonderful way to connect with loved ones and let them know you are thinking of them! Check out some products I used!
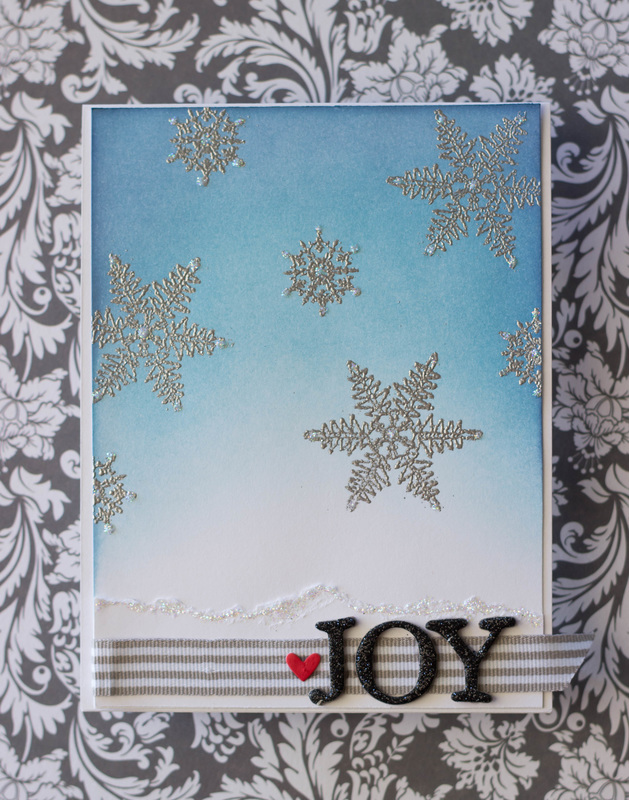
If you have been following my last few Christmas cards Im sure you have noticed a theme of the ombre blue sky background. I just find it fun to do and it looks fabulous!
I used Tumbled Glass, Broken China, and Faded Jeans Distress Inks and blended them until I was happy with the background. Then, after the background was dry, I used VersaMark ink and a few snowflake stamps and silver embossing powder to finish the look of the background. I then tore a piece of white paper to layer on the bottom, making it look like snow. I took a scrap of ribbon and adhered it down with my ATG, and then found some chipboard letters to spell "JOY". I colored a little heart that I cut with my Sizzix with Barn Door red to give a unexpected pop of color. Finally, I added some Stickles to the snowflakes and the torn paper "snowbank" to finish the card! 
Check out some of the products I used!
|

Pin it!

AuthorSo glad you found me! This blog is my little space where I can share bits about my life and my latest crafting projects (mostly handmade cards). My goal is to share, inspire, and to be a positive presence in the creative community. 

Find me on Instagram!Archives
January 2018
Categories
All
Link Love
 

|


 RSS Feed
