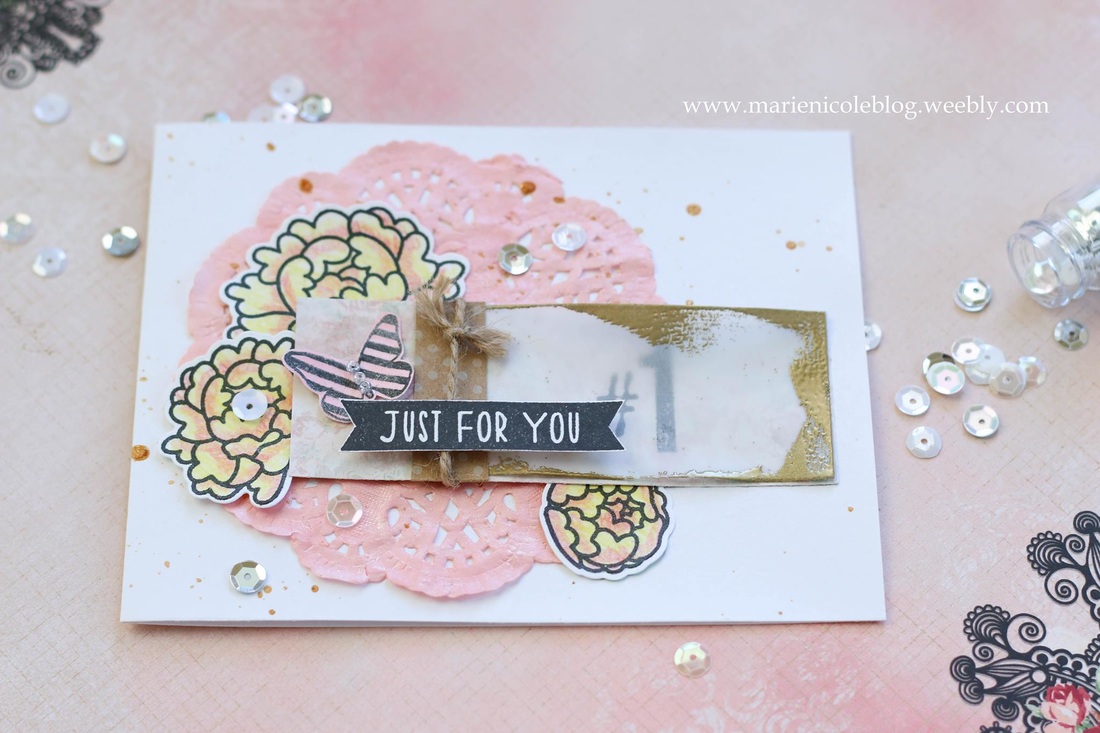
I made a quick video last week sharing how easy it is to color your stamped images with Tombow's color pencils. Today I'd like to share with you just how I used those stamped peonies!
First I took a paper doily and colored it using some Wedding Pink Glimmer Mist. You have to be careful with the doily while it is wet, though. The paper is so thin that it tears easily. I built the little tag in the center by taking a piece of floral paper and placing a piece of vellum over it that I embossed the edges with in gold. Then I tied a little bit of twine around and added a stamped butterfly which was also sprayed with Tattered Angels Mists. I stamped and added the "just for you" sentiment, adhering it down with some foam squares. I also took some Glimmer Glam in Camel and added some golden splatters to the background. After all things were in place, I arranged my colored flowers around the vellum tag, adhering them down with Tombow's Stamp Runner adhesive. To finish, I added some white sequins. 
Thanks for stopping by and happy crafting!
I'm linking this card up with:
Simon Says Stamp's Monday Challenge!
2 Comments
Tombow recently sent me a set of five color pencils. At first I wasn't sure about them but as I began playing around with them I found I absolutely love these pencils! I'm so tempted to go out and buy the whole 24 set of these things.
I made a quick video demonstrating how easy they are to use, and what amazing results you get- even when you are not a pro at coloring. I'm sure not! Enjoy!
 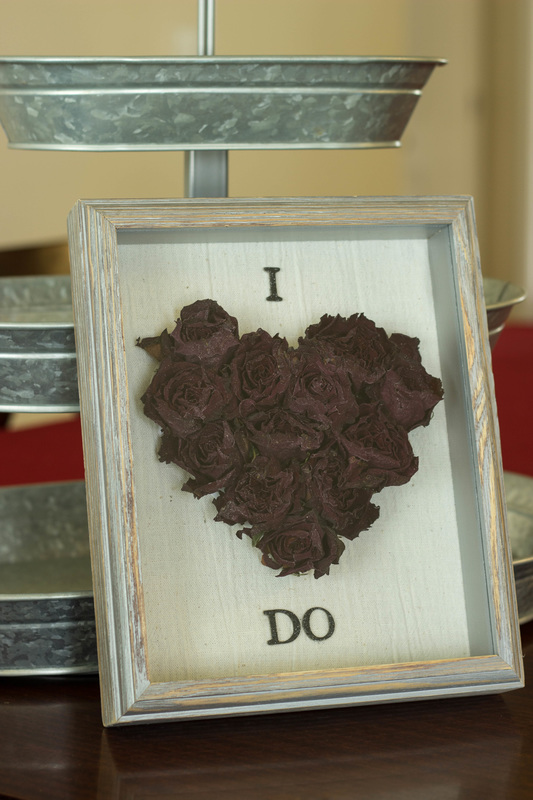 Mother's Day of 2014 my husband got me the most gorgeous bouquet of roses. It was really special, since it was the first Mother's Day after we lost Isaac, and we had JUST found out not too much earlier that we were expecting Hayden. I love getting flowers but I hate to just throw them out, so I decided to try to dry these. I had them hanging upside down in our garage for several weeks. After they were dry I didn't know what I wanted to do with them. Since we were so busy with packing and moving at the time I thought I'd probably just end up throwing them out. Well, I never got around to throwing them away and the packers boxed them up during our move. I had a good laugh when I found them while unpacking at our new house. I figured since they survived our move maybe I should keep them after all until I thought of something to do with them. Browsing online, I saw several different variations of roses in shadowboxes and loved the idea, so I decided to attempt my own version of it. Most of the materials I had on hand already, so the only thing I really bought for this was the shadowbox itself, which I used a 40% off coupon at Hobby Lobby for. So really, this project only cost me about $8! I started out by cutting a piece of fabric to cover the backing of the shadowbox. Then, I cut out a cardstock heart to glue the flowers to. I needed some sort of template for the flowers so I didn't end up with a bunch of flowers randomly glued to fabric. 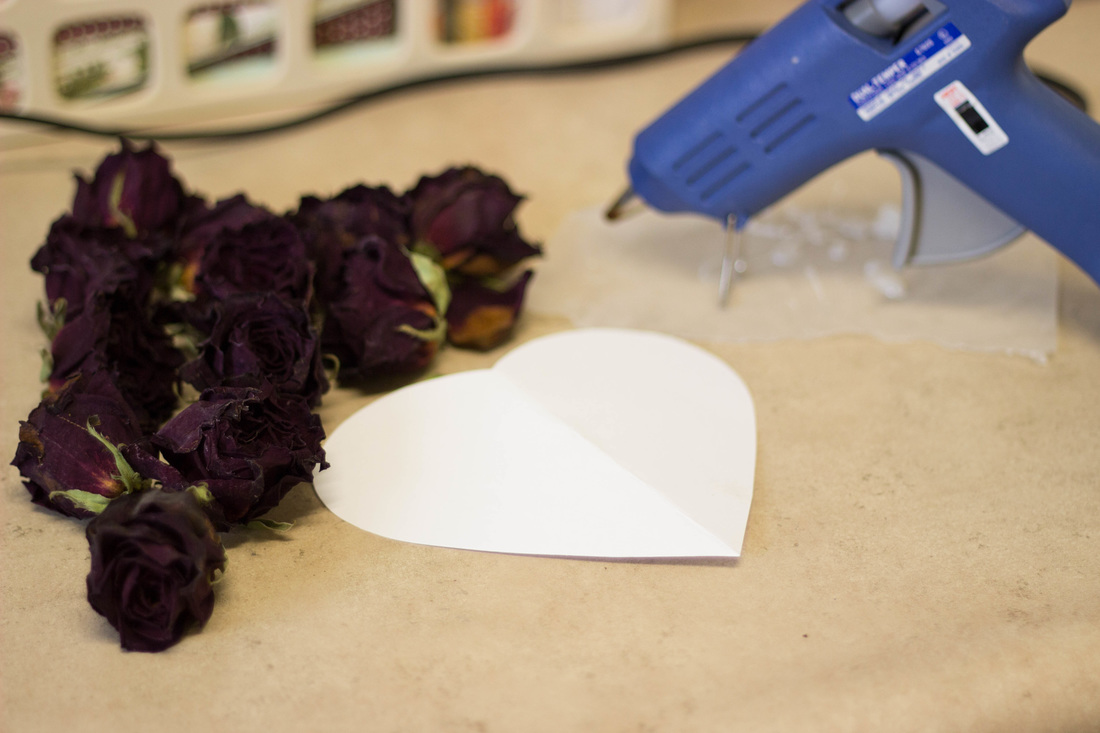 After all the flowers were glued down, I thought I'd try to "bling" them up a little. I have some shimmer and sparkle mist I wanted to try. It didn't give them quite the bold sparkle I was going for, but the roses did end up with a light shimmer. 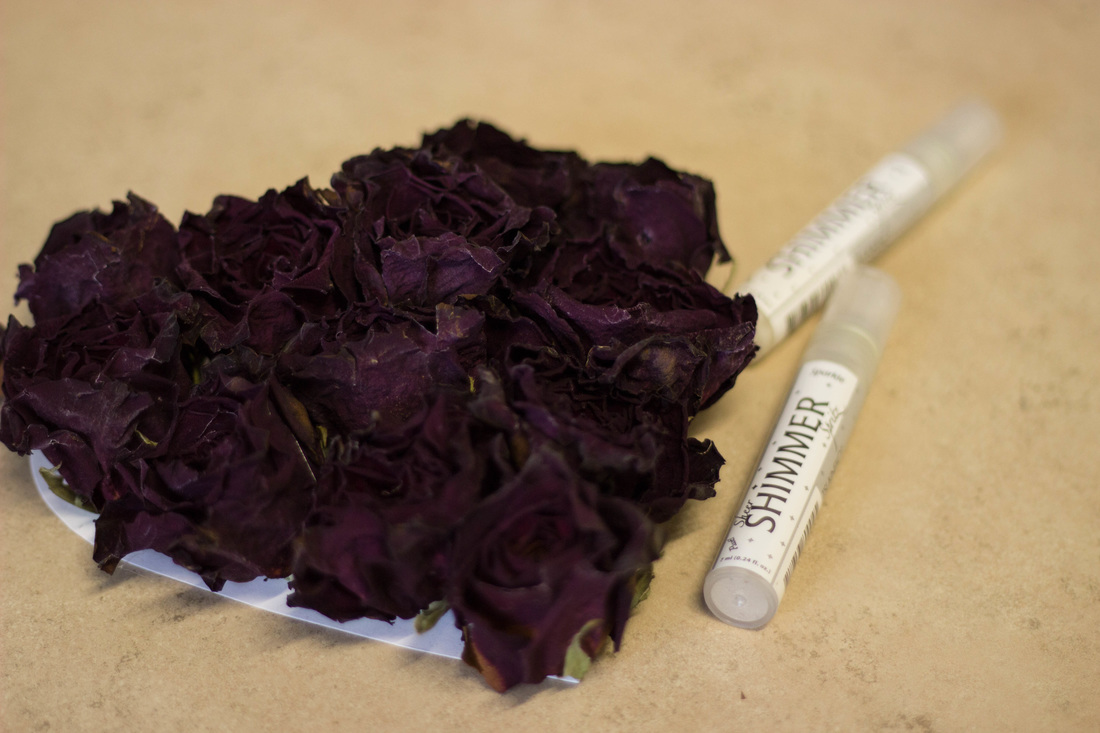 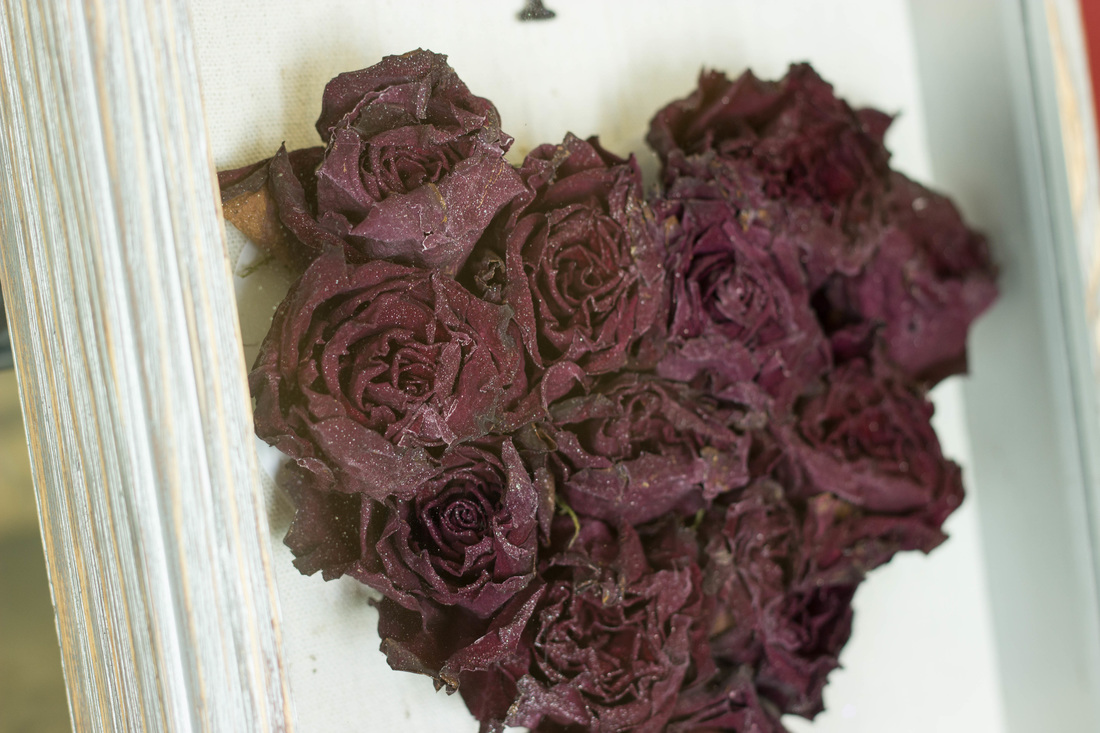 I also wanted some kind of romantic quote to go along with the flowers. I had some black glittery chipboard letters leftover from some scrapbook projects that I thought would look really nice. Rummaging through the letters, I realized I really only had a bunch of Xs and Qs left... you know, the letters you really never use. So, I realized I had to find some sort of really short quote and came up with "I Do" (I cut a Q apart to make it an O). I really like how it turned out! I plan to hang it somewhere in our bedroom along with a few of our wedding pictures. 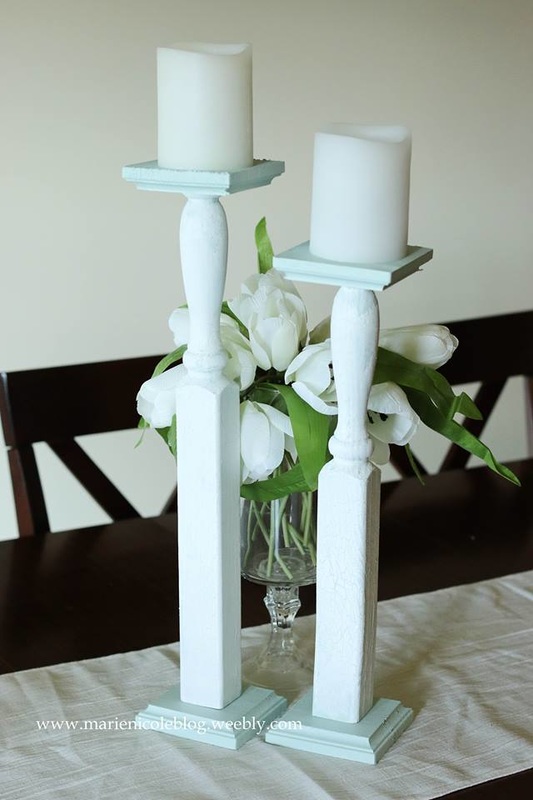
I love the look of really tall, elegant candlesticks. I think they just add a lot to the feel of your decor. I DONT, however, love the prices on those things!
I figured there had to be a cheaper way to make your own, so here's what I came up with! First, I found a wooden baluster at my local home improvement store. I think this particular one I bought was about $5. I now wish in hindsight that I had taken pictures during the process of this project but since it was mostly an experiment I didn't bother. It's fairly simple to do, though, so I think you will get the general idea! I enlisted the help of my husband to chop the baluster in half using his miter saw. He also shortened one a bit so it gave a little variation to the two candlesticks. Then, I painted them! I picked up a small container of sample paint from the home improvement store as well. Its a light greenish-blue and its just gorgeous. I put this color on first and let it dry completely. After the paint was dry, I applied a layer of Valspar crackle glaze. I let the glaze dry for about an hour before applying the second coat of paint. For the second coat of paint, I used Canvas Corp's Crystal DIY paint. It's a beautiful white. Applying it over the glaze, I could see the cracks begin to form almost immediately, showing some of the blue underneath. The effect is just gorgeous! 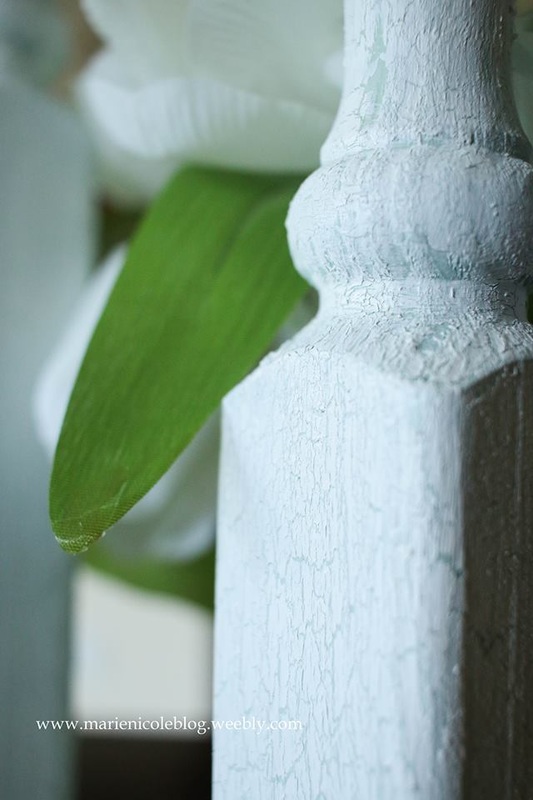
I let the candlesticks dry completely. Then, for the tops and bottoms of the candlesticks, I found these wooden squares at my local Hobby Lobby. I applied the same blue that I used on the candlesticks but I didnt bother to crackle them. I thought it looked nice to have a bit more of that gorgeous blue showing.
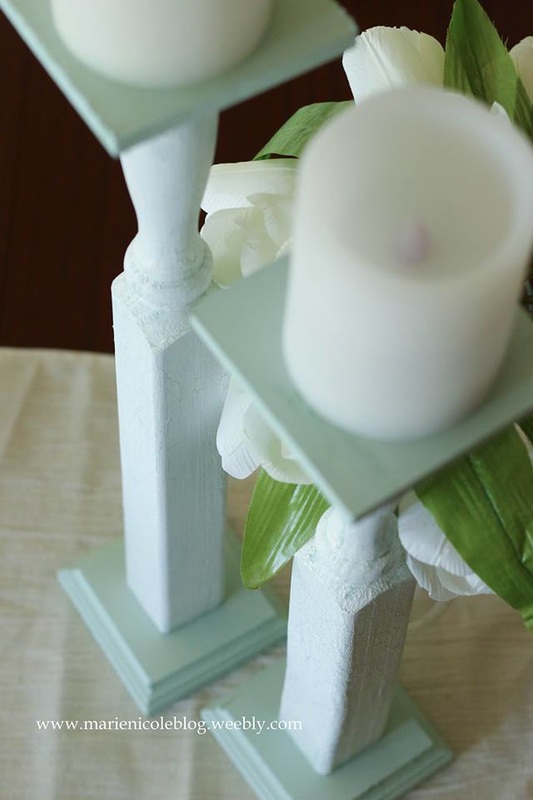
When the tops and bottoms were dry, I just adhered them on using a small amount of wood glue. I just applied the glue, added the wood squares, and then placed a can of soup on the top of each candlestick to give it some weight while it dried.
Voila! Thats it! I have these candlesticks on my table right now with some battery candles on top. They really add the "wow factor" to my table. I feel like I could also embellish them in the future with some burlap or cute charms or something. Maybe change out the look for the seasons. Thanks for taking the time to stop by! Happy Crafting!

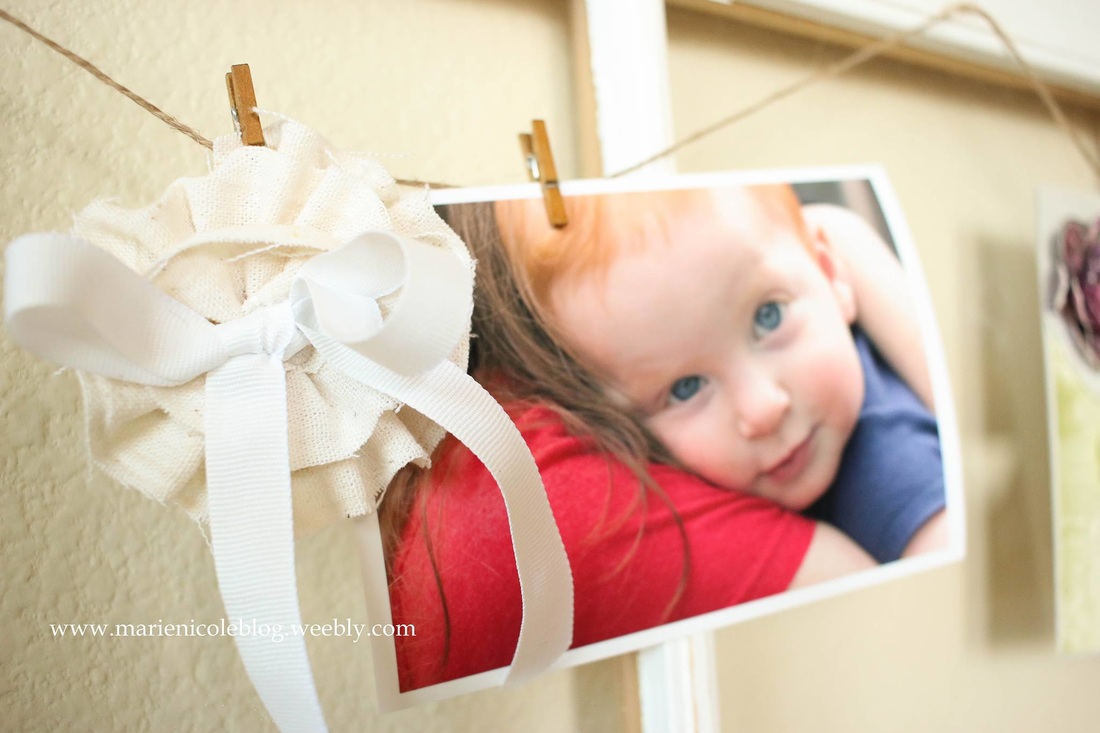
So a while ago my parents brought this window with them when they came to visit. I painted it and added some hardware to spruce it up some. If you want to see the process of it, check it out on Canvas Corp's Blog HERE.
Well, Ive had it hanging on my wall looking all pretty and stuff but I felt it was time to change it up! I love making my decor simple and easy to change as I get the inspiration to. Im sure Ill be changing my window again many times. Anyway, this was a super easy project, I started by hanging some Canvas Corp Jute Cord across the top and the middle. I just used a bit of hot glue to hold it in place. 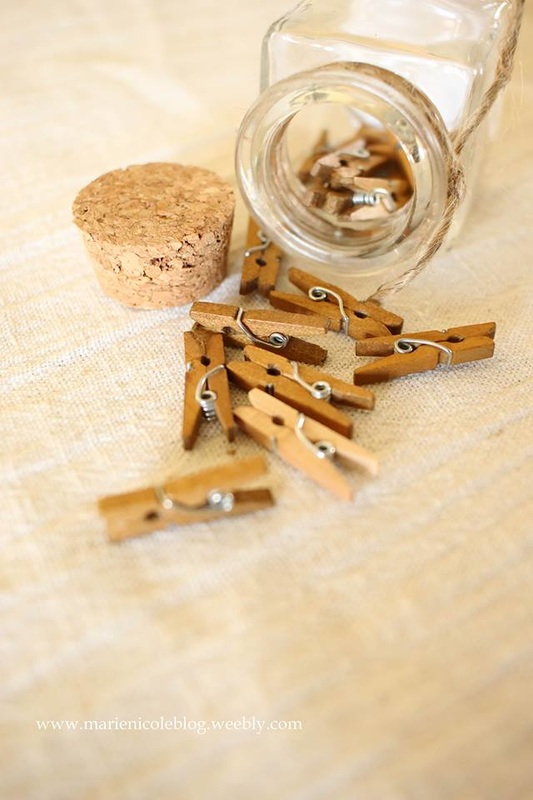
I then took some mini clothespins from Canvas Corp and hung a few photos that I printed with my printer. I need to get more photos up but I ran out of photo paper.
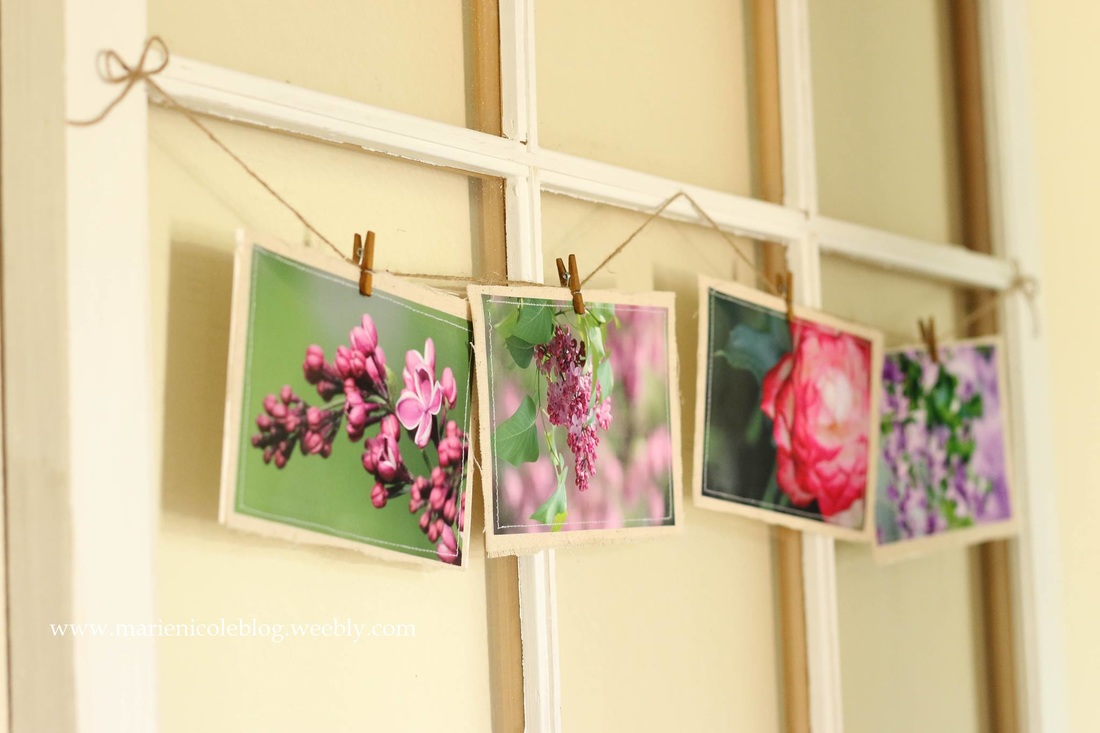
The fun thing is, you don't even have to limit yourself to just photos. You can hang memorable notes, cards, and different embellishments. Here's a closer look at some of the stuff hanging on my window... 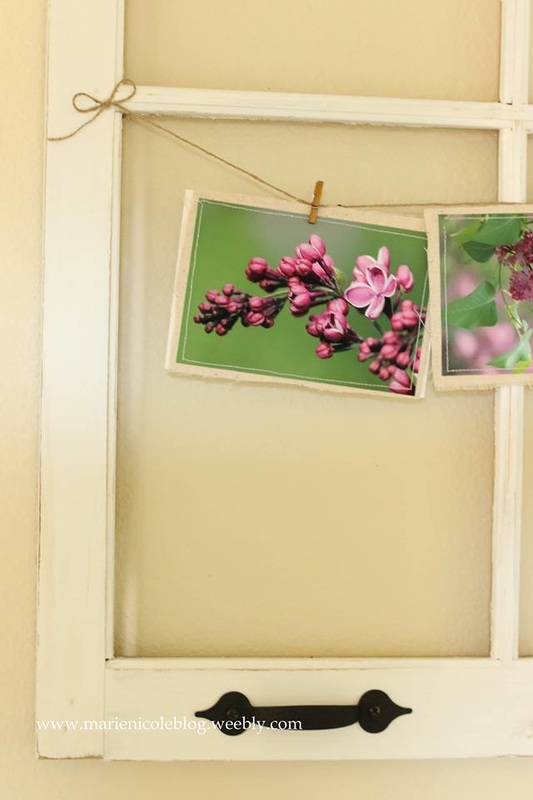
Some seasonal photos matted with canvas fabric.
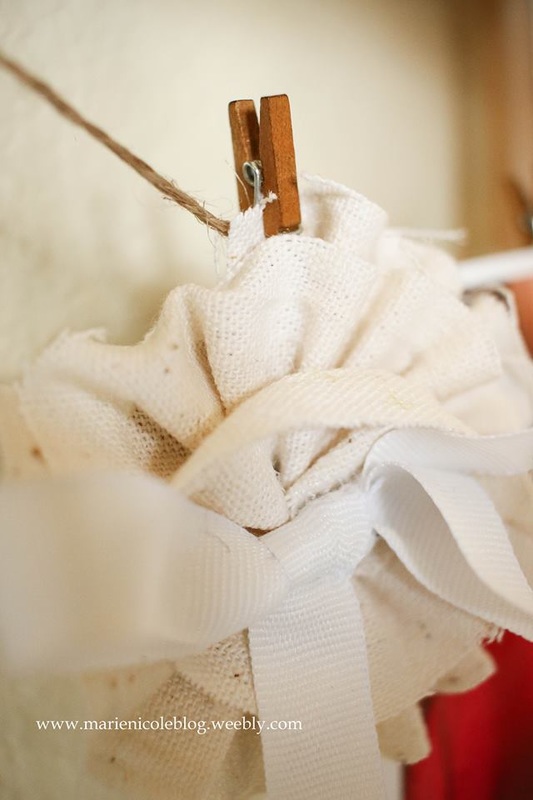
Canvas ruffled flowers. If you want to know how I made theses CHECK OUT MY TUTORIAL HERE.
Like I mentioned, Ill probably end up doing something different with my window many times over, but for now Im loving this look.
Happy Crafting!
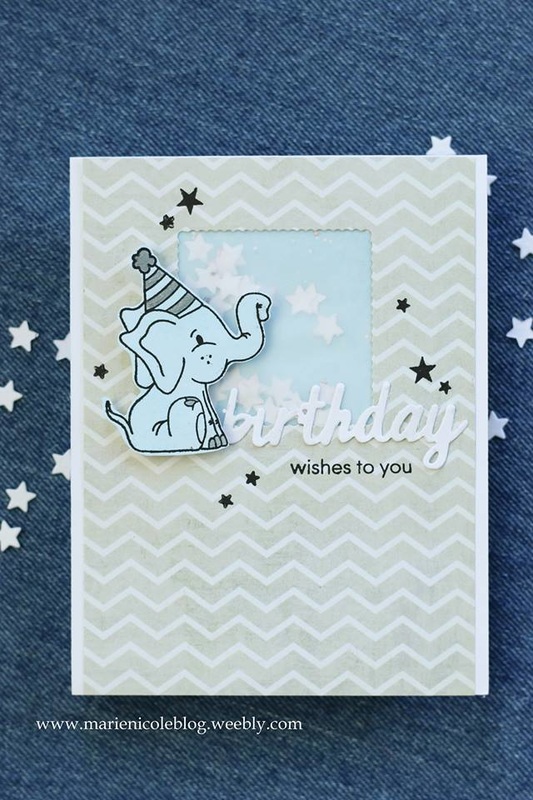
After taking a week off to spend with family visiting I am back on the blogging scene!
I have a little window shaker card to share with you today. I managed to squeeze this one in during Hayden's morning nap and I also took a video of the process. First, I colored some cardstock with Tumbled Glass Distress Ink and then stamped the Elephant over the top. This is just a super quick way to simply color in a stamp and I find it gives it a very even color, too. I pretty much left the elephant blue, but I used some silver Wink of Stella to add a little detail to his hat and toes. I then fussy cut the elephant and set him aside as I worked on the rest of the card. The next step was to cut out a square window in my patterned paper using a square die and my Sizzix. Then, I adhered a piece of vellum to the backside. I colored another scrap of paper with Tumbled Glass and Broken China, then spritzed it with some Pearl Glimmer Mist and I used that background piece behind the window. To fill my shaker window, I used some star die cuts and a little bit of silver glitter. I glued that all down to my cardstock base using Tombow's Stamp Runner Adhesive. The elephant I adhered to the front using some small square foam adhesive. Then, I die cut the word "birthday" and stamped some stars and the rest of the sentiment in Versafine Onyx Black ink. 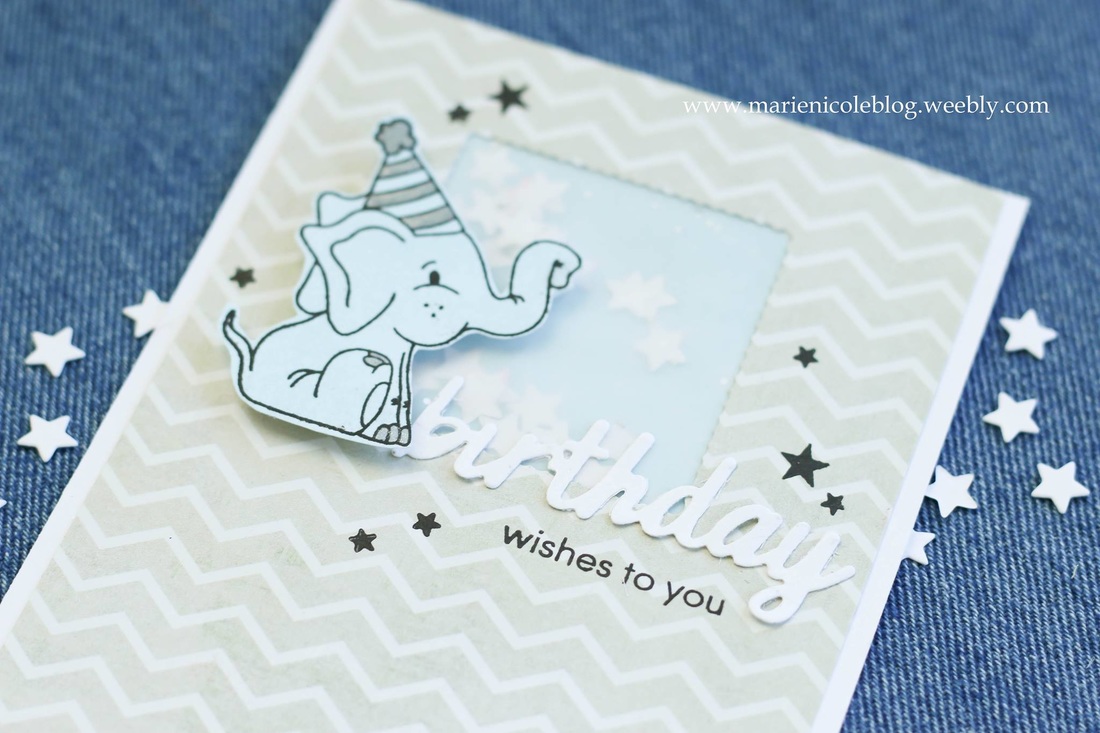
Thanks for taking the time to stop by today! If you are interested in any of the products I used I've included some links down below.
Im also linking this up with: Simon Says Stamp's Monday Challenge Simon Says Stamp's Wednesday Challenge Happy crafting!
Creating your own background for your projects is so fun to do. Whether you are making a card, scrapbook page, canvas, or something else, you can completely customize the look you are going for!
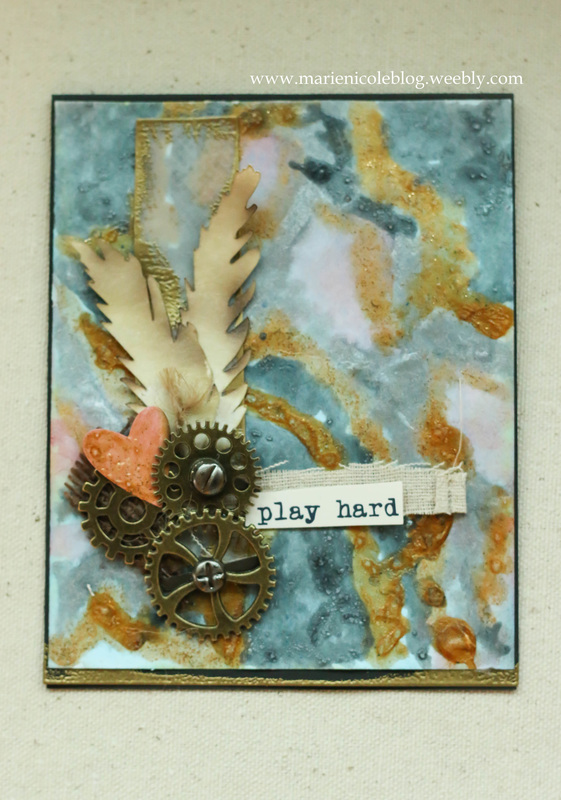
The Naturally Aged kits from Tattered Angels makes backgrounds so fun and easy to do. They have a wide selection of the kits. For this card I used their Rusty Metal paint system. You use a combination of 4 different paints and apply them according to the directions in the kit to give you a fabulous faux finish, 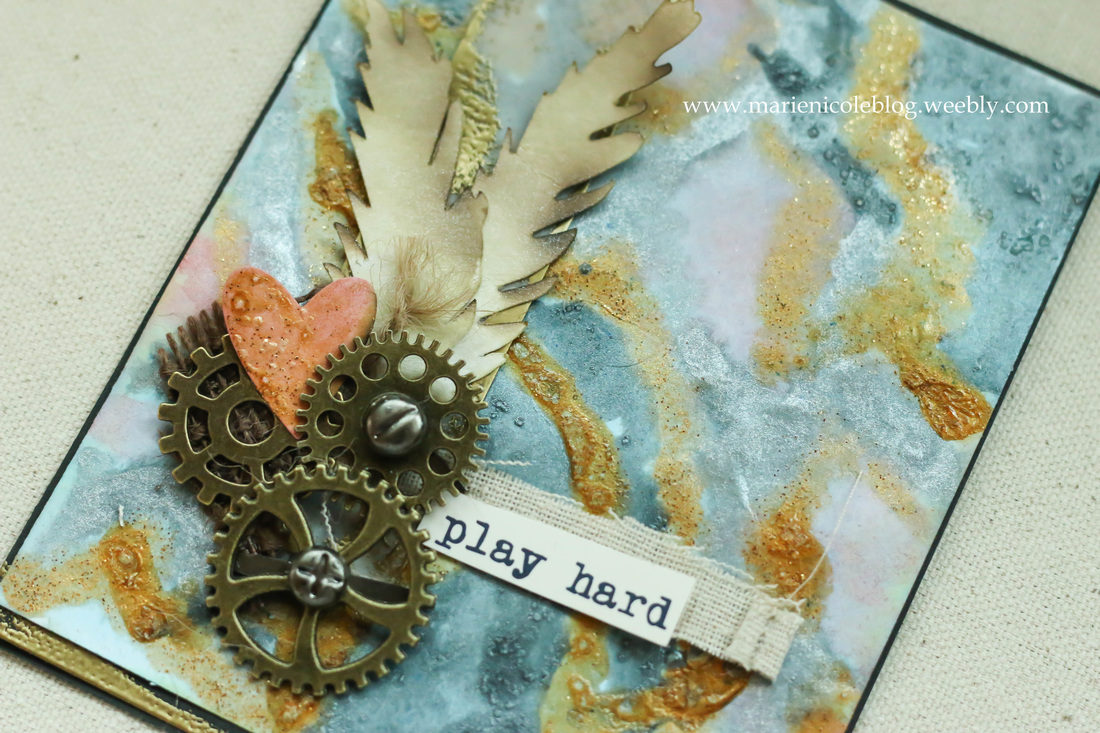
Most of the work for this card went into the background. After I had that done and dried, I added the embellishments on top. I really wanted the background to stand out, so I used just a small cluster of some interesting things.
First, I put down a strip of vellum that I melted some gold embossing powder around the edges of. Then, I colored the die cut feathers using Antique Linen Distress Ink and some Pearl Glimmer Mist. I dried it with my heat tool holding the heat very close and just burning the paper a little bit. Next, I put down a few scraps of fabric, and some metal gears that I got from LolliBeads. I added a little heart that I colored with Vintage Pink Glimmer mist and some Camel Glimmer Glam. I mounted the background on a black cardstock card base. 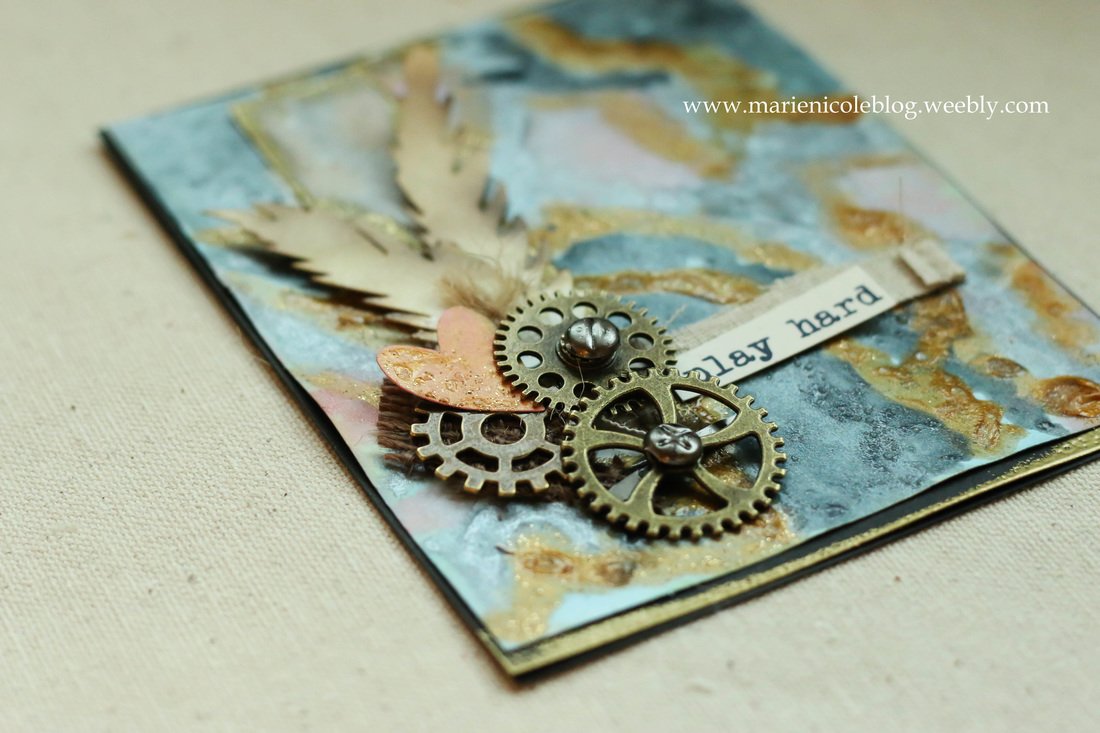
That's the card for today! Hope you enjoy it!
Happy Crafting!
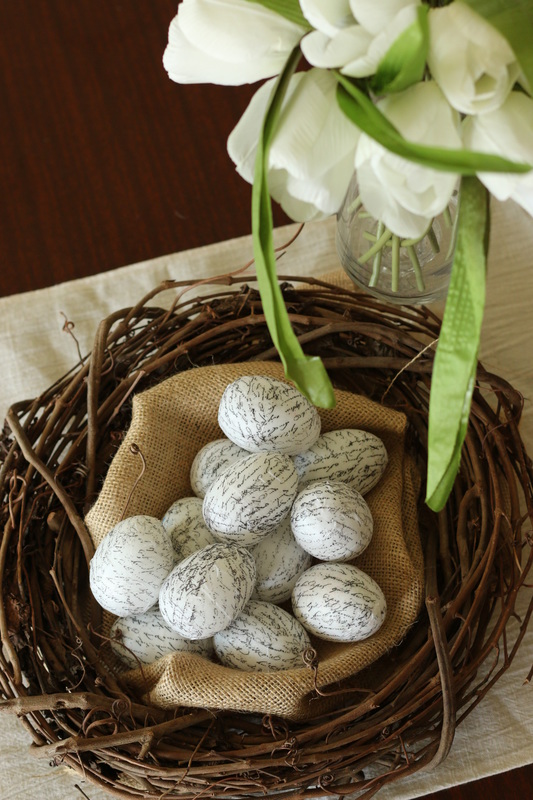
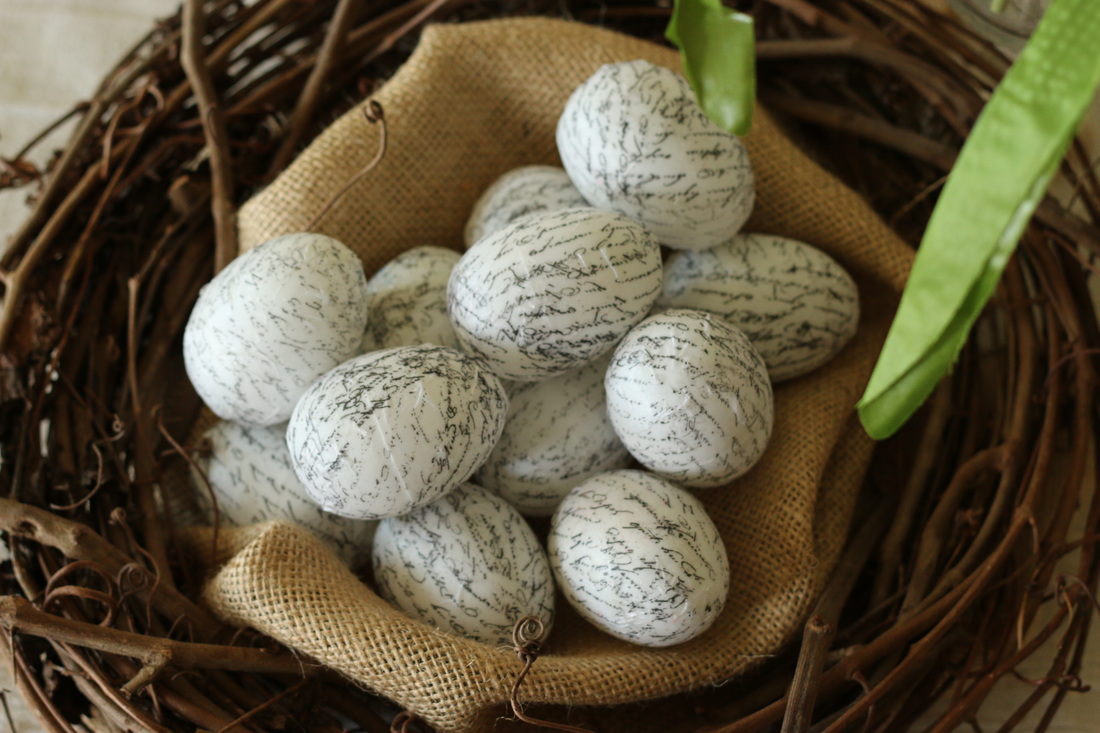
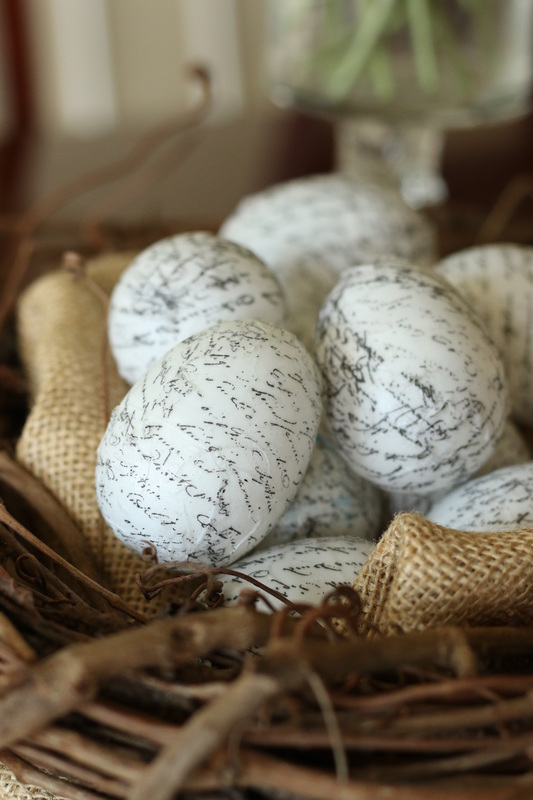
Everyone looks for fun, creative ways to decorate their Easter eggs around this time. These eggs are so easy to create and they look great as a centerpiece or decor item in your home!
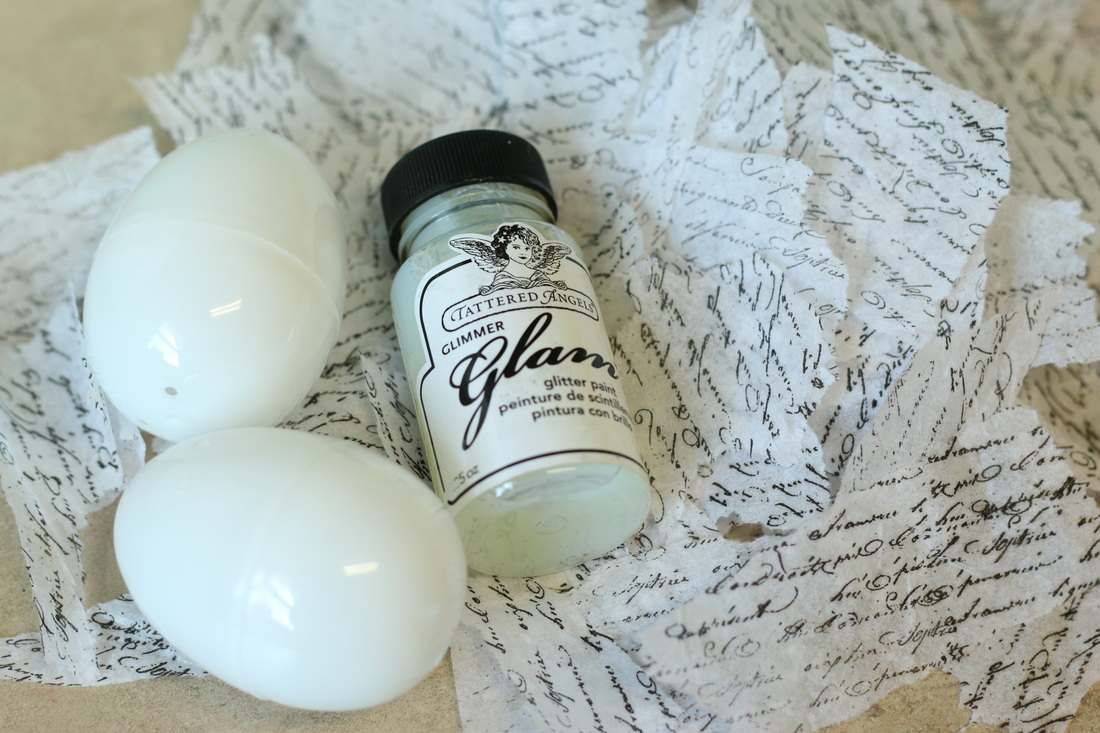
I found a dozen of these white plastic eggs on sale for about $.50! Then I used some leftover white tissue paper we had lying around, so these eggs are super inexpensive to make. I stamped some script text on the tissue paper, tore it into strips, and then stuck them onto the eggs decoupage-style using Tattered Angels' Clear Glimmer Glam. It dries clear and gives a nice shiny coat to your projects.
 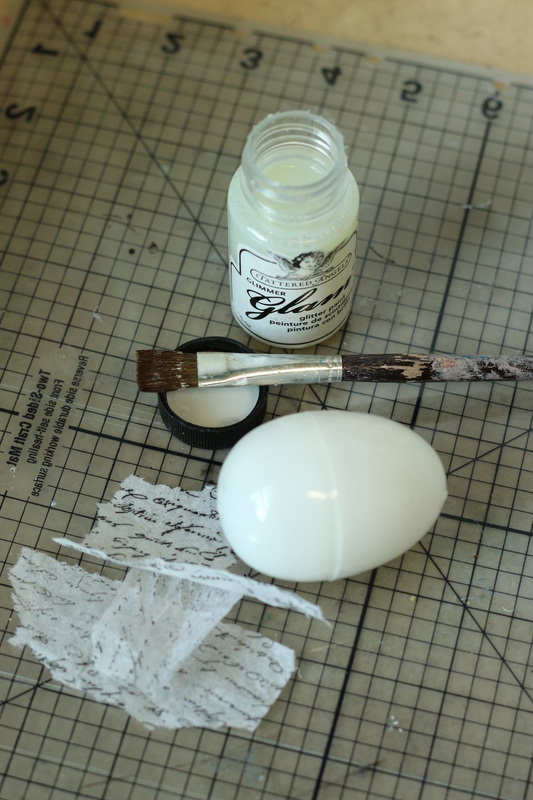
Once you are done coating your eggs with tissue paper just leave them to dry and you are done! I can imagine kids having fun doing this with different colors and patterns of tissue paper as well. You can store the plastic eggs and use them again year after year. Change up the look of them to match your decor!
Thanks for taking the time to stop by!
Happy Crafting! 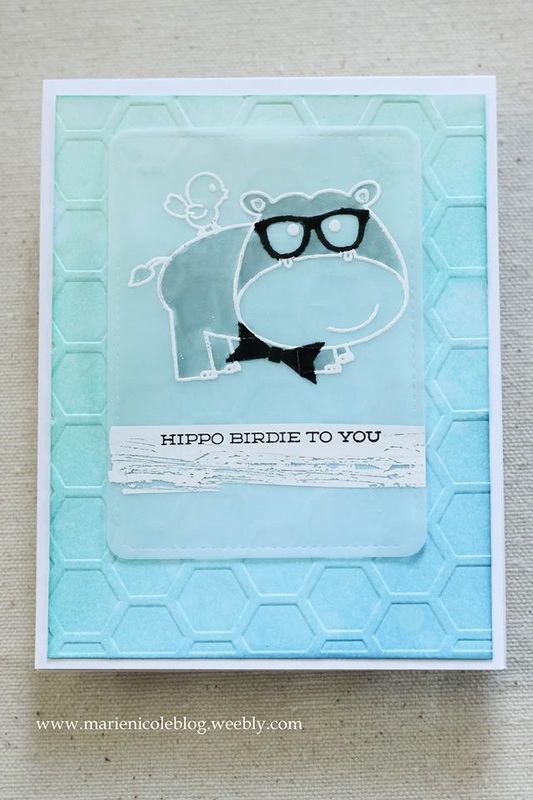
I recently got some vellum, and I just love the look it brings to my cards. For this card, I started by blending some Distress Inks together for the background. I used Cracked Pistachio, Peacock Feathers, and Mermaid Lagoon. Then, I spritzed some Pearl Glimmer Mist over the inks to get them moving together and also for some shine.
The next step was to run my background through my Sizzix with an embossing folder. I first sprayed in some Chalkboard Glimmer Mist, which is similar to the regular Glimmer Mist but a little more opaque. Then, I embossed the background and dried it. I then moved on to the vellum portion of the card. I die cut a piece of vellum with Lawn Fawn's Stitched Journaling Card die. I used some VersaMark ink to stamp the hippo and bird with, and then embossed them in white. Then, I ran some Tombow correction tape down and stamped my sentiment over that. I then took a scissors and scratched a little of the correction tape off to give it a distressed look. I then stamped the cute glasses and bowtie on the hippo with VersaFine Black Onyx ink. I used my Tombow Monotwin permanent marker to fill in areas that did not stamp very crisp. After all that I adhered the vellum to the background using my Tombow Stamp Runner adhesive. 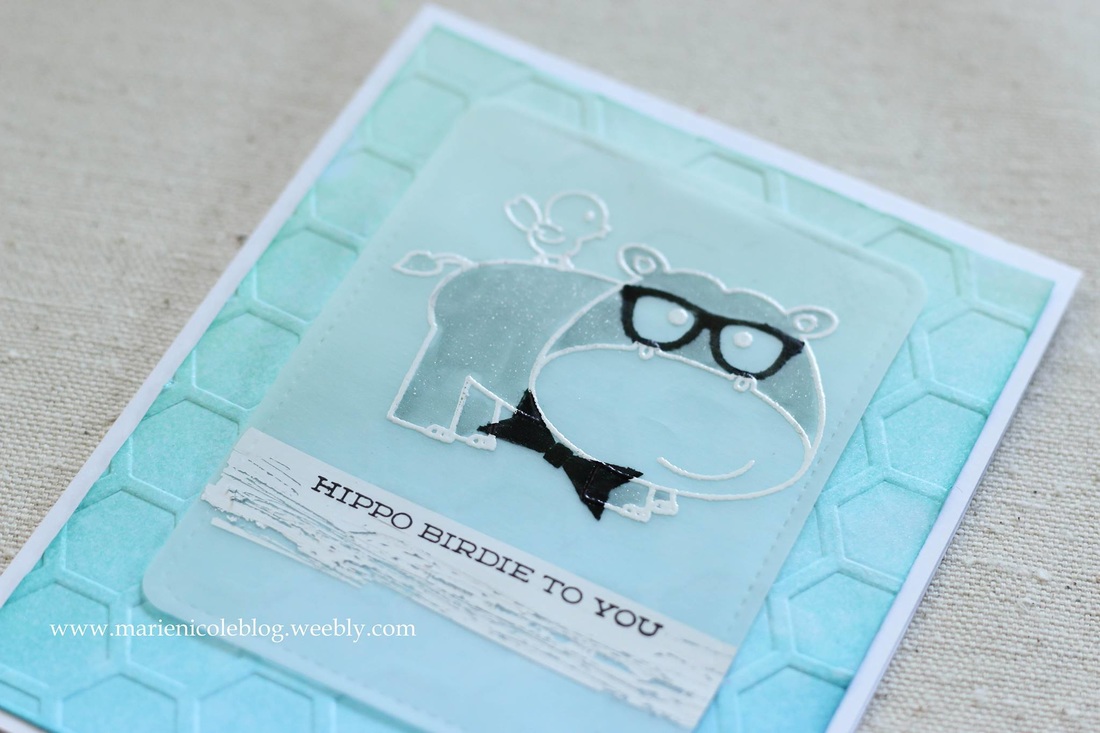
Thanks so much for checking out the card for today! If you are interested in some of the items I used I have included links below. Happy crafting!
|

Pin it!

AuthorSo glad you found me! This blog is my little space where I can share bits about my life and my latest crafting projects (mostly handmade cards). My goal is to share, inspire, and to be a positive presence in the creative community. 

Find me on Instagram!Archives
January 2018
Categories
All
Link Love
 

|


 RSS Feed
