I wanted to share with you today a quick, easy DIY craft you can do that looks great in any of your home décor or craft projects!!
These ruffled flowers can be made with basically scraps! I just used some scrap fabric and cardstock. With a little hot glue, and a few extra minutes, you can make one or a ton. In the picture below, I have all the supplies laid out that you will need: *Glue gun *Extra glue sticks *Cardstock cut into circles *Scraps of fabric cut into strips 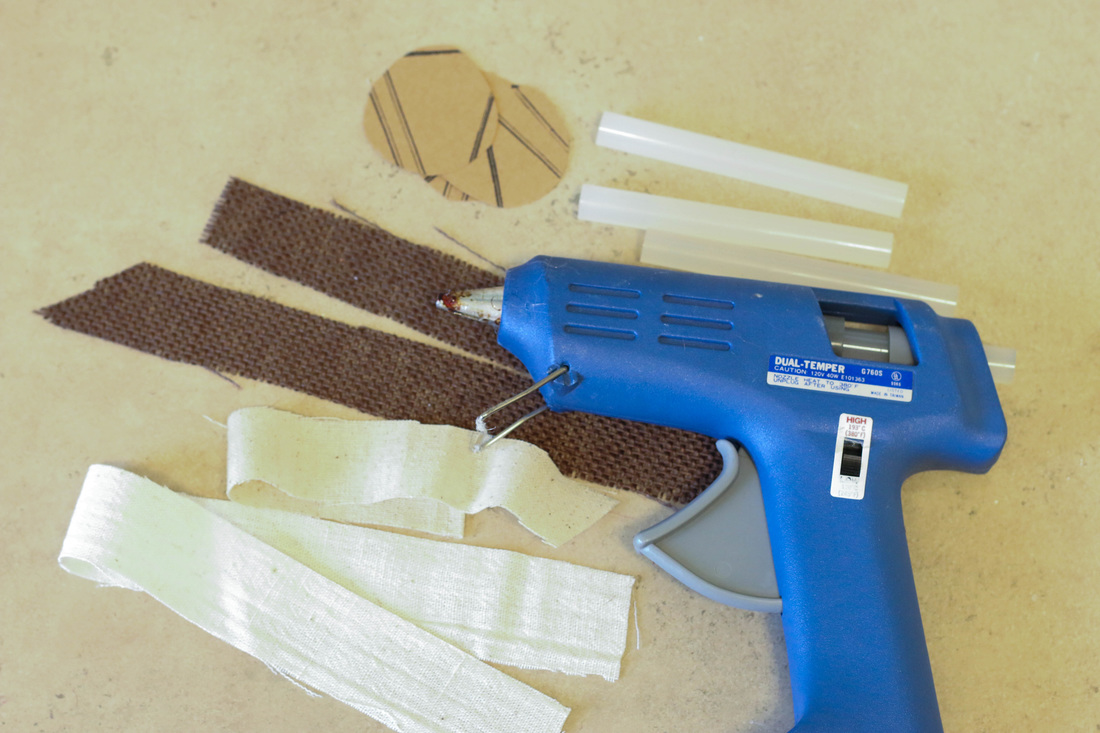
I also put together this quick video to show the process of putting these flowers together. Quite simple! Just add a layer of glue around the outside edges of your cardstock, and then add your fabric, folding and pushing it into the glue as you go around. Hopefully the video gives you a clear idea of how it works.
So that's it! Super easy.
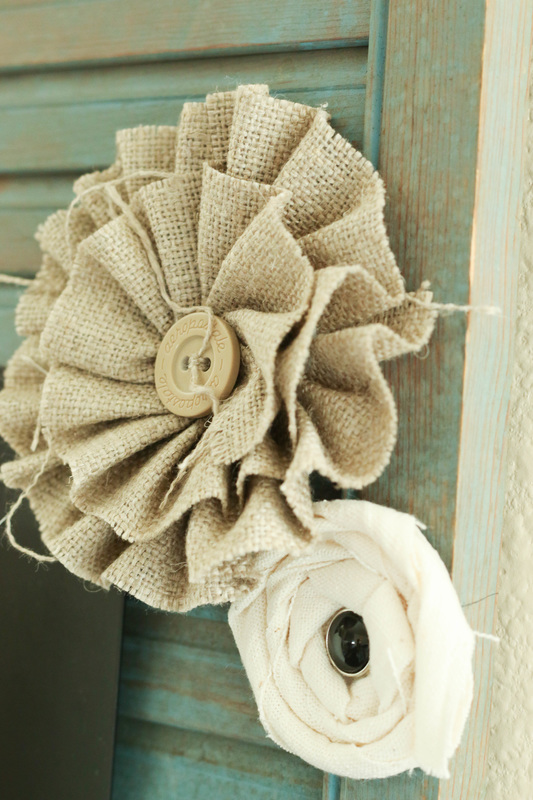
I have a few examples below of where I have some of my flowers in my house. I have a fun frame shelf in my craft room that my husband built for me, and I just added a few flowers to the corner of it. The blue one you see here has been spritzed with Tattered Angels' Patina Glimmer Mist. 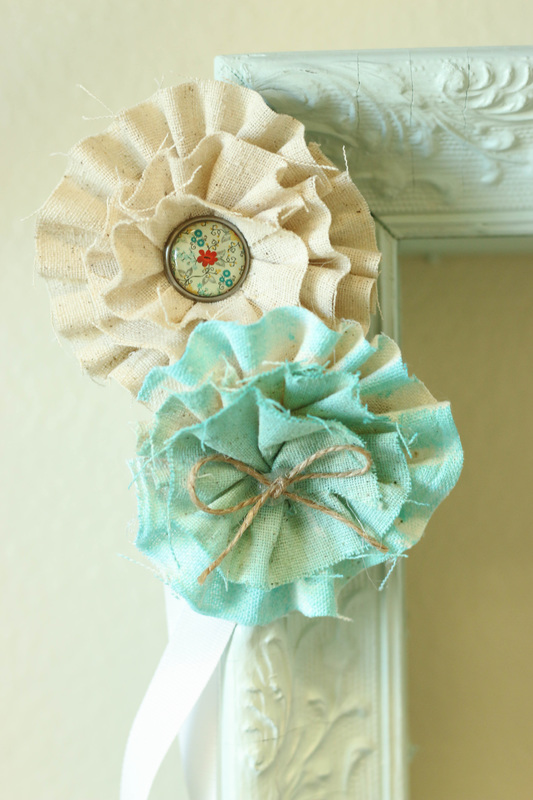
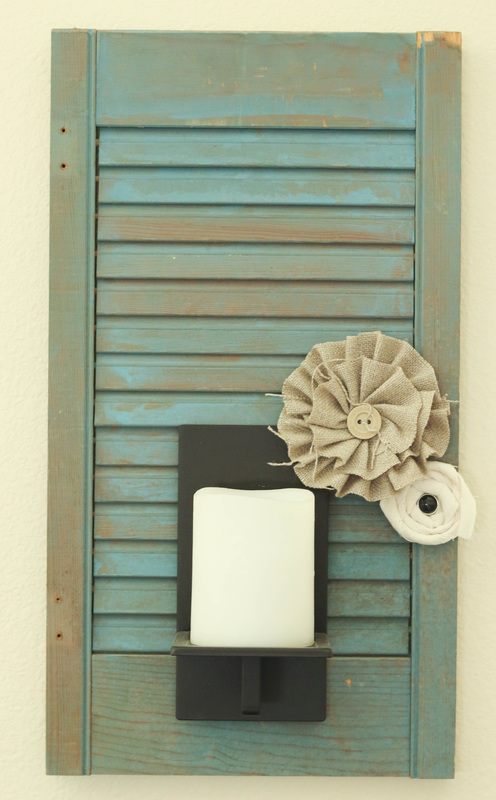
These next flowers I made quite a while ago and added them to these candle holders I made out of old shutters. The ruffled flower is made the same way the other ones were, but the rolled flower is just a strip of fabric that I twisted and curled up, gluing as I go.
So that's it! Very simple. Maybe I've given you some ideas to get started on some of your own. Thanks for taking the time to stop by!!
Check out some fun products I used!
4 Comments
Sharing a quick, cute card with you today!
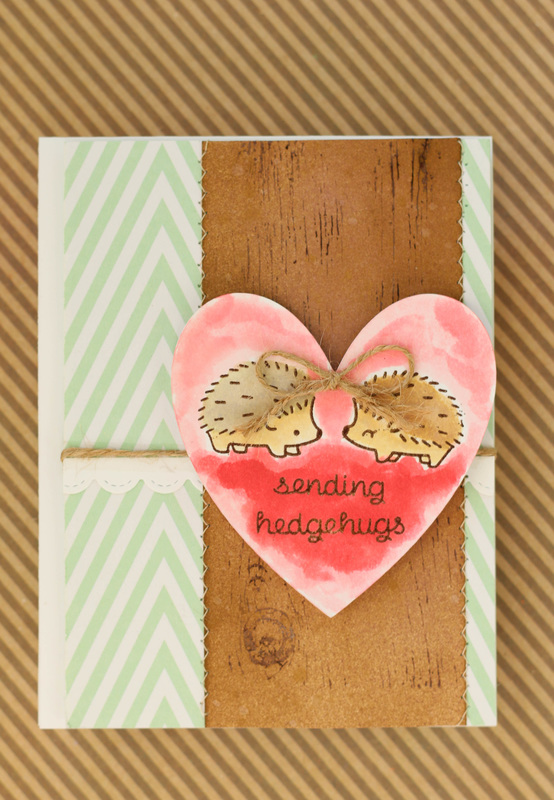
This one was made using Lawn Fawn's Hedgehugs stamp set. I stamped and embossed the hedgehogs and the sentiment with brown embossing powder, and then colored them in with Distress Ink. For the red watercoloring around them, I used some watered-down Tattered Angels Glimmer Mist in Lobster red. The woodgrain panel was stamped with my Heidi Swapp Woodgrain Background stamp. I used Tattered Angel's Java Glimmer Glaze on the stamp. The Glimmer Glaze acts as a resist, so even when you add color over it, like I did here, it still shows up and doesn't get lost in the color. I added some Distress Ink over the stamped area, and also spritzed it with some Kraft Glimmer Mist. I took my woodgrain panel over to the sewing machine and sewed down the edges onto my striped background paper. Then, using Lawn Fawn's Stitched Scalloped border die, I added a cute scalloped border and some twine. The heart with the sentiment I adhered down with foam adhesive, and added a twine bow to finish it off. 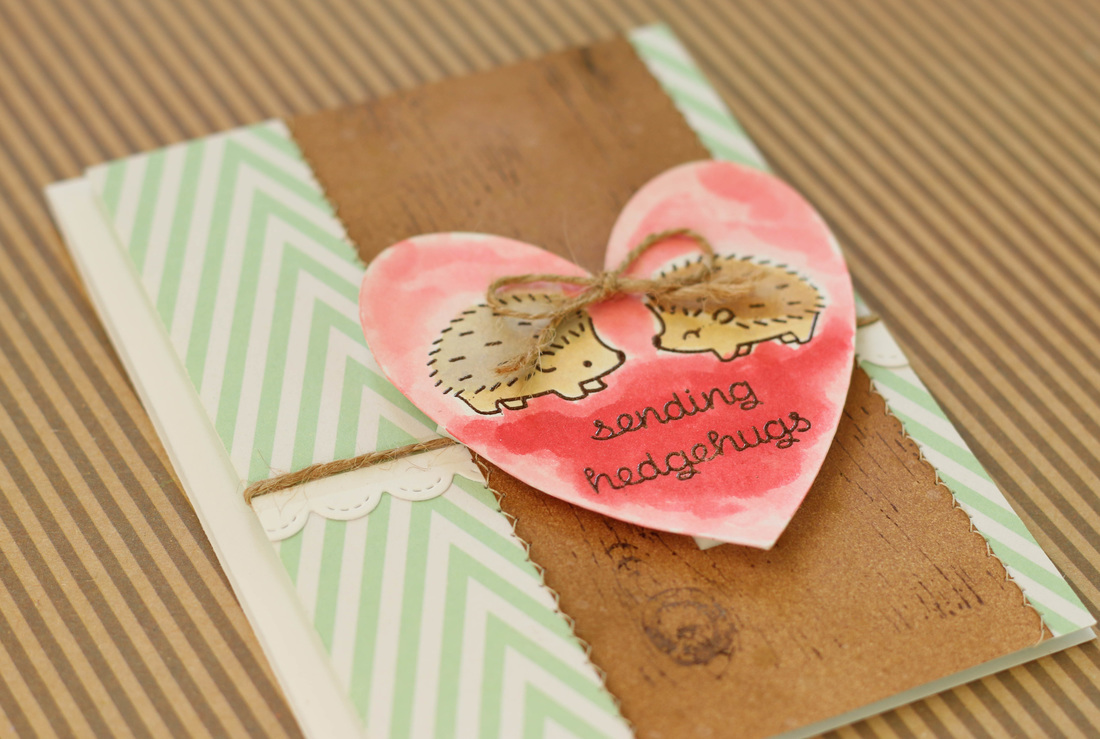
Check out some fun products I used!

I haven't worked with acetate a whole lot, but I picked up a pack of it on sale a while ago. I decided I wanted to try to run it through my Cricut with a beautiful floral design and see if I could create my own stencil.
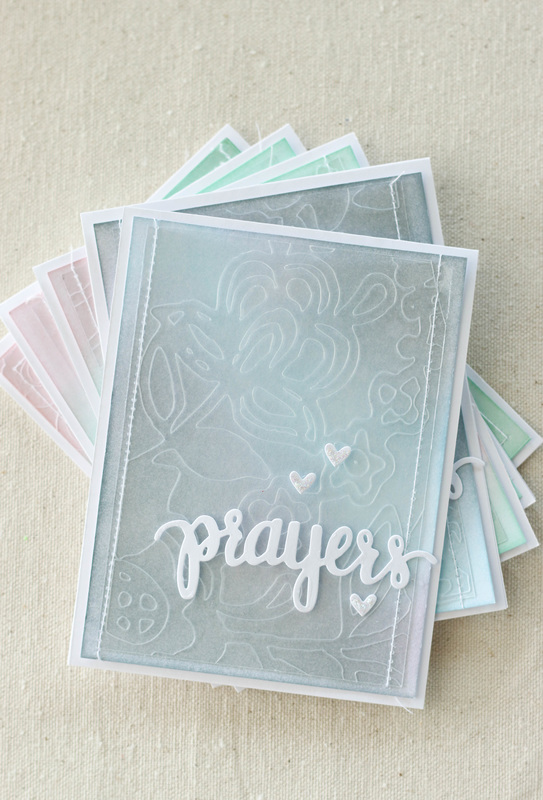
It would have worked, but I didn't know until later after I researched it a little that I need a deep cut blade to cut all the way through my acetate. So I was left with a sheet of acetate that was partially cut. The design on it was beautiful, but it definitely would not work for a stencil. I decided instead to try to make a set of cards out of it. The etched effect that the acetate had looked amazing over a Distress Inked background. 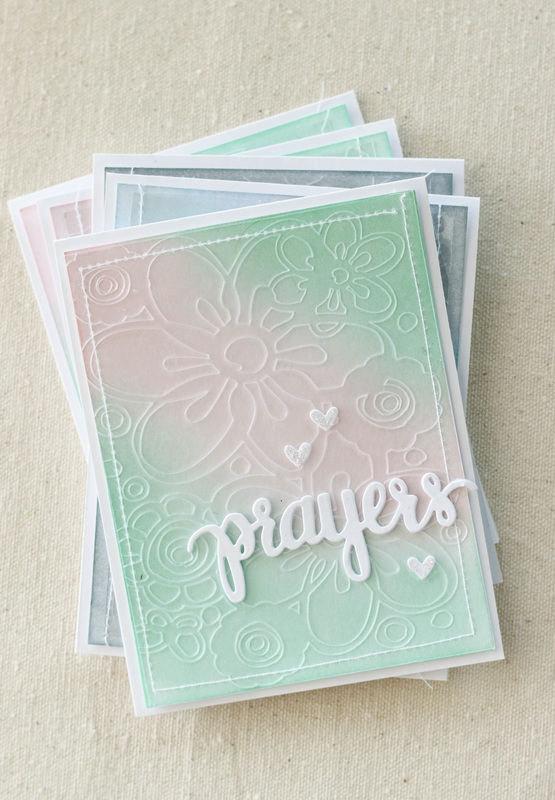
For the first card you see above, I used a combination of Story Sky, Tumbled Glass, and Milled Lavender. For the second, I used Cracked Pistachio (a new favorite, this color is GORGEOUS!) and Spun Sugar. After I had the background colors applied, I took some Tattered Angels' Glimmer Mist in Pearl and just spritzed on some shimmer.
To attach the acetate, I ran it through my sewing machine. I didn't want any adhesive showing through, and I love the look of stitching on cards. For the sentiment, I used Simon Says Stamp's "Prayers" stamp set and die cut the word prayers. I also die cut a few tiny hearts as well. 
I usually leave the inside of my cards blank, but I wanted to add a special something to these cards. I used some of the mix and match sentiments from the Prayers stamp set to create the inside message.
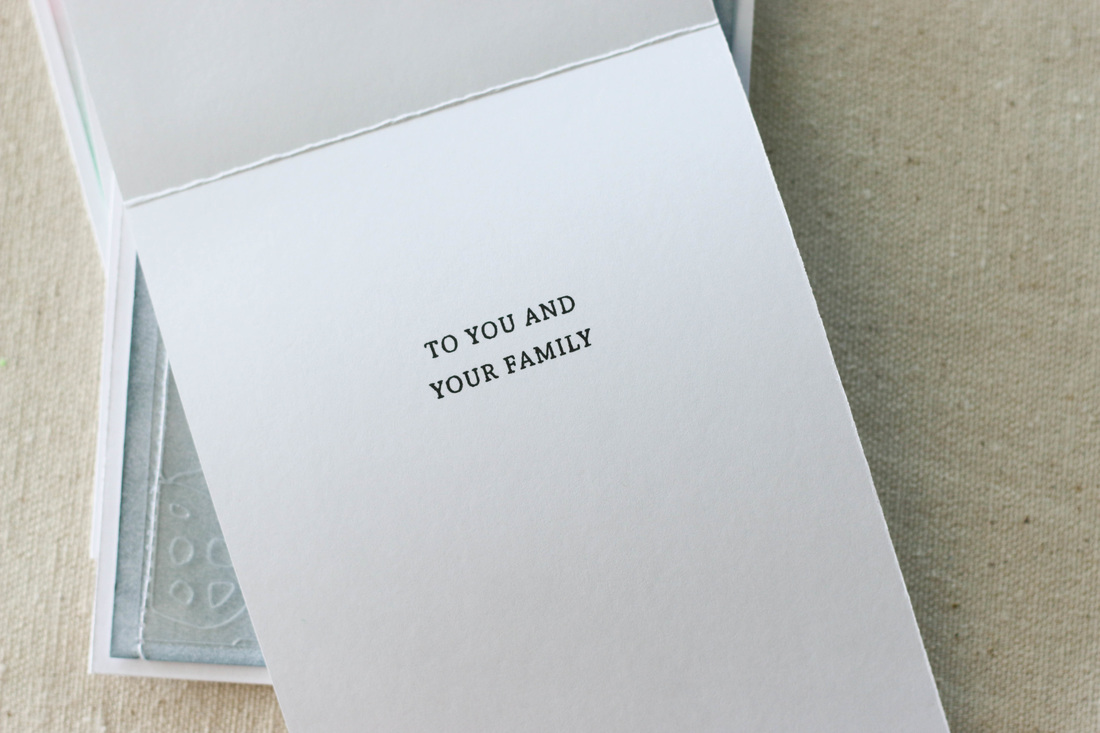
These cards I will be sending out to theLasting Hearts Card Drive. It's an amazingly sweet organization that is seeking to offer healing support to families that have suffered miscarriage and infant loss. I encourage you to follow the link and learn more about it!
Check out some fun products I used!
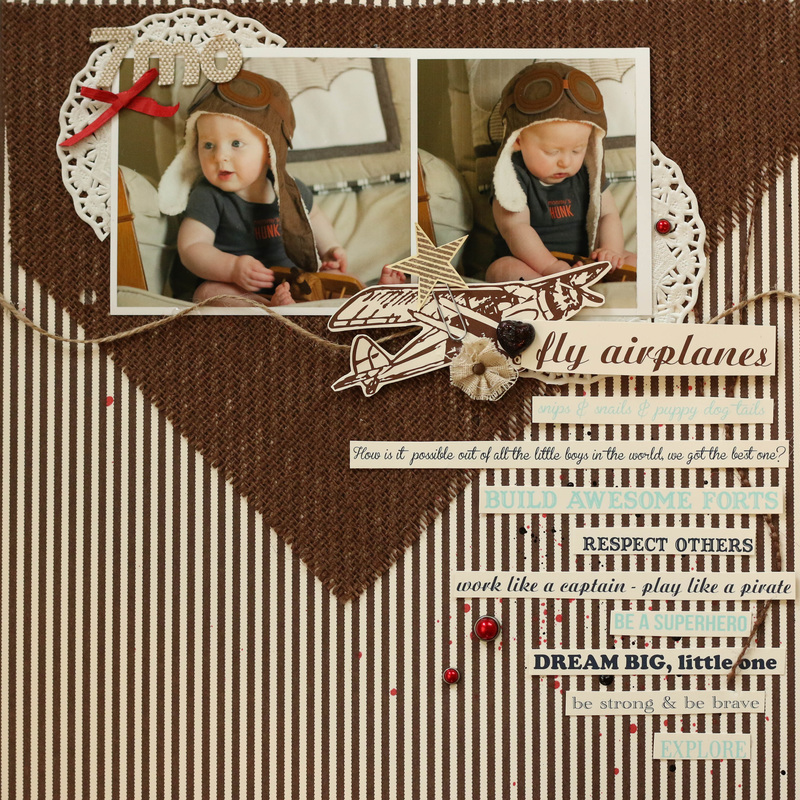
Go me! Done with page 7 of Hayden's monthly layouts! Its been a slow process but I am officially past the halfway point! I started this layout by using papers from CCB's Snips n Snails paper pad. Then I arranged his photos at the top, and began embellishing around them. I fussy cut the airplane and all the word strips from the Snips n Snails as well. 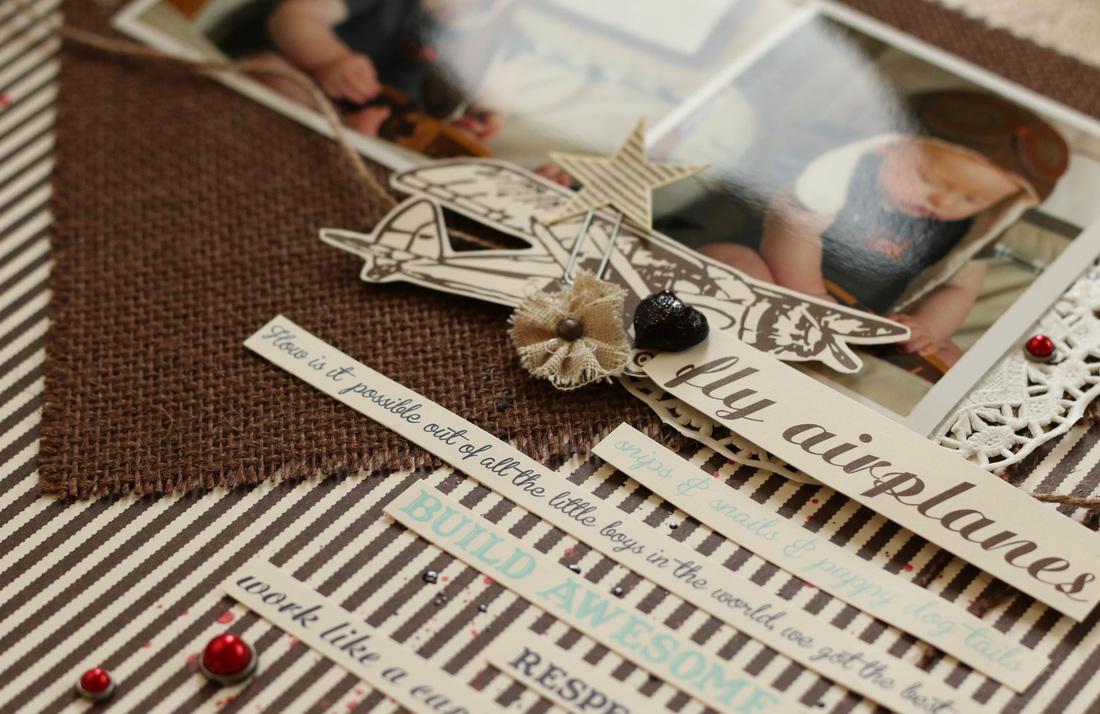
Around the photos I added a few paper doilies, as well as some Jute Cord from CCB as well. I found some bright red brads in my stash that matched perfectly with the raffia that I used for a bow. 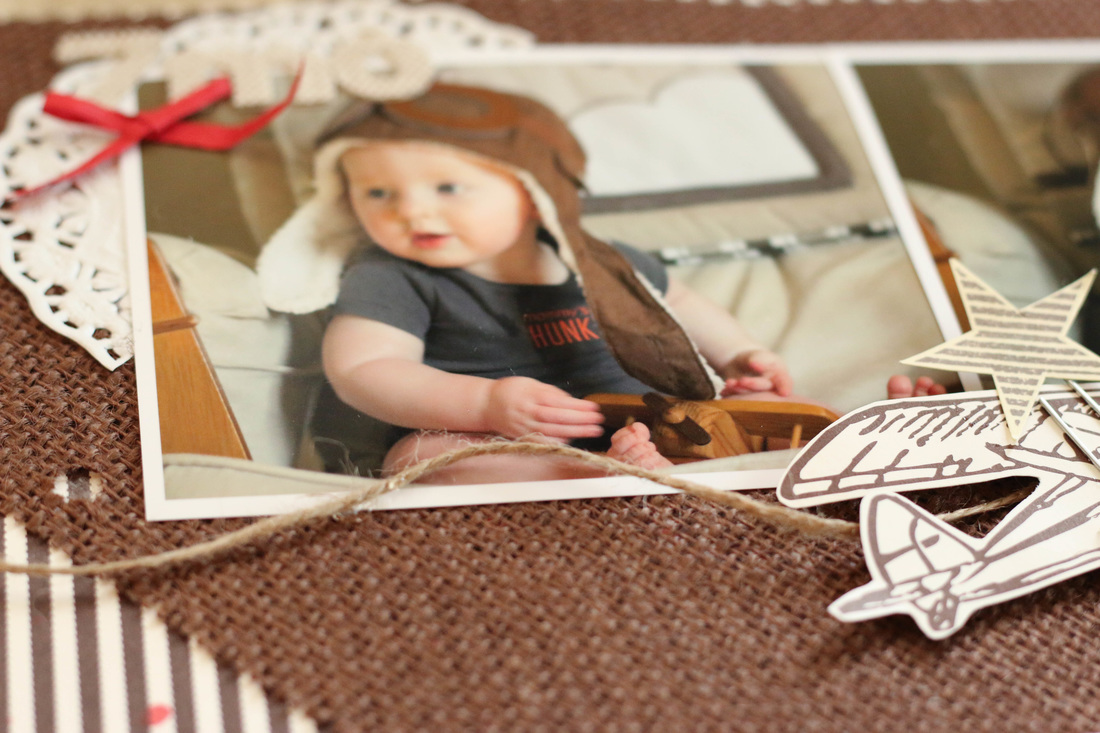
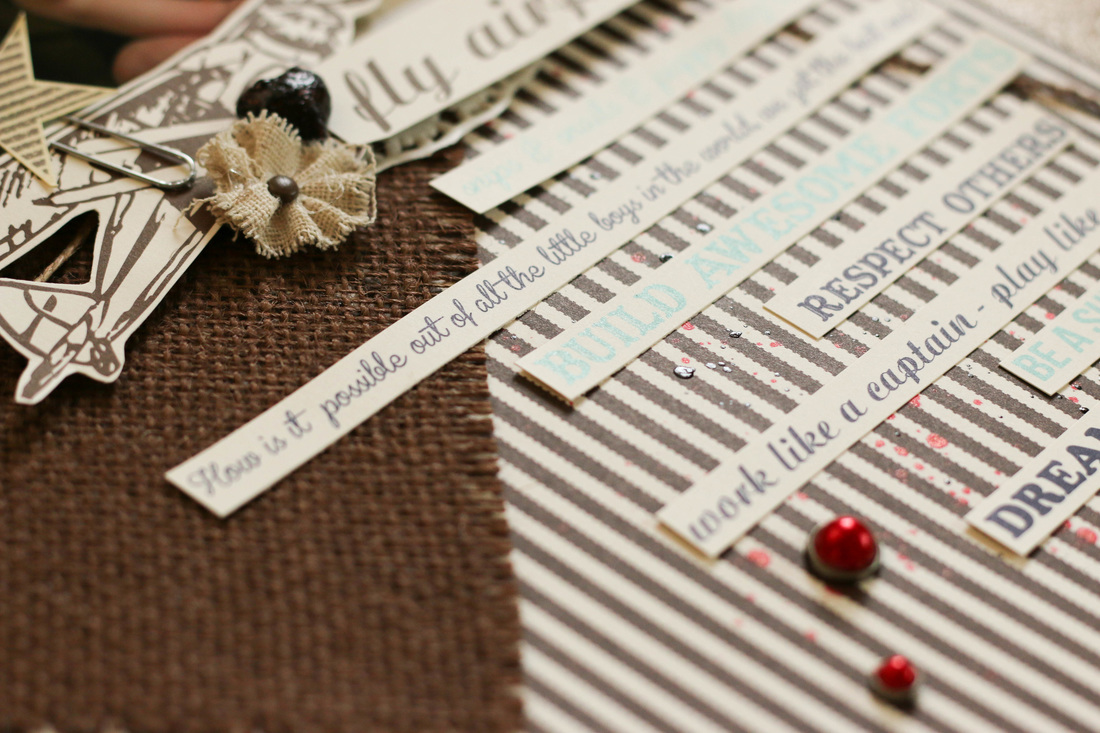
After I knew all the embellishments I wanted to use as well as where I wanted them to lay on the paper, I removed everything and added some splatter marks to the background paper. I used Tattered Angel's Lobster Glimmer Mist and Java Glaze for this. I hit the splatters with my heat tool and when they were dry, I adhered everything down. 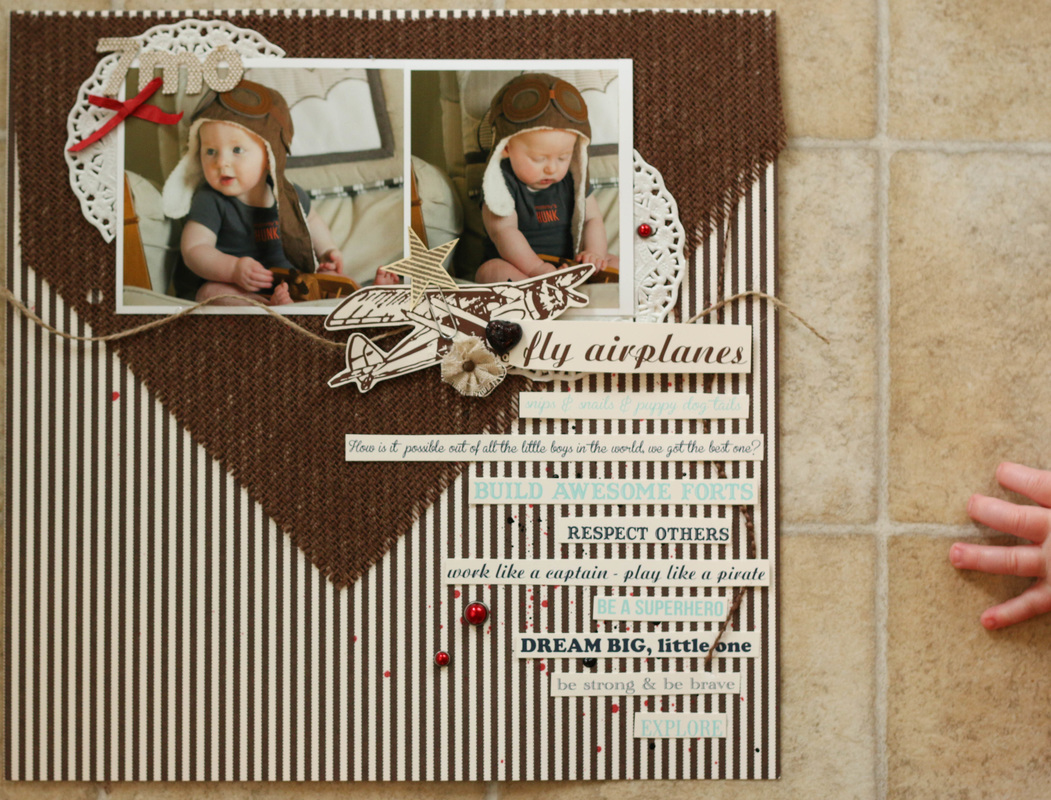
...and as you can see, SOMEONE thought he could get his grubby hands on my layout while I was photographing it. Gotta work quickly with this little guy!! I managed to put together a video of the process as well. Hope you enjoy it! Here's a few fun products I used!
Today I wanted to share with you a special card drive that Jennifer McGuire blogged about a few days ago. This card drive really touched my heart because the purpose of it is to reach out to parents who have lost their babies. This upcoming summer will be 3 years since my husband and I lost our first child, Isaac. I wrote about his story previously, and if you care to learn more you can read about it through this link- Isaac's Story. I'd encourage you to scroll all the way down the page and start at Part 1. Anyway, the idea of giving hurting parents something special during this heartbreaking time in their lives is absolutely wonderful. I remember walking out of our doctor's office feeling like my world was turned upside down. If someone had handed me a little something special to let me know they were sharing my grief it would have definitely touched my heart. So I made a quick video sharing a few of the cards I will be sending out. I hope you will take the time to watch, and if you feel moved to, send out a few cards of your own. Click here to head over to Jennifer McGuire's blog to learn more about the Lasting Hearts Card Drive! I just wanted to comment quick that I changed my mind about sending my "Hedgehug" cards. While I think they are adorable, I also think they are a little too lighthearted for this cause. I know my husband and I would not have been offended by receiving one, but I also know that everyone grieves in their own way. I definitely would not want anyone to feel I was being insensitive. The purpose is to send as much love as possible, which is something that parents truly need as they go through this dark time in their lives.
I created this card for the Words and Paintery Blog. They have a fun new challenge where you use the colors and the quote to create something. Here's the inspiration for the new challenge:

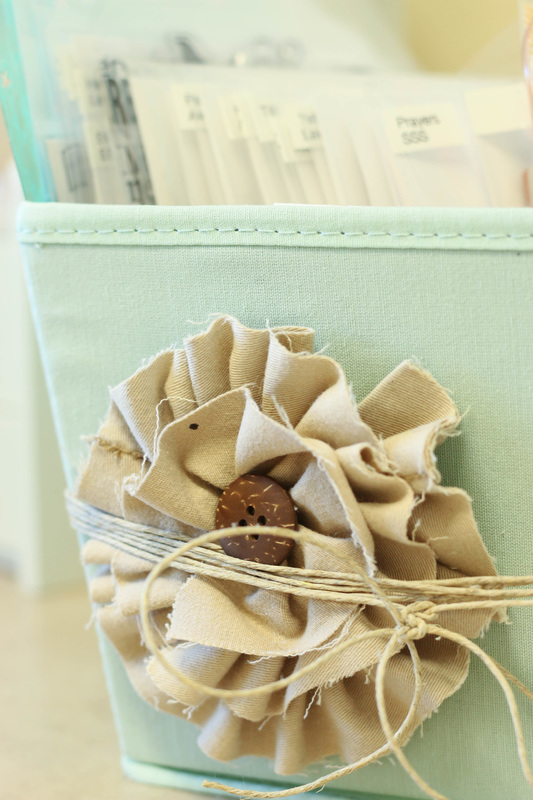
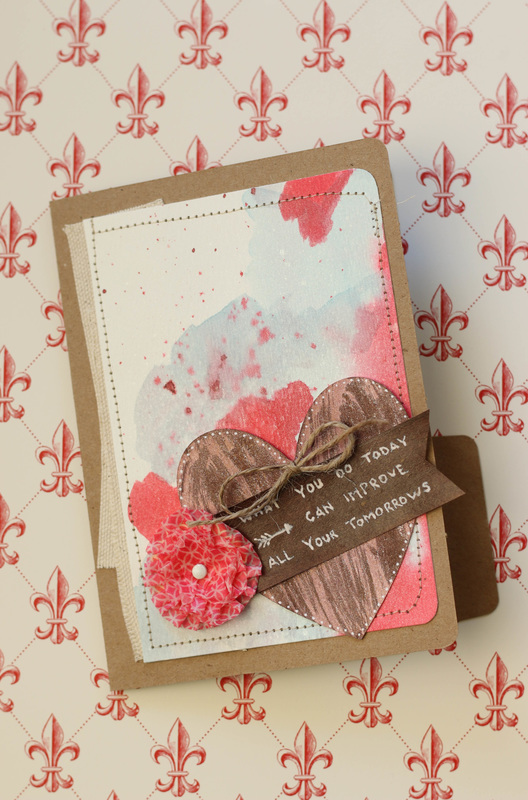
I decided to use a mini file folder from Canvas Corp Brands as my card base. These little files are so cute and I can see how they can be used in a million different ways. They are also the perfect size for a 4x6 photo to fit inside of.
I first took some watercolor paper and trimmed it down to size for the from of my card. I applied a coat of plain water, and then used a little Lobster Glimmer Mist and Patina Glimmer mist to create a watercolor effect. I've been playing around with my Glimmer Mists and have discovered that they really work beautifully as watercolors! Over the top of those colors I added some Dazzling Diamonds for more shine. Then, I tucked some scraps from a 12x12 Canvas Sheet behind the watercolor panel and ran it through my sewing machine to sew it down. For the quote and embellishments, I used the Naturally Aged Mahogany Kit to color the heart die and just wrote the quote on top of the banner with a white gel pen. Over that, I added a washi tape flower and some Jute Cord tied in a bow. That finished the front! 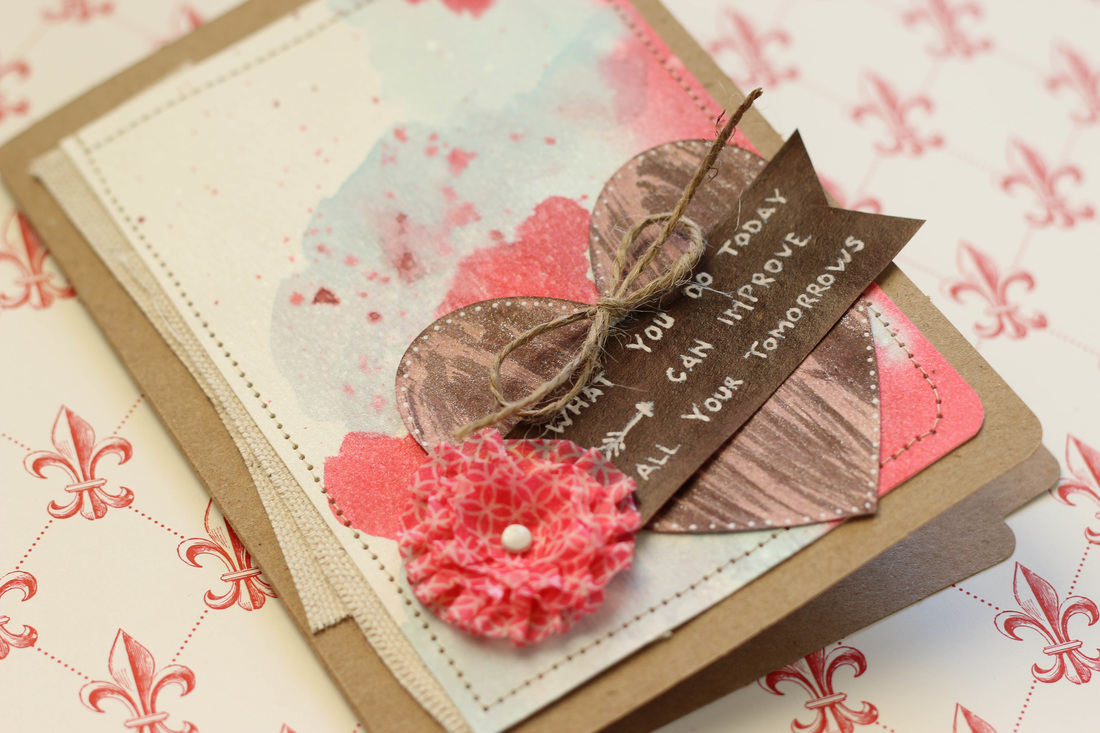
I wanted to add a little something special on the inside, So I used another little bit paper that I watercolored and created a pocket with it. I used the Be Beautiful stamp set from Canvas Corp to add the sentiment. The canvas flower was cut from the same sheet of 12x12 canvas that I used on the front. I just clipped in on with a mini clothespin and a little heart die.
Finally, I used Heidi Swapp's Confetti stencil and an embossing pen from Ranger to add the watermark hearts. 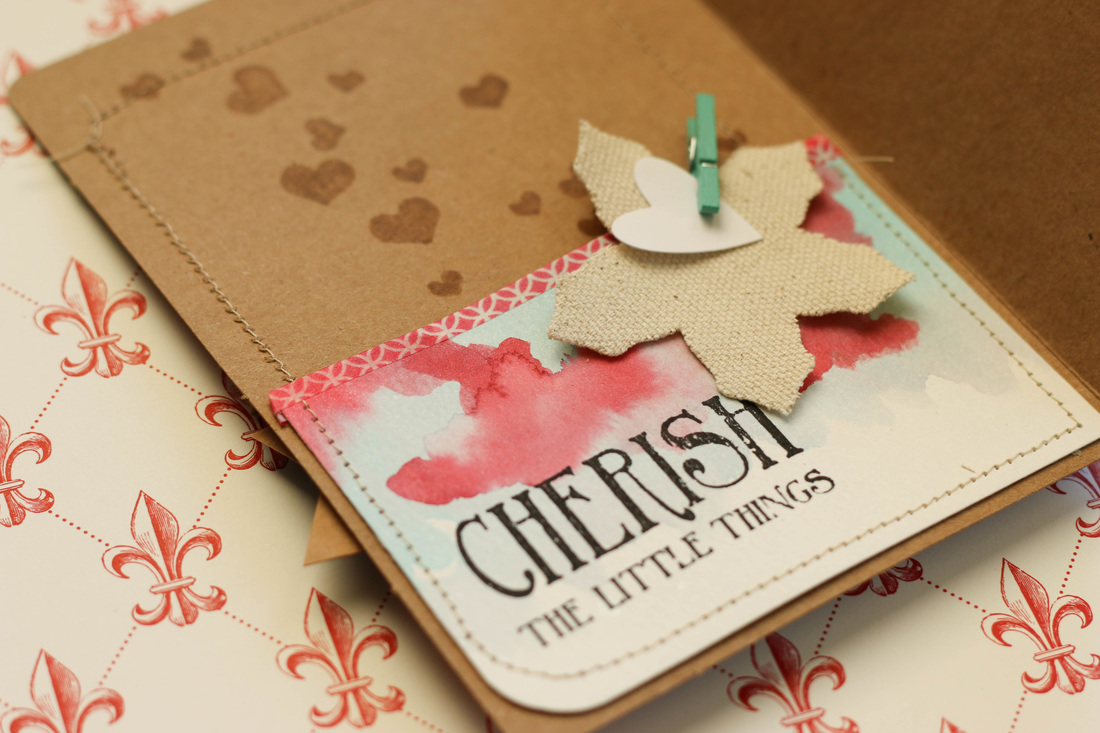
This was such a fun challenge to take part in! I love how the card turned out. You could definitely use it to send a gift card or something special tucked into the pocket, or to enclose a few 4x6 photos inside of.
Here's some fun products I used!
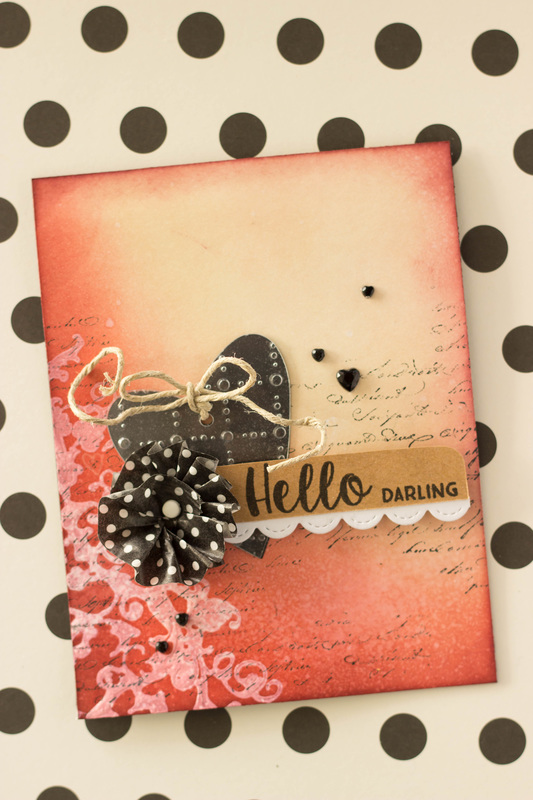
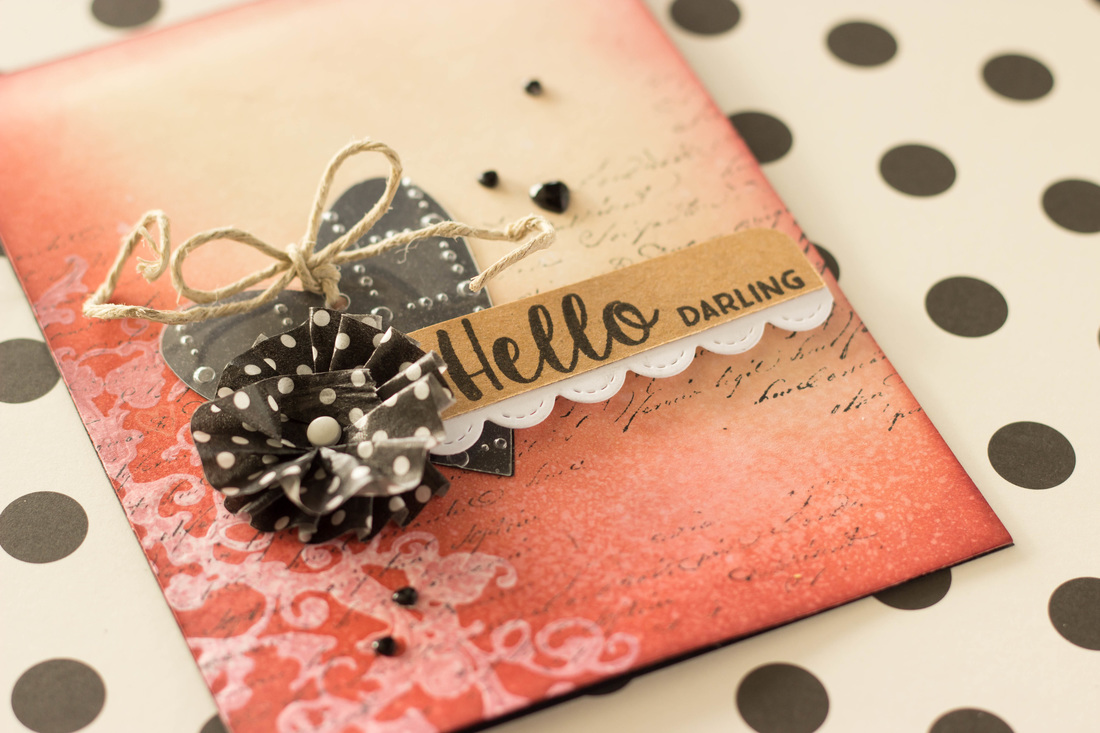
I have been playing around with gesso lately, and I did a little stamping with it on this card. You can see on the bottom left corner the scroll design that was stamped with gesso, and then over that I used several colors of Distress Inks to create a resist. After the ink was applied and blended, I stamped some scripted writing over the top of it, Then, to finish the background I spritzed it with some Tsukineko shimmer mist.
For the embellishments, I cut the heart first out of black cardstock, and then again out of acetate. The acetate I also ran through my Sizzix with an embossing folder to give it some texture. Then, I punched a hole at the top and tied some twine into a bow. The polka dot flower I made by ruffling some washi tape onto a carstock circle and then adding a brad in the center. My sentiment was stamped using Avery Elle's Peony stamp set. I also added a little scalloped border from a die from Lawn Fawn. I absolutely LOVE this die set. I have used it many times and it always looks fantastic! My sentiment was then adhered with foam adhesive to give it some dimension. For a finishing touch, I added some black heart rhinestones. Here's some fun products I used!
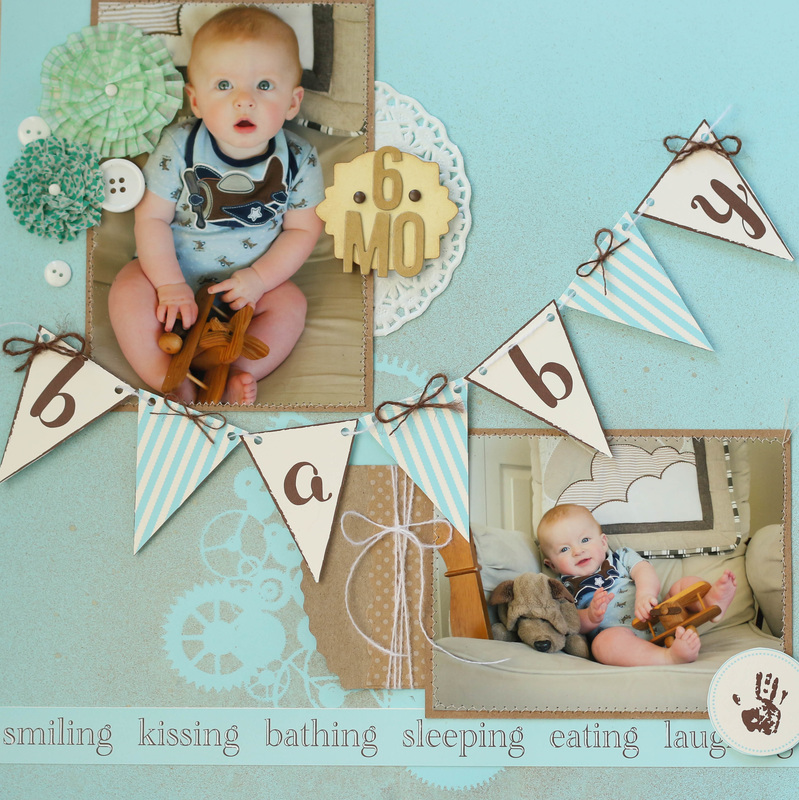
I'm about half way done with Hayden's monthly scrapbook pages!!
For this page, I used mainly Canvas Corp Brands' scrapbook papers. This paper pad is the Snips and Snails. So many cute papers and patterns!! First, I took the blue background paper, laid TCW's Mini Gears stencil down, and spritzed it with Tattered Angel's Kraft Glimmer Mist. It created a really subtle background which is what I was going for. I took my two pictures and mounted them on some kraft cardstock, and then sewed a little zig-zag border around them. The "baby" banner was also from the Snips and Snails paper pad, as was the little hand print and the text border strip along the bottom. I added a little paper pocket behind the bottom picture that I plan to place a tag in and journal some memories on. The top picture I embellished with some washi tape flowers, buttons, and chipboard letters that spell "6 mo". I really LOVE the color blue on the papers and it coordinated perfectly with the colors in the pictures. Here's a few fun products I used!
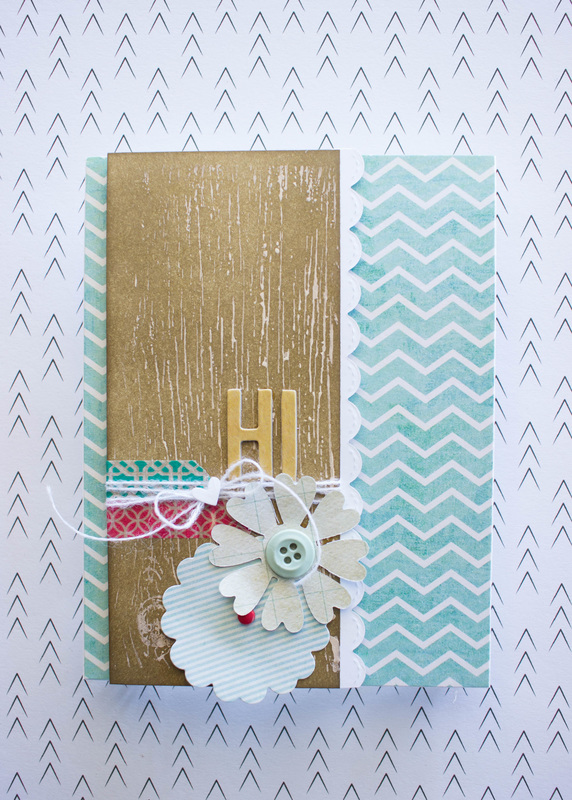
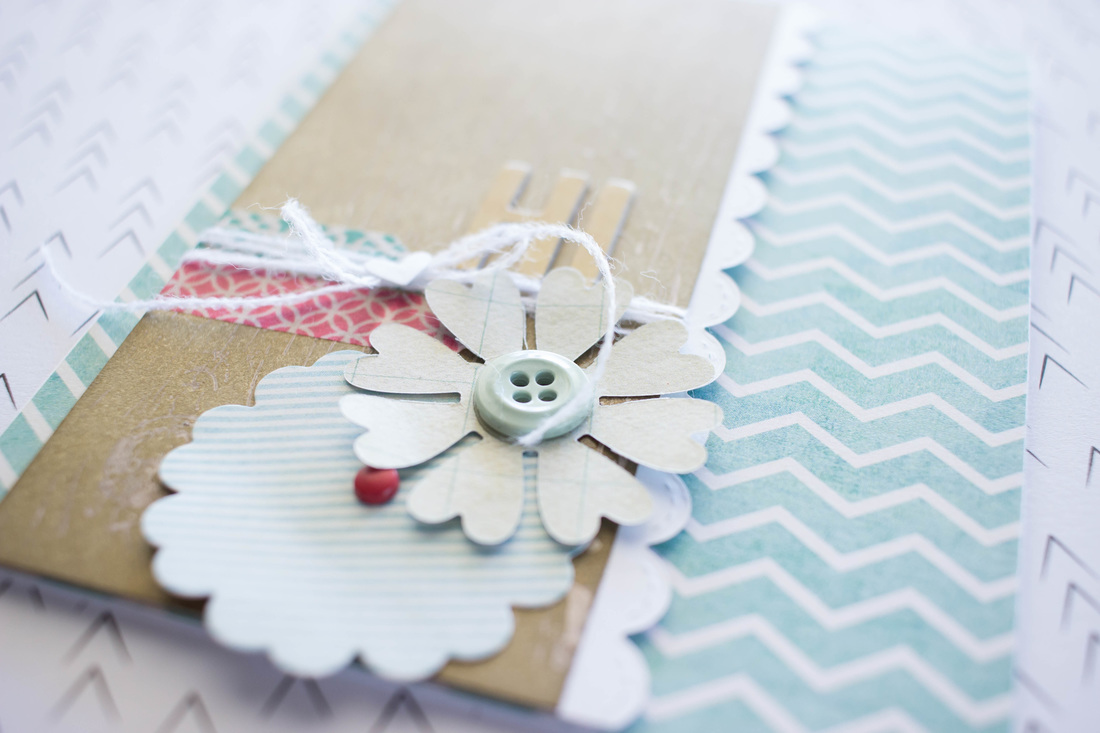
I tried a new technique with this card. I used my Heidi Swapp woodgrain background stamp to stamp some white gesso, and then after it was dry, I blended in some Distress Inks to color it. It created a resist effect that I really like. Ill have to practice this technique more in the future.
After the woodgrain panel was finished, I picked out some fun background paper and some other bits and embellishments to coordinate. The chipboard letters are actually from Target's dollar section, the flowers are die cut with my Sizzix, and I probably couldn't even tell you where I picked up the washi tape. Anyway, I added a scalloped border to the side of the woodgrain panel and then adhered it all down on a piece of fun foam to give it some dimension. I love how all the patterns and papers coordinate to create this fun card that can be sent for almost any occasion! Here's some fun products I used!
|

Pin it!

AuthorSo glad you found me! This blog is my little space where I can share bits about my life and my latest crafting projects (mostly handmade cards). My goal is to share, inspire, and to be a positive presence in the creative community. 

Find me on Instagram!Archives
January 2018
Categories
All
Link Love
 

|


 RSS Feed
