
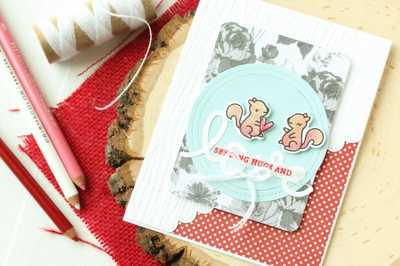
Brutus Monroe has a ton of fun stamps, and for this card I used the Rockstar Pets set. There's this fun hipster cat along with a dog wearing headphones and several really fun sentiments.
This cat had so much personality he was just dying to be stamped out and watercolored! The rest of the card is super clean and simple, to let the cat stand out. First, the cat was stamped out using the Misti and some Raven Detail Ink. Then, before the ink dried, I used clear embossing powder and embossed the image. Then, using Distress Ink Pumice Stone, Hickory Smoke, and Festive Berries, I added color to the cat. Embossing the lines always seems to help with watercoloring- it creates a barrier that helps hold the color in the lines. The very last thing to do was stamp and emboss the sentiment, as well, and then add a little Glossy Accents to the glasses to make it look like real lenses! 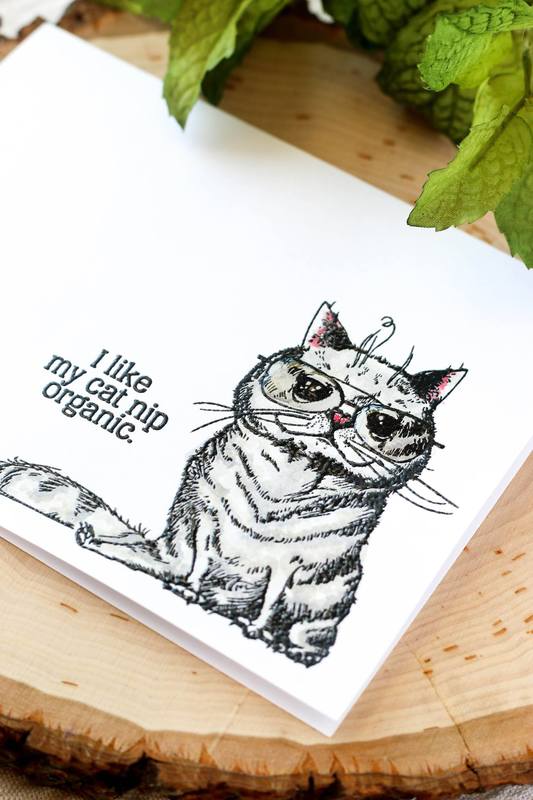
Hope this gives you a better close up look at this stamp set! Don't forget to check out the store over at Brutus Monroe for not only this set, but a ton more!
More from Marie Nicole...
0 Comments
Ink blending has become one of my go-to techniques for adding color to die cuts, backgrounds, stamped images, and pretty much everything! I don't claim to be an expert at it, but there are a few tips I have picked up along the way that has helped my blending. I'll share a few of these tips with you in this post.
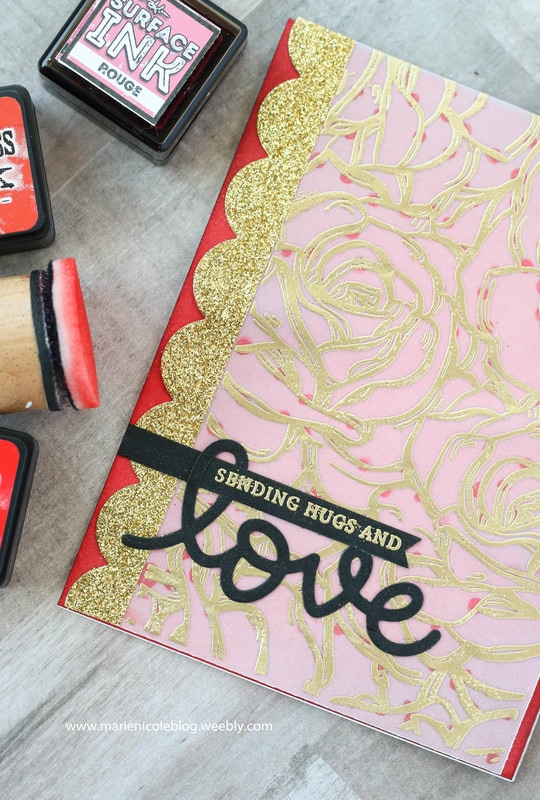
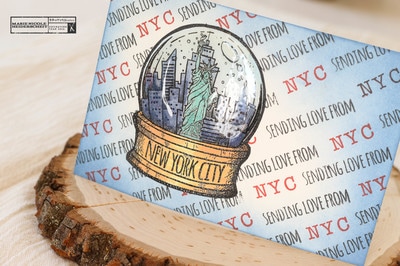
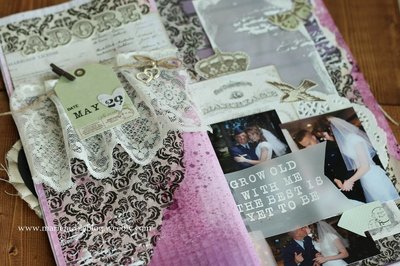
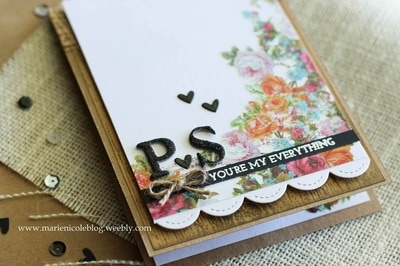
For the color on the background of this card, I blended some different shades of red together to create an even color to stand out behind this piece of vellum that was stamped and embossed. 
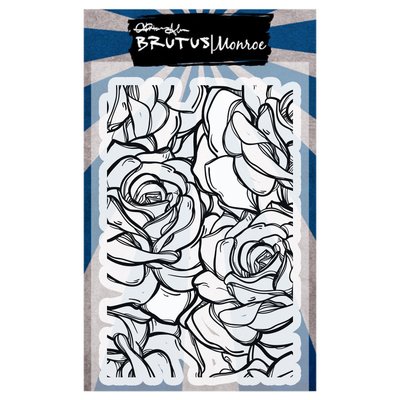
The vellum piece on the card is embossed in some of Brutus Monroe's Gilded Embossing Powder, and the stamp used is Brutus Monroe's Rose Garden Background Stamp. I also added a piece of gold washi tape to one side that I die cut with a scalloped border die. Ok, so on to the ink blending tips! I'm just covering a few questions that I most frequently hear asked. Q: Do I need high quality cardstock to get a good blend? A: Yes and No! I say this because YES, a high quality cardstock will get you a better blend because it will take the ink better, but at the same time NO, because ink blending is still possible on cheap cardstock. All the cards you see me create are built on cheap department store cardstock. Also remember that sometimes if you leave your paper for 10-15 minutes and come back, it may look a little smoother because you have given the paper time to soak in the ink. Q: Why does my ink tool leave lines or marks? A: Several reasons, one of them being that your foam blender may be new or not yet "broken in". Once you use your foam pad for a while, the fibers get broken down a bit and become softer. Also, as you use it, the fibers also become more saturated with ink, which will help to apply ink more evenly. Another way to avoid those lines is to start blending off your page and then to lightly blend into the paper coming in from the edges. Q: Why doesn't my blending look smooth and seamless? A: Again, there could be a few reasons here. One being the last question we covered, and two being that you may not have added enough ink! Sometimes to get a nice even blend you really have to work at it. My motto is, "Just Keep Blending!" (think like Dori!). Put some time and elbow grease into it and also try to add enough ink. When you start off on white paper, you might see some of those foam pad marks or lines, but as the paper gets saturated they even out. Also, blending lighter inks can be more difficult than darker inks. Get some ink on your foam tool, tap it off on some scratch paper, and lightly start your blending. You can always go darker but its harder to go lighter! I hope these have been some helpful tips for you! I have a video here of the card I made, and I also explain some of these tips. Enjoy! 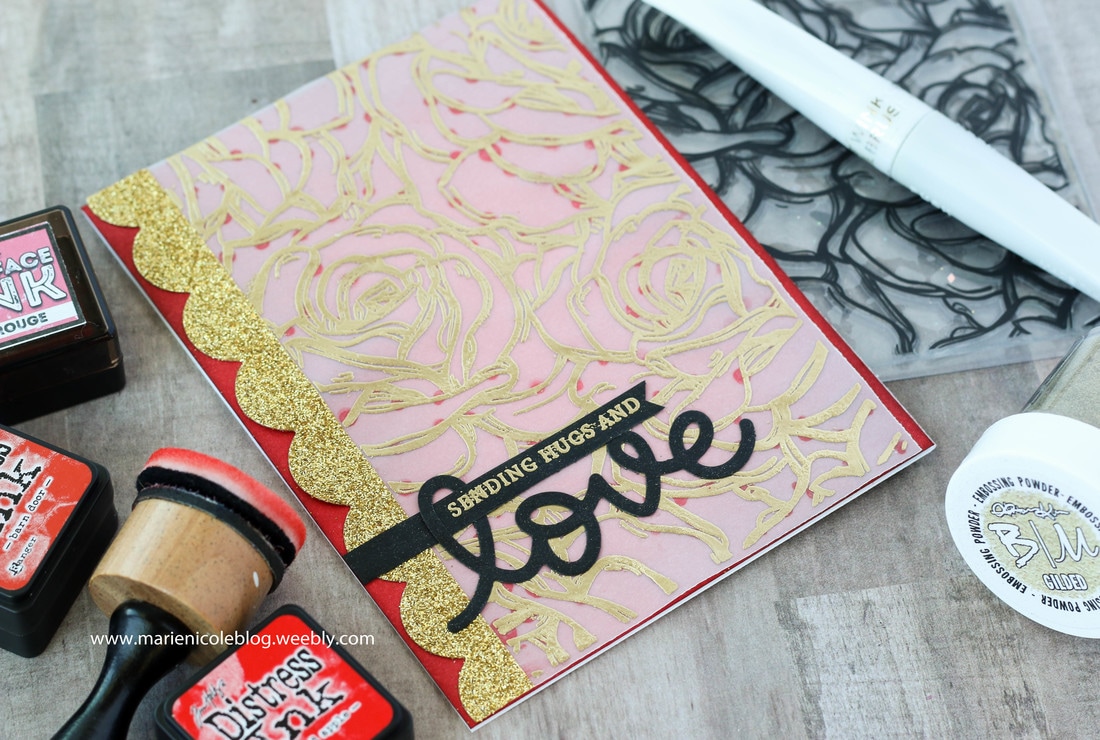
If you have any wisdom to offer on ink blending, or if I forgot to mention something that would be helpful, please feel free to comment below! I love hearing from all of you! Happy Crafting!
More from Marie Nicole...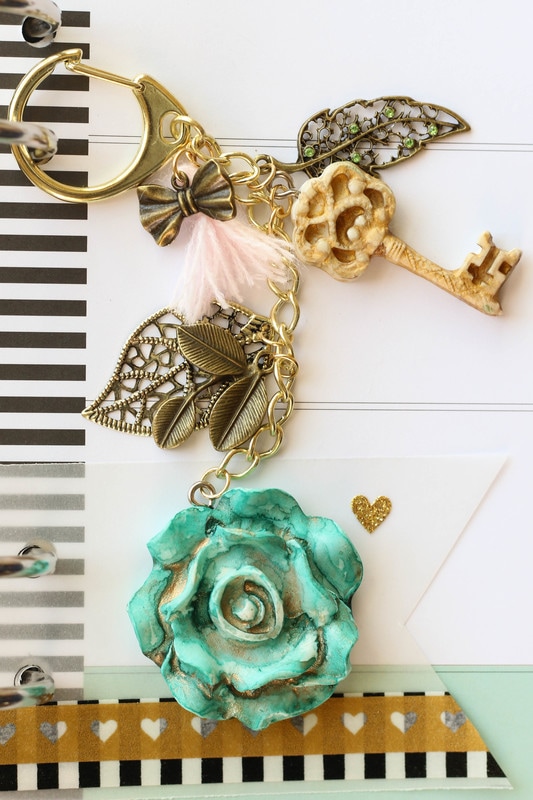
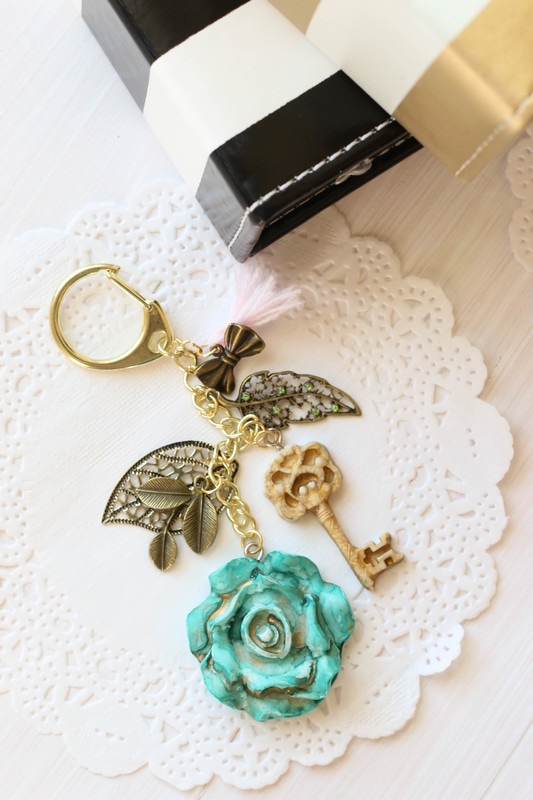
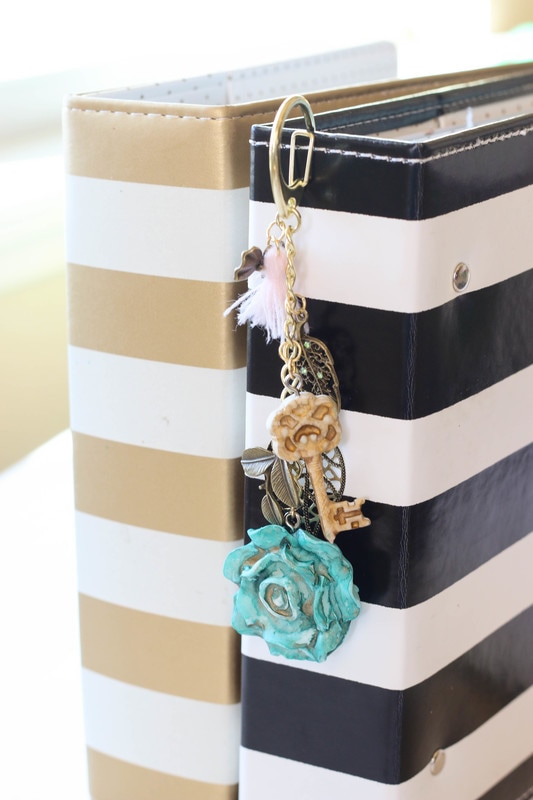
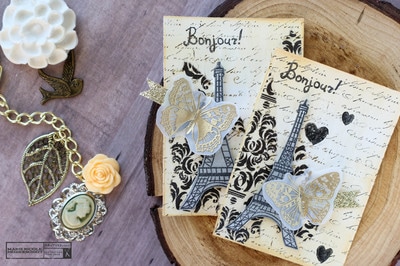
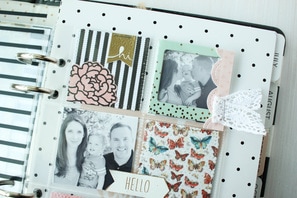
While at Creativation this year, I was blessed to be able to meet Sandra Evertson, the talent behind Relics and Artifacts. She creates these amazingly gorgeous matte craft blanks from treasures she has collected around the world. I would definitely encourage you to check out her store. There are so many unique pieces there! Sandra was so kind to offer to a few of us Canvas Corp designers the opportunity to work with some of her pieces. This is a new area of crafting for me, I have not worked with these blanks in the past. Keeping it simple seemed like the best option for me. Since I have a memory planner that I like to decorate and journal in, making a charm for it was just the natural use for this gorgeous little flower that I received. The flower was painted with a little Tattered Angels Verdigris Glimmer Mist. The greenish-blue along with the gold shimmer took to the blank just beautifully. It almost has a watercolor look to it when dry. The key piece was painted with some Vintage Brass Glimmer Mist, which also has gold shimmer in it. Since Glimmer Mist is somewhat transparent, I did add several layers of the color between drying it with my heat tool until I had the look I wanted. 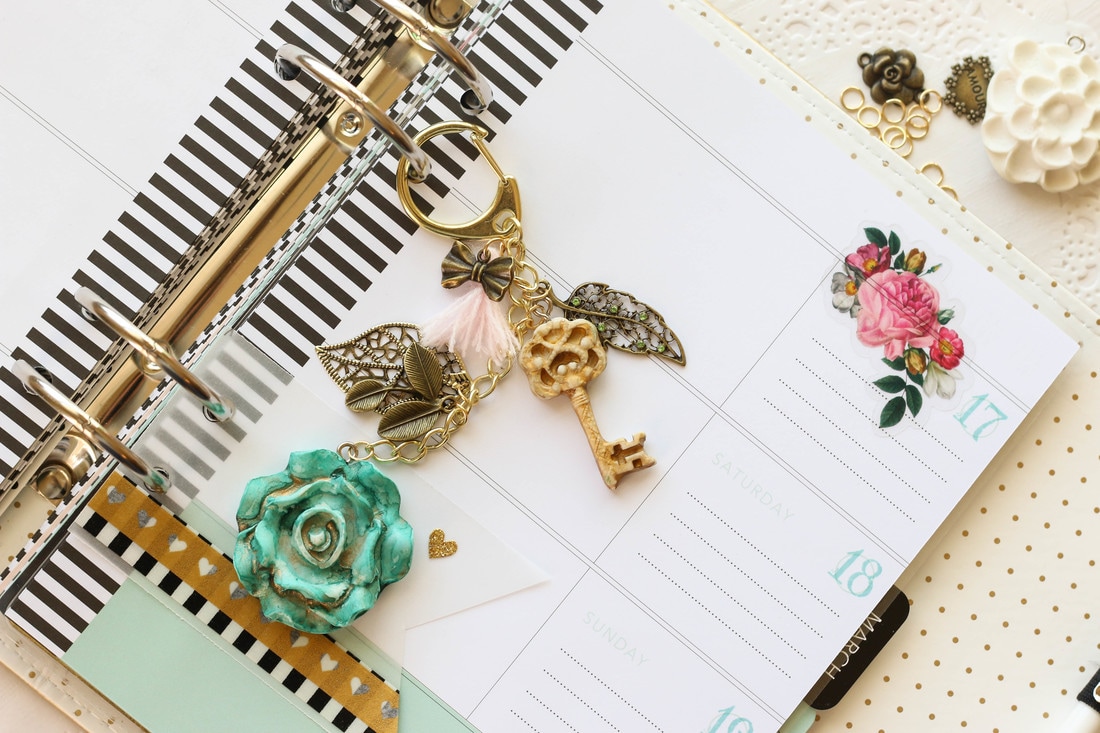
After the pieces were dry, they were attached to a large lobster clasp and chain using some small gold jump rings. Then, to add some more interest to the charm, I used some little brass charm pieces that were picked up at a thrift store. The little pink tassel at the top of the charm was created by wrapping some thin yarn around a piece of cardstock, then tying it and cutting the loops. Very simple, but it adds a little soft texture in contrast with all the metal brass charms. The fact that this charm is handmade and totally unique to me makes it all the more special. The vintage feel of the colors and brass charms also adds to its personality! 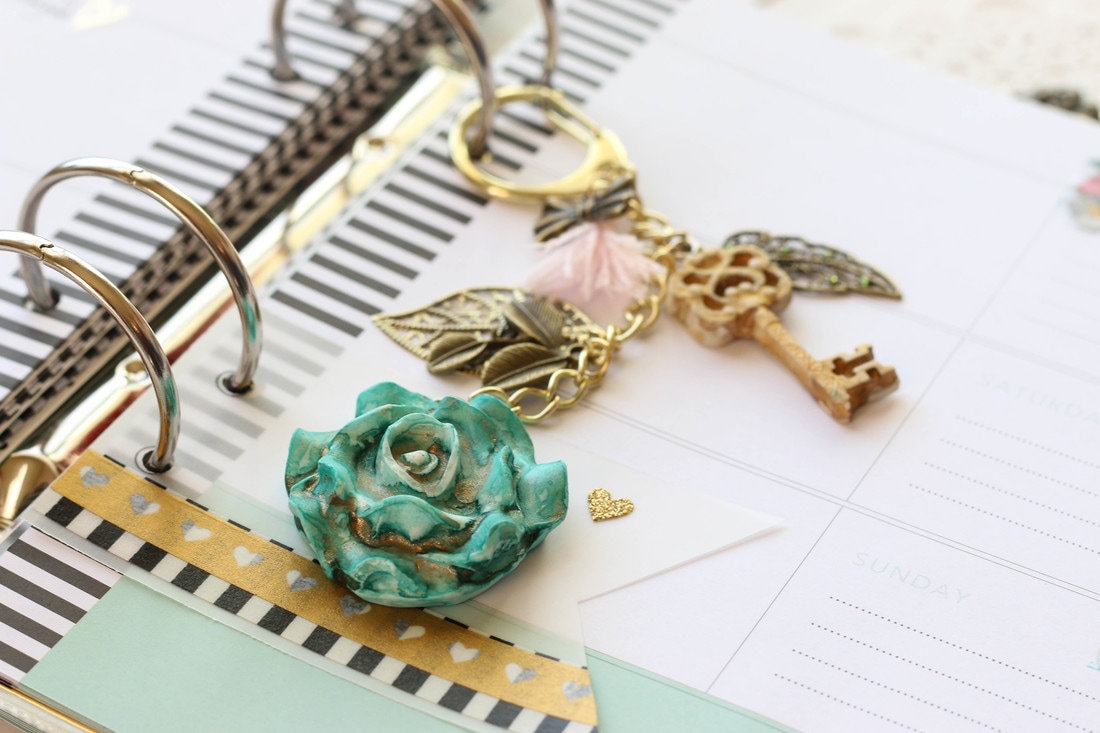
There are still a number of flower blanks left, as well as some butterfly pieces that I have ideas for. Hopefully I can share them with you in the near future! 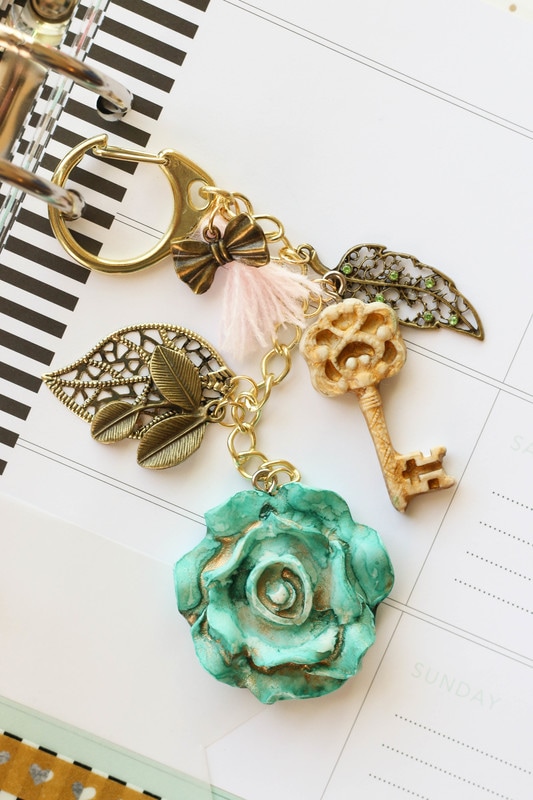
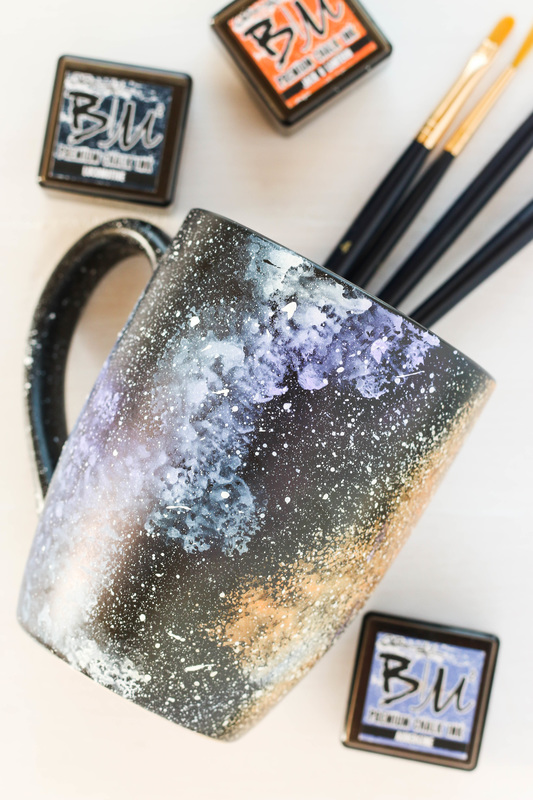
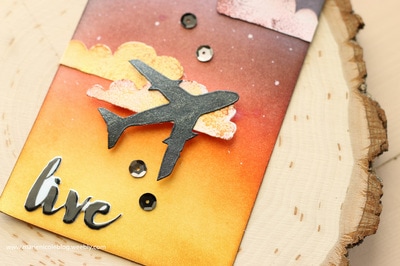
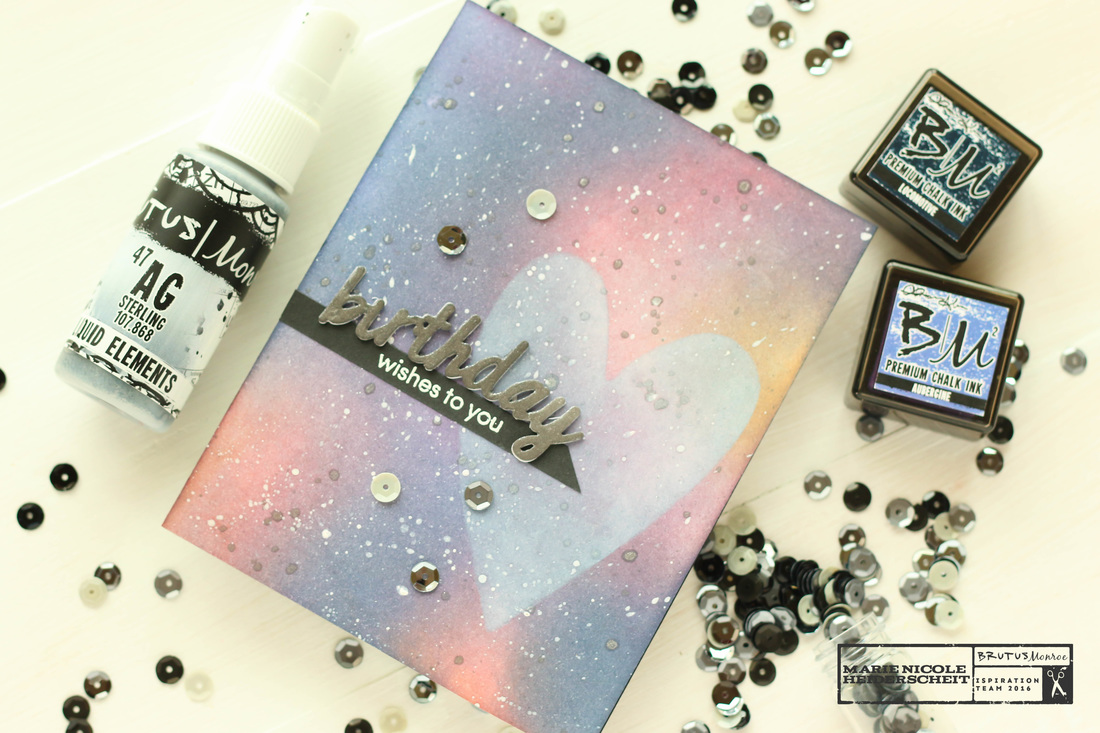
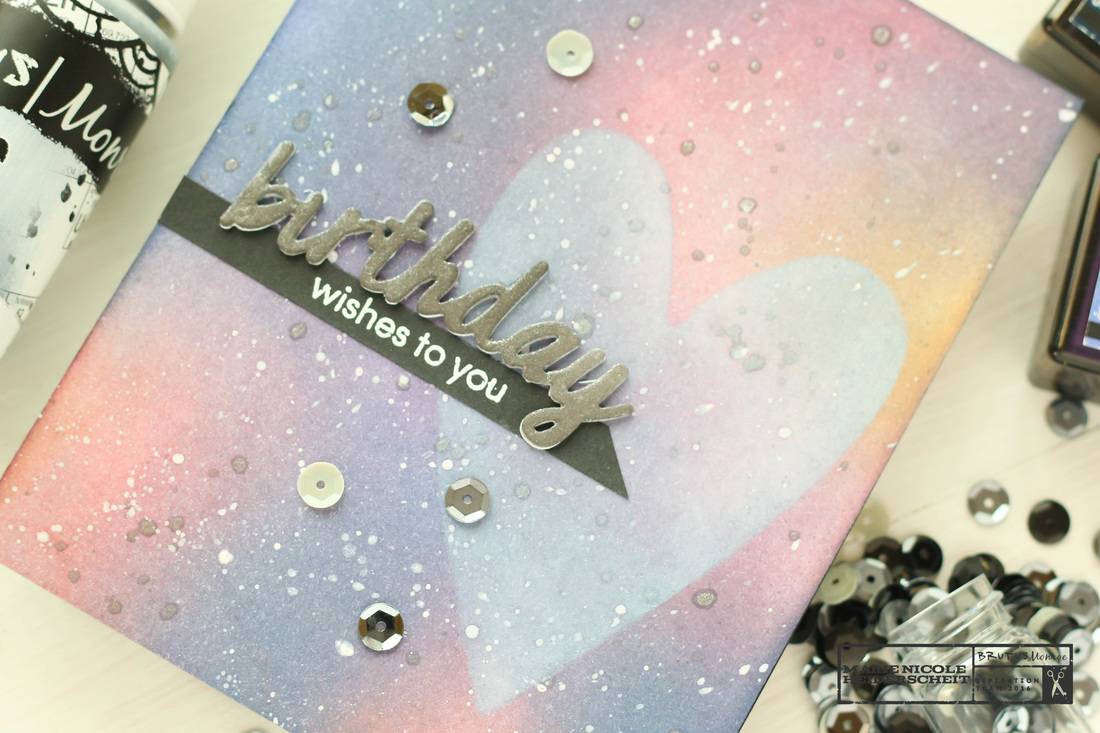
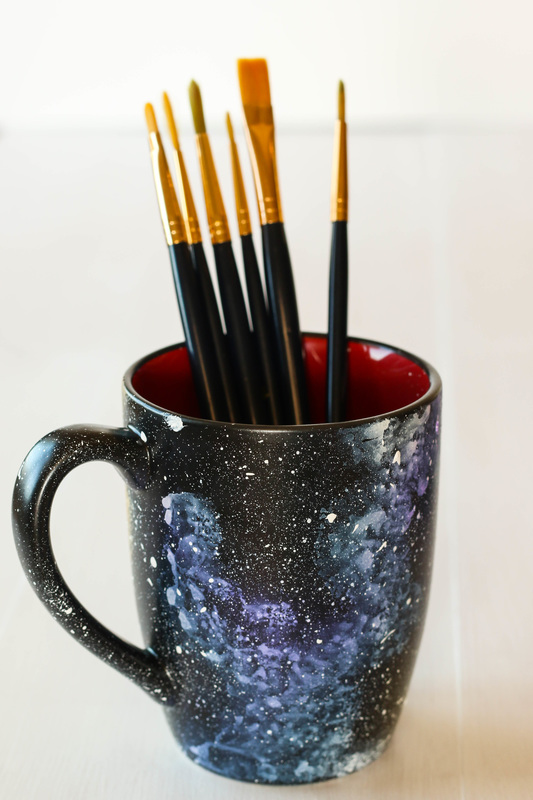
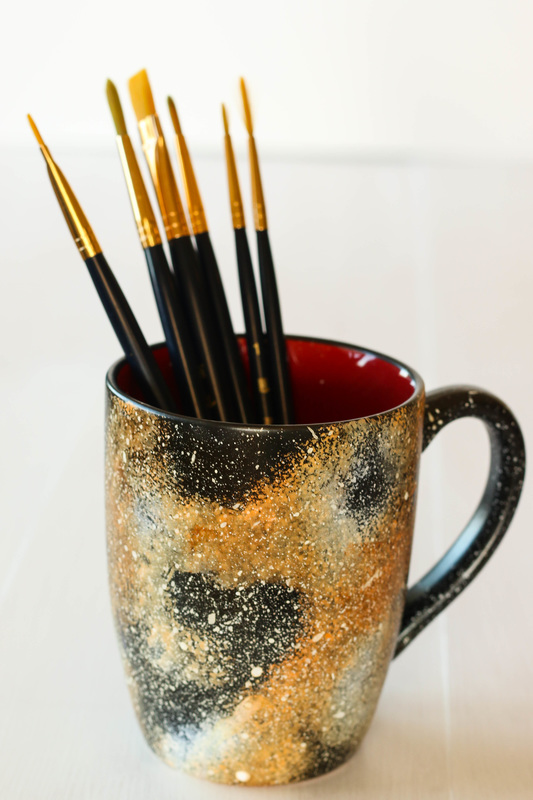
More from Marie Nicole...I've been on a little bit of a galaxy background obsession. Most of the time, I apply this technique to paper. I love taking a plain white piece of cardstock and applying all the colors to watch the background come to life. Below is an example of a card I recently did for Brutus Monroe featuring the galaxy background.
 This card was created using a combination of Distress Inks, Brutus Monroe inks, and some Liquid Elements from Brutus Monroe, as well. If you want more details on it, hop over the the Brutus Monroe Blog where I have a description of the process as well as a video. Since I was having so much fun with these backgrounds, I decided to take it a step farther and discover what other surfaces I could apply these galaxies to. I have a black mug in my craft room that I store my heat tool in. I thought it was the perfect blank canvas to do a little galaxy-ing to (yes, I did just turn the word "galaxy" into a verb). I started by applying some Crystal Tattered Angels paint to the black mug. Then, since I am impatient, I sped up the drying process with my heat tool. The next step was to add some color which I did with Brutus Monroe's Chalk Ink. I decided to use this ink because it does become permanent when dry. Distress Inks would wipe off much too easily. After I had some color down, the last step was to add paint splatters to give the impression of stars. I did this using more of the Tattered Angels paint and flicking it on with a paintbrush. Then, I dried the whole surface again with my heat tool. I plan on using this mug in my craft room to house my heat tool, paintbrushes, and any other little craft tools that might need a home. If you plan on using your mug for drinking or eating out of, you might want to go ahead and find a food-safe and dishwasher-safe sealant to apply over the galaxy background. Without the sealant the paint and ink may rub off and would definitely not be something you would want to ingest. 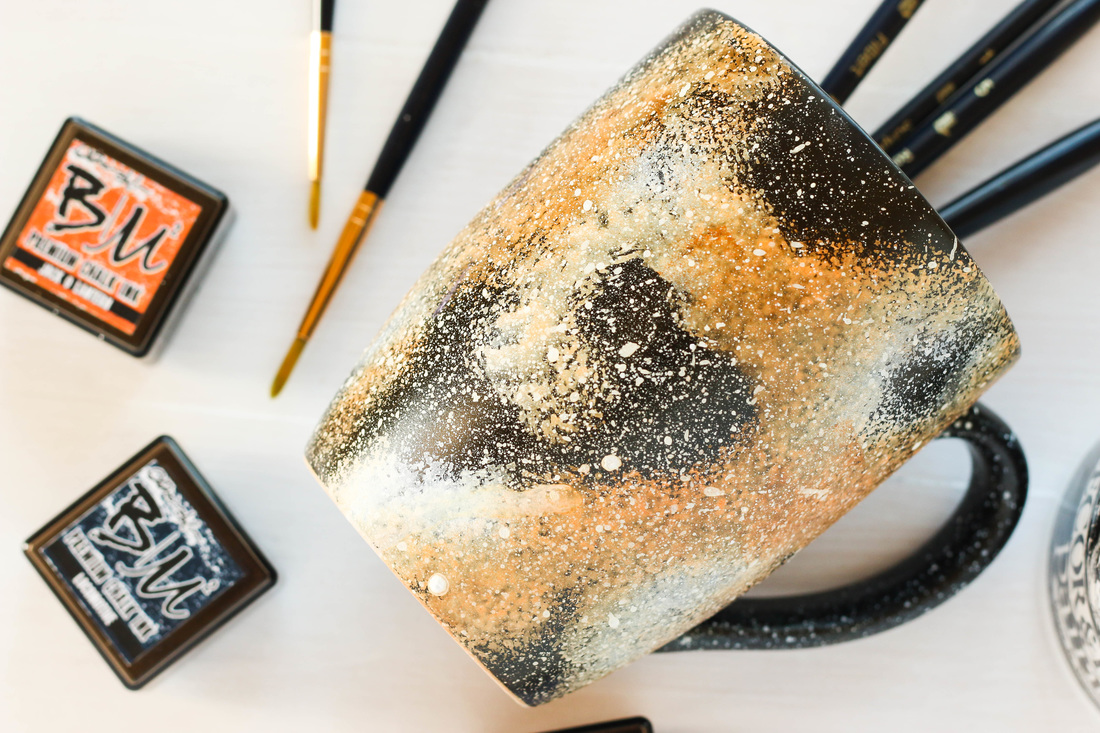
 Thanks for stopping by today and happy crafting!
Christmas is coming soon, and as much as we crafters and DIY-ers love to make our own home decor, lets not forget about our kids!
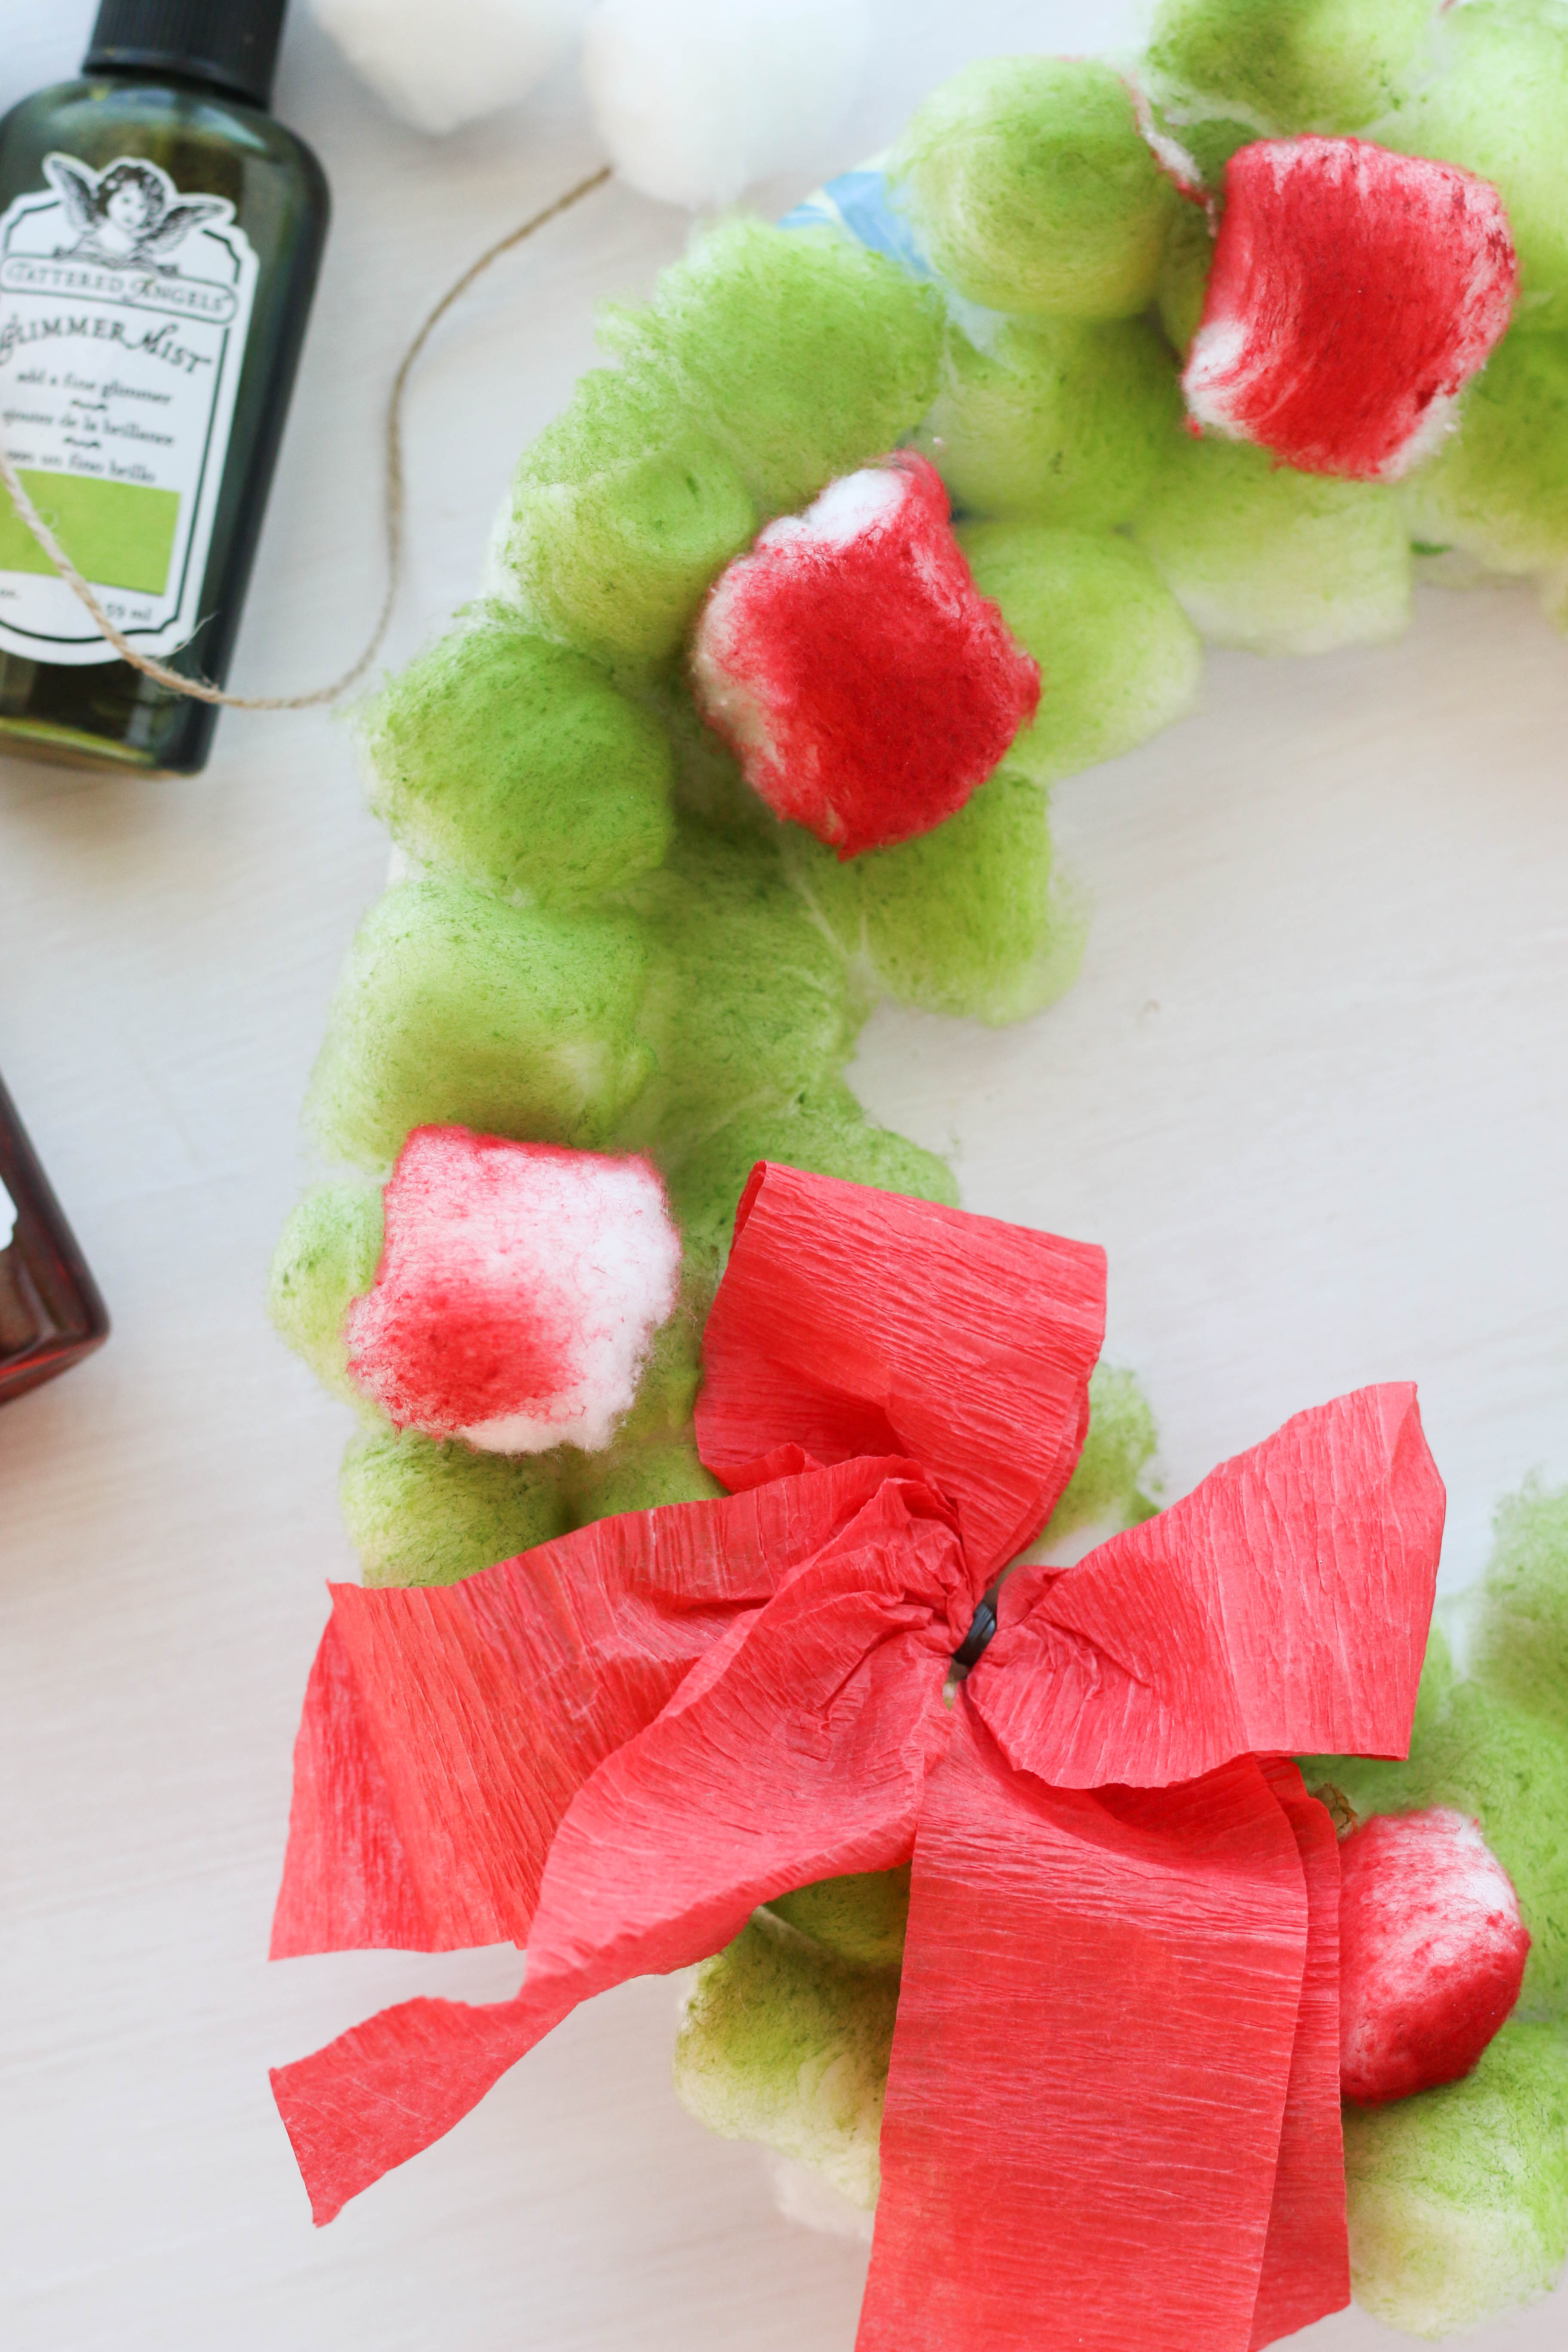
My toddler is getting to where he is curious about my craft room and the things in there. Doesn't bother me a bit! I think its fun when we can do a craft together, especially on a day that we are stuck inside. This project is super simple and you probably have most of these inexpensive items on hand already. All you need is: A paper plate Cotton balls Glue (I used Aleene's) Tattered Angels Glimmer Mist A box, towel, or some other kind of table covering Ribbon and embellishments String or cord 
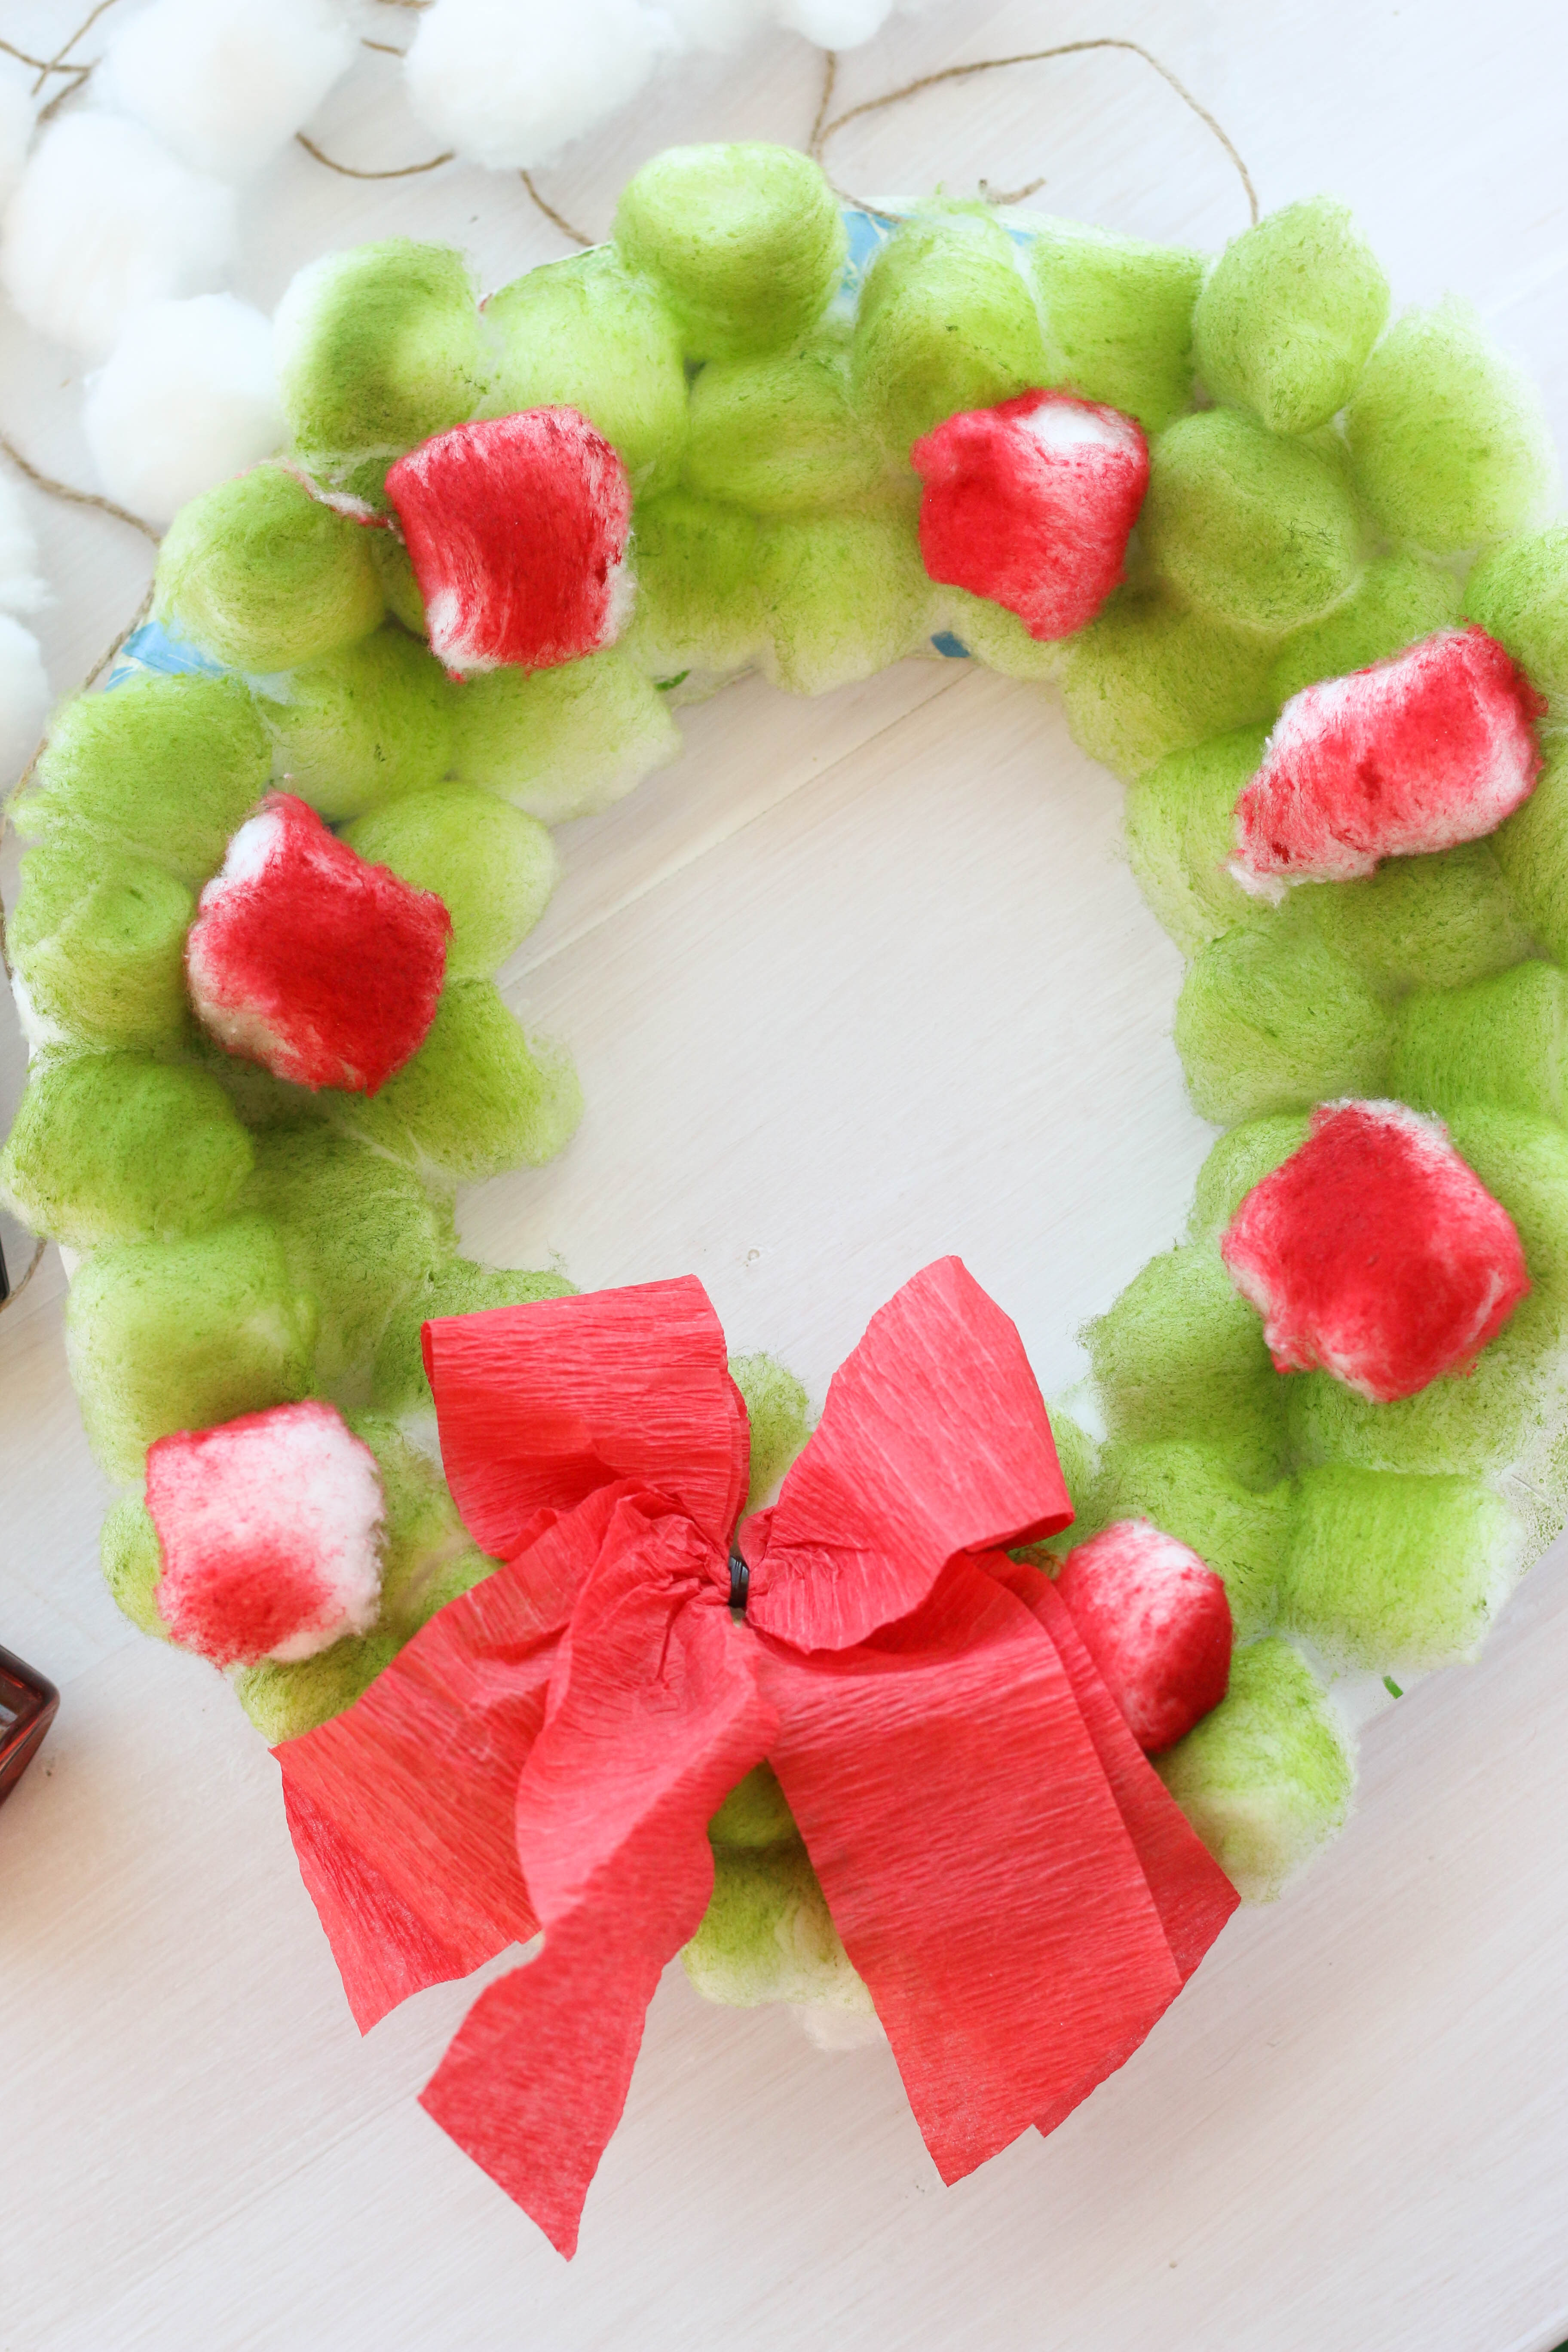
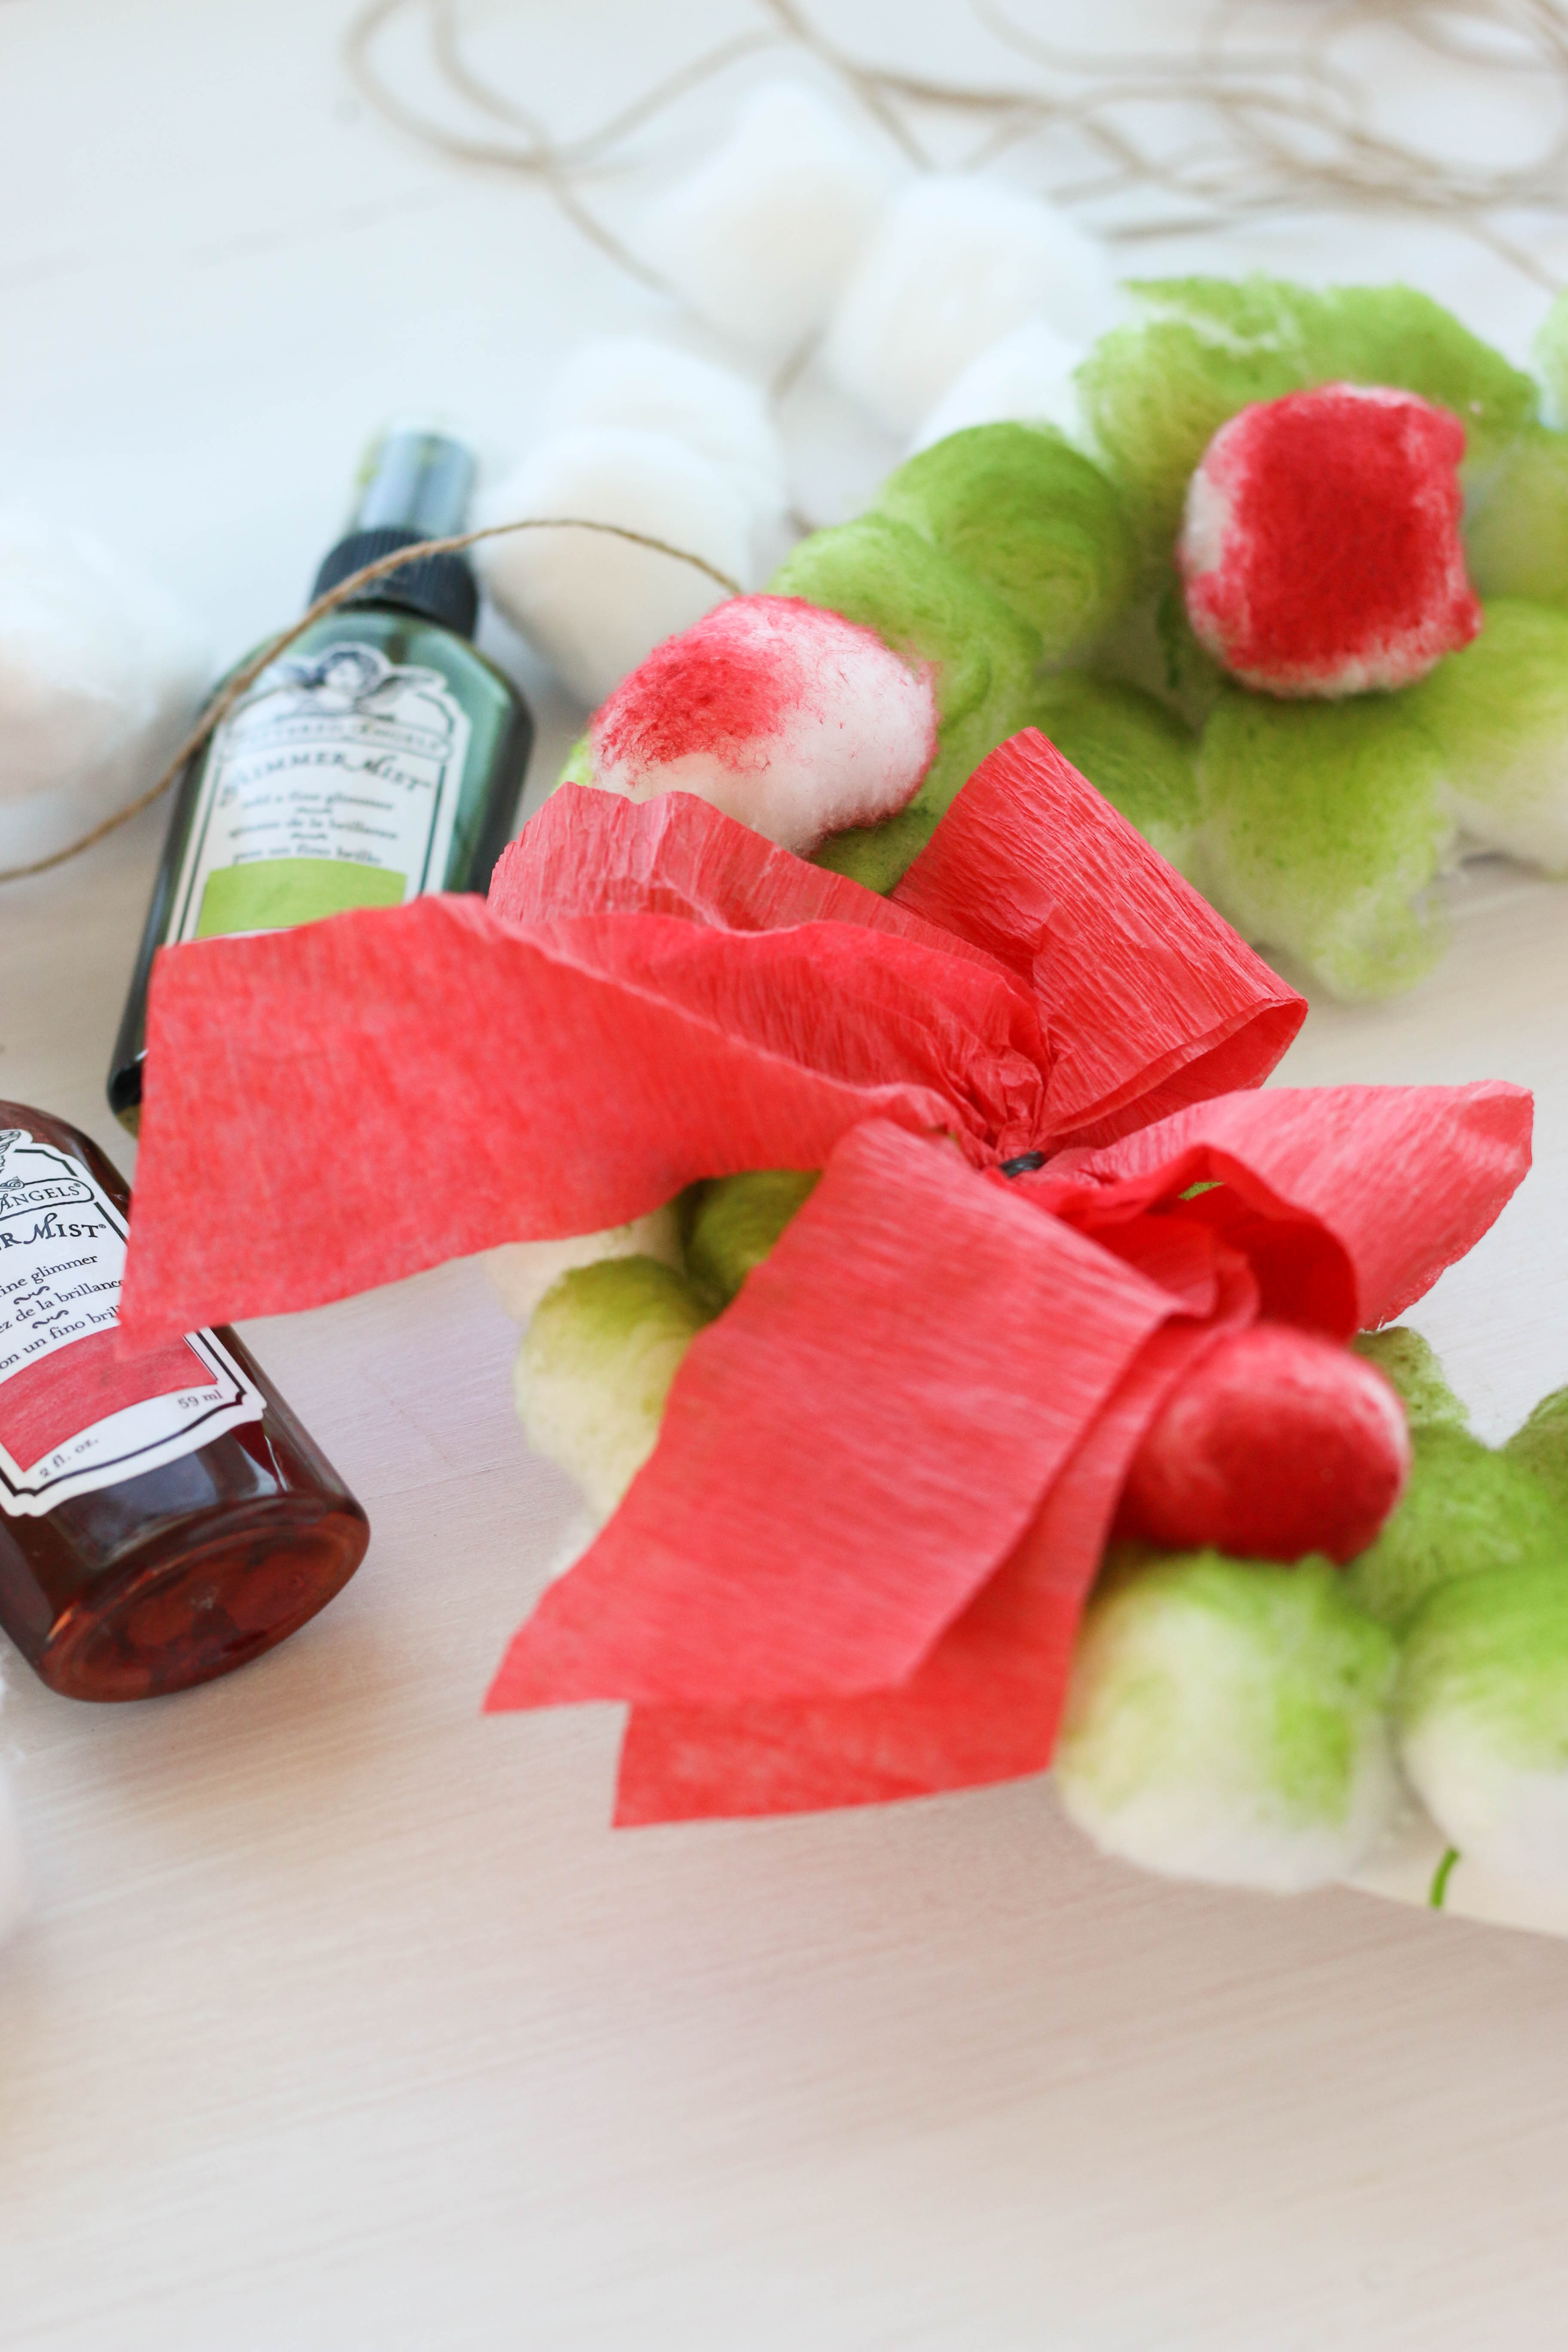
Start by cutting a hole out of the center of the paper plate. Dont worry about making a perfect circle, you wont see it anyway after the cotton balls are glued on. After your plate center is cut out, glue on the cotton balls to completely cover the surface of the plate. Now comes the fun part! Spraying! I took a cardboard box to place our wreath in to contain the spray, but you could use an old towel, some kraft paper to cover your table, or even take it outside to spray. Go ahead and spray all over your cotton balls in any color you wish. I used Moss Glimmer Mist. I also sprayed a few single cotton balls using Lobster Glimmer Mist because I wanted to glue them on to look like berries. 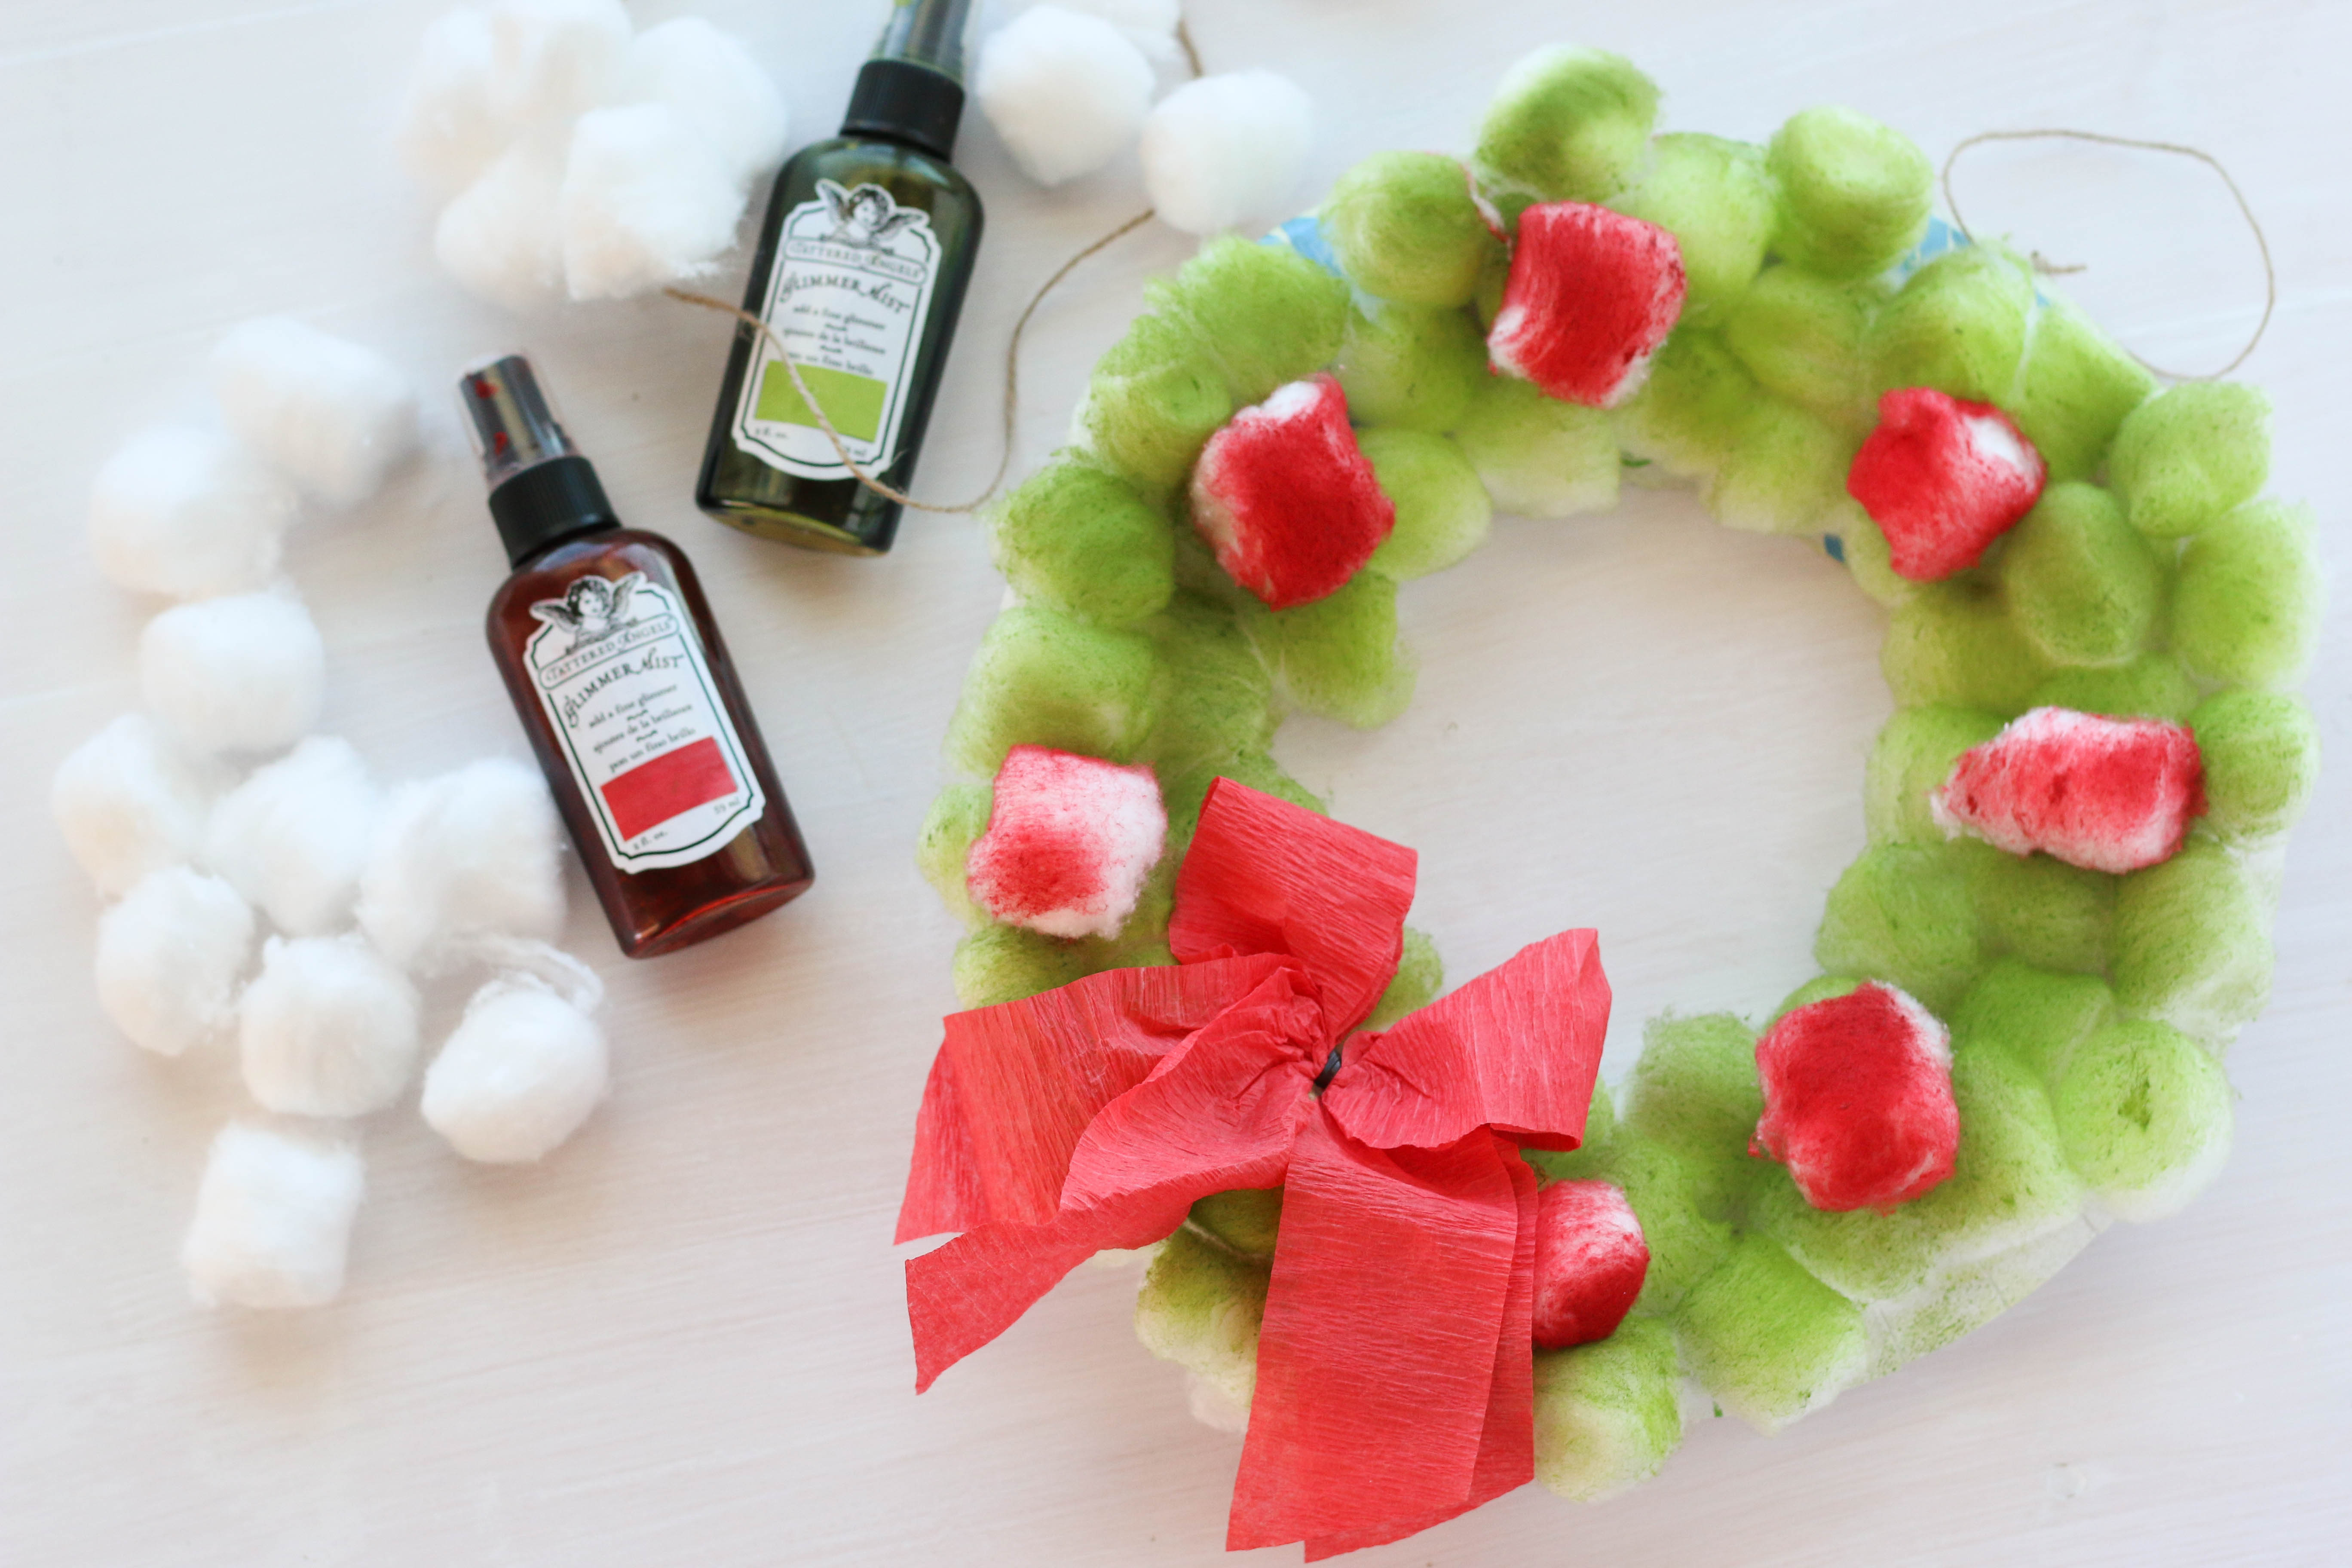
Now, I will warn you, the cotton balls take a little time to dry. They are meant to suck up moisture so go ahead and spray them, let them dry, and come back later to finish!
I glued on the red cotton balls around the wreath and then took some red crepe paper to create a bow for the bottom. Then, all you need to do is punch a hole in the top of the paper plate and add a string to hang it by! Super easy and its something the kids will enjoy! You can get creative with the different embellishments you put on the wreath. Try glittery ribbon, little Christmas bells, leaves, and anything else you have on hand! The kids will love using their creativity! I think it would also be fun to add a photo in the middle and give it to the grandparents. Grandparents love this kind of thing, right?? I did take a video of the process while I was doing this craft with my son. My toddler is almost two, and this is totally appropriate for his age but you can also use it for older kids as well! With a little help with the glue and the spraying my son had no problems doing this (other than just being distracted by all the other cool toys in Mommy's craft room). Hope you enjoy the video! Thanks for stopping by today! I hope this gives you some fun ideas you can do with your kids or in your classroom. Happy Crafting!!! If you are interested in theBrutus Monroe Chalk Ink that I used in the video, I've included a link below: 
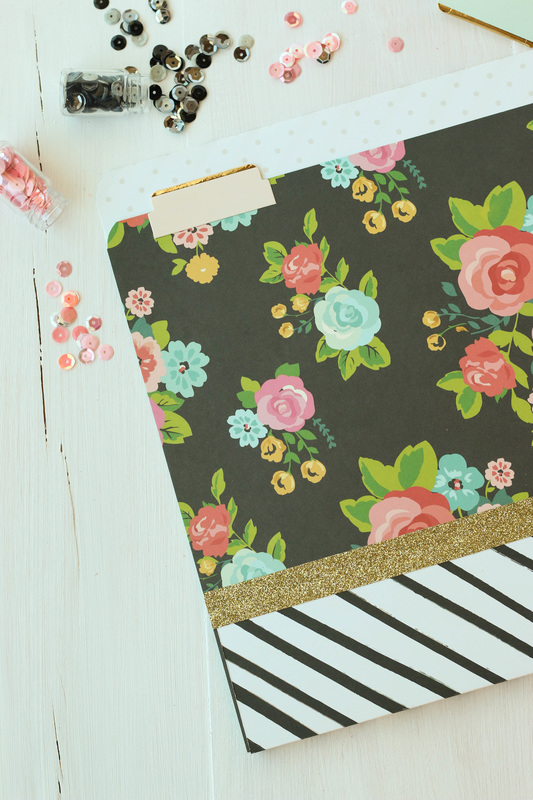
Recently, Shannon Green shared a video on How to Make a File Folder. It's pretty simple! You just need two sheets of 12x12 paper, some adhesive, and a paper trimmer. You can also use whatever embellishments you would like, but thats totally optional. Anyway, after she posted her video, she challenged a few of us from the Creative Crew to go ahead and make our own file folders in our own styles. Well, ok then! I think I can handle this one! I started by grabbing a few papers that I've had for a while now. I like to hoard those pretty papers but then I realize I end up never actually using them and that does no body no good, right? I followed Shannon's instructions from her video and came up with a bright and modern file folder. Here's my video of the process: I've always got more and more papers coming into my house and I really need to keep them organized, so hopefully having the knowledge to make my own folder with help in that area! 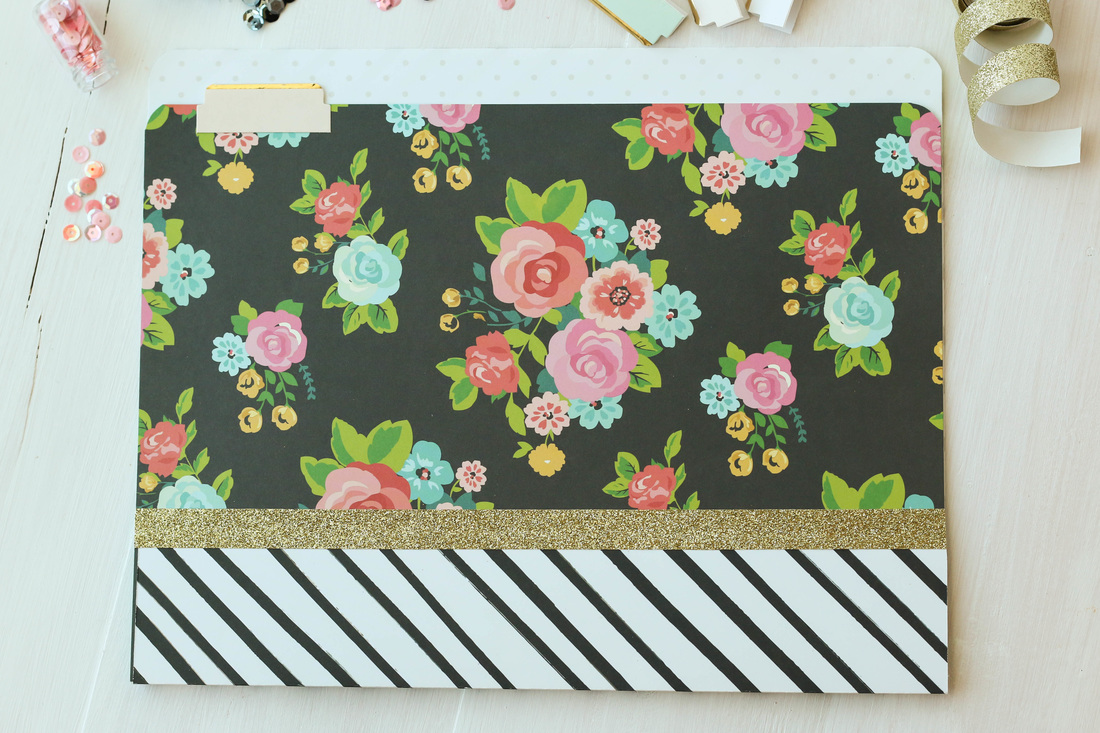
Best thing about making your own is that you can customize them to fit whatever office decor you may have! Hope this gives you some ideas on what to do with that paper you have been hoarding (don't deny it, we all do it)! Thanks for stopping by, and Happy Crafting!
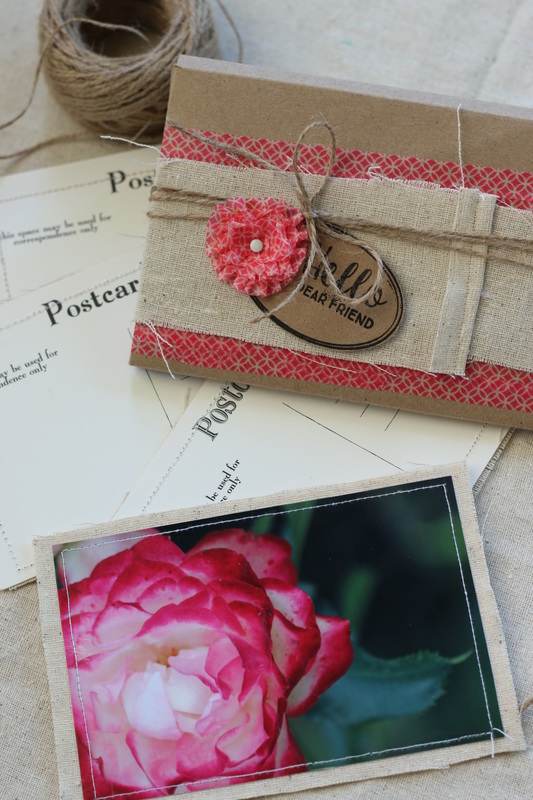
I thought I'd share with you a fun and easy way to use some of your own photos to create some amazing postcards!
CCB has some fun postcards in their shop that I used for this project. I started out by cutting the postcards down to size from the 12x12 sheet (they also have precut postcards available, but this is what I had on hand). Then, I cut a piece of canvas fabric just a tad larger than the postcard. Then I adhered the canvas to the postcard and my photos to the canvas. To add a border and to make sure all the layers stayed together, I also ran along the edges with my sewing machine. It's that easy! To bring the whole set together I also made a fun little box to put them in. I have the whole process and instructions in this video. Enjoy! 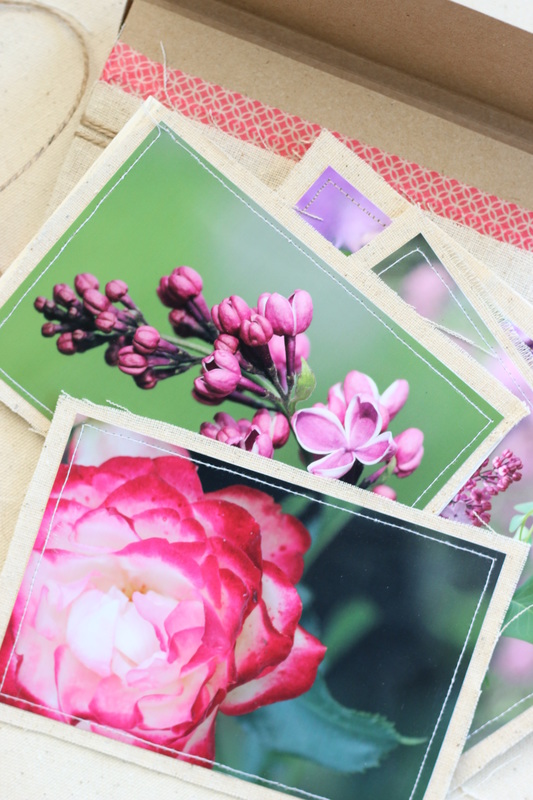
Thanks for stopping by and I hope you enjoyed it!
Happy Crafting!

I've had a few canvases in my possession for quite a while now. I think we got them all in a bundle at an auction years ago.
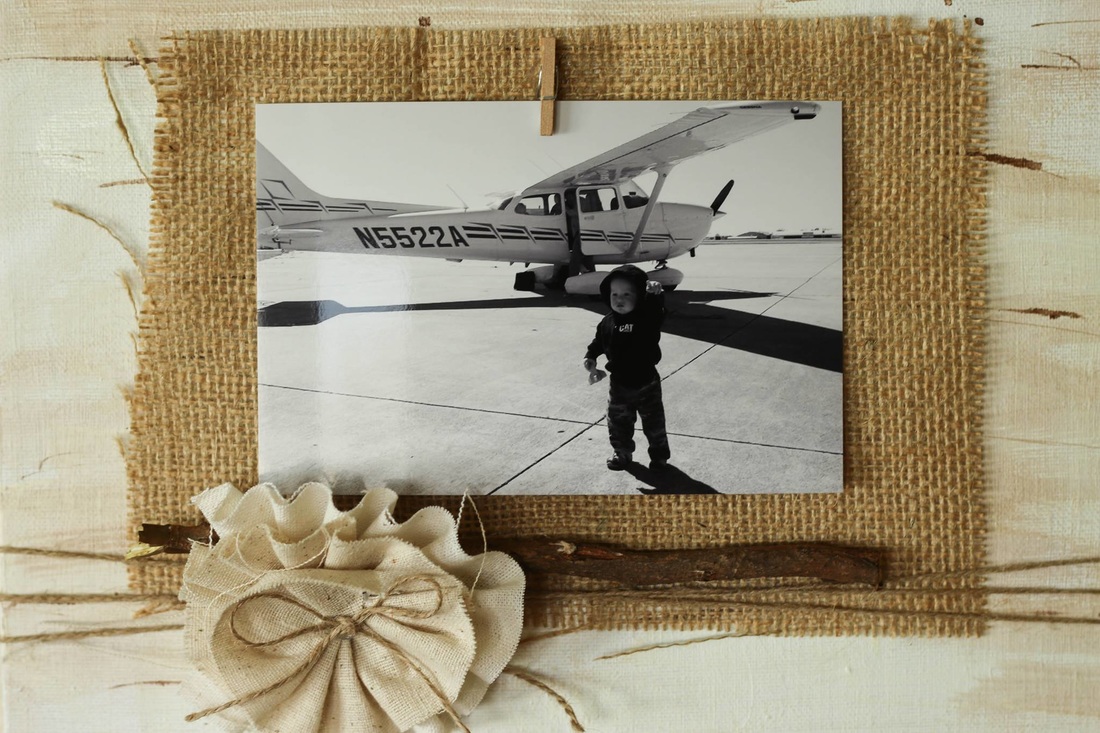
These canvases have been many different colors and themes in my house over the years. More recently I had painted them black, hoping to achieve a chalkboard look. I ended up not liking it and sticking them back in storage. Well, I decided to attempt another makeover and this is what I came up with! I love the lighter birchwood feel. I have these three canvases hanging up in my hallway now. They go great next to my window that has a grapevine wreath on it- it carries over that simple, rustic look. 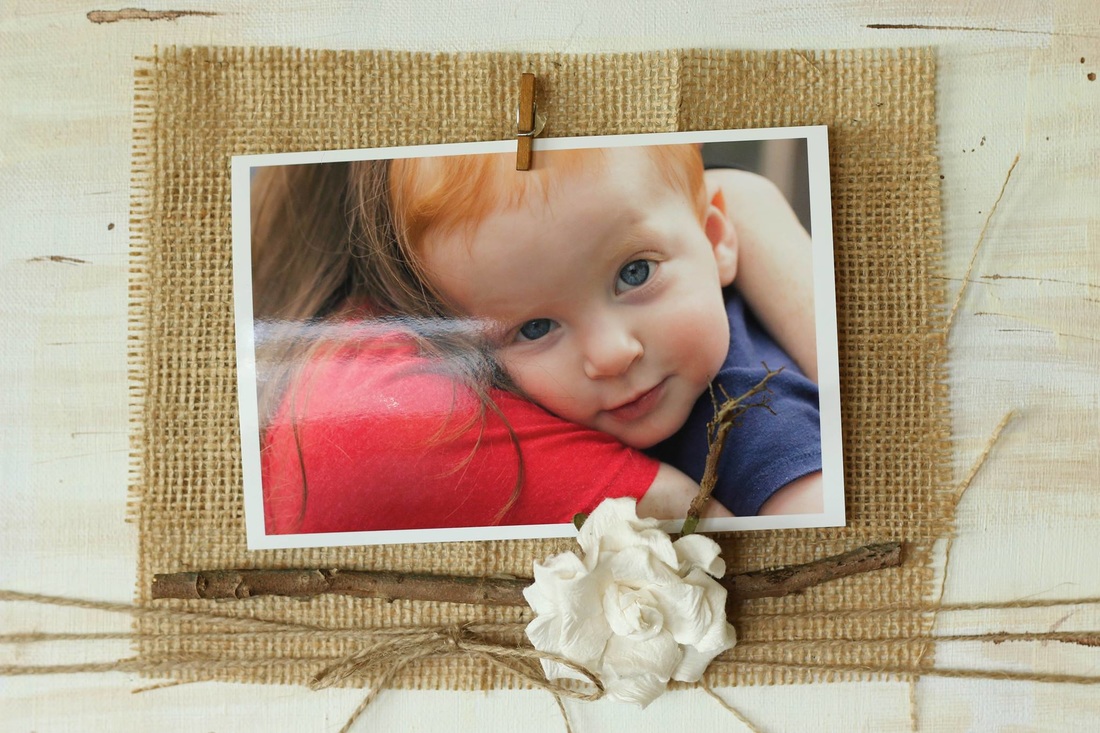
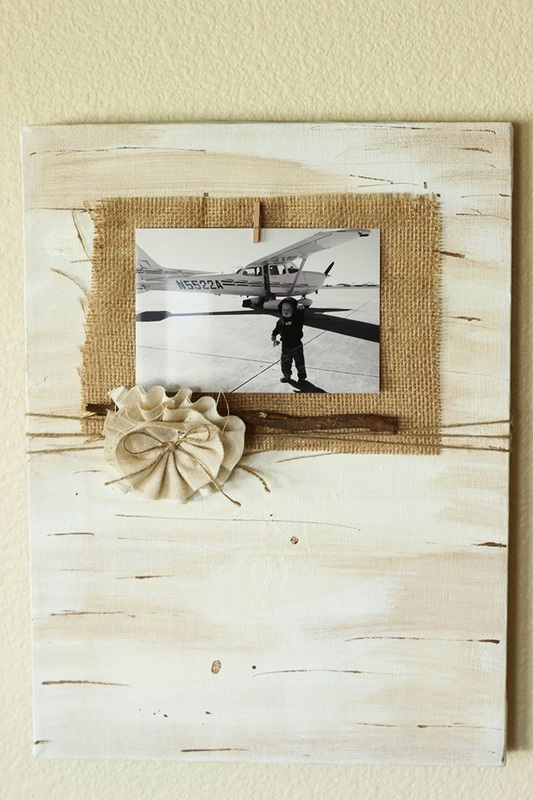

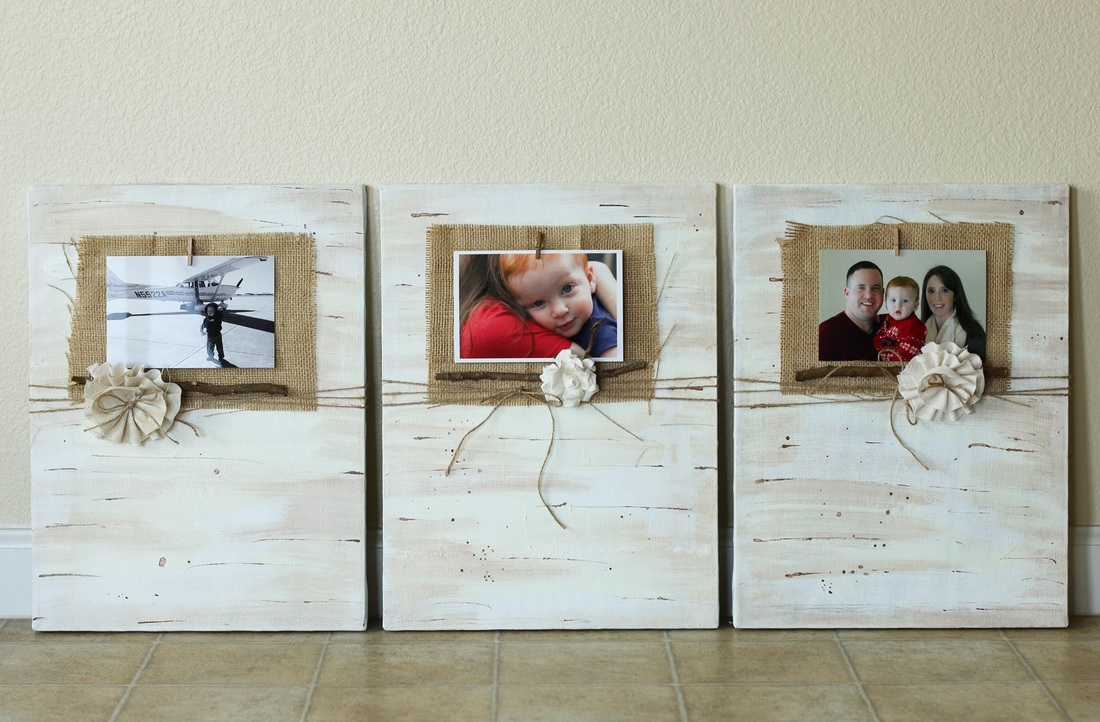
I love how they turned out! The best thing is these canvases are also very light, so I have them hanging up with just a push pin. No big holes in the wall!!
Check out the video I put together if you are interested in learning how to do your own birchwood background. Happy Crafting! Here's a few products I used:
I wanted to share with you today a quick, easy DIY craft you can do that looks great in any of your home décor or craft projects!!
These ruffled flowers can be made with basically scraps! I just used some scrap fabric and cardstock. With a little hot glue, and a few extra minutes, you can make one or a ton. In the picture below, I have all the supplies laid out that you will need: *Glue gun *Extra glue sticks *Cardstock cut into circles *Scraps of fabric cut into strips 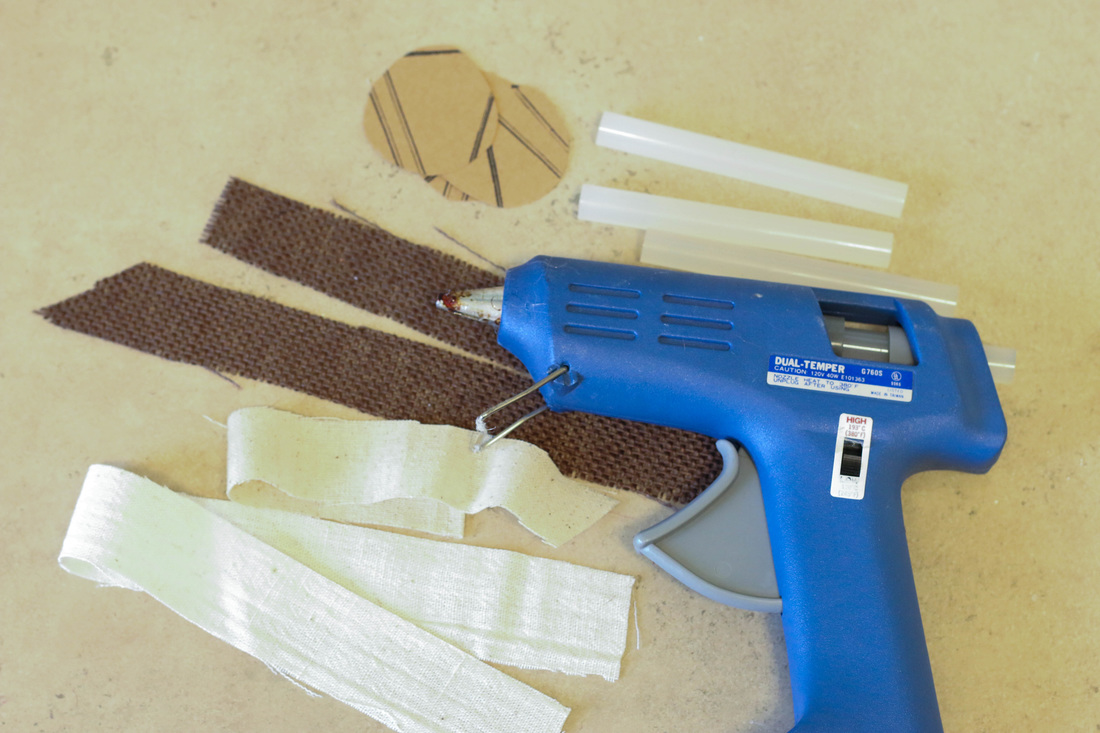
I also put together this quick video to show the process of putting these flowers together. Quite simple! Just add a layer of glue around the outside edges of your cardstock, and then add your fabric, folding and pushing it into the glue as you go around. Hopefully the video gives you a clear idea of how it works.
So that's it! Super easy.
I have a few examples below of where I have some of my flowers in my house. I have a fun frame shelf in my craft room that my husband built for me, and I just added a few flowers to the corner of it. The blue one you see here has been spritzed with Tattered Angels' Patina Glimmer Mist. 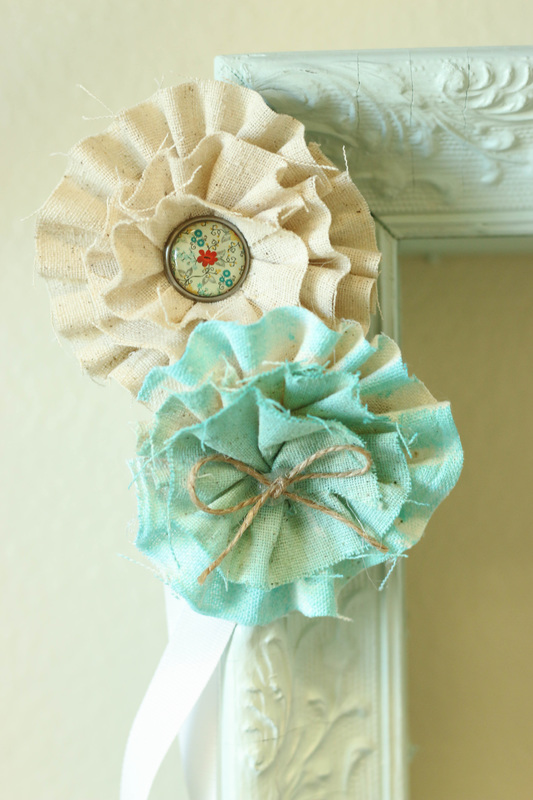
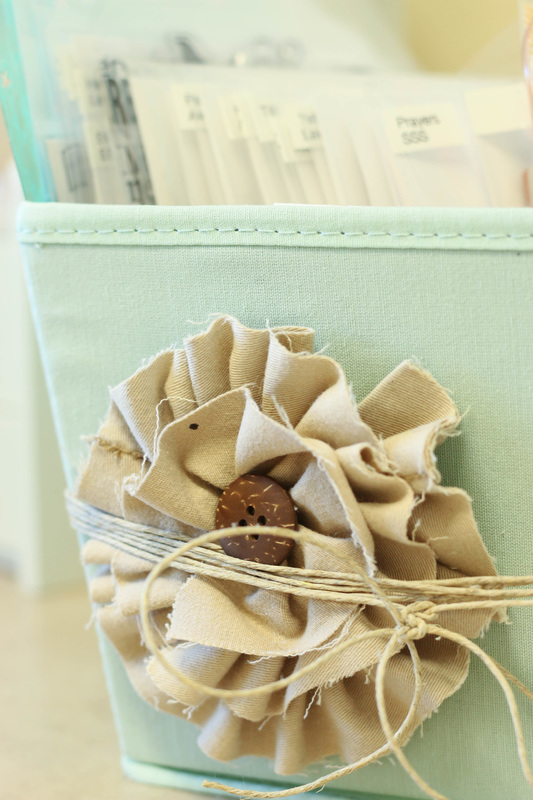
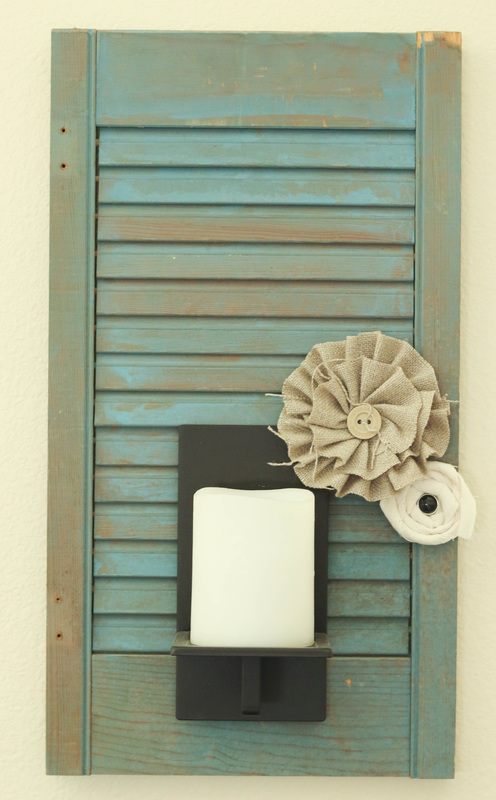
These next flowers I made quite a while ago and added them to these candle holders I made out of old shutters. The ruffled flower is made the same way the other ones were, but the rolled flower is just a strip of fabric that I twisted and curled up, gluing as I go.
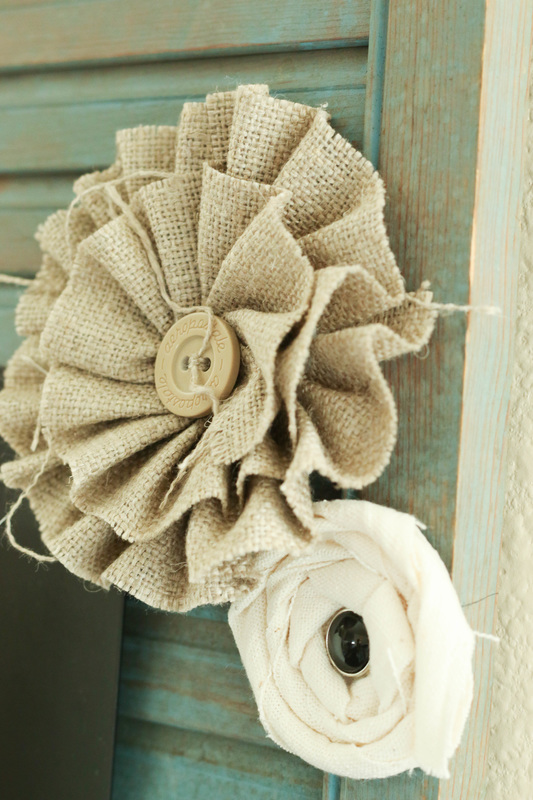
So that's it! Very simple. Maybe I've given you some ideas to get started on some of your own. Thanks for taking the time to stop by!!
Check out some fun products I used!
|

Pin it!

AuthorSo glad you found me! This blog is my little space where I can share bits about my life and my latest crafting projects (mostly handmade cards). My goal is to share, inspire, and to be a positive presence in the creative community. 

Find me on Instagram!Archives
January 2018
Categories
All
Link Love
 

|


 RSS Feed
