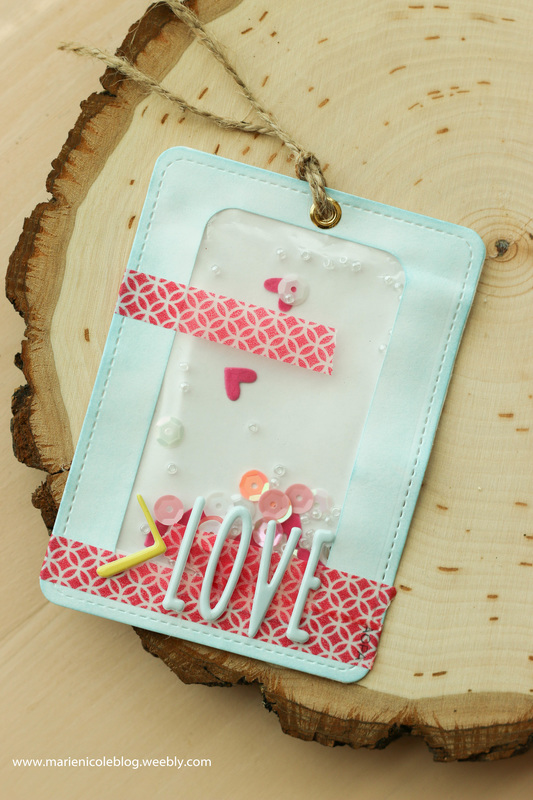
CCB challenged their Crew Members to do a "Quick and Quirky" project using junk mail.
The only two rules are: 1) Use a piece of junk mail 2) Use at least 1 CCB item I chose to use one of those mailing envelopes with the see-through window to create a cute shaker tag! This tag could be used as a bookmark, in your planner, on a scrapbook or project life page, or on a card. Lots of versatility! I used a die from Lawn Fawn to cut out the tag shape from the envelope. Then, I adhered three sides down, leaving the 4th side open in order to pour in some shaker goodies. I used sequins and beads and a few little die cut hearts that I colored with Distress Inks. Then I just glued down that last side and embellished the front with some washi tape and stickers! 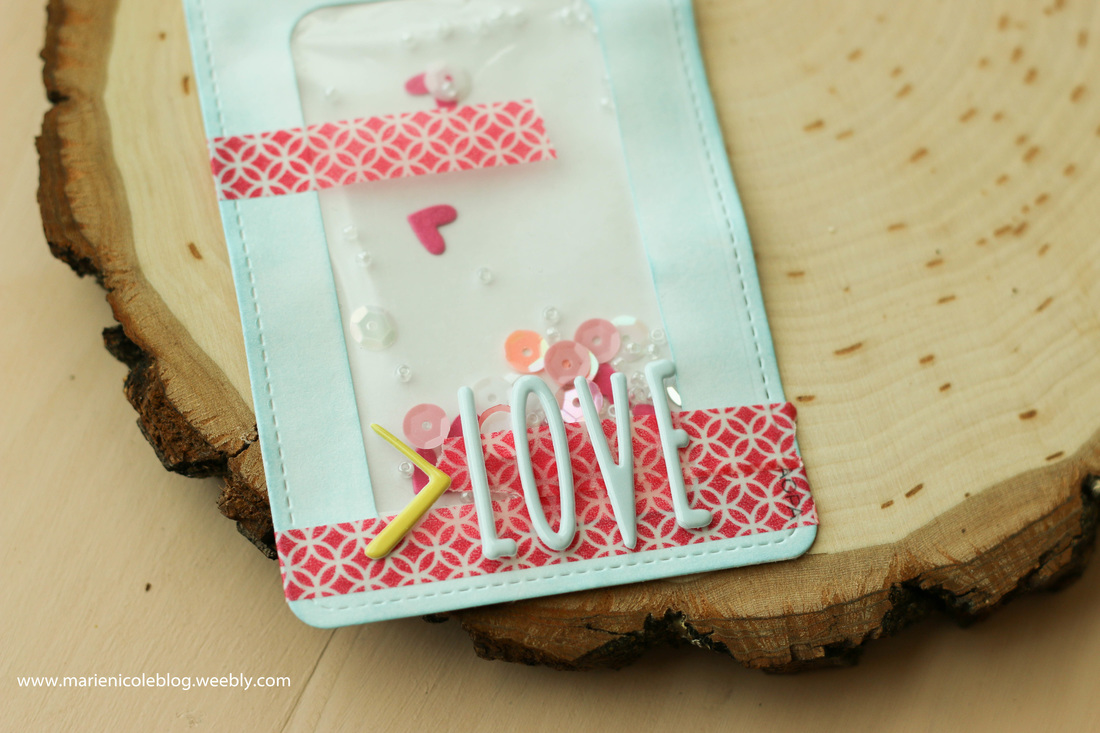
My one little CCB item is the twine I added to the top of the tag. 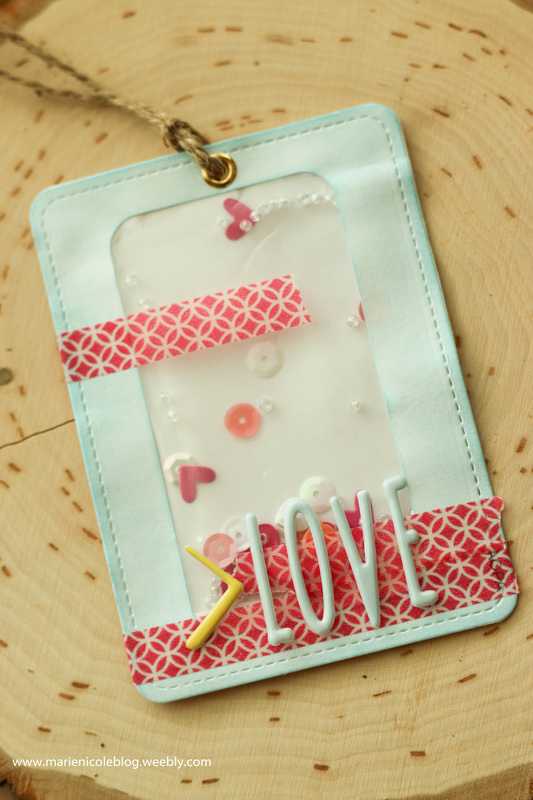
1 Comment
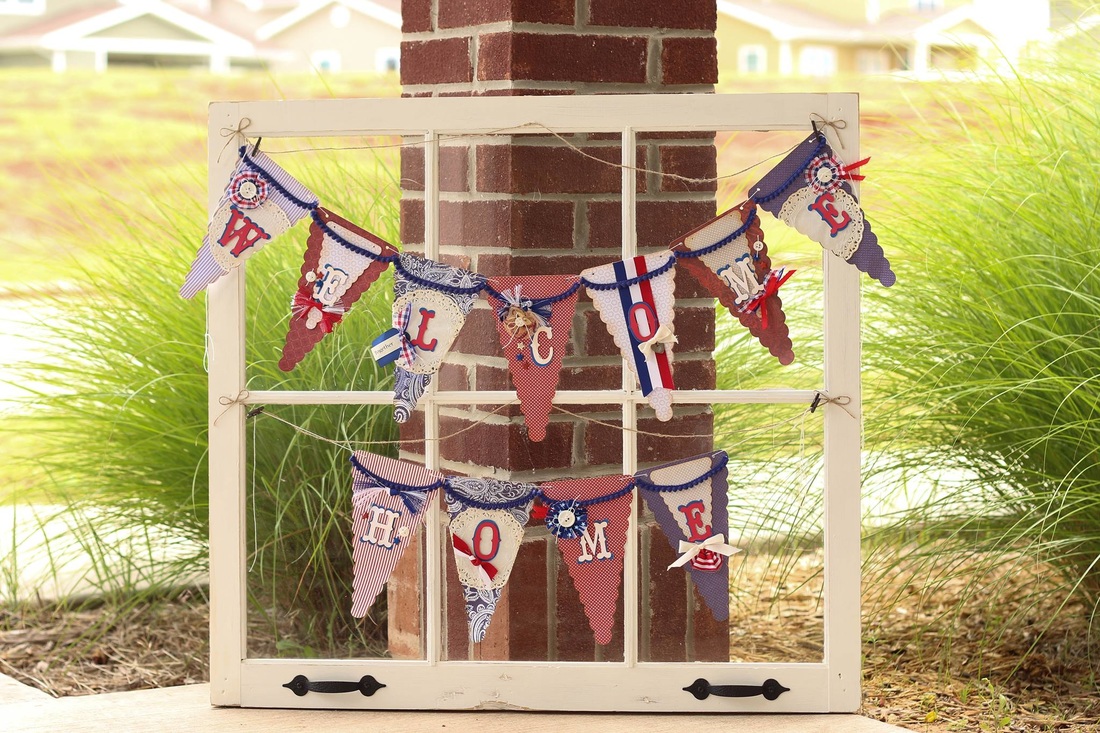
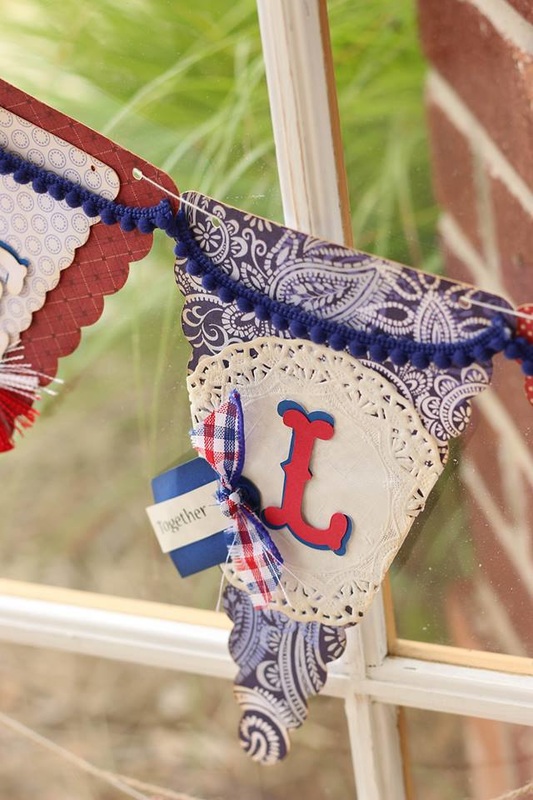
Welcome Home BannerI just love banners! I think they are so easy to change up for every season or event. I have made multiple banners in the past, and I usually keep them all tucked away, ready to be strung up when I need them. The first banner you see above is a sentimental one for me. I made it while my husband was away for 4 long months. Gave me something to keep busy doing while he was away, and I loved decorating the house for him when he returned. I also have the dates of when he was gone and the places that he went written on the back. Anytime he goes away I can just add that info. Then in the future we can just look back on all his travels. So sweet! 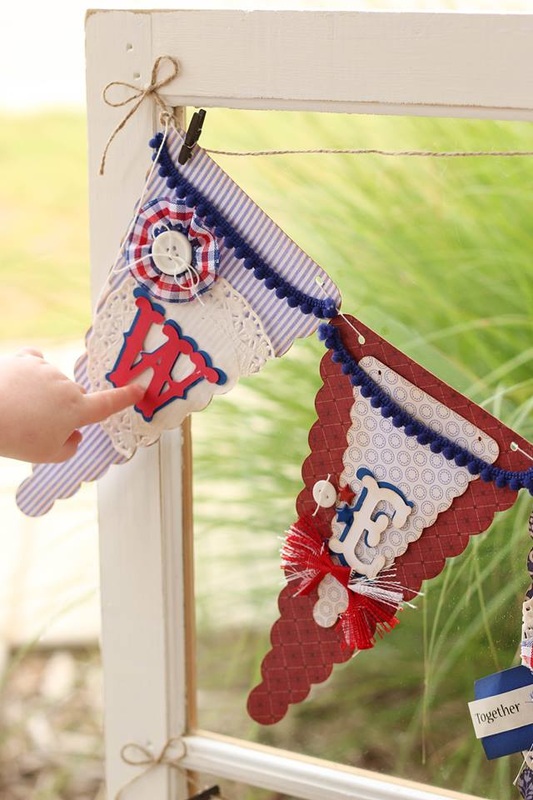

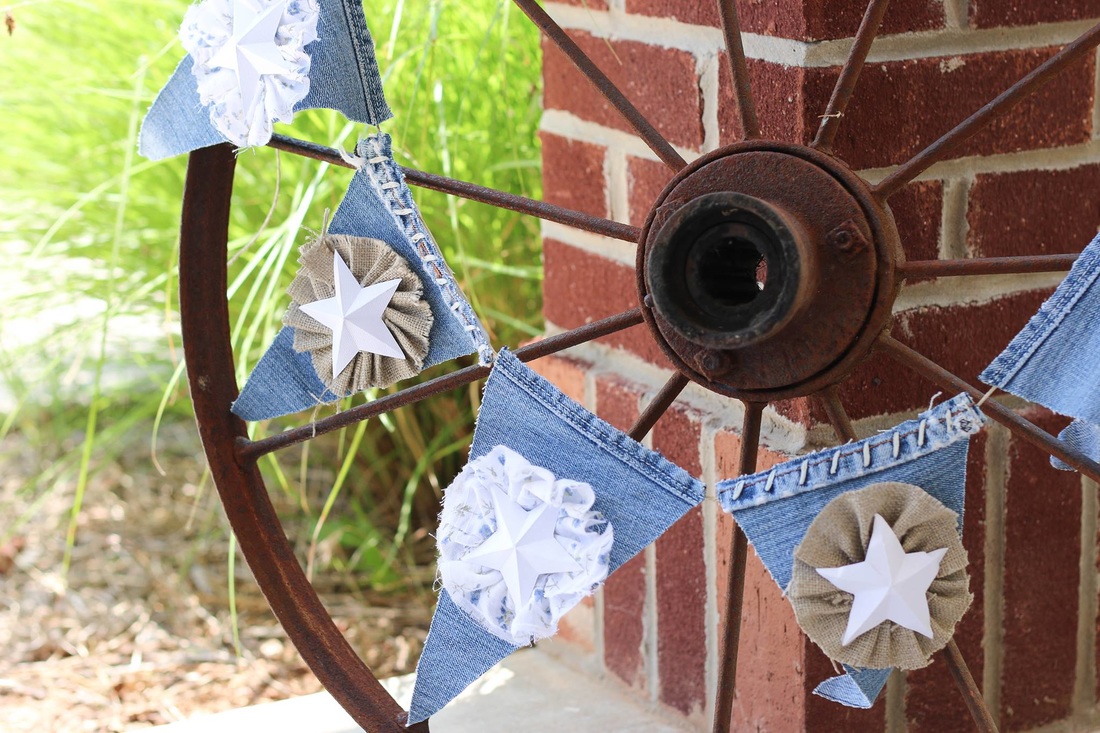
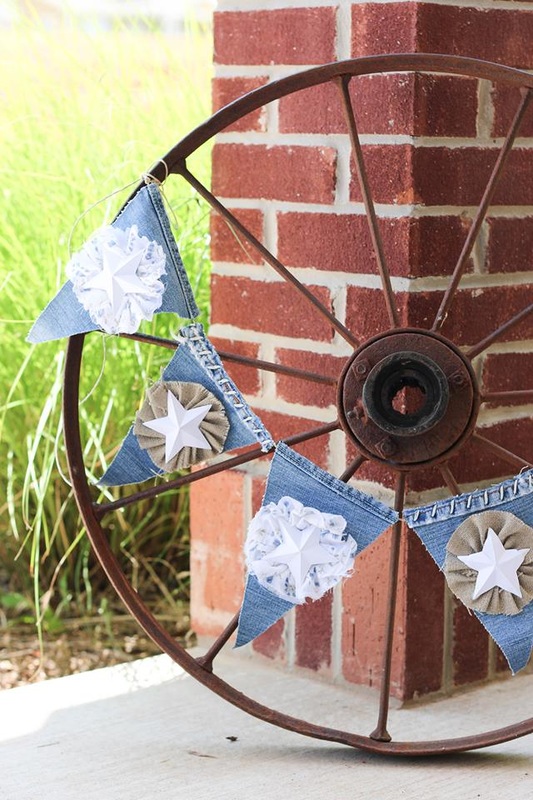
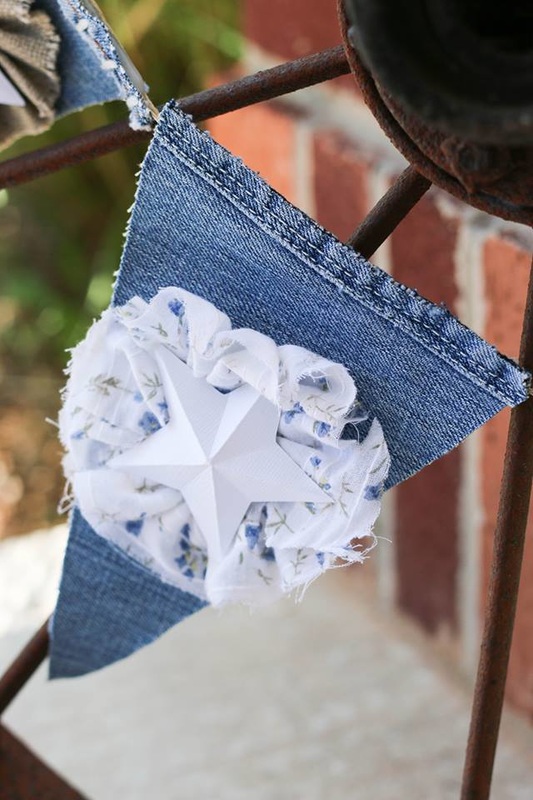
Denim and Stars BannerThis next banner I also made quite a while ago. No special occasion in mind, I just wanted something that had a little more of a rustic feel. I cut up an old pair of jeans for this one, and then hot glued some Ruffled Flowers on each flag. The flowers here are made from burlap and an old shirt that I ripped into strips. The stars were cut out with my Cricut, and then I scored and folded them to give them some dimension. This banner is currently hanging in my craft room, just for fun! 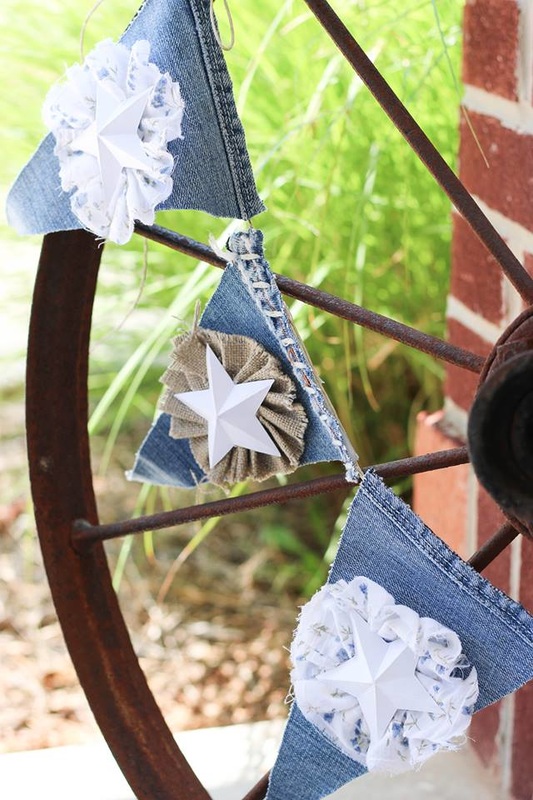
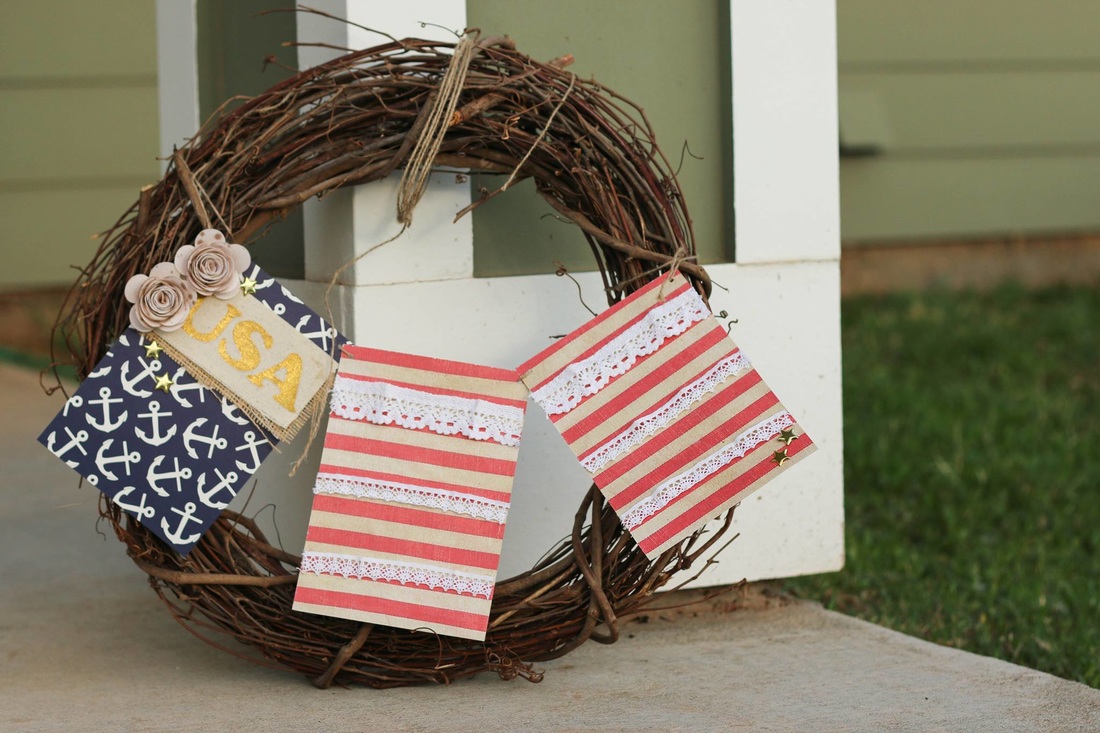
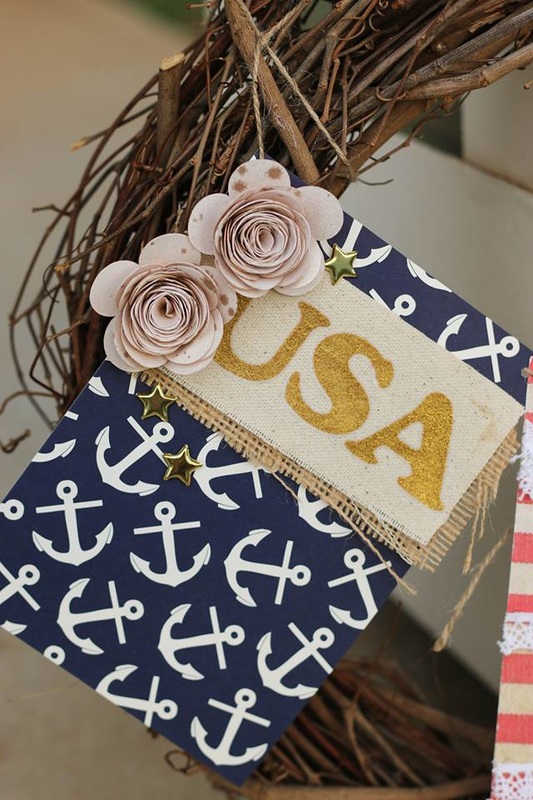
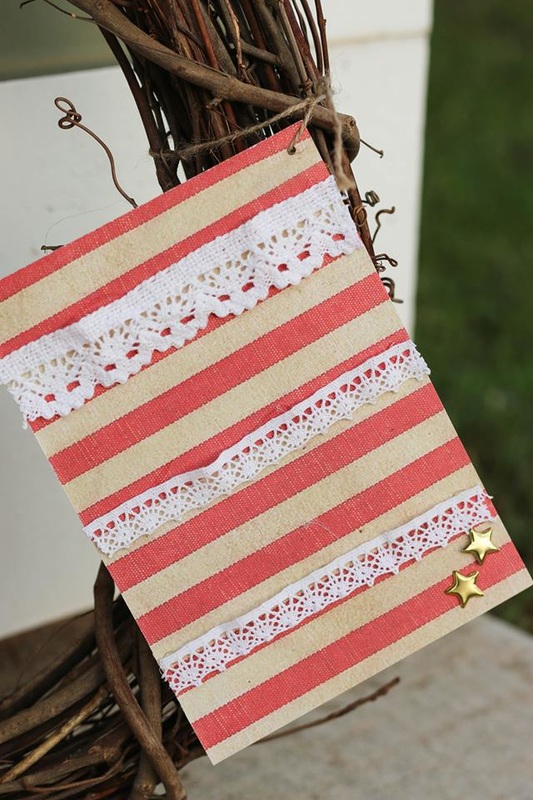
USA Wreath BannerThis last banner is one that I just made this year for the 4th. I tied it onto my grapevine wreath so I could hang it on the door. I kept the embellishments very simple, just hot glued some lace trimmings, burlap, canvas, and rolled roses onto some Canvas Corp papers. The letters are ironed on. To finish it I used some shiny gold brads in a few places.

I also put together a video for this one, so go ahead and watch how it all came together!
I just wanted to share this quick video so you can see first-hand how amazing this Chalkstock is! I hope to do a few fun projects with it soon.
Thanks for stopping by!

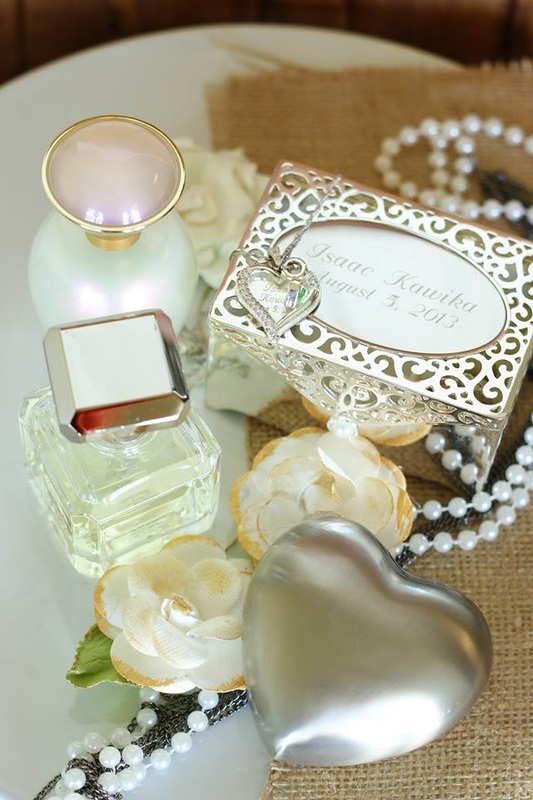
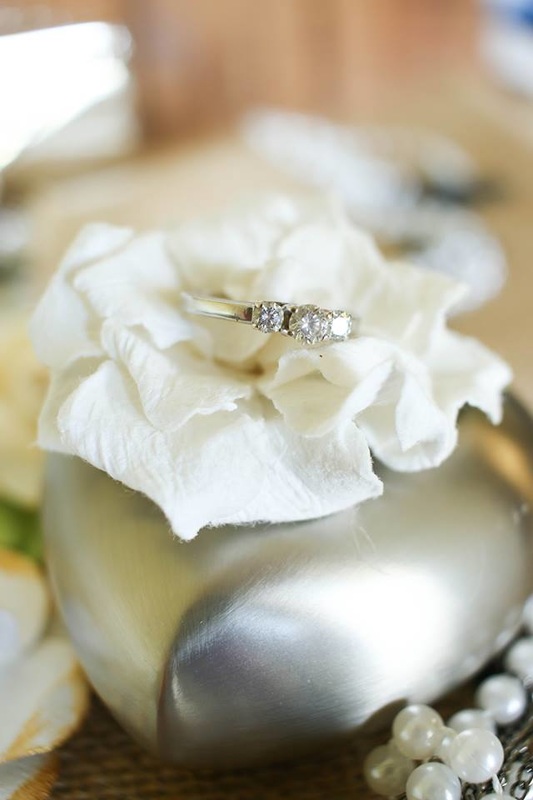
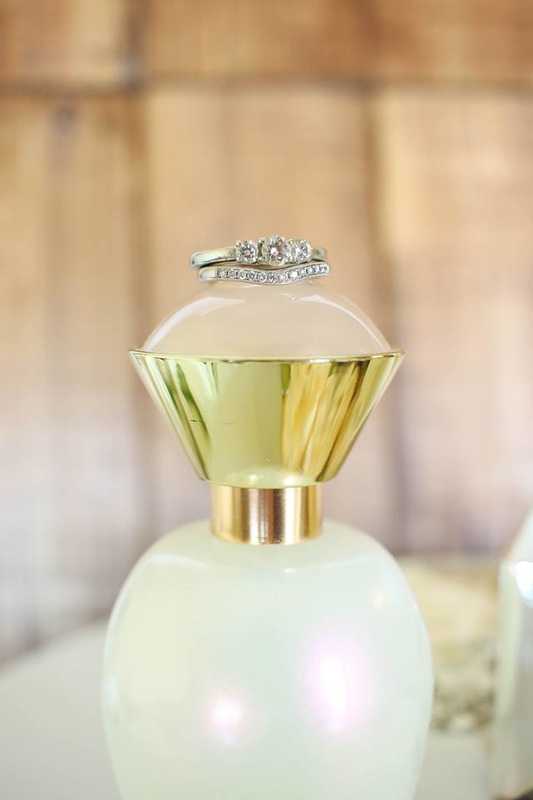
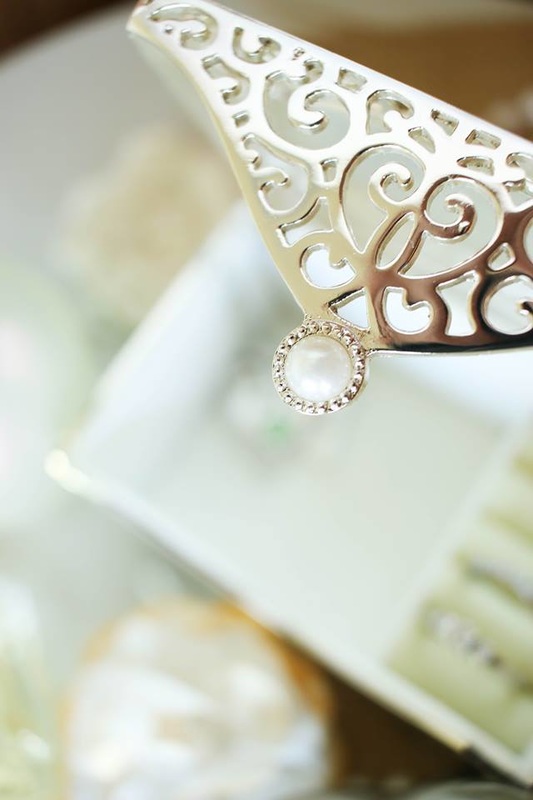
My friend from Yourdori and fellow CCB Crew Member has been giving The Crew some fun photo challenges lately. These photos were what I came up with for the first challenge. The challenge rules were to gather up a bunch of items, arrange them, and then take 15 minutes to snap a bunch of photos. Then, after your time was up, put the photos together in a fun collage. I ended up raiding my bathroom vanity because I just love my little perfume bottles and some of the jewelry I keep there. I added some burlap and paper flowers as well. My favorite photos, though, are the ones of my more sentimental jewelry pieces. The little silver jewelry box is engraved with our first son's name, Issac. My heart necklace also has his name on it along with his birth date. My wedding rings are pretty obvious as to why they are special to me! Anyway, I had tons of fun with this impromptu photoshoot and its inspired me to just play around with my camera from time to time and learn more about how it functions. Hopefully I can post some more fun photos in the future! Here is the collage I put together for the challenge. I used PicMonkey for this collage. 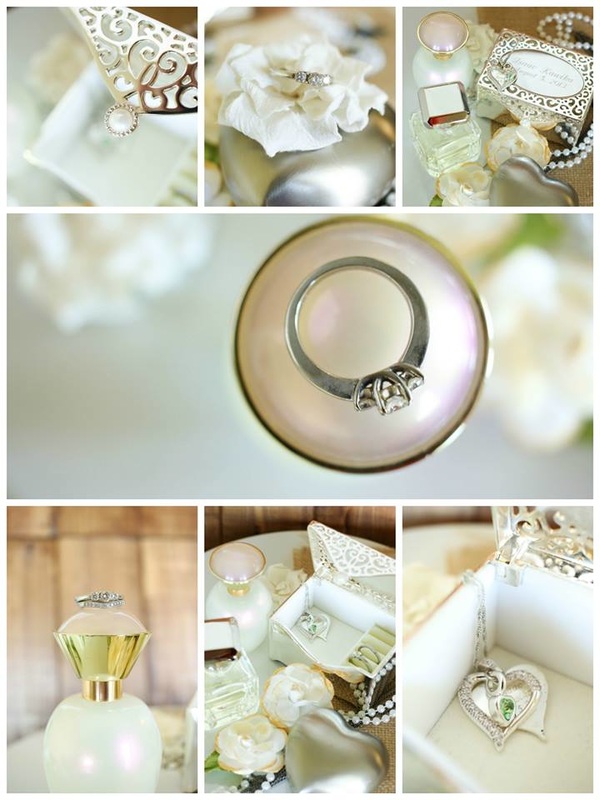 Thanks for stopping by!
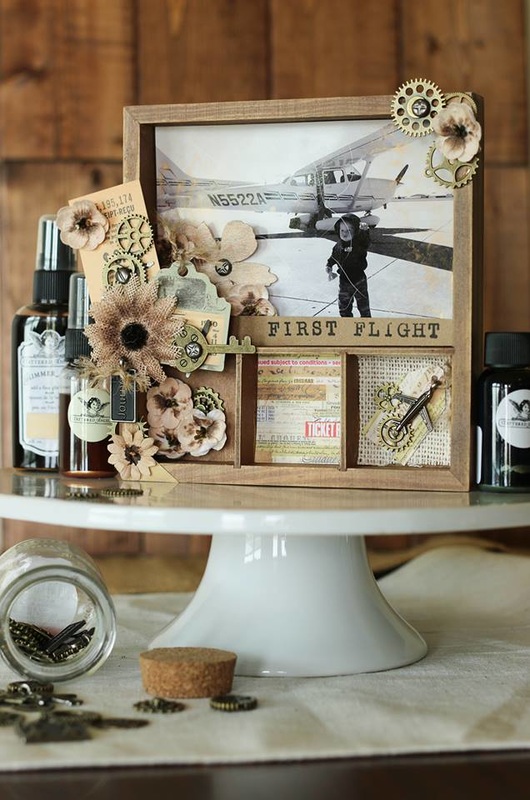
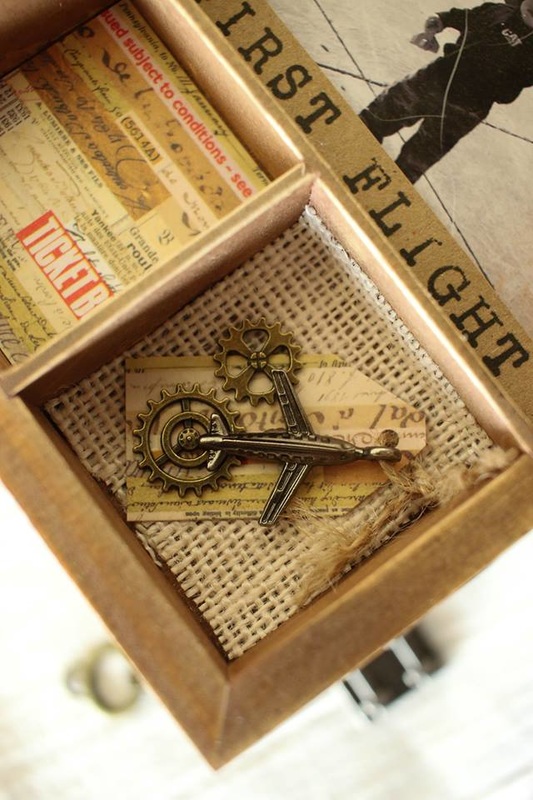
I created this fun shadowbox for Father's Day. The photo in it is from Hayden's first airplane flight ever! My husband is a pilot, so we like to go flying from time to time. His love of airplanes has clearly been passed on to our son because every time Hayden sees one he gets so excited!
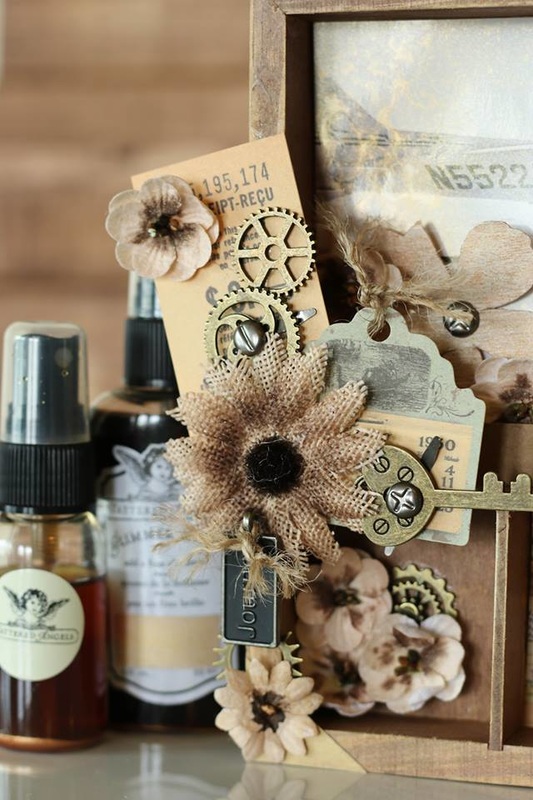
I used a photo tray, the Vintage Travel pack, and some travel charms from 7 Gypsies. The flowers are from Petaloo. I also used some fun Tattered Angels paints and some other little embellishments. I find it difficult sometimes to pull off a more manly look while scrapping. I love to use florals and lace but that just wasn't going to fly with this project. I tried to use lots of metal and wood tones. I sprayed the flowers a color that helped them blend in and look more masculine. I did manage to put together a video of the process, so I hope you will watch and enjoy! 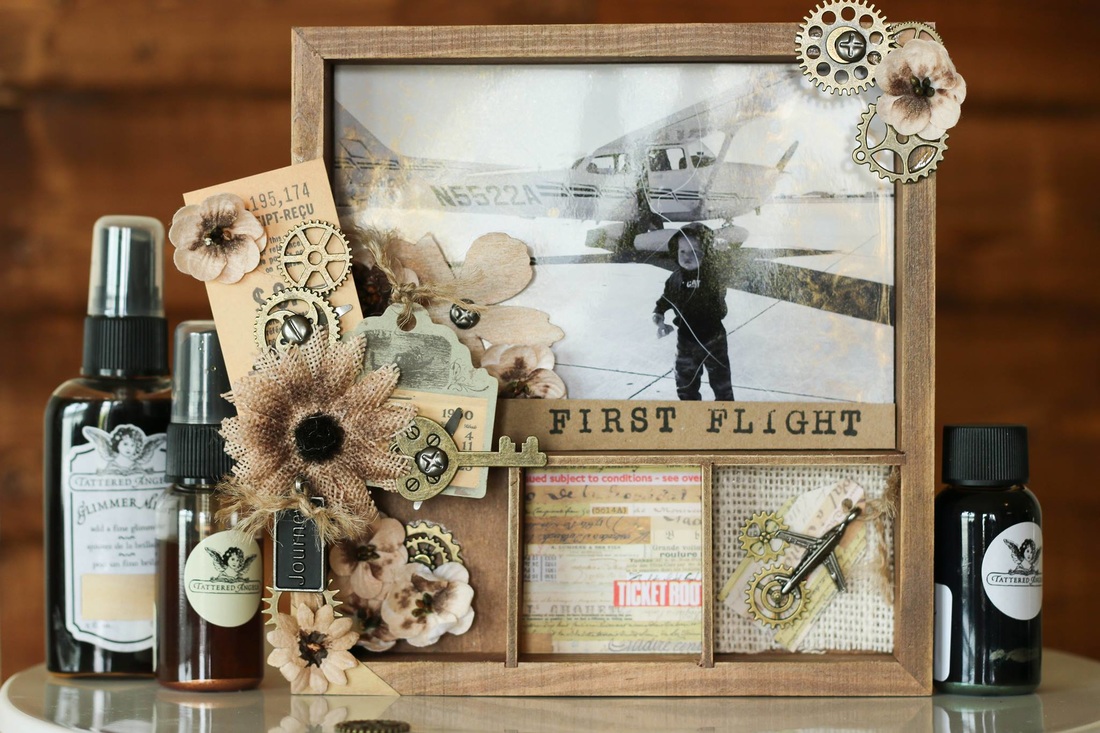
Im also so excited to tell you that this project was featured onCanvas Corp Brands' blog as part of a blog hop with Petaloo!

All crafters seem to accumulate a stash of goodies and embellishments. My stash has been growing a lot lately so I have been making an effort to use what I have! My main reason for "craft hoarding" is that some of these things are just too pretty to use. But, I realize that if I don't use them, no one will ever see them and that does nobody any good. So let's share the love and bust out the stash!
I have had these rub-ons from Prima forever. I love, love, LOVE the florals and have been waiting for just the right project to use them on. I created this card with a specific purpose in mind so it is a little more personalized that my usual cards. It was made for a bridal shower so the overall theme is love. I started by stamping the woodgrain background and then adding color using my Distress Inks. Then, I mounted it on a kraft cardstock base, and added just a strip of burlap from Canvas Corp at the top. The front panel is plain white cardstock that I applied the floral rub-ons to. Then, I added some glittery black chipboard letters, and a black strip of paper that I heat embossed the sentiment on. I also added a few hearts from that same black cardstock. The little scalloped border is a die from Lawn Fawn. I love this die and have used it many times. To finish the card, I popped it up on some fun foam for dimension, and added a little more sparkle by applying some Wink of Stella to the hearts. 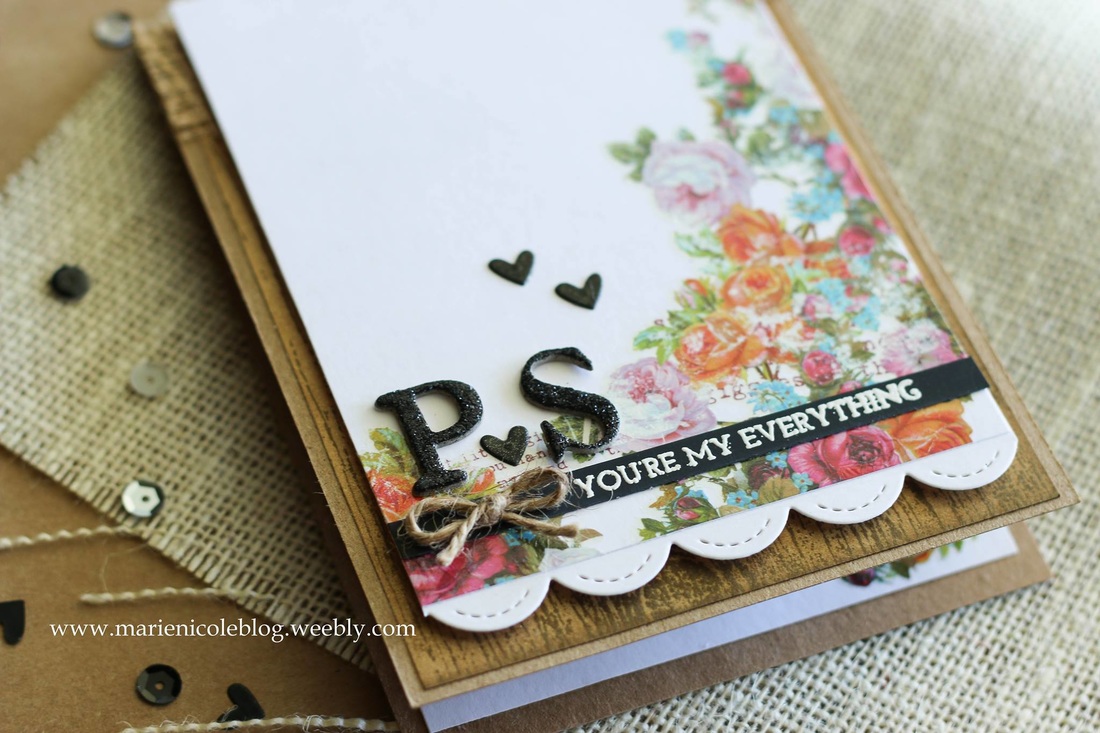
I also lined the inside with a white cardstock lining in order to more easily write a note inside of. I also added another little rub-on flower inside.
Thank you for stopping by and Happy Crafting!
Its time for another video collaboration by the Creative Crew!
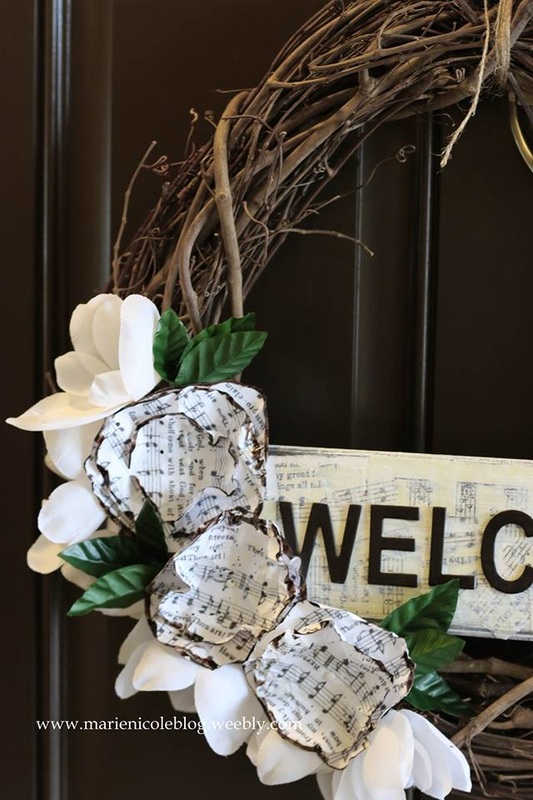
Our theme for this video series was "Favorite Music". I thought a while about the different kinds of music I enjoy, but I always just go back to inspiring instrumental music and good old hymns. I printed off some sheet music from online and used it to create the "welcome" sign and the flowers you see on the wreath. I do have a hymnal in the house that I contemplated ripping up, but I just couldn't bring myself to do it! The music and the lyrics to so many hymns are so rich and beautiful and I like to refer back to my hymnal at times when I can't remember the words. 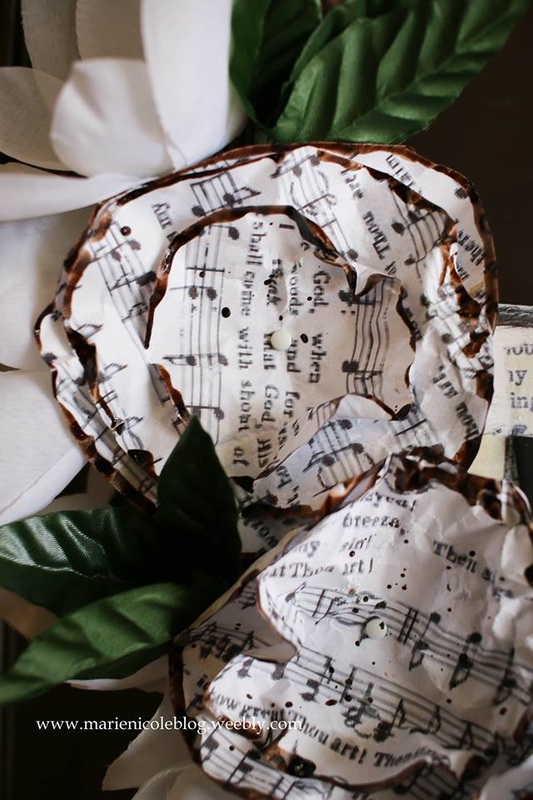
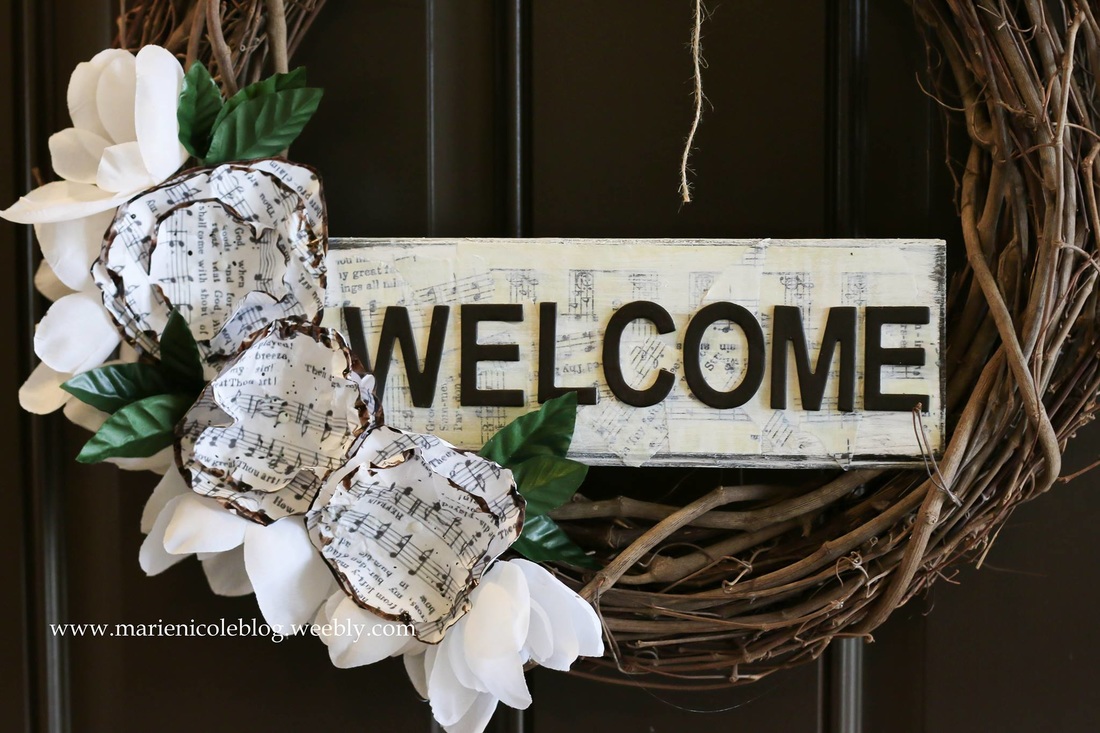
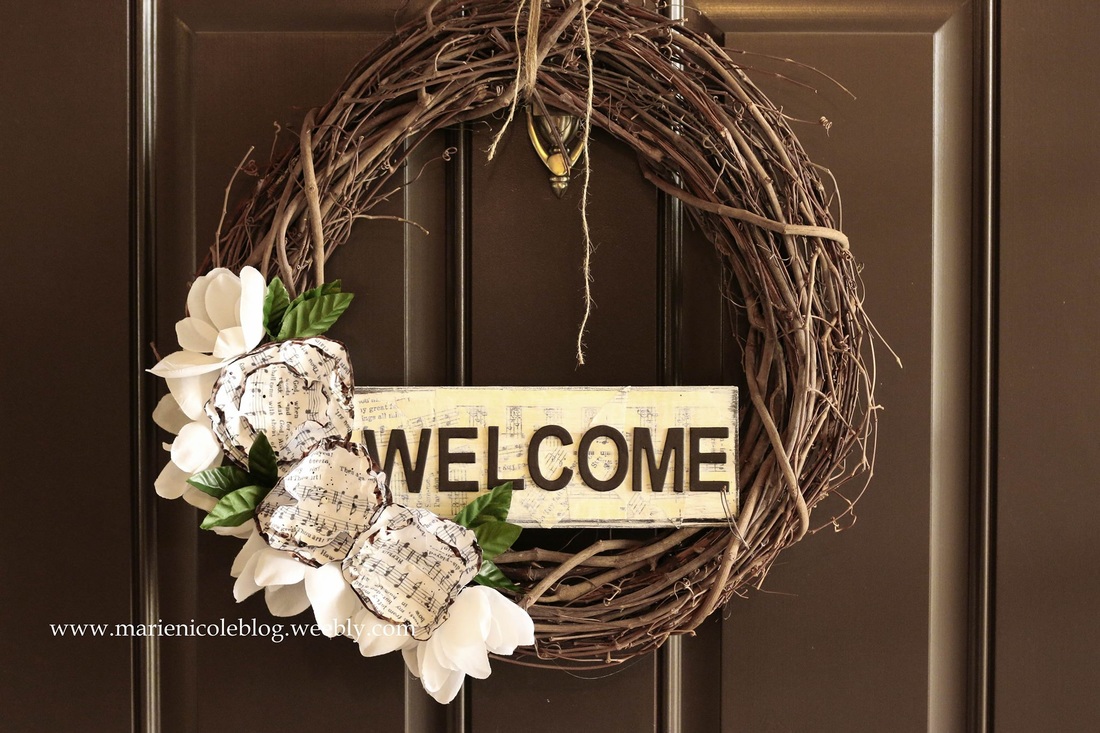
I used several different Tattered Angels paints alongside my sheet music to pull this wreath together. I also used a bit of Canvas Corp twine to hang it with. The colors are pretty neutral so it can pass for several seasons.
Go ahead and watch my process video and dont forget to visit the other amazing Crew members as well! They have so much talent and inspiration to offer!
Don't forget to stop by all the other fabulous videos in this collaboration!
Yasmina: https://www.youtube.com/channel/UCpXe... Shel: https://www.youtube.com/watch?v=dzpt8... Linda:https://www.youtube.com/channel/UCF70... Kim:https://www.youtube.com/user/Activist... Lena: https://www.youtube.com/channel/UCjqW...
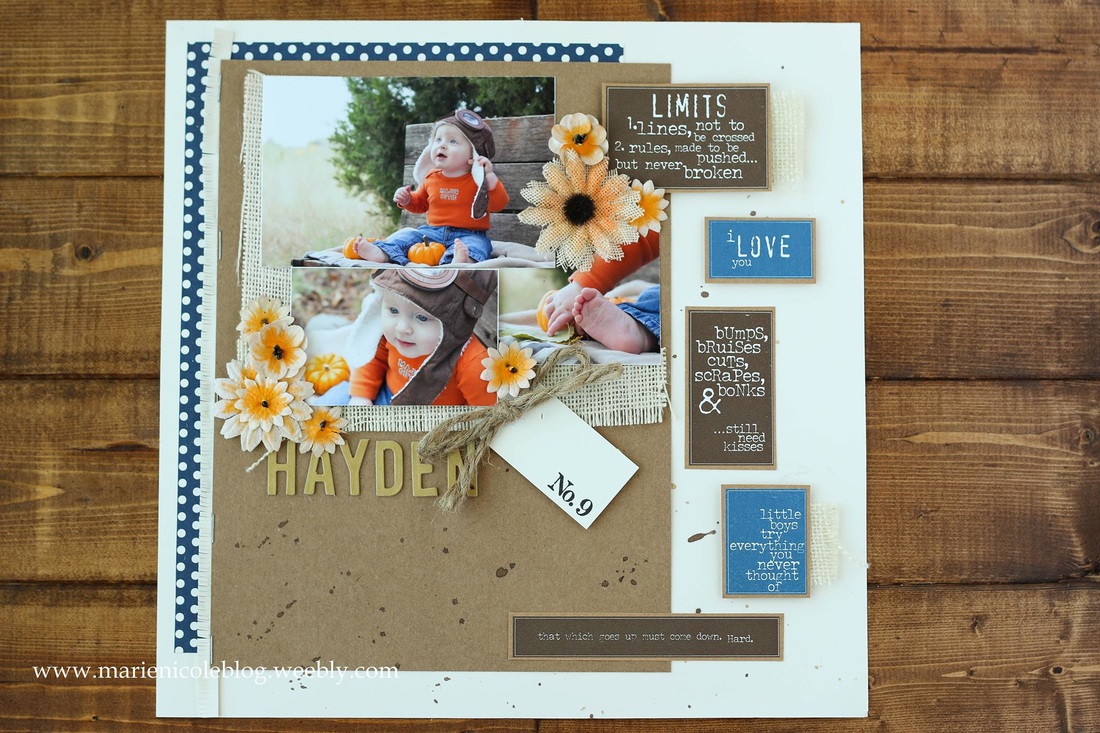
My son's newborn-12mo scrapbook layouts have been incredibly slow so far! I only just finished his 9 month page and he is almost a year and a half already! Better slow than never, though, right?
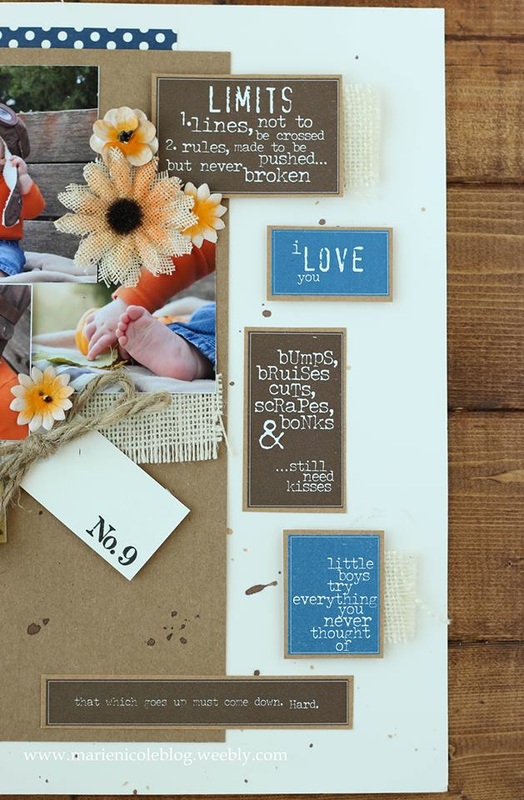
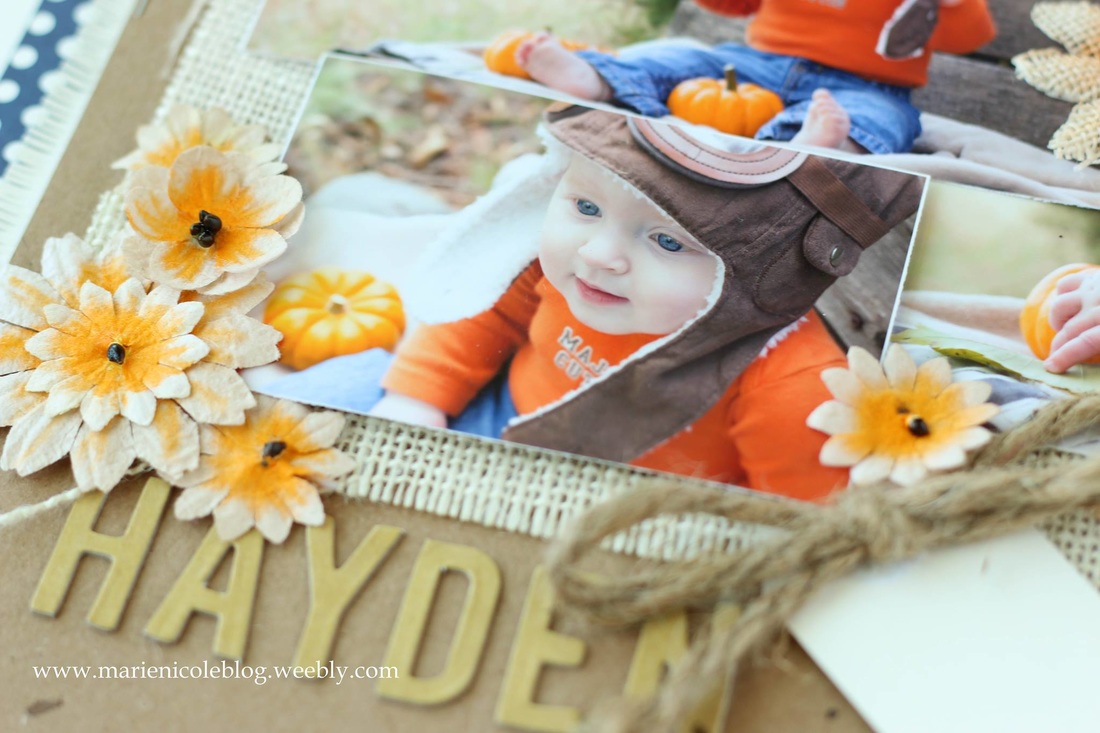
I tried to pull some of the colors out of the photos for this page. I added some navy and ivory polka dot paper that I thought looked good with his blue jeans, and I misted the Petaloo flowers with some orange Tattered Angels Glimmer Mists. Most of the rest of the colors I left in neutral brown tones. 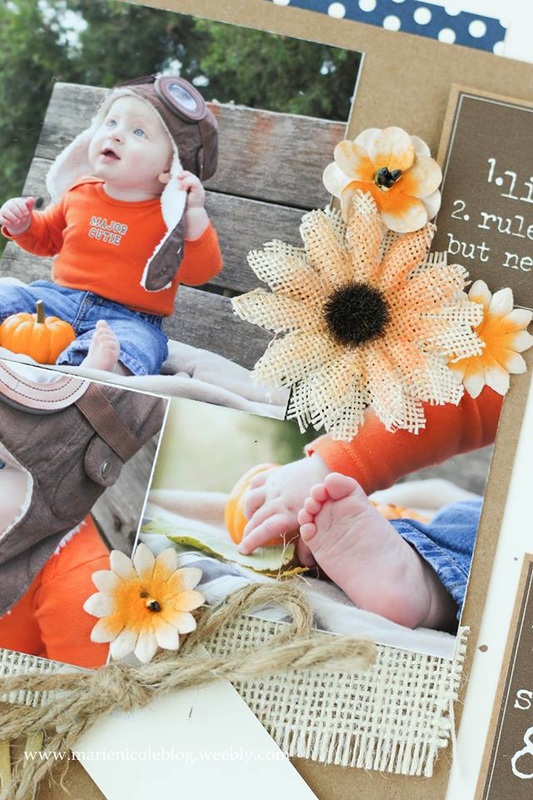
These photos were taken last October, so there is a definite fall feel to them and also to the layout. It was a little wierd trying to channel fall inspiration in the beginning of summer but I think I managed to pull it off. I just love the details of the burlap and the twine.
Feel free to watch the process video below to see how this all came together.
Thanks for stopping by and Happy Crafting!
I dont know where you draw your crafty inspiration from, but for me its kind of all over. Sometimes I have a color palate that I want to run with. Sometimes I want to play with certain items in my craft stash. Sometimes I get ideas from floating through Pinterest.
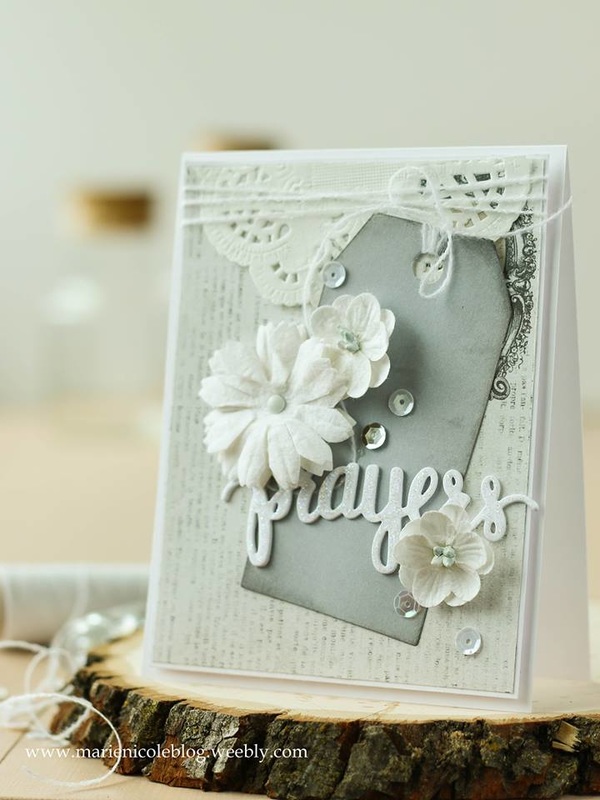
This particular card, though, was inspired by the challenge over at Simon Says Stamp's Monday Challenge. The challenge theme is monochrome. Guys, do you know how hard it is to keep it to one color? I went through a ton of ideas but came up with this card. My one color is grey (because white isn't technically a color, right? That's my story here, anyway!). 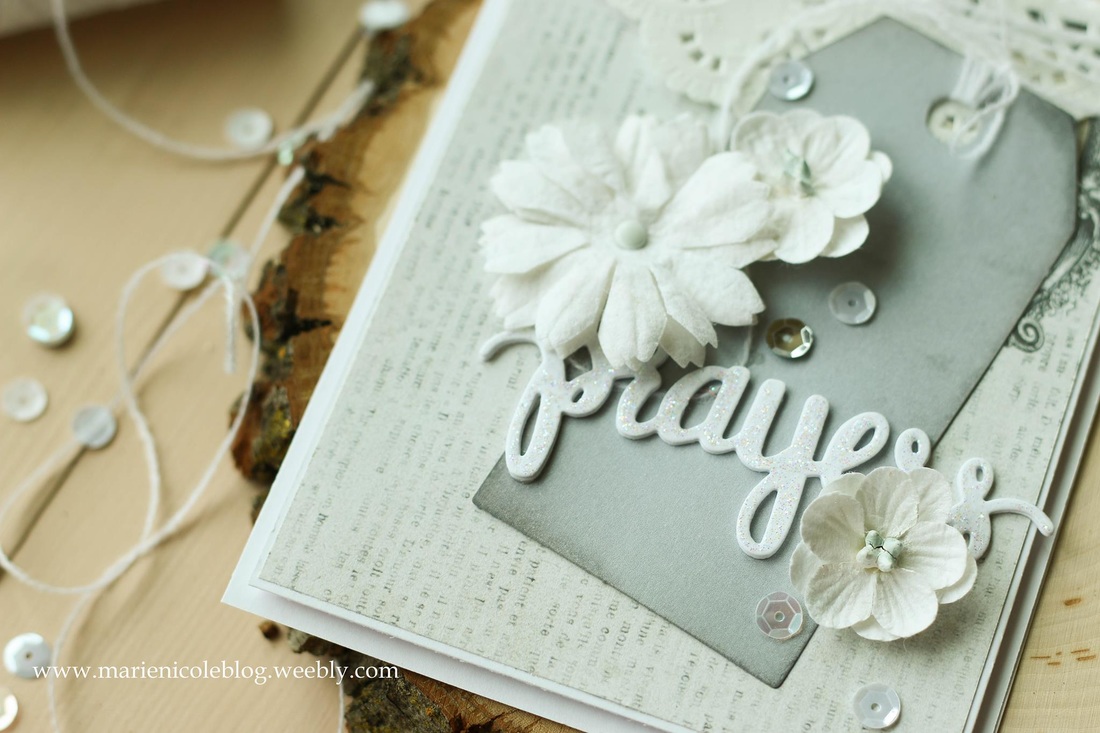
My background paper is from 7 Gypsies Harmony 6x6 paper pad. The flowers are Petaloo, and I used a die from SSS Prayers stamp set. 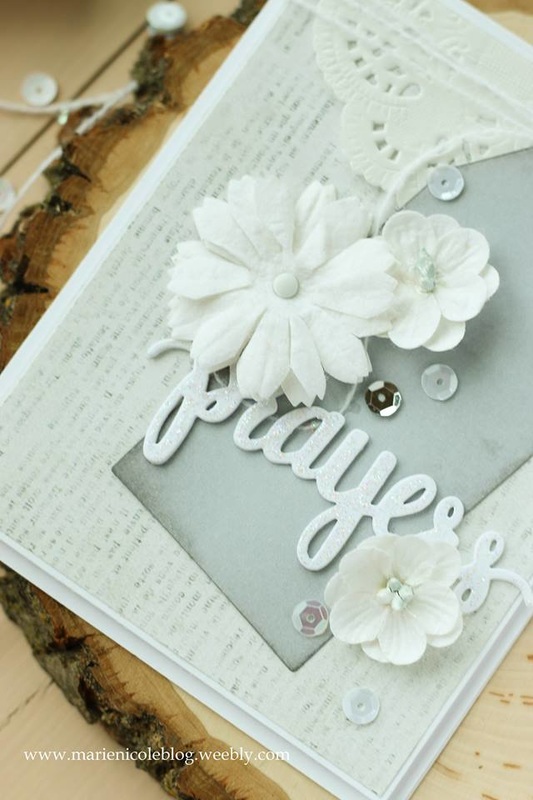
I finished the whole look with some Stickles and a few white sequins from Doodlebug Designs. Go ahead and watch the process video for a more in-depth look at this card!! Thanks, and happy crafting!
|

Pin it!

AuthorSo glad you found me! This blog is my little space where I can share bits about my life and my latest crafting projects (mostly handmade cards). My goal is to share, inspire, and to be a positive presence in the creative community. 

Find me on Instagram!Archives
January 2018
Categories
All
Link Love
 

|


 RSS Feed
