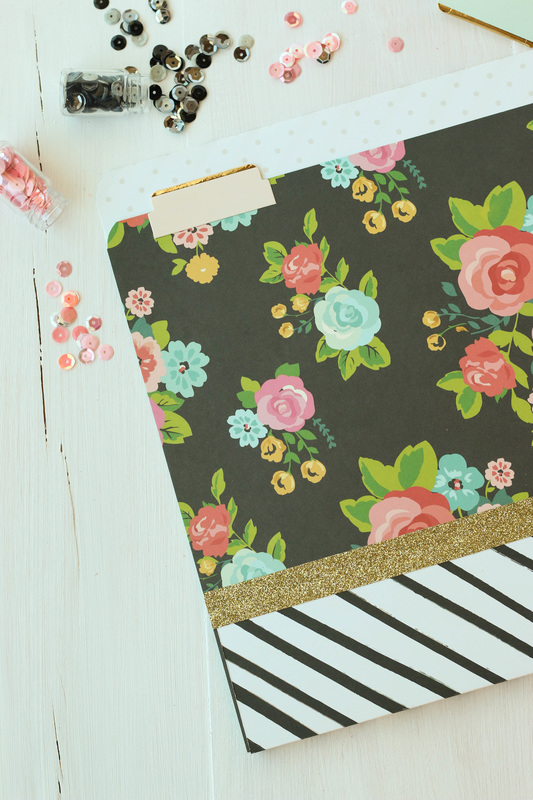
Recently, Shannon Green shared a video on How to Make a File Folder. It's pretty simple! You just need two sheets of 12x12 paper, some adhesive, and a paper trimmer. You can also use whatever embellishments you would like, but thats totally optional. Anyway, after she posted her video, she challenged a few of us from the Creative Crew to go ahead and make our own file folders in our own styles. Well, ok then! I think I can handle this one! I started by grabbing a few papers that I've had for a while now. I like to hoard those pretty papers but then I realize I end up never actually using them and that does no body no good, right? I followed Shannon's instructions from her video and came up with a bright and modern file folder. Here's my video of the process: I've always got more and more papers coming into my house and I really need to keep them organized, so hopefully having the knowledge to make my own folder with help in that area! 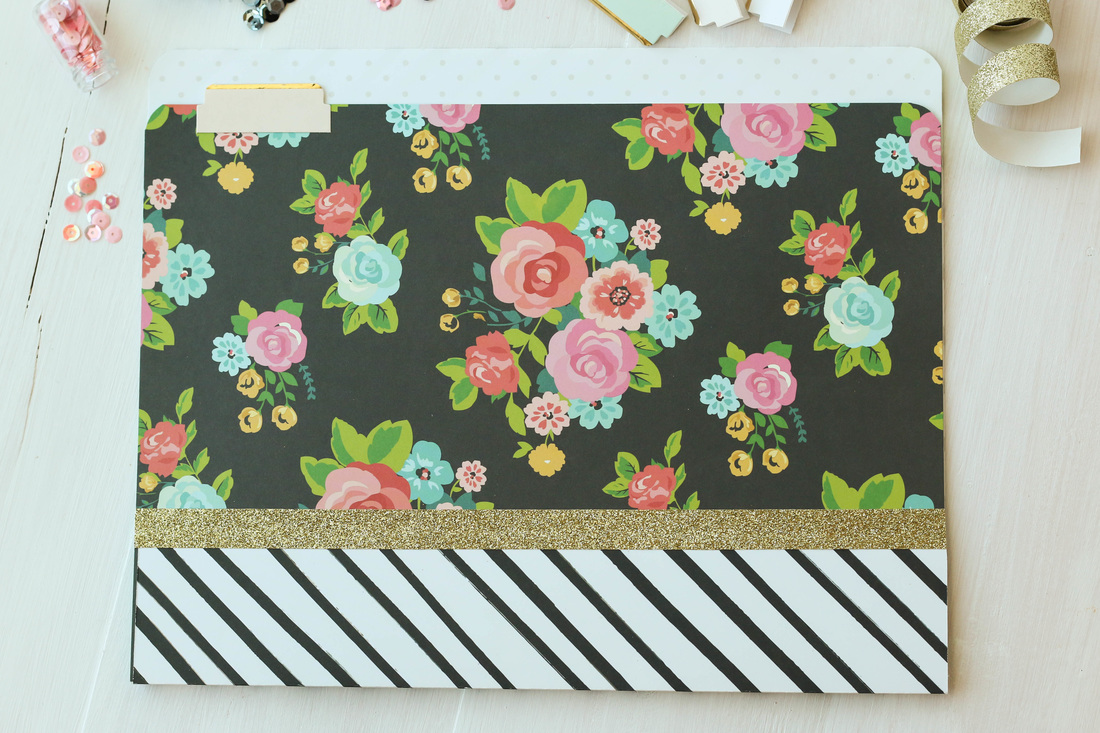
Best thing about making your own is that you can customize them to fit whatever office decor you may have! Hope this gives you some ideas on what to do with that paper you have been hoarding (don't deny it, we all do it)! Thanks for stopping by, and Happy Crafting!
0 Comments
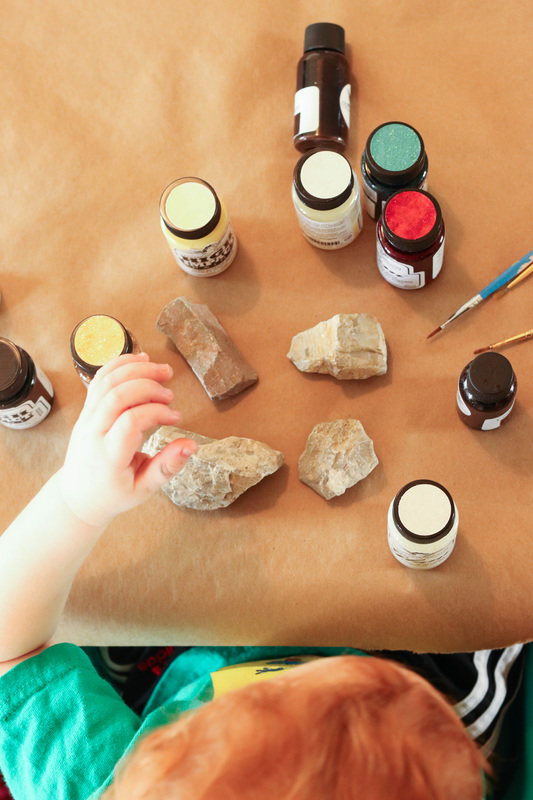
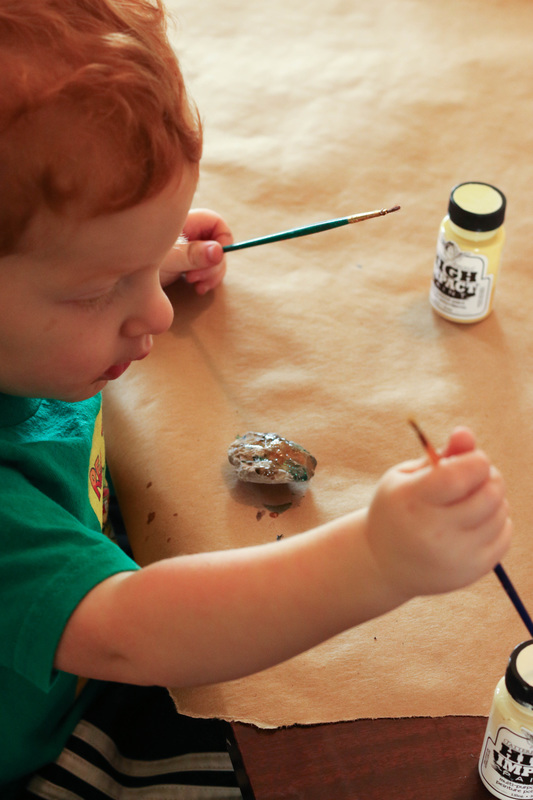
We recently had fun with a little project that Erin Reed from Scraps of Reflection came up with. The guidelines of this project was to find some rocks, paint them with Tattered Angels paints, and then hide them in your community with the hashtag, #TatteredAngelsRocks. Hopefully then the finder will share the rock on social media and we can see where our rock ends up! Maybe they will even get in on the project and decorate some of their own rocks! Well, Hayden and I started our project by going for a walk to look for rocks. I had to help him find appropriate sized rocks because he either wanted pebbles or huge rocks that we couldn't reasonably take home. (Is there no happy medium with a 2yr old? Why does it always have to be one extreme or another?) Anyway, once we had our rocks home, I taped down some kraft paper to the table, set out my Tattered Angels paints, and let Hayden get busy! He LOVED getting into all the paints! We started with Glimmer Glams and High Impact paints because I thought it might be easier for him to use a paintbrush. 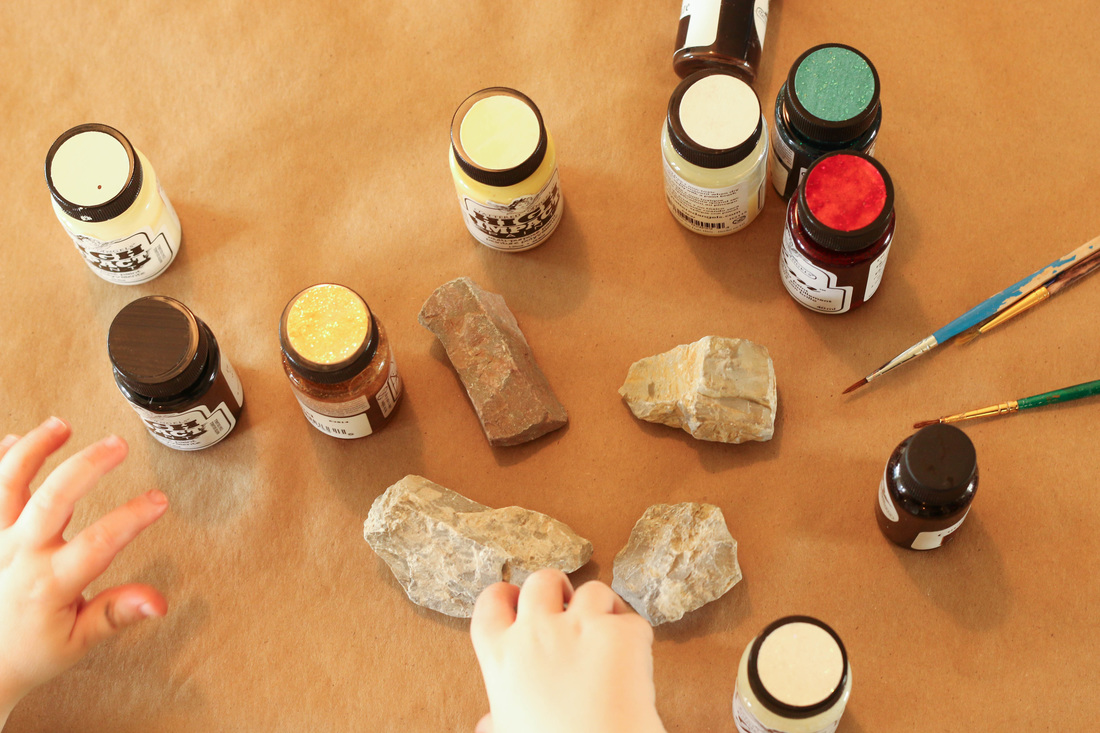
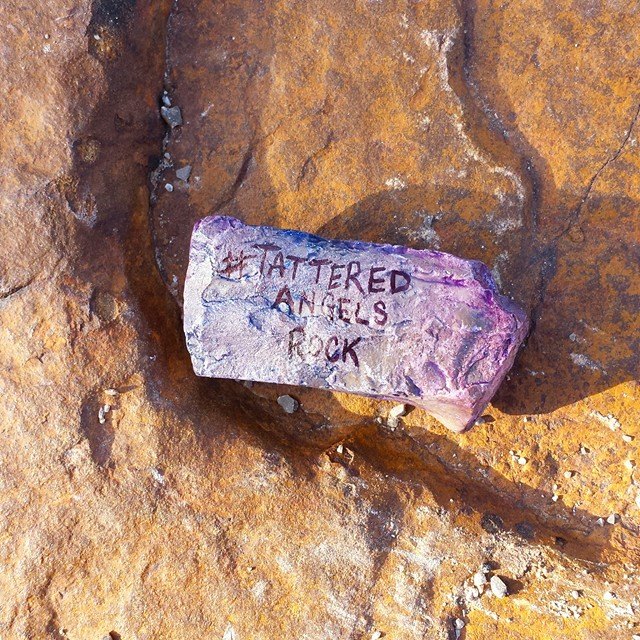
After globbing a good amount of paint on a few of the rocks, I was curious to see how well the Glimmer Mists would work on the surface of the rocks. Turns out they looked amazingly bright and pretty! Once Hayden saw the spray action of the mists he was hooked! No more boring paintbrush for him! We pretty much used different sprays for the rest of our rocks. Then, over the top of the spray we added some more Glimmer Glam to add some extra sparkle! We let our rocks dry completely before writing the hashtag on them and hiding them outside. Here's our finished rocks! 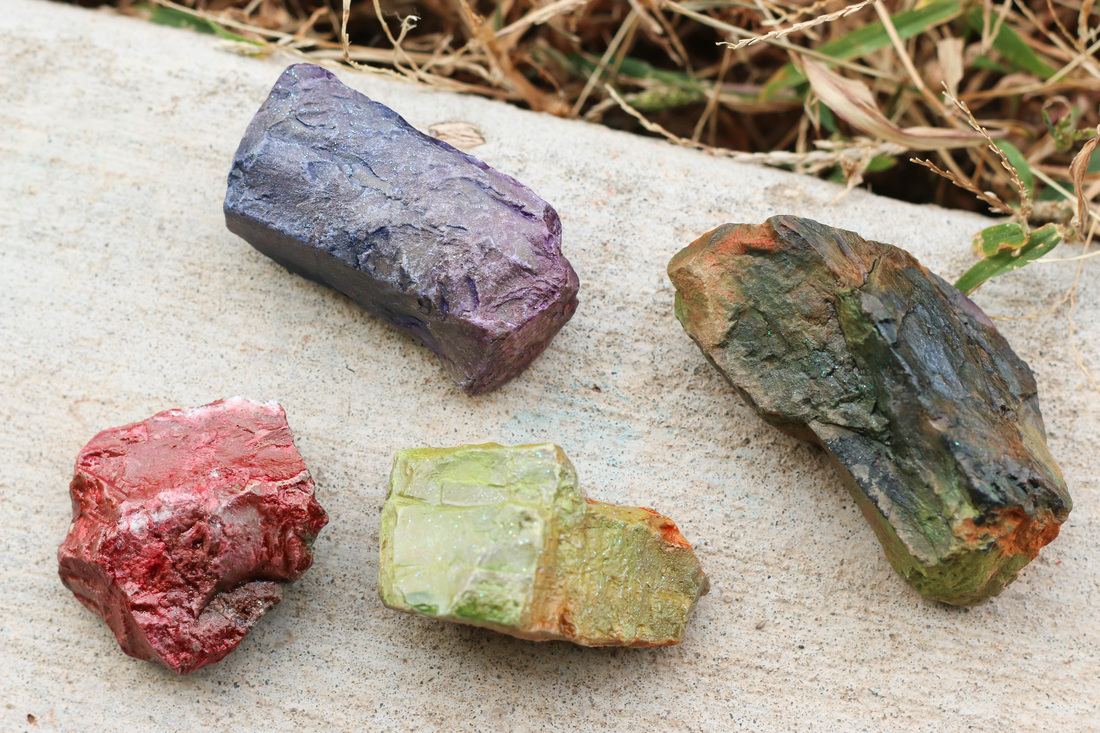
We had so much fun with this project. I can't wait to see if our rocks turn up somewhere on social media with the hashtag. It would be awesome to find out if they've been found or even if the finder wanted to join in and decorate some of their own rocks! Hayden and I might even go out again and decorate more rocks to hide in our community. Its a great way to get out and enjoy some air, get crafty, and connect with the community! Feel free to hop in on this project yourself, too! Just grab some rocks, decorate them, and add the hashtag, #TatteredAngelsRocks. Happy Crafting! 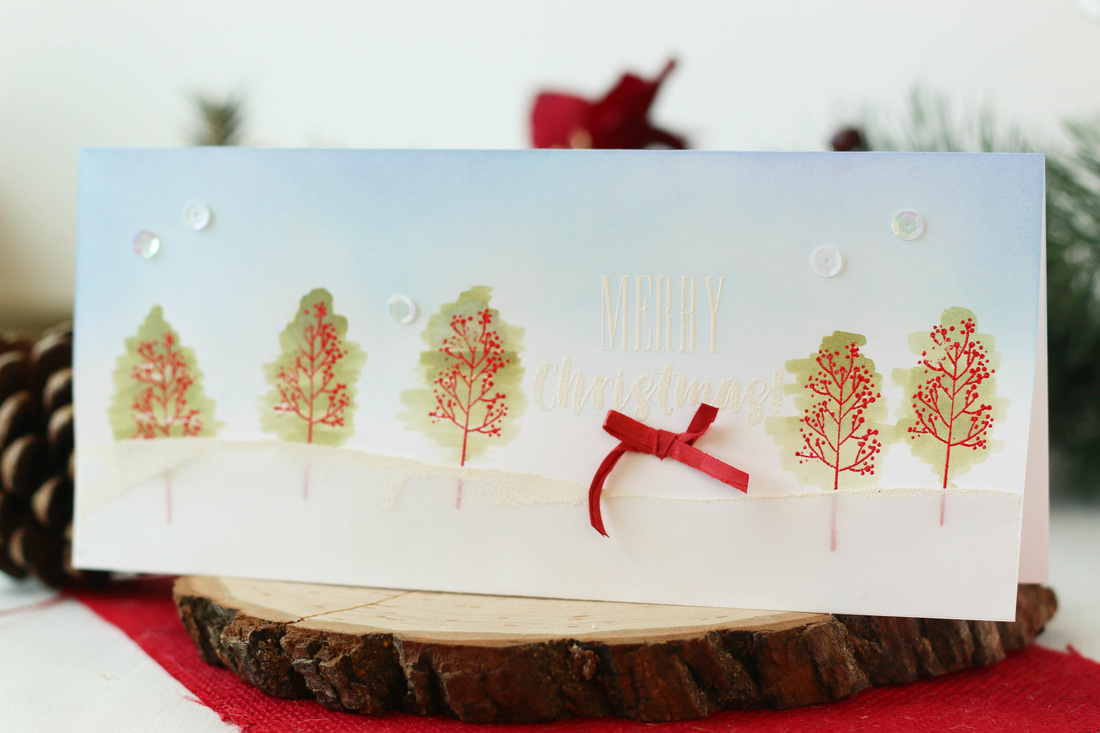
In my last Canvas Corp Brands order, I added some of these skinny cards to my cart and I have been loving the different size of card to play with! I feel like these long and skinny cards really lend themselves well to creating a scene because I feel like I have much more room to work with. I started this card by stamping the trees from a Brutus Monroe stamp set. Now, in the stamp set, this image is actually a stick with some little berries on it, but if you stamp them upright, you get the perfect tree trunk and branches! I stamped and embossed the trees in red, and then I stamped the Merry Christmas sentiment in white. This sentiment is also a Brutus Monroe stamp set. With all my embossing done, I moved on to adding some watercolor to the trees to make them look like evergreens. I mixed some green Distress Ink with water and then quickly and loosely painted the trees over the embossed image. 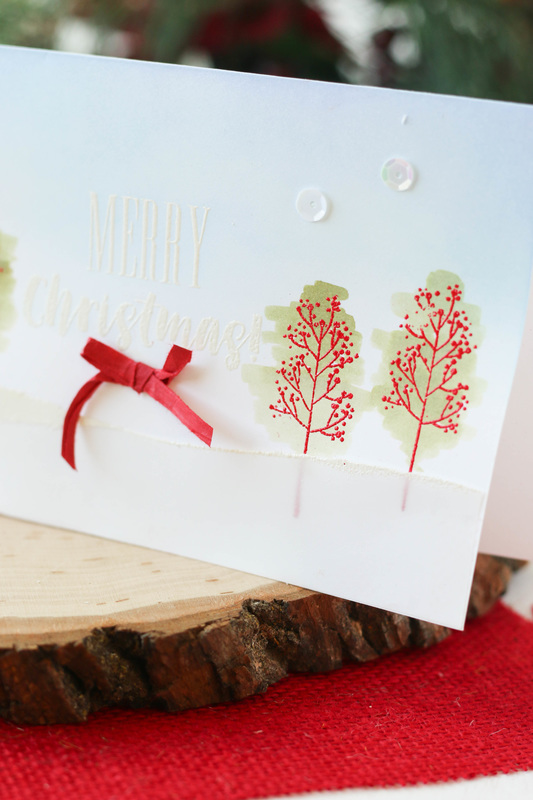
After my trees were dry, I took my ink blending tool and added some blue and light purple around the top of the scene to give it a wintry sky feel. Lastly, I ripped a piece of vellum, heat embossed some white on the top edge, and adhered it to the bottom of the card to make it look like a snowbank. The last bit of embellishing I did was to add a red raffia bow and a few white sequins. That finished this card! I took a process video if you care to see more! Thanks for stopping by! I have listed a few of the supplies below that I used on this card. Happy Crafting!
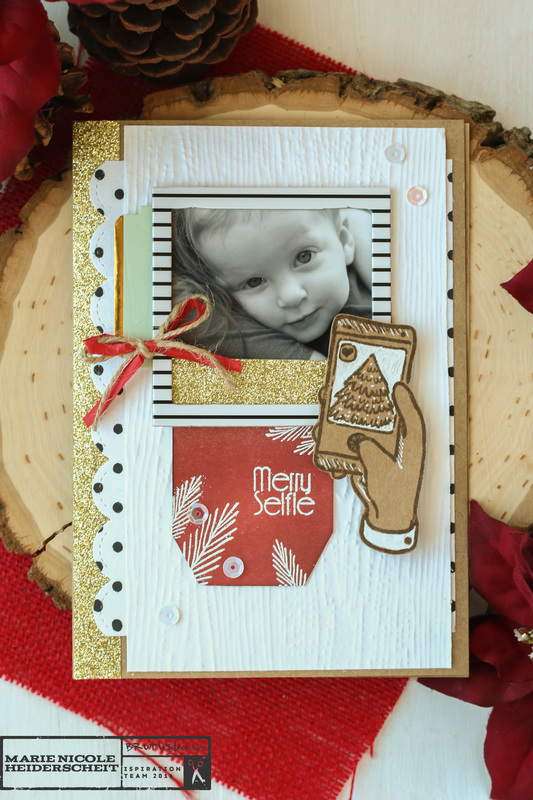
Hey, everyone! Did you catch my card last Wednesday over on the Brutus Monroe's blog? I used their November stamp from their stamp club as the inspiration for this project. Since the stamp is centered around photos and selfies, I felt it was perfect for adding a little something special to a Christmas card with a photo on it. We love sending and receiving photos during the holidays, anyway, so why not just incorporate that idea into a card? You can "scrap" your photos on a card and send the whole thing off to your loved ones. This particular card is on a 5x7 card base, so I love that if you wanted to, you could just place the whole card into a frame and set it on display. What Grandma wouldn't love that?!? Anyway, if you want to see more photos and details on how I put this card together, you will have to hop on over to Brutus Monroe and read all about it there. Thanks for stopping by and Happy Crafting! 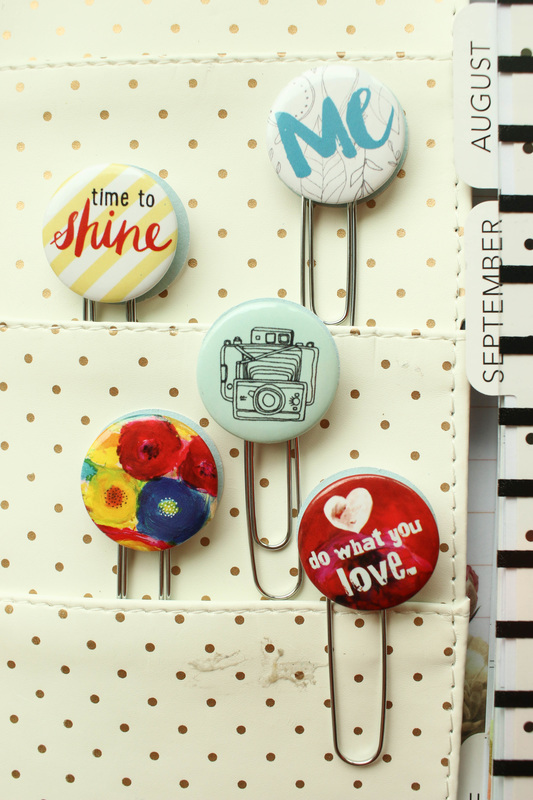
Are you ready for a super simple idea you can use in your planner?
I have had these little Flair buttons from Fancy Pants Designs for a while now, and they have just been begging for me to turn them into something cute for my planner! All you need is these buttons (or any other cute little embellishments you might have), paperclips, paper, and foam adhesive. 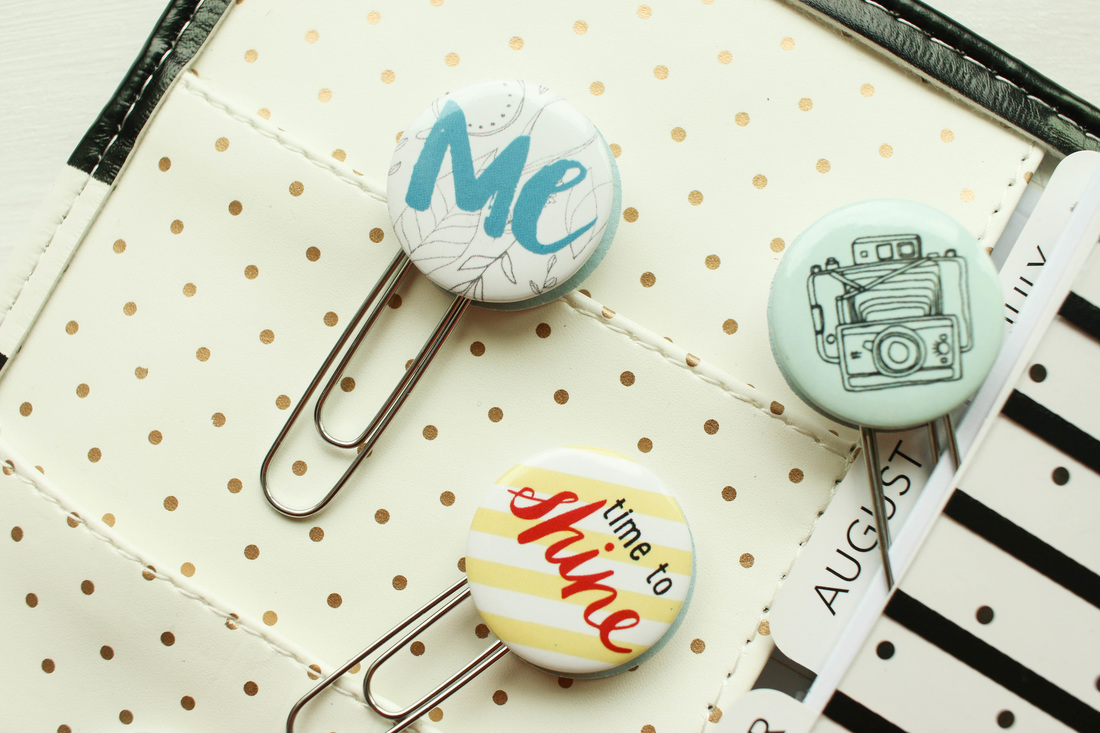
First, take your paper and cut out some circles the same size or slightly bigger than your clips. Then, using foam adhesive, Adhere your clip to the back of your embellishment.
Remove the backing from the foam adhesive and sandwich your paperclip between the button and the paper. Thats it! 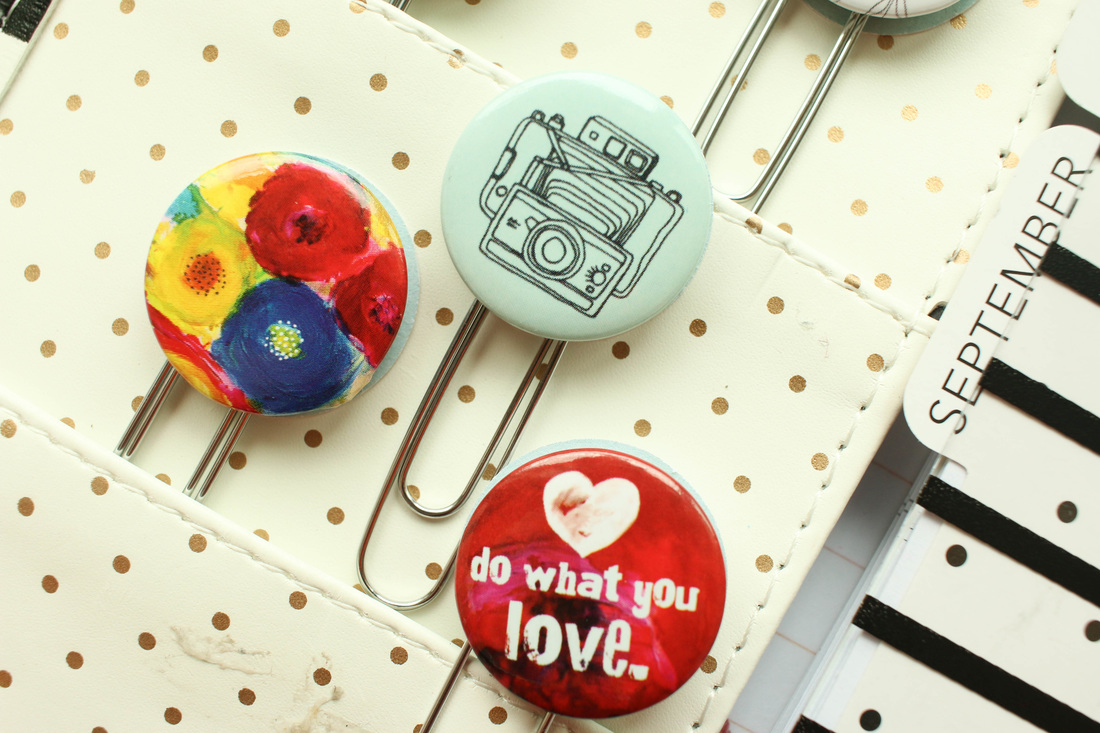
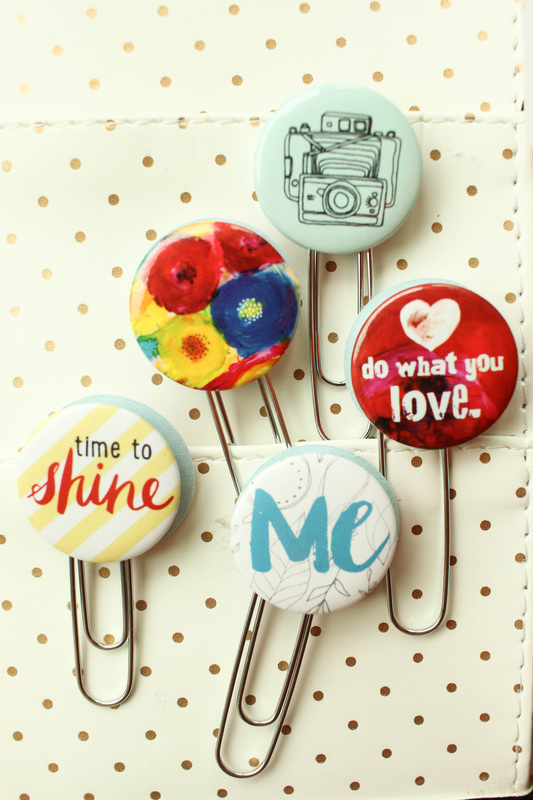
These are so simple you can make a bunch in no time at all. You aren't limited to only using them in your planner, either! Use them on cards or in scrapbook layouts, in your office, or as school supplies.
I also made a quick little video of how I put these together. Enjoy!
|

Pin it!

AuthorSo glad you found me! This blog is my little space where I can share bits about my life and my latest crafting projects (mostly handmade cards). My goal is to share, inspire, and to be a positive presence in the creative community. 

Find me on Instagram!Archives
January 2018
Categories
All
Link Love
 

|


 RSS Feed
