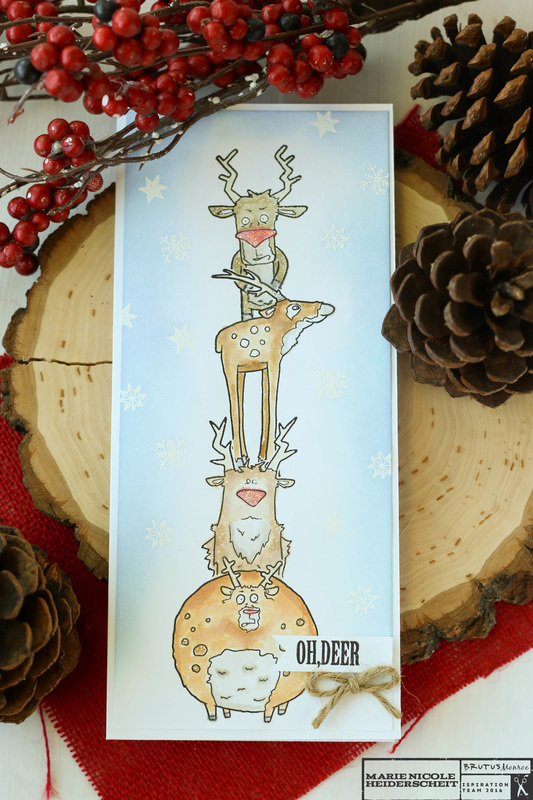
This is a card that I recently created for the Brutus Monroe blog. These reindeer stamps are in their store and when I saw them, I just knew I needed to stack them up and color them in! I started by stamping the bottom reindeer, and then I also stamped it again on a piece of thin printer paper to create a mask. When creating masks, its a good idea to use thin paper, so you can still get a good impression when stamping over it. After I had the mask cut out, I used some Tombow Removable Adhesive to adhere it over the image on my card base. With the bottom reindeer covered, I stamped the next one on top. I then repeated the process of creating masks and stamping each reindeer. 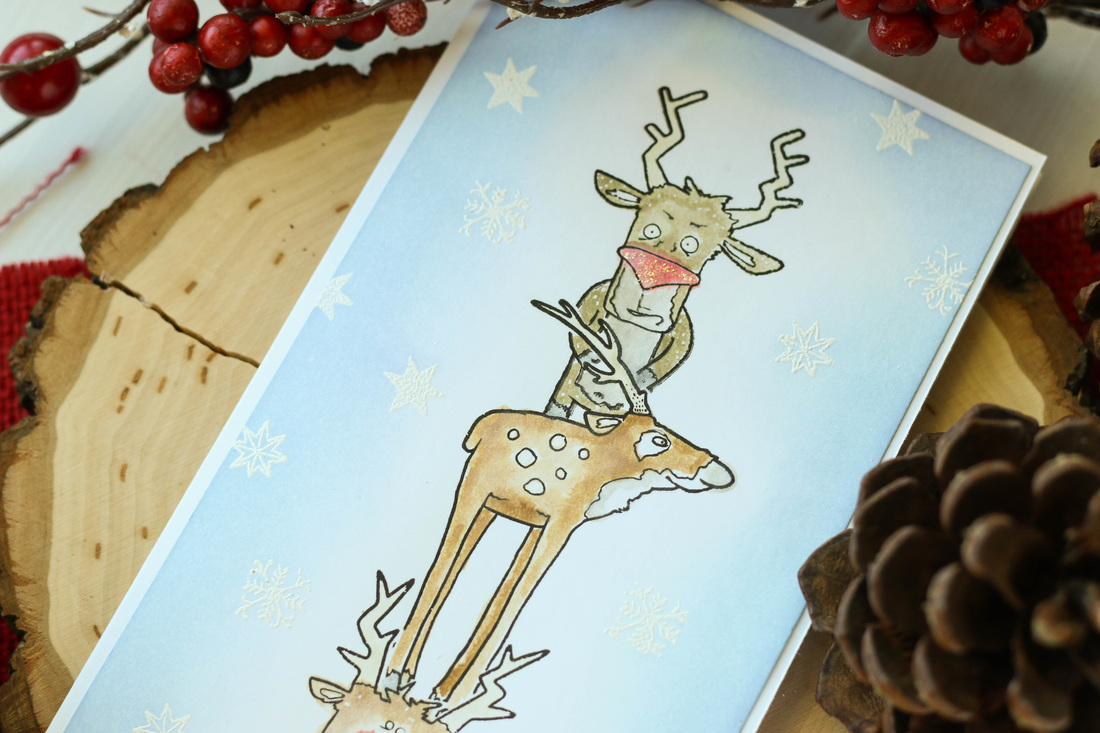
Once I had all my reindeer stamped on top of each other, I grabbed my Distress Inks and started coloring them in. I also added some embossed snowflakes and inked the edges of the card with some Tumbled Glass Distress Ink to give it a snowy background. I adhered the whole scene onto a4x9 card base from Canvas Corp. I love these long and skinny cards for creating scenes, and the unusual size makes it that much more interesting!
Im also linking this card up with :
Simon Says Stamp's Wednesday Challenge! Thanks for stopping by! If you are interested in this cute stamp set, head over to the Brutus Monroe store to place on order!
1 Comment
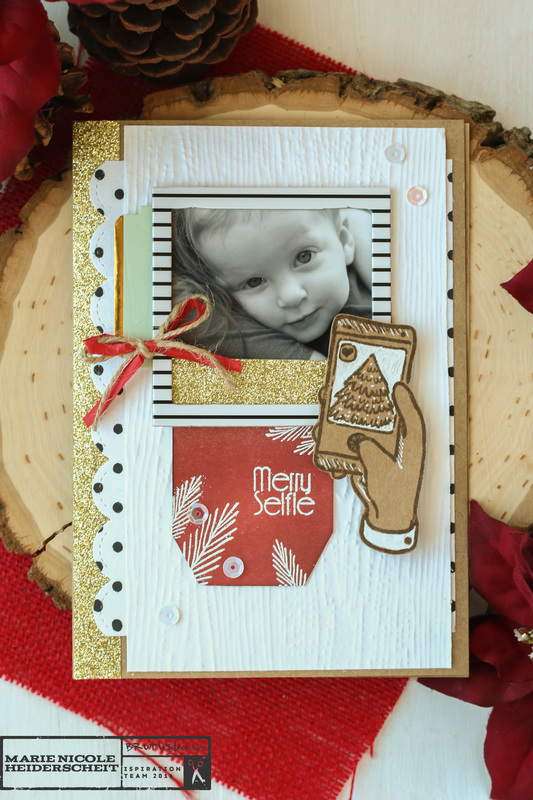
Hey, everyone! Did you catch my card last Wednesday over on the Brutus Monroe's blog? I used their November stamp from their stamp club as the inspiration for this project. Since the stamp is centered around photos and selfies, I felt it was perfect for adding a little something special to a Christmas card with a photo on it. We love sending and receiving photos during the holidays, anyway, so why not just incorporate that idea into a card? You can "scrap" your photos on a card and send the whole thing off to your loved ones. This particular card is on a 5x7 card base, so I love that if you wanted to, you could just place the whole card into a frame and set it on display. What Grandma wouldn't love that?!? Anyway, if you want to see more photos and details on how I put this card together, you will have to hop on over to Brutus Monroe and read all about it there. Thanks for stopping by and Happy Crafting! 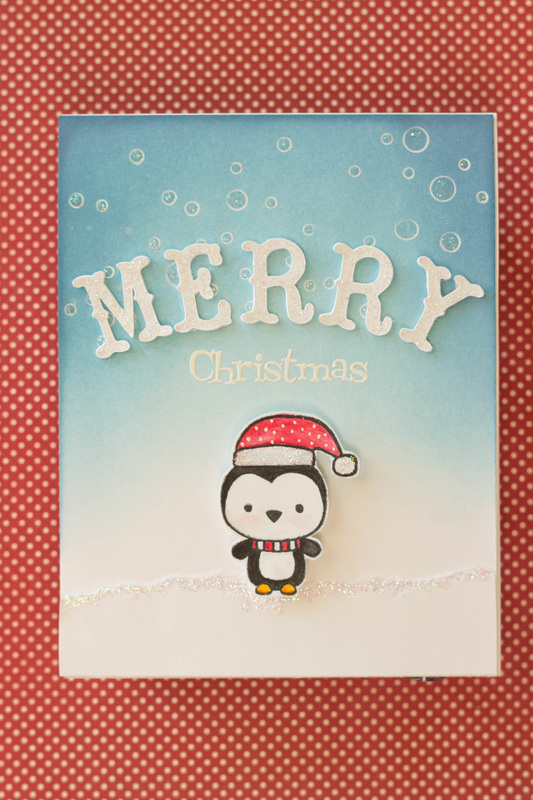 This card is very similar to one I did a few weeks ago, but it has several differences. I started by stamping out my little penguin. Then, I colored him in using my watercolor pencils. I usually like to wet a brush, and rub it on the tip of the pencil to pick up the color that way. I find that I get more saturation of color and less water seeping through my cardstock with that method. Unless you are using a very heavy cardstock or a watercolor paper, too much water can make your cardstock warp and pill. After he was colored, I added some Stickled and a few dots with my white gel pen to his hat and set him aside. For my background, I took some Distress Inks and blended them to get this ombre sky. I started with Tumbled Glass, then Broken China, and finally some Faded Jeans. I always go from lightest color to darkest. I figure you can always go darker, but can't go lighter! Over the Distress Ink I used my Heidi Swapp Confetti stencil and white gel pen to create the circles that look like snow. I took some more Stickles and filled in the circles. Gotta have some glimmer! For my sentiment I stamped and embossed "Christmas" in white. Then, I cut "merry" three times with my Cricut and adhered them together to make them look like chipboard. I added Stickles to the top of my letters, as well. Finally, I tore a piece of white cardstock, glued it along the bottom and (you guessed it), added more Stickles! Then I just adhered the penguin with foam adhesive and glued on the "merry" letters. It ended up being a pretty simple, yet fun card! I'm linking this project up with: Simon Says Stamp's Monday Challenge!! The throwback challenge Im doing is the Ombre one. I felt it was so fun and a great way to use my Distress Inks! 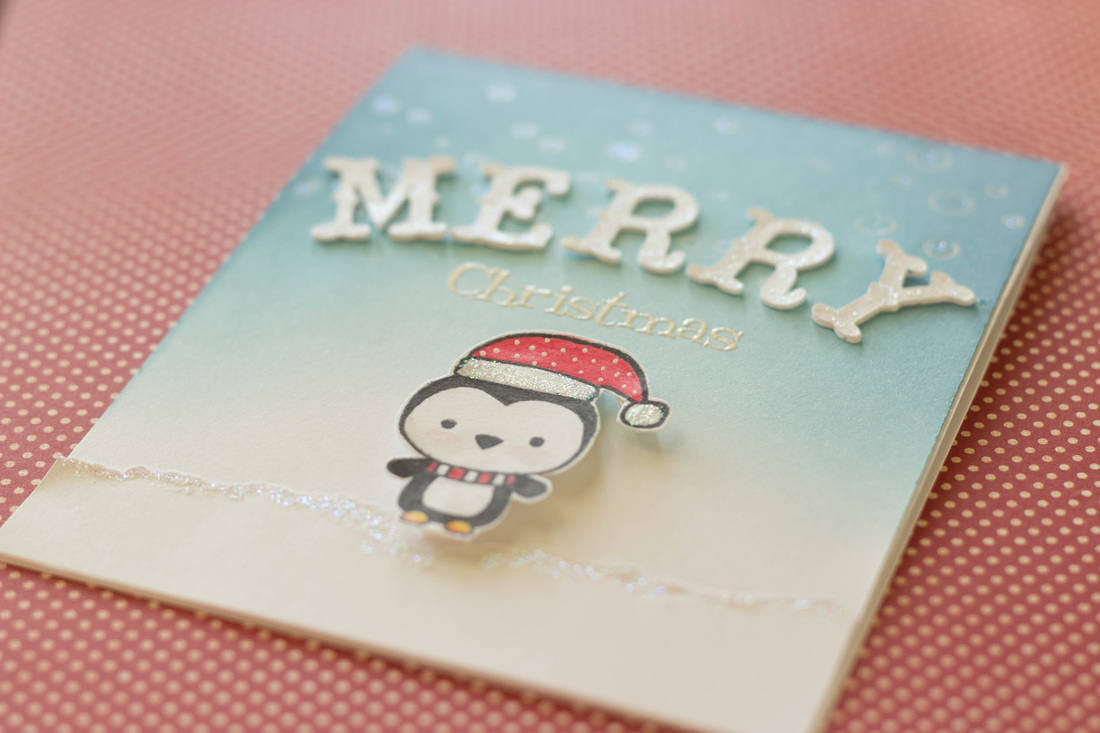 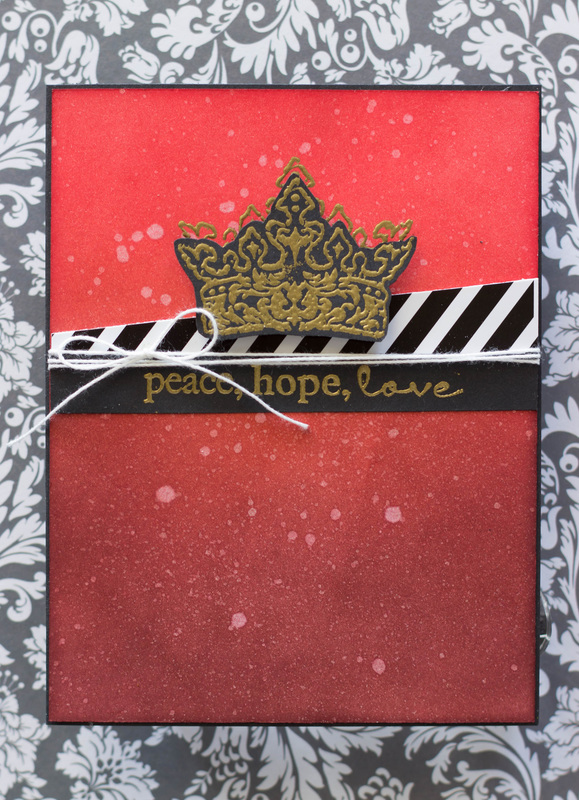 I've got another Christmas card to show you today! I started by Distress Inking my background with three shades of red, starting with the lightest shade and blending into the darkest shade. Then, I was going for a light spritz of glitter mist, but my bottle got clogged so I ended up with much bigger drops than anticipated. I like how it turned out, though! The crown was stamped and embossed in gold on the background, and then again on a piece of black cardstock. I adhered it with some foam adhesive. I also stamped and embossed the sentiment. To finish it I added a little piece of bold black and white striped paper, and wrapped some string around it. The design is simple, but the colors give it such a bold look! Im linking this project up with: Simon Says Stamp's Wednesday challenge 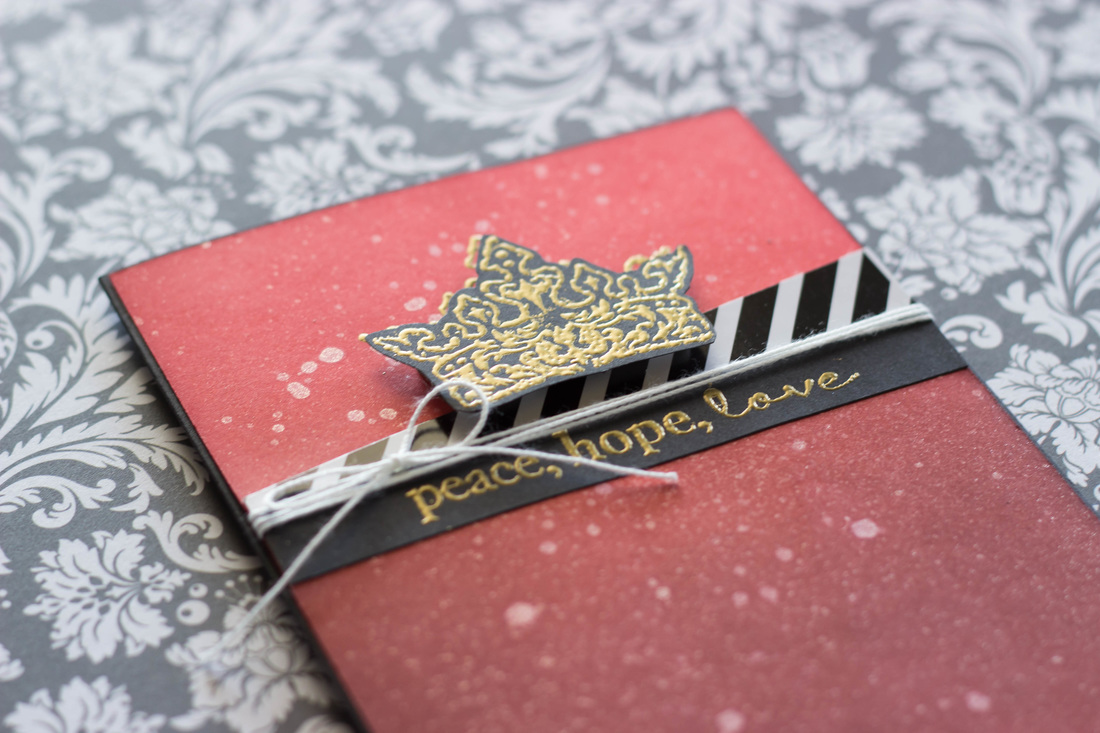 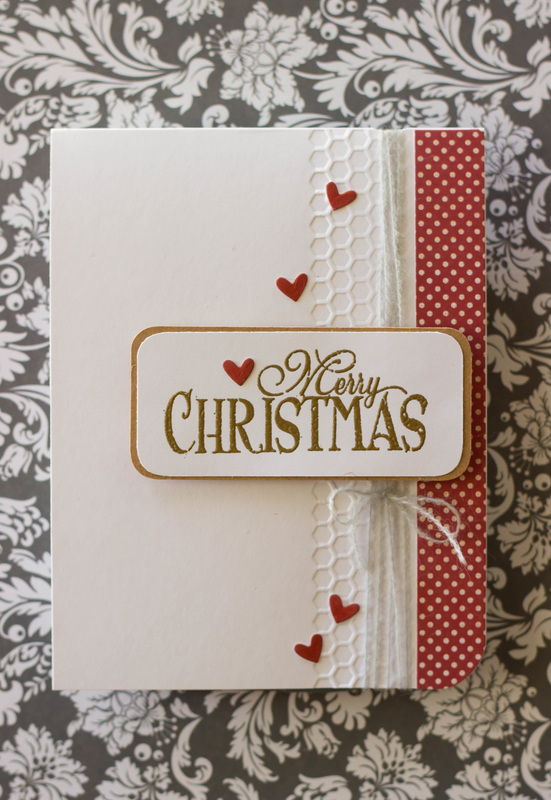 I have a very simple card to share with you today. Sometimes you just don't have a lot of time to whip something together, but that doesn't mean it can't look nice! I always try to get a head start on my Christmas cards because I definitely am not the kind of person who likes being in a rush last minute. For this card I just took a white card base, and adhered some red polka dot paper on one side. Then, I rounded that bottom right corner. I thought it needed a little bit more, but didn't want it to be too overdone, so I just ran it through my Sizzix with a small honeycomb embossing folder. Then, I added some string for a little more texture. The sentiment is stamped and embossed in gold, and matted on some kraft cardstock. The edges of that is rounded, as well. I then adhered the sentiment over the string with some foam adhesive. For a finishing touch and to tie the red together, I added some Sizzix cut hearts that I colored with some Distress Ink. Again, its simple, but it would be an easy one to make multiples of!  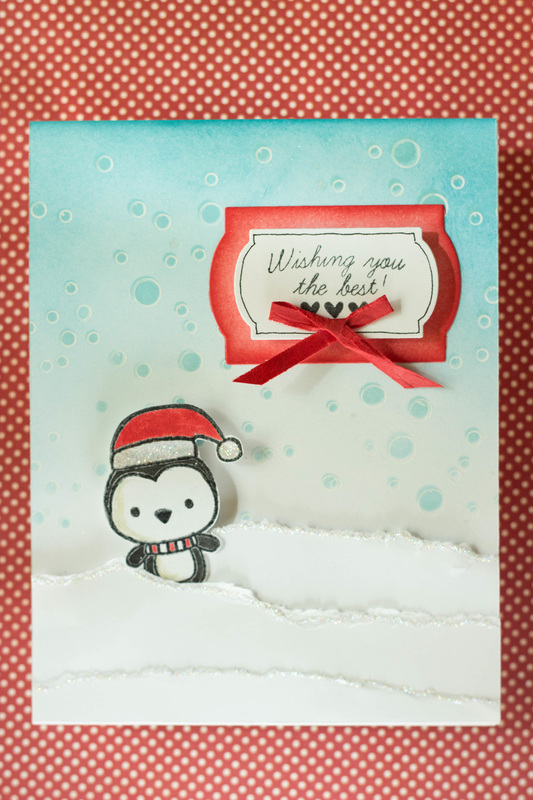 With the seasons changing (kinda, its still hot-ish here), it gets me thinking of making Christmas/ winter cards! This one was so fun to make. Also, the sentiment is kind of versatile, so you could send it out for Christmas or just for fun. I started with Distress Inking the background in Tumbled Glass. Then, using Heidi Swapp's Confetti stencil, I added the circles to create a snowy scene. I used a gel pen to outline the circles as well, just to help them stand out. For the snow, I just tore several pieces of white cardstock and layered them. I tucked our little penguin friend in between a few of the layers. He was stamped and embossed, then colored in with more Distress Ink. My sentiment was stamped as well, and layered on with a few labels I cut with my Sizzix. Finally, to finish it off, I added some Stickled to the tops of the snowbanks and to the penguin's hat. A little shimmer always looks good!! 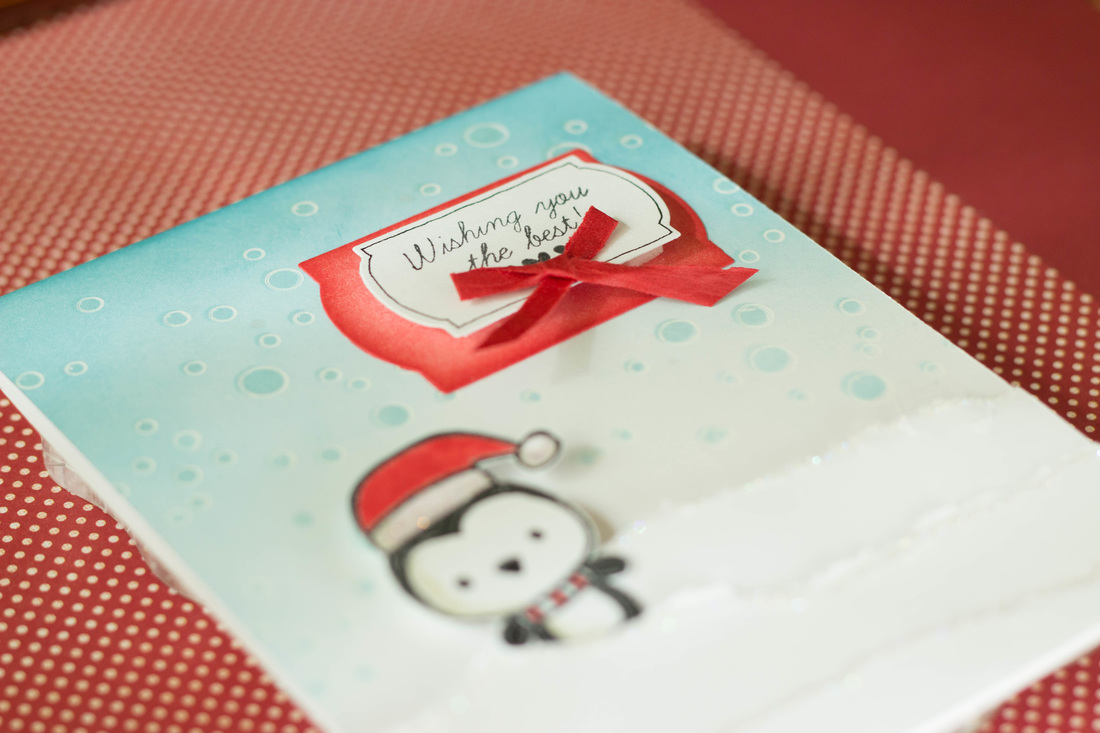 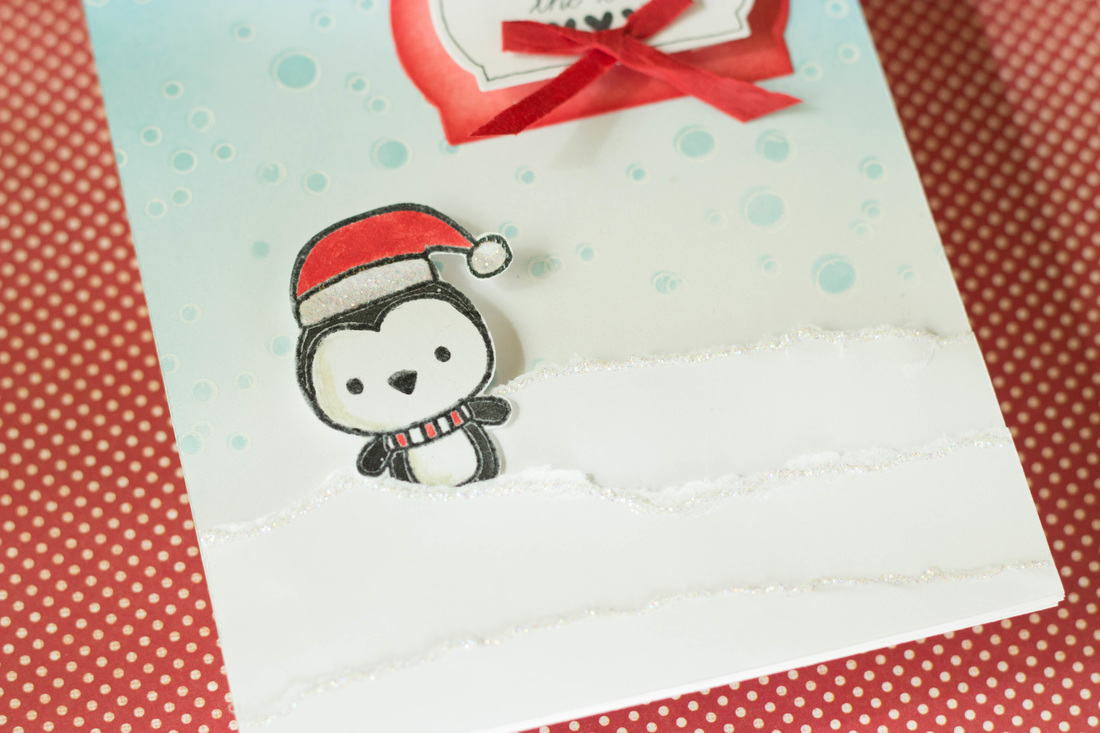 I'm linking this card up with:
Simon Says Stamp's Monday Challenge! They want to see what our favorite stamping techniques are! I have too many favorites to pick just one, but this card includes embossing. First time I saw heat embossing I thought it was magic, and I still love using that technique! 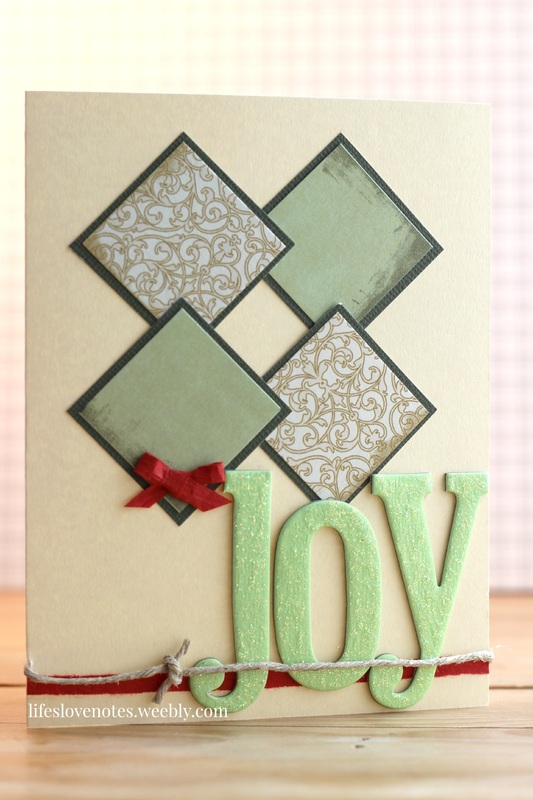 That's right, folks. Its never to early to start prepping for Christmas. When I saw the sketch on this week's challenge at Operation Write Home, it just seemed like it needed to be a Christmas card. Its a pretty simple sketch, and I didn't even include all the layers it called for. I cut out my four squares and arranged them on the card. Then, I made a cute little bow with my red raffia, and also glued a strip of it along the bottom. I have had these green chipboard letters forever, so I glitzed them up with some Diamond stickles. Lastly, I wrapped some twine around and knotted it. 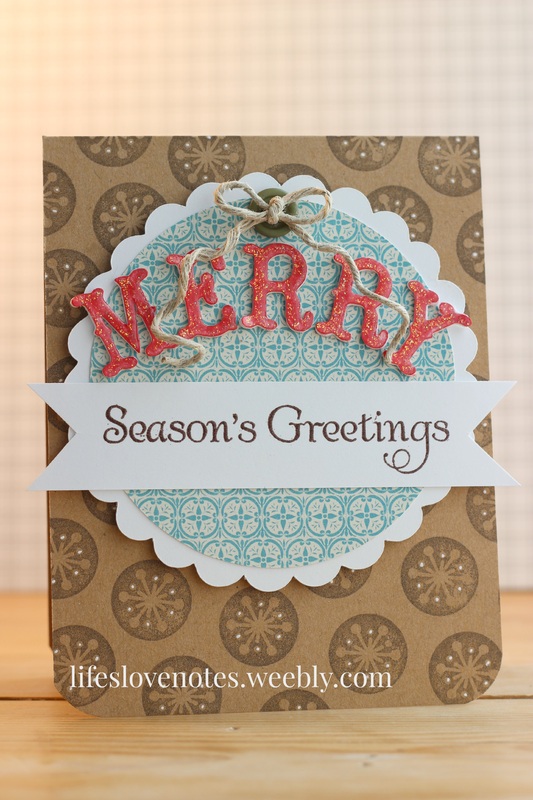 So, I continued the Christmas theme to my second card. This on is being linked to Simon Says Stamp. Their Monday challenge this week is to include the letter "M" in some way. "M" is for "Merry"! I cut out the letters for the word "Merry" with my Cricut. I glued three layers together to give it a little more dimension. Then, I colored the letters red with an ink pad, added some diamond stickles, and applied glossy accents on top. Its oh-so-sparkly with a glossy finish. I stamped and embossed "Season's Greetings". The circles that I used are also cut with the Cricut. The background I created by stamping that cute snowflake over and over in a sort of polka-dot pattern, and used my white gel pen to add just a bit of detail. Last but not least, a button and a twine bow at the top. 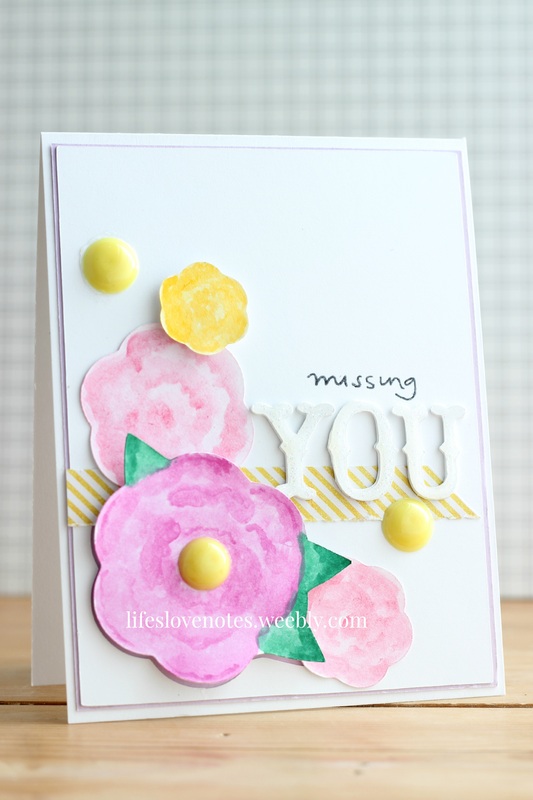 Ok, so this last one here does not follow the Christmas theme. The midweek challenge for OWH is about "missing you" cards, and SSS is challenging us to use die cuts. So I started by cutting out the flowers with my Cricut. Then, I watercolored them with my pencils. I used just one strip of patterned paper and glued on the letters to spell "you". These letters were also cut with my Cricut. I don't know if you can tell, but I also applied some stickles to the letters. After adding the stickles I remembered the guidelines about glitter for OWH, so I applied some glossy accents over the top. Hopefully that should keep any glitter from escaping! Below are a few of the products I used on these cards. To see more products that I love and recommend, please visit my Amazon store! There is a link to it in the navigation menu at the top of the page.
|

Pin it!

AuthorSo glad you found me! This blog is my little space where I can share bits about my life and my latest crafting projects (mostly handmade cards). My goal is to share, inspire, and to be a positive presence in the creative community. 

Find me on Instagram!Archives
January 2018
Categories
All
Link Love
 

|


 RSS Feed
