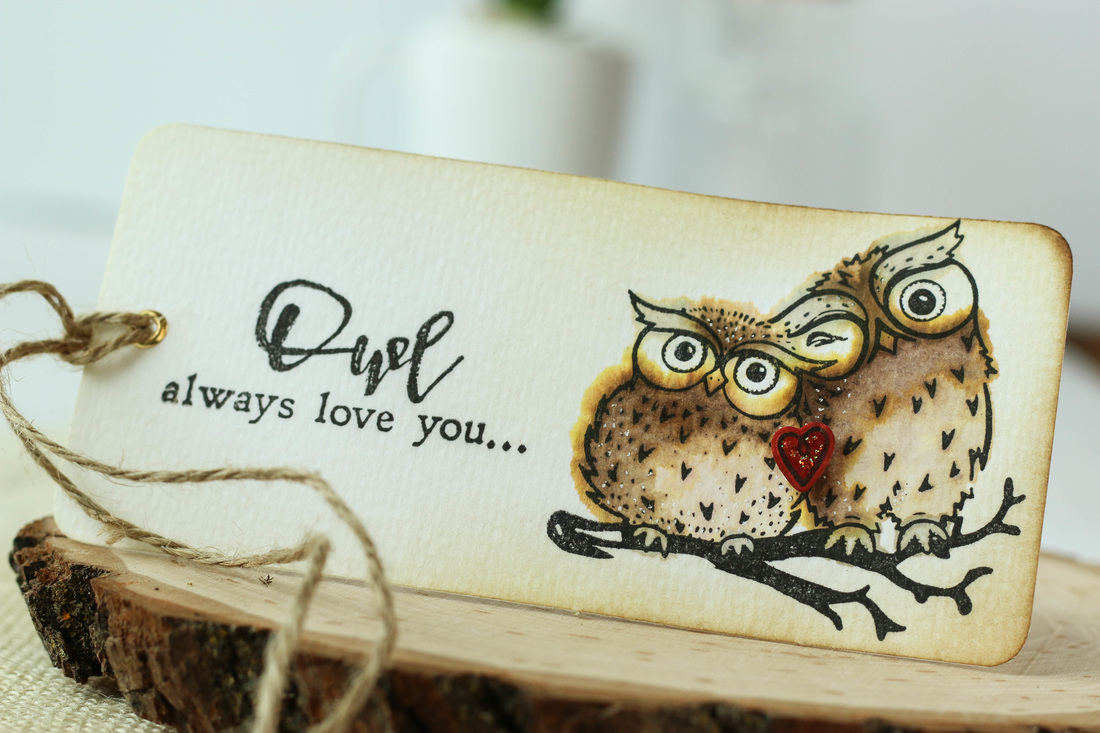
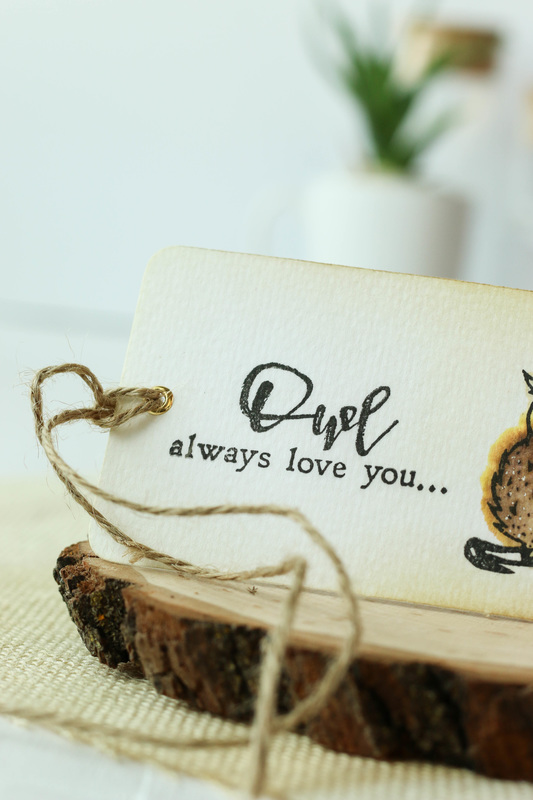
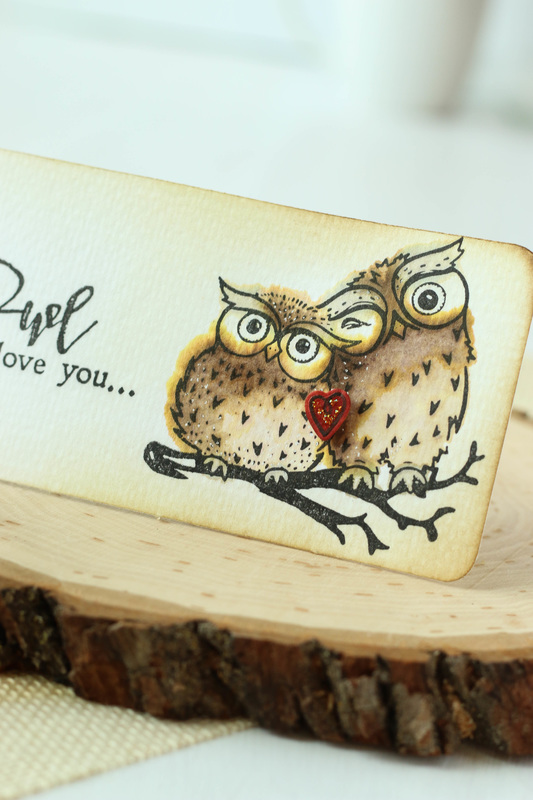
 If you follow me on social media you have probably already know that I am on the Brutus Monroe Inspiration Team. The team is so fun to be a part of because Brutus Monroe makes some amazing stamps, inks, paper, and more. Stamping is my favorite thing to do and it is what sucked me into the world of papercrafting in the first place, so it feels right at home playing with these goodies! When I saw these adorable little owl stamps, I immediately wanted to watercolor them. I stamped them on this piece of watercolor paper and then used different shades of Distress Inks to color them in. I had originally intended to just practice on these owls and had no intention making them into anything. After the coloring was done, I stamped the sentiment next to the owls and inked around the edges of the paper. It turned out to be a nice little tag!
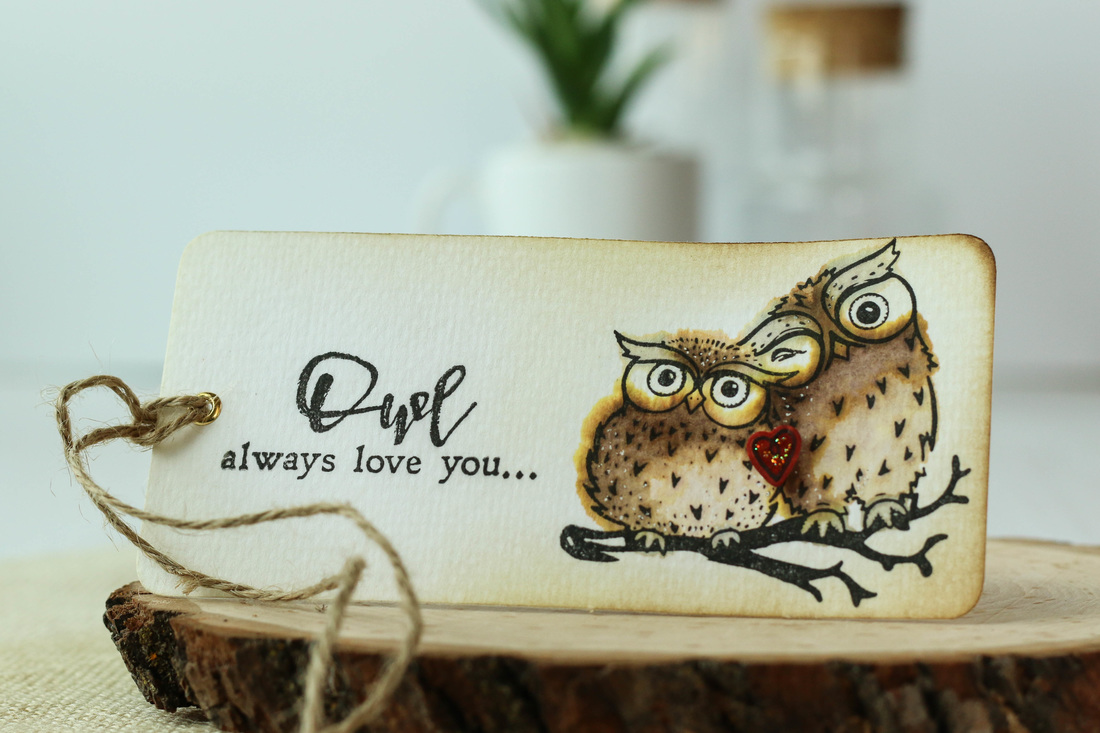 I finished this little tag off by adding a die cut heart in between the owls that I colored with Distress Ink and added some Stickles to. Then, for the string on the tag I added some Canvas Corp Jute Twine. I love the soft natural look that this tag has going on! If you want to see more Brutus Monroe goodies head over to their store! They have a lot of unique stamps and goodies. The best part is they have a library of digital papers and SVG files. Many of them coordinate with the stamp sets and are totally FREE! 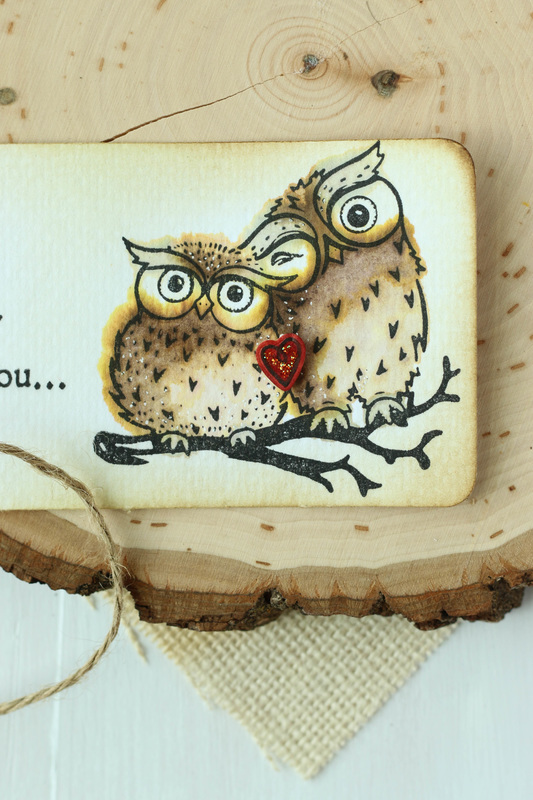 Thanks so much for stopping by today. I did manage to get a process video of these cute little owls so please watch and enjoy! Happy Crafting!
0 Comments
Creativation 2017 was such an exciting and amazing experience! So many new memories were made from helping Canvas Corp Brands set up their booth, to walking the show floor and seeing the major craft companies showcase their new products. One of the new products that is definitely a show stopper is 7Gypsies' new Architextures. These are a variety of vintage-inspired pieces that can be used for mixed media, cardmaking, papercrafting, and anything you can think of! There are rub-ons as well as self adhesive pieces that include vintage Mason jars, dressforms, lanters, trucks, chicken wire, and SO MUCH more! These pieces are meant to look and feel like the real thing. You can see through the glass of the mason jars, and the dress form feels soft just like a real fabric dressform would. CCB had a "Create and Take" table where some of us designers could sit with customers and just create with the new pieces. This little tag here is one that I created with some of the new 7Gypsies Architextures. 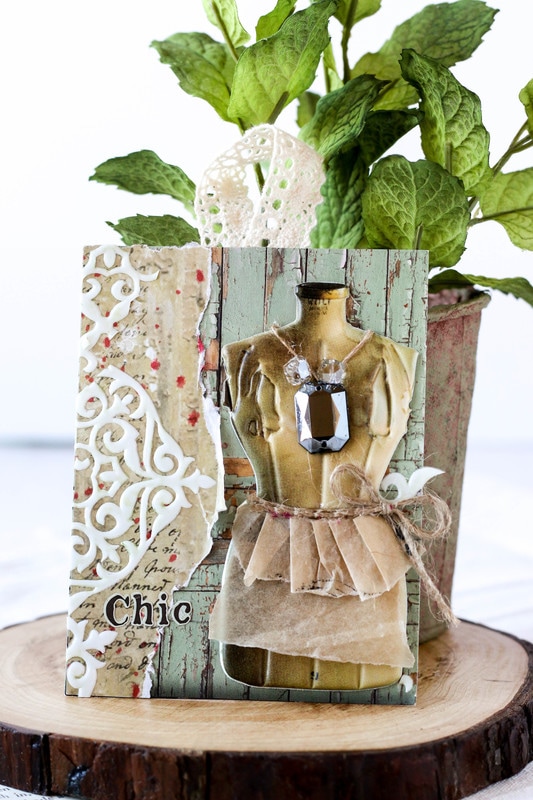 What's so cool about this piece is that the background is actually made from the Architextures packaging. 7Gypsies cleverly created the packaging to be these amazing designs so that you can cut and create with them, as well. It definitely adds more value to the product! Since the dressform is self-adhesive, it was just adhered down onto the background. Then, with some tissue paper bits and a little bling, I was able to dress her up a bit. The details along the lefthand side is just some torn paper and then bits of another design of Architextures that I cut and pieced together. To finish the tag, I added a few sticker letters to spell the word, "Chic" and then added a lace loop at the top. 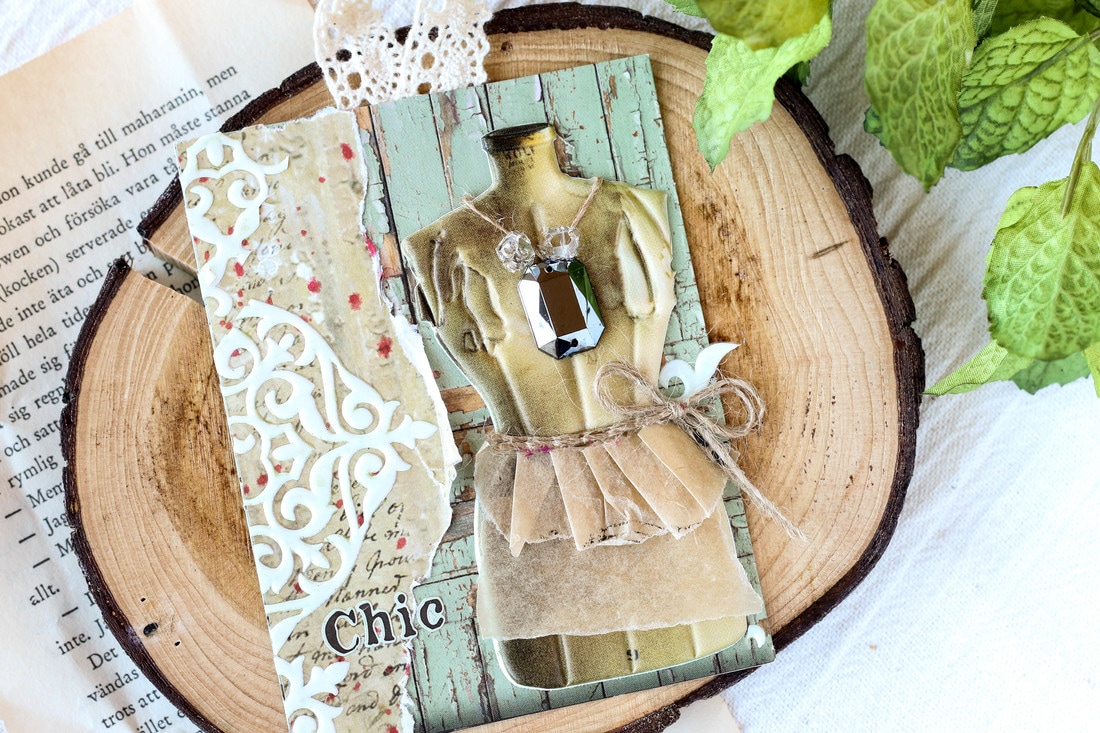 These Architextures are so much fun to play with! If you are interested in getting your hands on some, they should be available in the Canvas Corp Brands' shop on February 2, 2017. Keep your eyes peeled for them! Im sure we will see some amazing creations coming up using these 7Gypsies Architextures! More From Marie Nicole...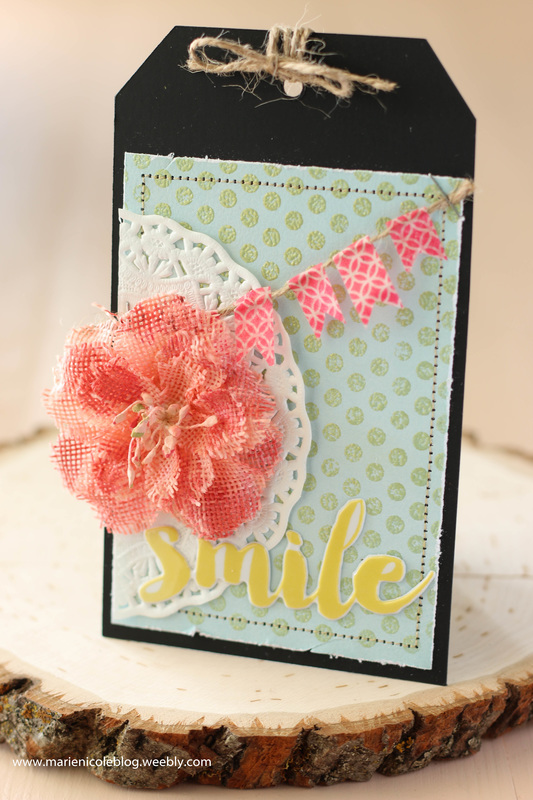
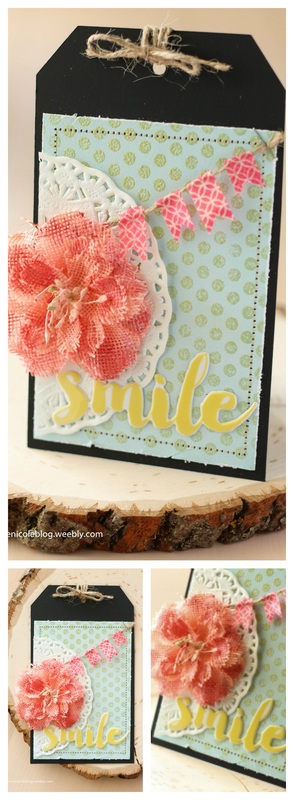
I recently signed up for a tag swap with CCB, and although I havent really done tags, I am finding out that they are a lot of fun! I guess they are pretty similar to cards, but its always fun to shake things up a bit and create in a different mindset.
For this tag, I used some of CCB's Chalkstock. The first time I felt this paper I was in awe of how luxurious it felt. Its super thick and has such a smooth texture to it. Being chalkstock, you can write on it with chalk, but I chose to use it as the base for this tag. I cut out a tag shape using my Cricut. This chalkstock is thicker than my regular cardstock, so I had to set the pressure on my machine a little deeper. Once my tag was cut, I went through my box of embellishments and picked out a few I liked. I ended up using some goodies by Fancy Pants Designs' Attwell collection. I cut a little piece of light blue cardstock and embossed some polka dots on it. Now, for the yellow embossing, I actually mixed some PearlEx pigment with clear embossing powder. I had never done this technique before but it actually worked pretty well! 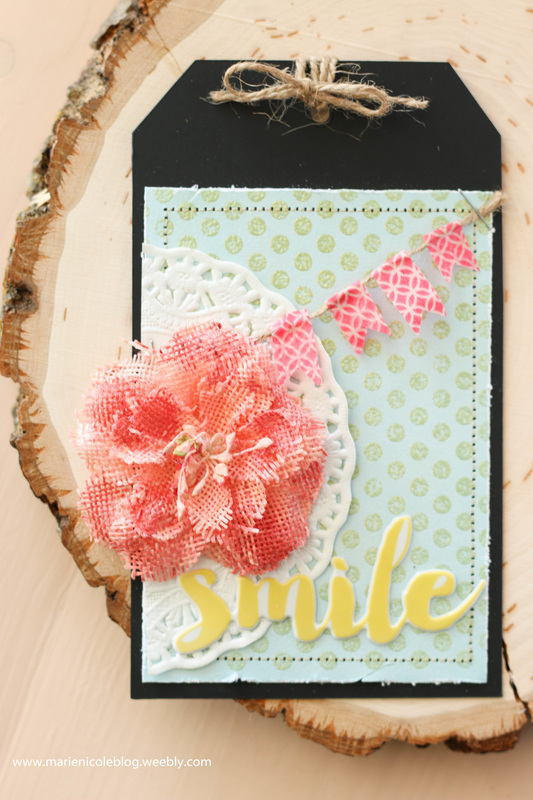
After my paper was embossed, I distressed the edges with a scissors and also sewed it down to my chalkstock using my sewing machine. To embellish over the top, I cut a doily in half, and then added a sticker that says "smile".
I added a little mini banner using some twine and washi tape. Lastly, I used a flower from Petaloo and misted it using Tattered Angels Wedding Pink Glimmer Mist as well as a few splashes of Vintage Pink Glimmer Mist. I stapled the banner down, and then glued on the flower, and that pretty much finished this tag! 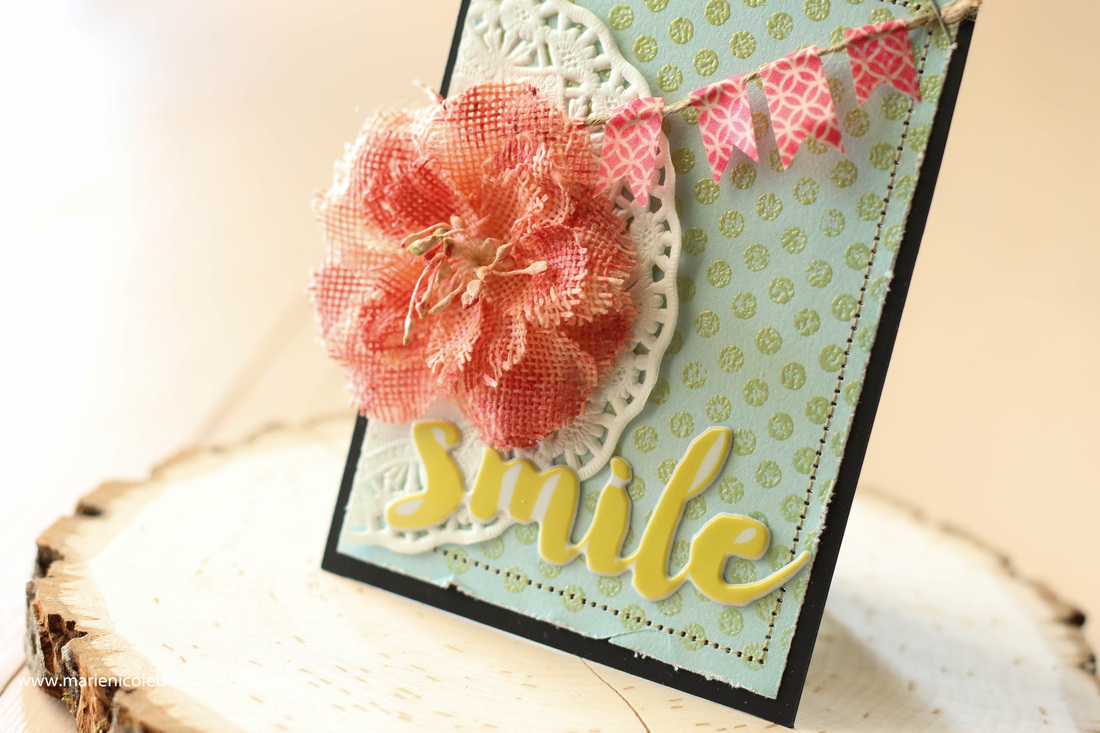
This tag ended up being sweet and simple but I love how the colors go together. I made a video as well so I hope you take a few minutes to watch!
Happy Crafting!
|

Pin it!

AuthorSo glad you found me! This blog is my little space where I can share bits about my life and my latest crafting projects (mostly handmade cards). My goal is to share, inspire, and to be a positive presence in the creative community. 

Find me on Instagram!Archives
January 2018
Categories
All
Link Love
 

|


 RSS Feed
