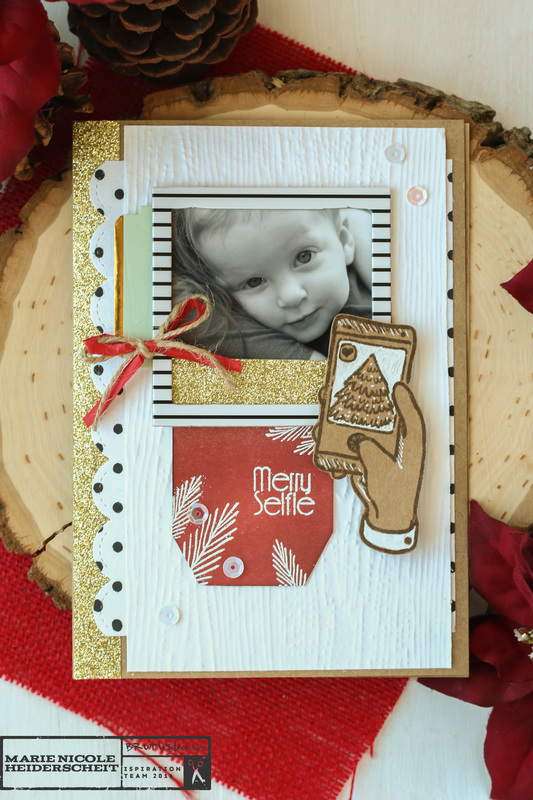
Hey, everyone! Did you catch my card last Wednesday over on the Brutus Monroe's blog? I used their November stamp from their stamp club as the inspiration for this project. Since the stamp is centered around photos and selfies, I felt it was perfect for adding a little something special to a Christmas card with a photo on it. We love sending and receiving photos during the holidays, anyway, so why not just incorporate that idea into a card? You can "scrap" your photos on a card and send the whole thing off to your loved ones. This particular card is on a 5x7 card base, so I love that if you wanted to, you could just place the whole card into a frame and set it on display. What Grandma wouldn't love that?!? Anyway, if you want to see more photos and details on how I put this card together, you will have to hop on over to Brutus Monroe and read all about it there. Thanks for stopping by and Happy Crafting!
0 Comments
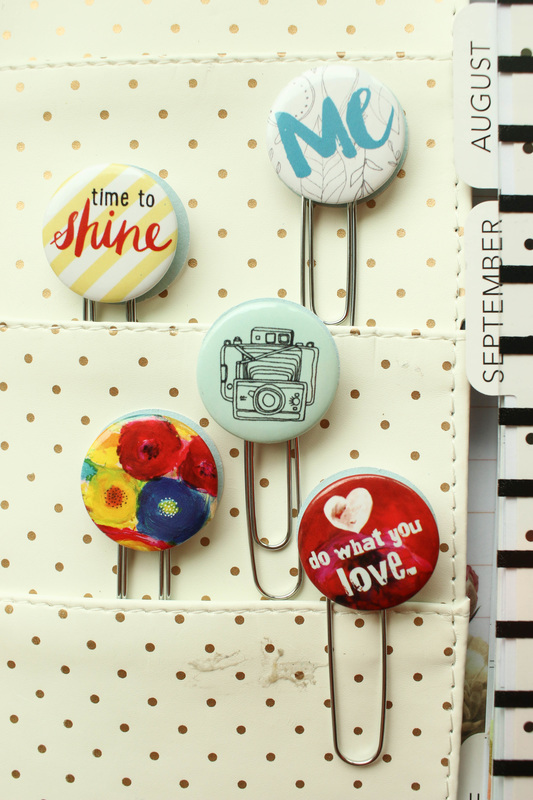
Are you ready for a super simple idea you can use in your planner?
I have had these little Flair buttons from Fancy Pants Designs for a while now, and they have just been begging for me to turn them into something cute for my planner! All you need is these buttons (or any other cute little embellishments you might have), paperclips, paper, and foam adhesive. 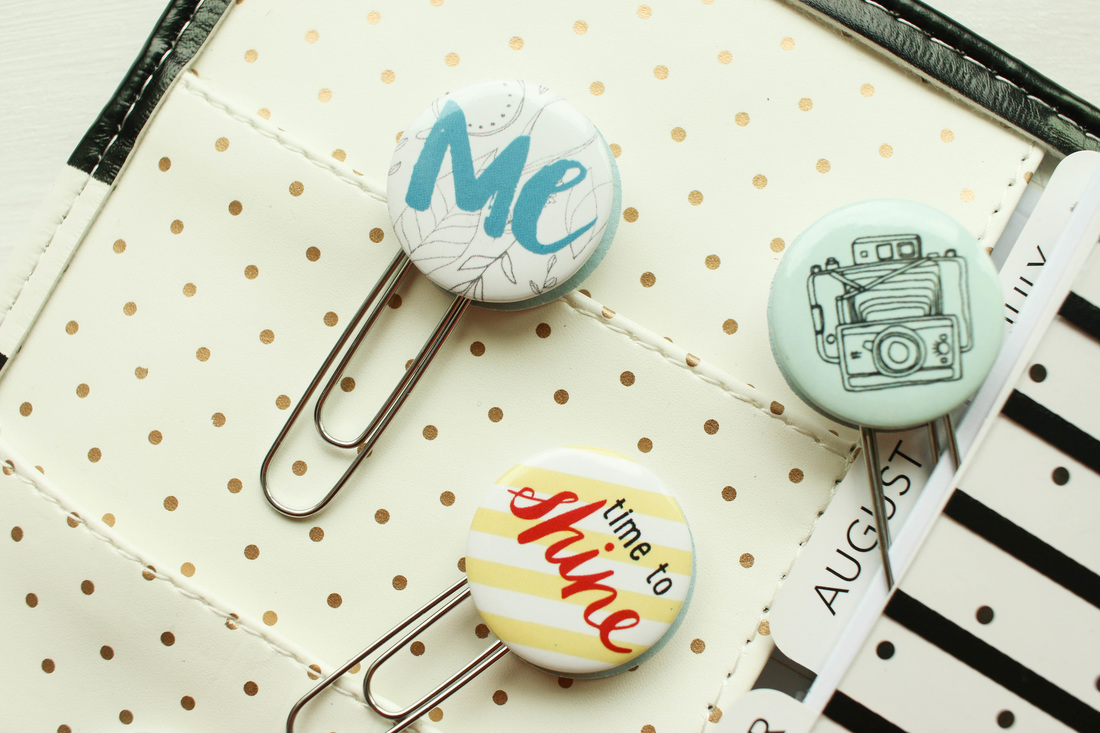
First, take your paper and cut out some circles the same size or slightly bigger than your clips. Then, using foam adhesive, Adhere your clip to the back of your embellishment.
Remove the backing from the foam adhesive and sandwich your paperclip between the button and the paper. Thats it! 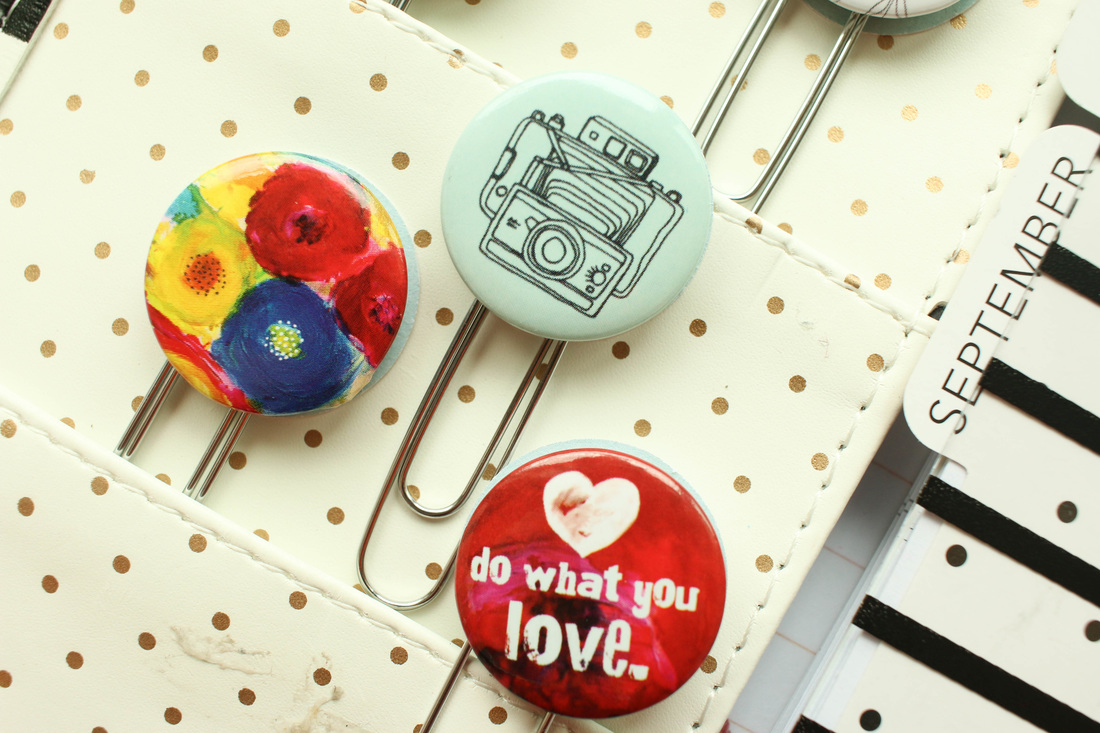
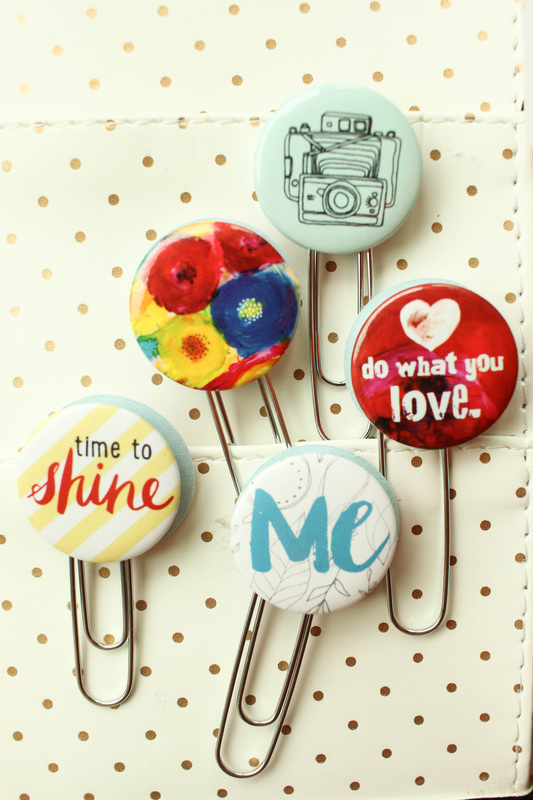
These are so simple you can make a bunch in no time at all. You aren't limited to only using them in your planner, either! Use them on cards or in scrapbook layouts, in your office, or as school supplies.
I also made a quick little video of how I put these together. Enjoy!
Hey, everyone!
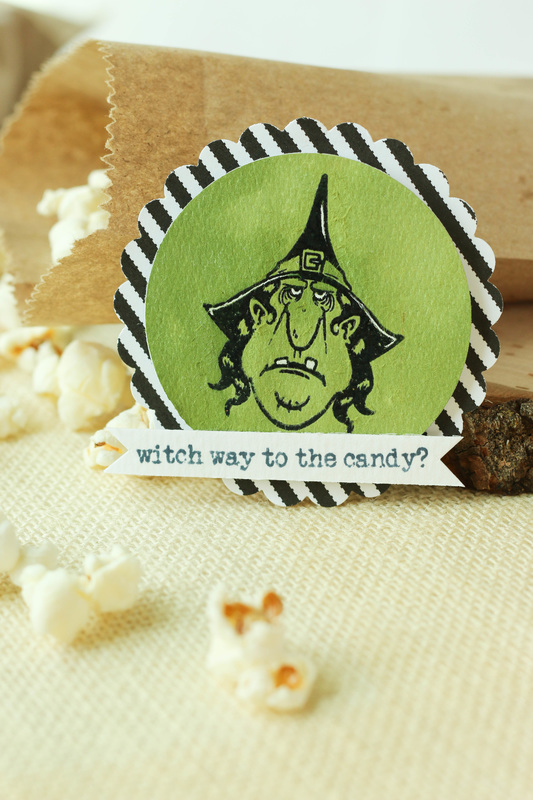
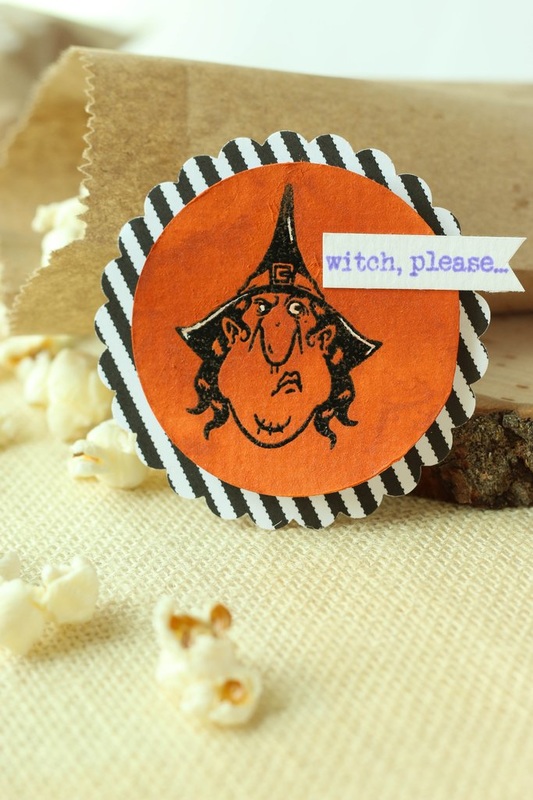
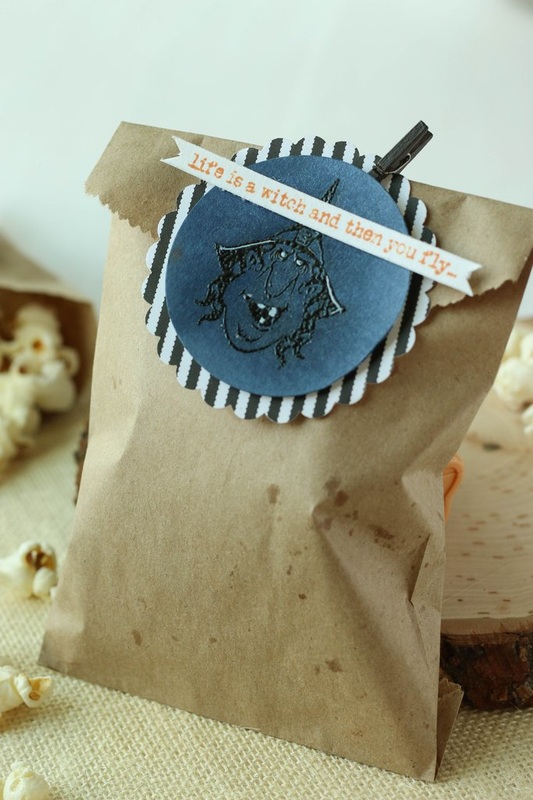
I'm over on the Brutus Monroe Blog with these fun little Halloween tags! These were so fun and easy to make, and they have so many possible uses. I used them here on some Canvas Corp paper bags filled with popcorn, but you could clip them on candy bags, use them on cards, or they could be gift tags. Use your imagination and get creative! If you want to see how I created these tags, go ahead and watch the process video! 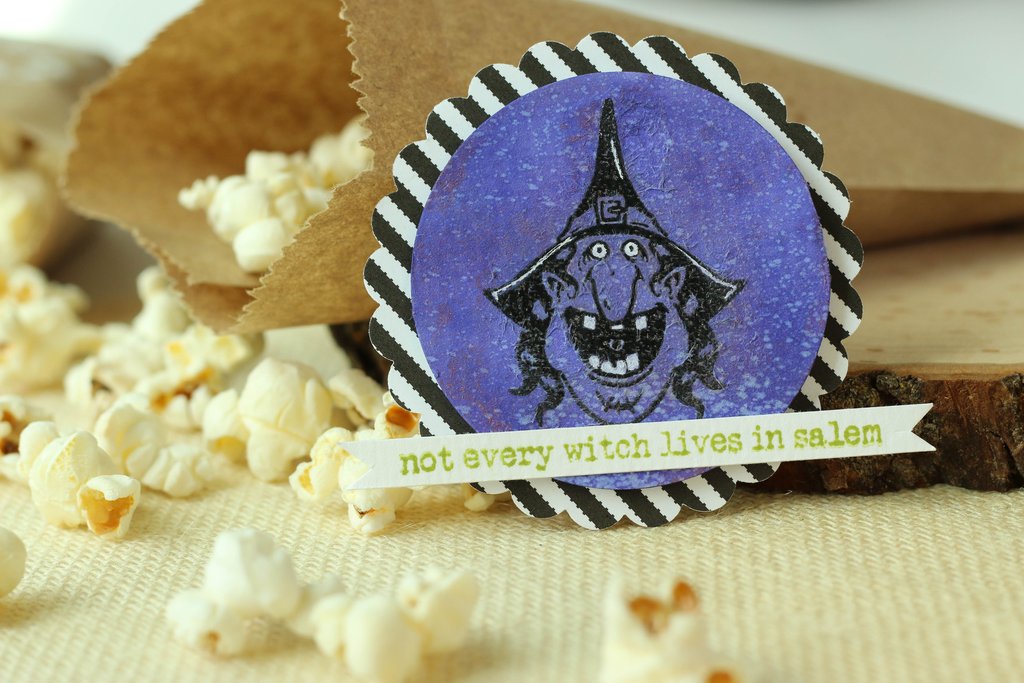
I started out by using my circle punch and I punched four circles out of watercolor paper. Then, I stamped one witch face on each circle using Brutus Monroe's "Witch, Please" stamp set. I stamped each face out with Versamark black ink, and then quickly sprinkled some clear embossing powder over the ink before it dried. This gives me a nice black, shiny embossed image! I then used Brutus Monroe's Shimmer Sprays to color each circle with a different color. I hit the Shimmer Spray with my heat tool to speed up the drying process and then grabbed my white gel pen to color in a few details on the stamped image. I felt that highlighting some of the details with the gel pen really made the image pop! Next, I grabbed a sheet of Canvas Corp's Black and White Ribbon Stripe paper and punched out four scalloped circles slightly larger than my watercolor paper circles and adhered them behind. Lastly, I stamped the sentiments on a little strip of paper and adhered them to each tag. 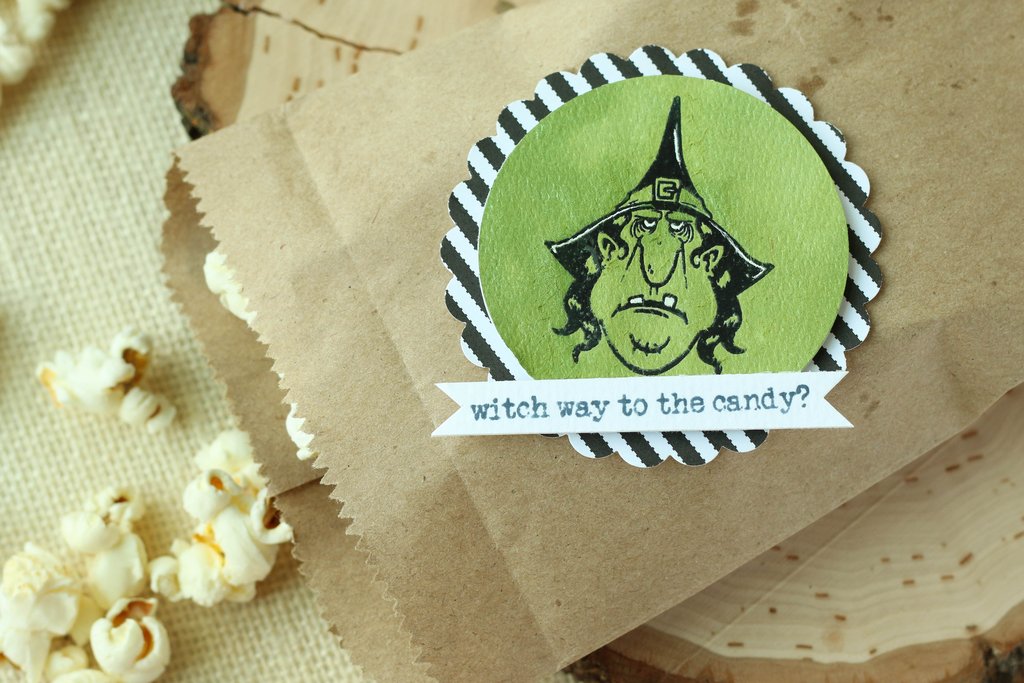
I also used some Canvas Corp Mini Clothespins to clip the tags to each popcorn bag. Super cute, easy, and sure to bring a smile to your Halloween guest's faces! As you can see, my little munchkin couldn't wait to get his hands into the popcorn! How fun would these treat bags be on a Halloween buffet or candy bar? Let guests fill their own little bags full of treats and toys to take home with them. 
If you are interested in more craft goodies fromBrutus Monroe, check out their online store HERE. They have tons of stamps, inks, sprays, papers, and more! Ill also include links below to some of the other craft supplies I used for this project. Thanks so much for stopping by and Happy Halloween!
I'm also linking this up with:
Simon Says Stamp's Monday Challenge! Simon Says Stamp's Wednesday Challenge! 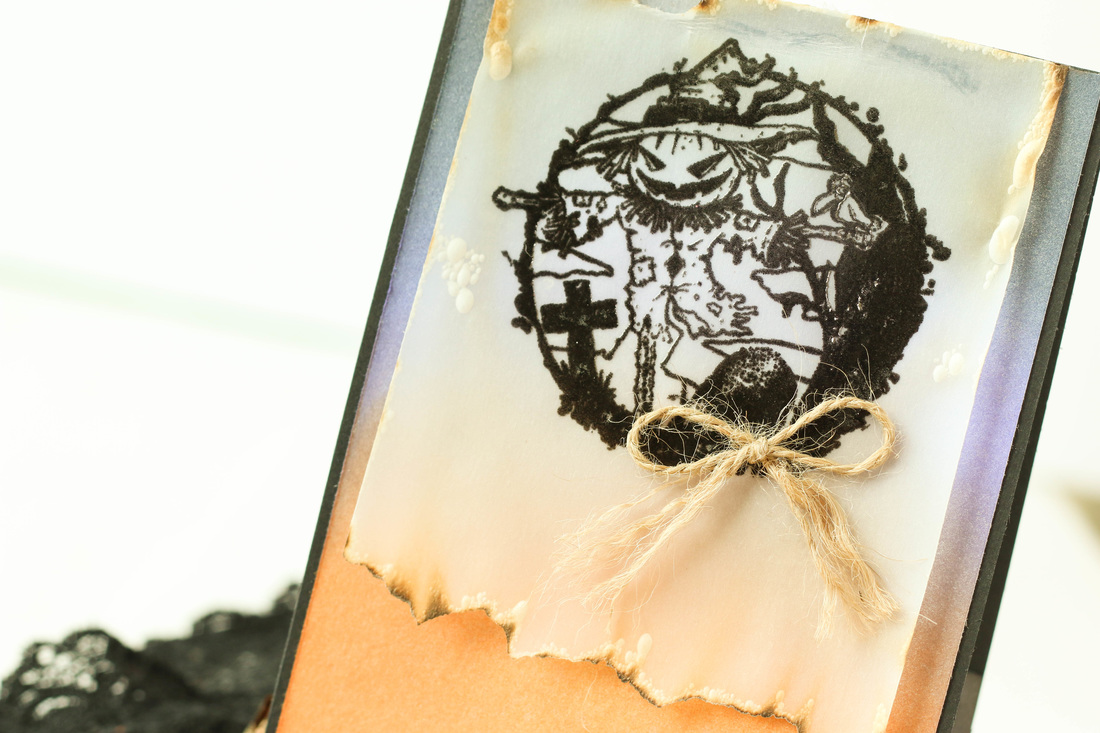
Hey, friends! It is Wednesday so that means I'm over on the Brutus Monroe blog again with a new card! Brutus Monroe recently released their new Halloween-themed stamps from the Carson Collection. This collection has two new stamps created by the animator, Chuck Carson. Chuck is an amazing illustrator and you can find more of his work at his website, The Animated Pencil. Anyway, I used the scarecrow stamp on this week's card, so if you want to see more photos and a description of how I created this fun card, head over toBrutus Monroe's Blog!
Also, while you are over there, don't forget to check out all the wonderful craft goodies they have in store! Stamps, inks, stencils, embossing powders... lots of fun stuff! They even have digital SVG files and some of them are totally FREE!
Thanks for stopping by and happy crafting! 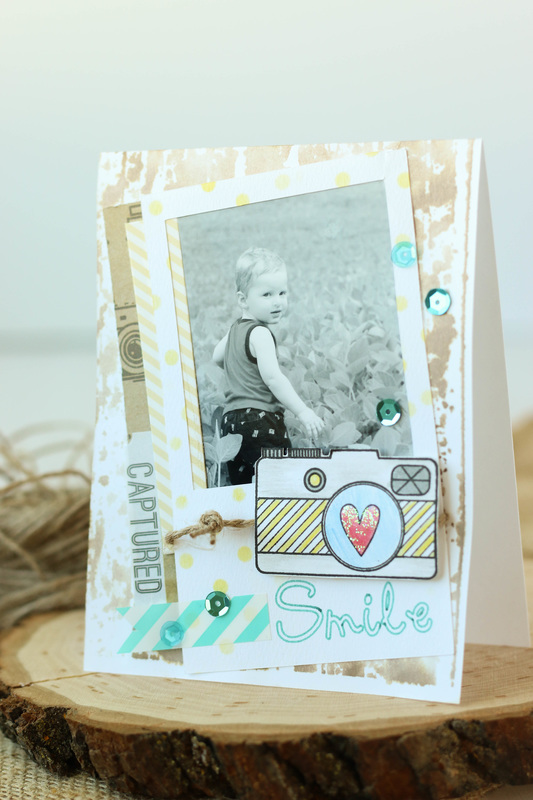
Im keeping it short and sweet with this little card today!
I think incorporating your photos into your cards is a wonderful way to share those special pictures with friends and family. I know receiving a card with photos of my nieces and nephews on it would make my day! I made this card with my son's grandparents in mind. First, I cut the little polaroid frame with my Cricut. I also wrote the word "smile" on the frame using my Cricut and a Rushon Petite pen that I fit into the pen holder. I had to test it a few times before I got the pen in just the right spot, but it worked! For the background, I used a stamp from Prima, added some Ground Espresso Distress Ink to it, and then misted it all over with a mini mister. I stamped the background first on a scrap paper, and then stamped again on the actual card. So the background is actually a second generation stamp image. Then, I layered my embellishments on top! I fit the photo into the frame, and then layered different bits of scrap papers and a few stickers around it. Its basically scrapbooking... but on a card! 

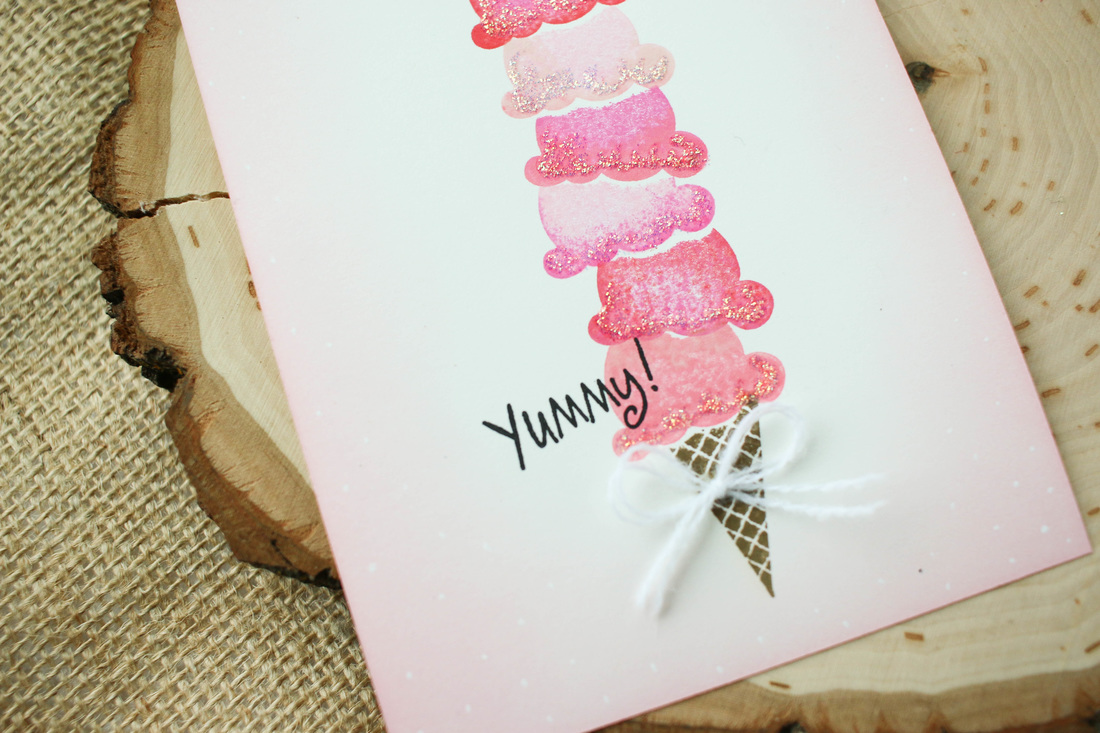
I have a pack ofCanvas Corp postcards and lately they have just been begging me to be decorated. I decided to go ahead and decorate them to send to my nieces and nephews.
I have a Stampin Up! ice cream cone stamp set that I thought would be fun to create a super tall ice cream cone with. I first stamped the ice cream scoops onto some post it note paper, then cut out the image to use for a mask. Each time I stamped a scoop, I covered it with the mask and then stamped another scoop over the top in order to stack the scoops on top of each other. Then, I used a bit of Distress Ink to ink around the edges. A little Versafine Black Onyx ink was perfect for stamping my sentiments with. To finish, I glued on a little bow and added some glittery Stickles to the pink postcard. 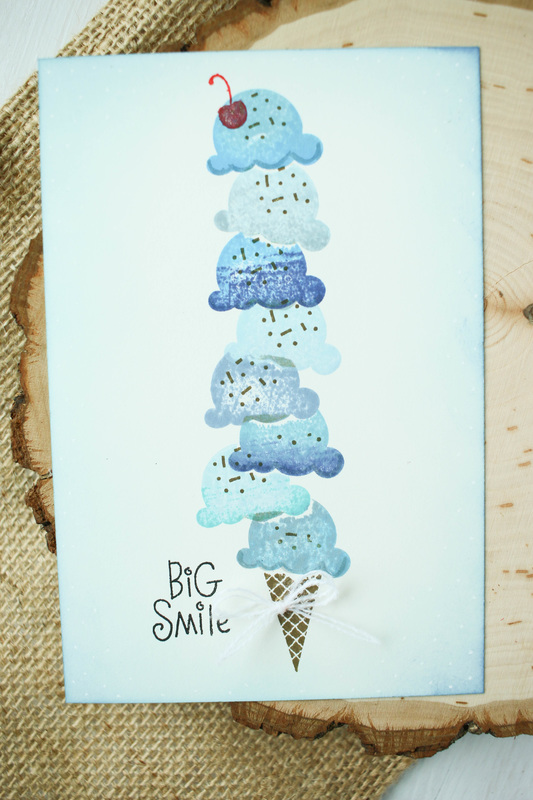
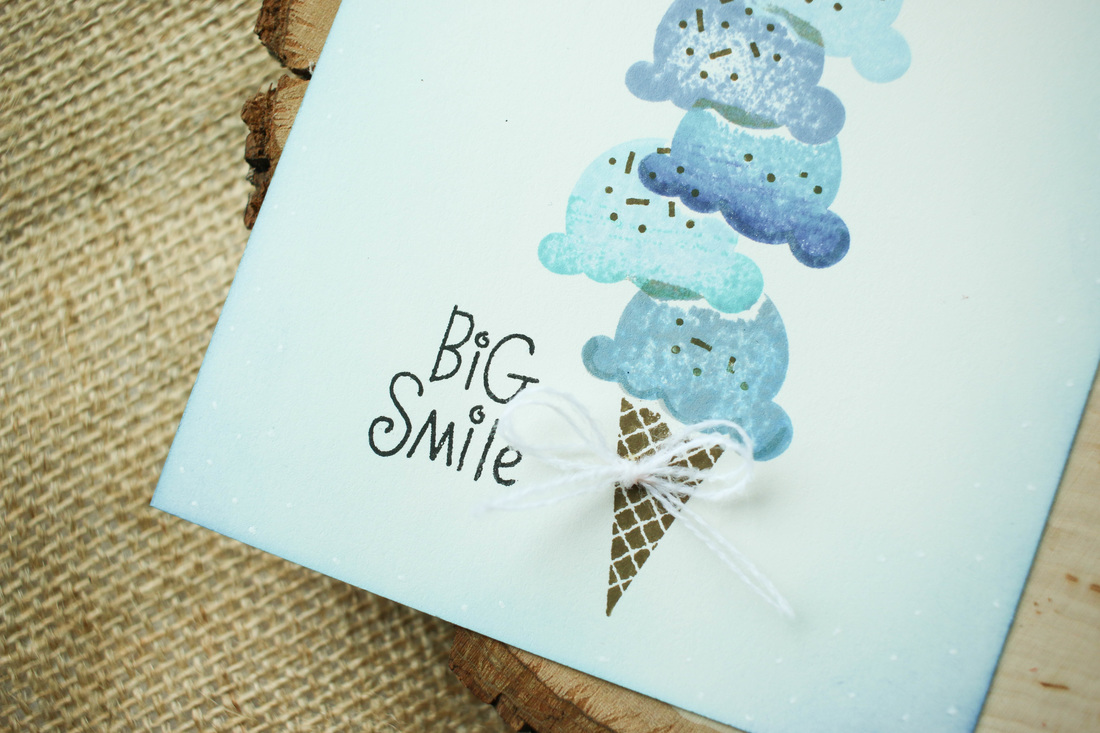
Canvas Corp postcards are 4x6 in size, and they are able to be sent through the mail like a regular postcard. I decided to put my postcards into an envelope to send them together. I also added in some cute die cuts that I thought the kids might like to play with. Super easy and cute! If you do ever decide to send a decorated postcard of your own, it might help to just ask your postal worker for some tips, and if it meets postal regulations. Im also linking this up with: Simon Says Stamp's Monday Challenge! Simon Says Stamp's Wednesday Challenge! Happy Crafting!
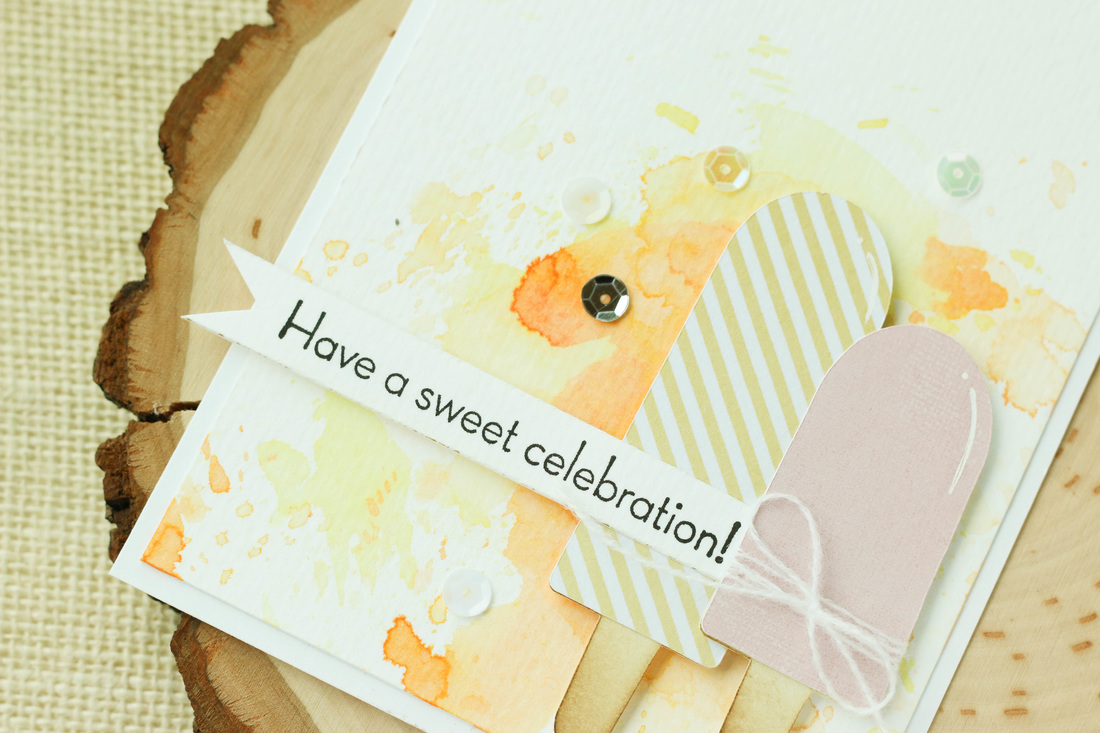 Hey, friends! I'm over on the Brutus Monroe blog today with this fun and easy card! I used the free SVG cut files from their store to build those cute popsicles. If you want more details on how I created this pop on over to Brutus Monroe and take a look! Also, dont forget to check out their STORE. They have so many great stamps, ink, and papers. One of my favorite features of their store is that they have FREE digital cut files! Most of the cut files coordinate with the stamp sets, but even if you don't own the stamps, you can get creative with these cuts. Thanks for stopping by today and Happy Crafting! I am so excited to begin working with Brutus Monroe! If you haven't checked them out already you need to hop over to their store. They have unique stamps, inks, sprays, embossing powders, papers, and more! I just received a box of goodies from them in the mail, and I have already begun playing around with a few items. Ill be posting on the Brutus Monroe blog every Wednesday, so if you are curious to see what I'll be creating, don't forget to head over for a peek! I'll also send out sneak peeks and reminders on my own personal social media links, as well!! 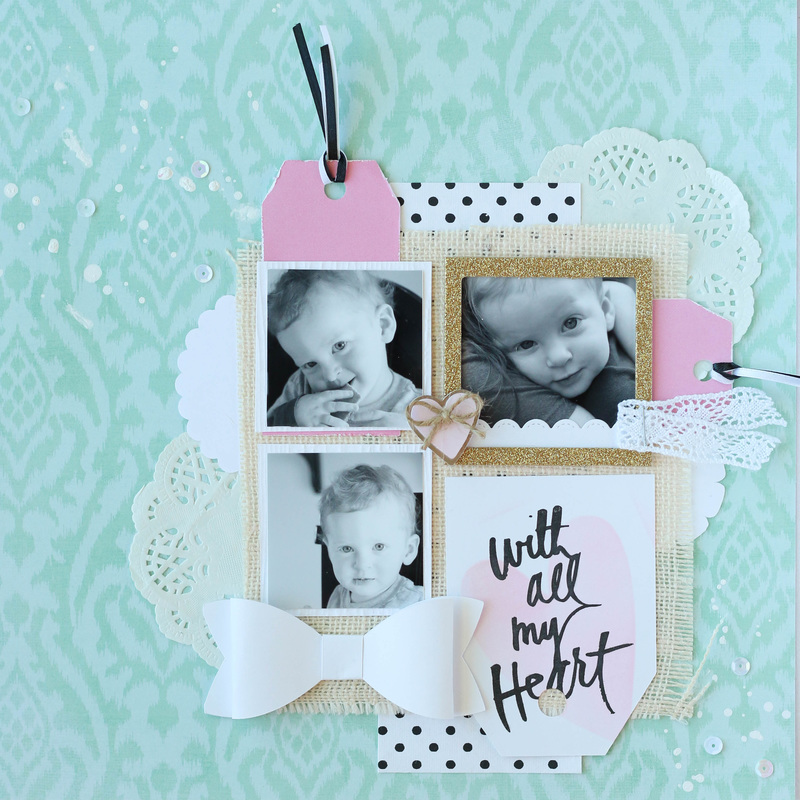
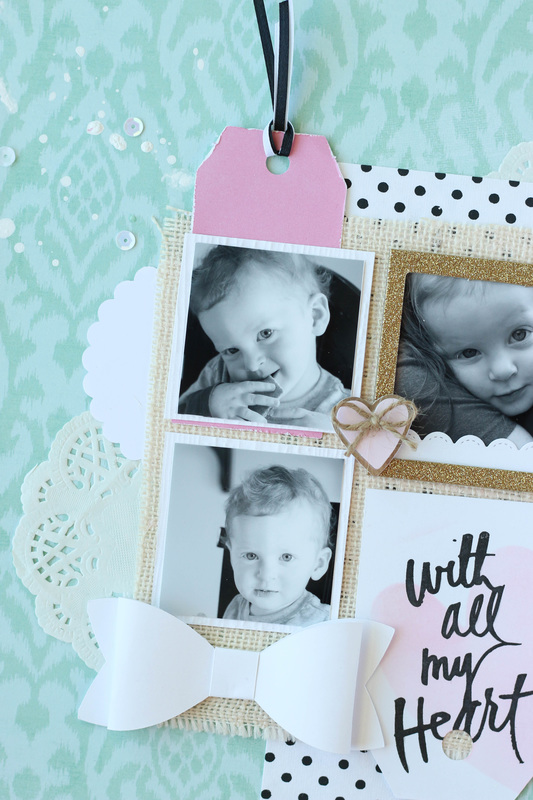
I don't know about y'all, but sometimes I can get lost when I try to start a layout. I try to come up with new arrangements but I seem to keep going back to doing the same old thing! That's where this sketch came in really handy for this layout!
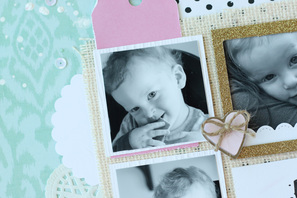
I found a sketch on Citrus Twist Kits' blog and it inspired this layout. I loved the grouping of several small photos together with all the embellishments around it. 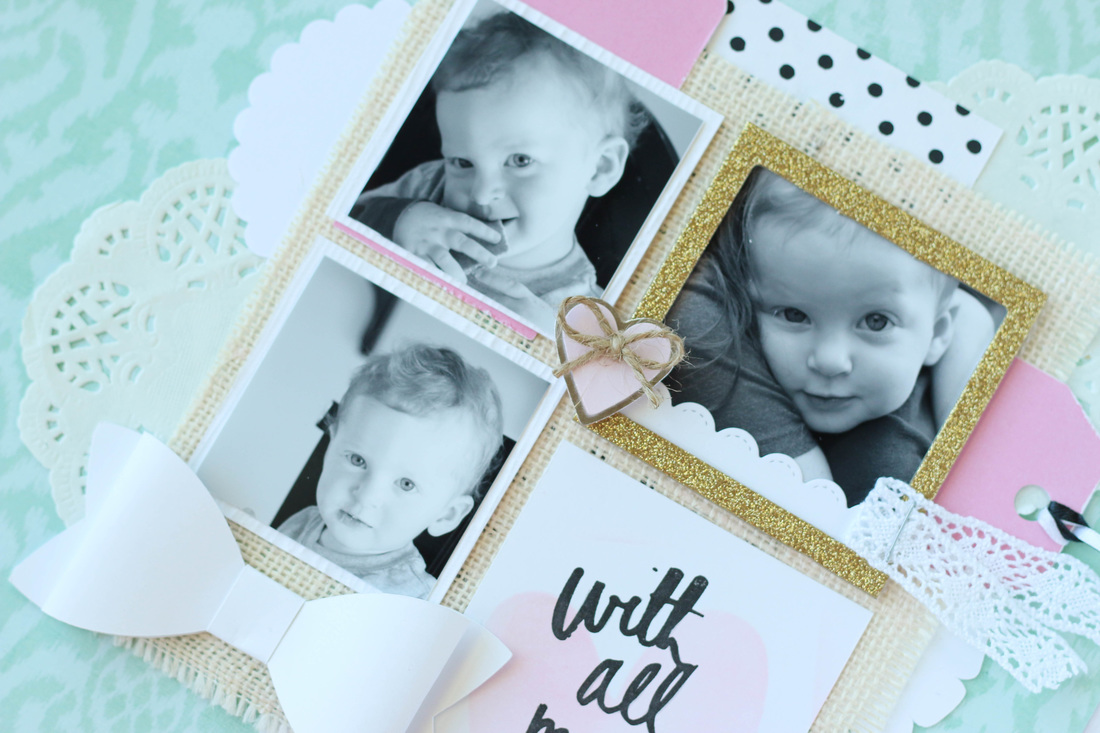
I started by pulling out little bits and embellishments from my stash that would work on this particular sketch. I used some paper doilies for the big circles in the background, and some little scalloped punched circles for the little ones. I layered those behind some polka dot paper, and some Canvas Corp burlap.
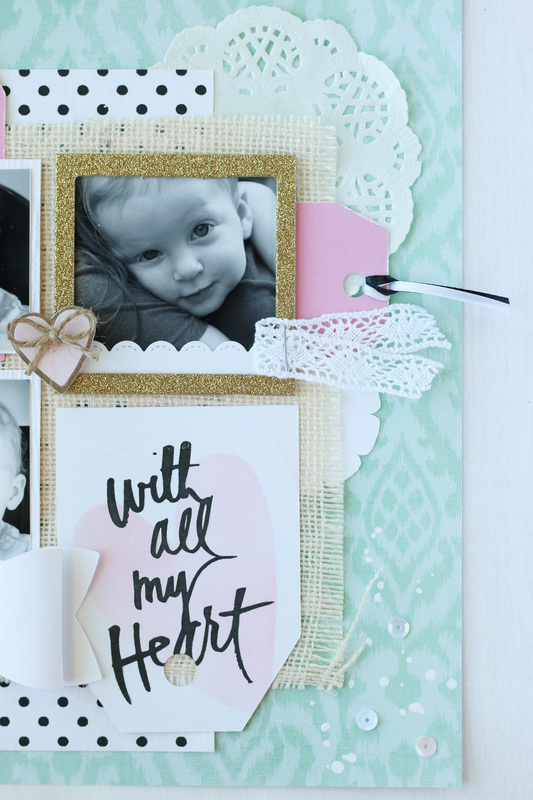
My base paper is from a Heidi Swapp paper pad that was so pretty I just had to pick it up. I found it at Tuesday Morning. They have some great prices there! I used some pink tags behind my photos, as well, and I tied some black and white ribbon onto them. 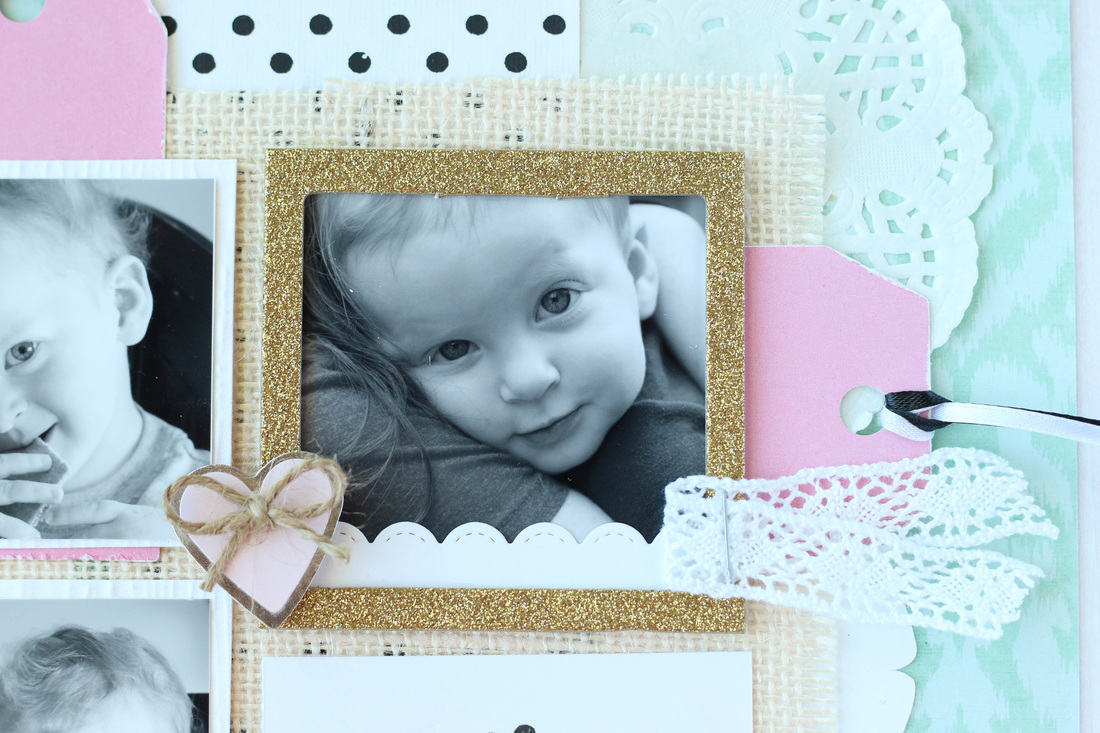
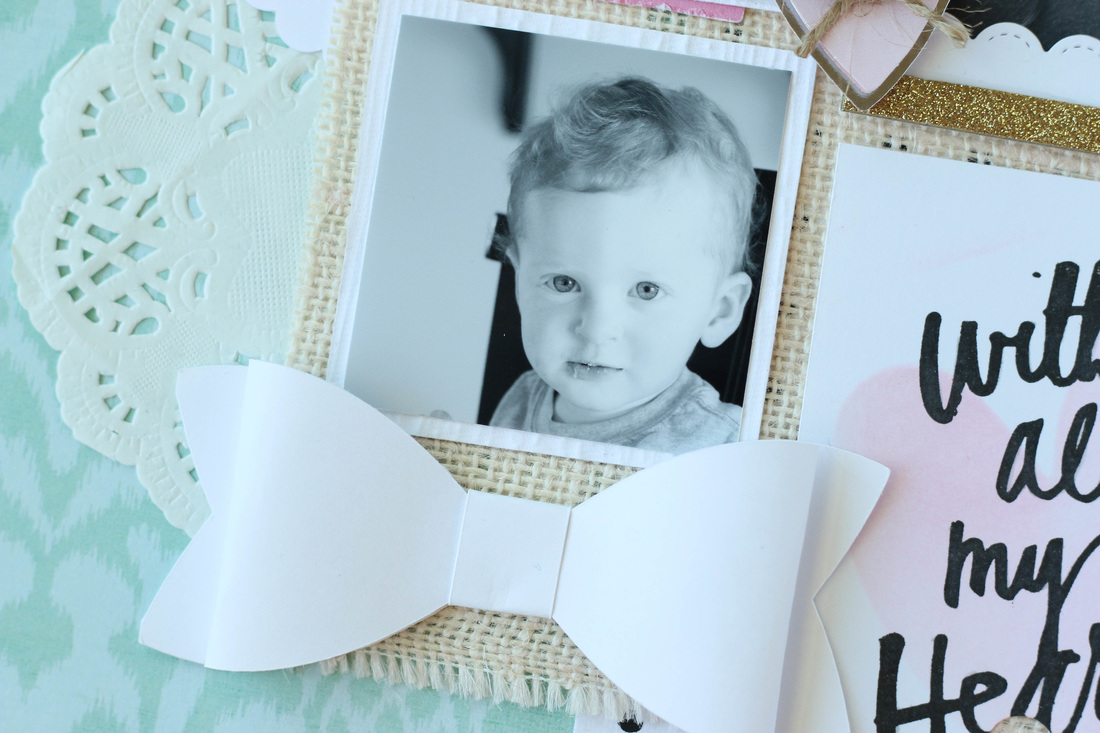
The photos I used I printed in wallet size and in black and white. After I figured out what size I wanted them to be, I trimmed them down a little more and matted them in their places.
The biggest photo I framed with a glittery gold Heidi Swapp Memory Planner frame. These frames are made to fit in your planner's pocket pages, but I thought it looked perfect on this layout so I went with it!
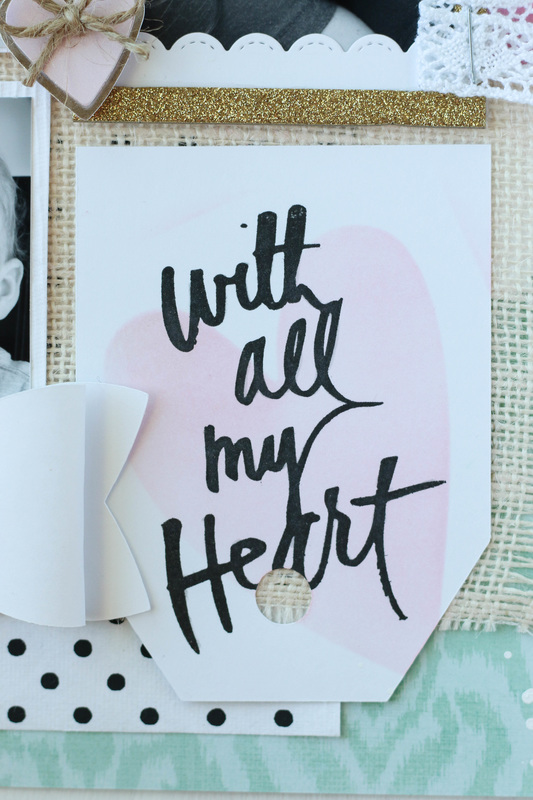
The title for this page I created by using a stamp and stencil set from Heidi Swapp, as well. I brushed on the heart with some Spun Sugar Distress in and then stamped the sentiment over that.
I also added a few embellishments like the heart sticker and the paper bow I cut with my Cricut. I know this layout turned out very girly, so I plan to replace my son's photos with some photos of a little girl. Im sure he will thank me for it later! Maybe I can recreate this layout in a more boyish theme? Anyway, I had a fun time creating this layout and photographing it with my toddler trying to get his hands on it as you can see... 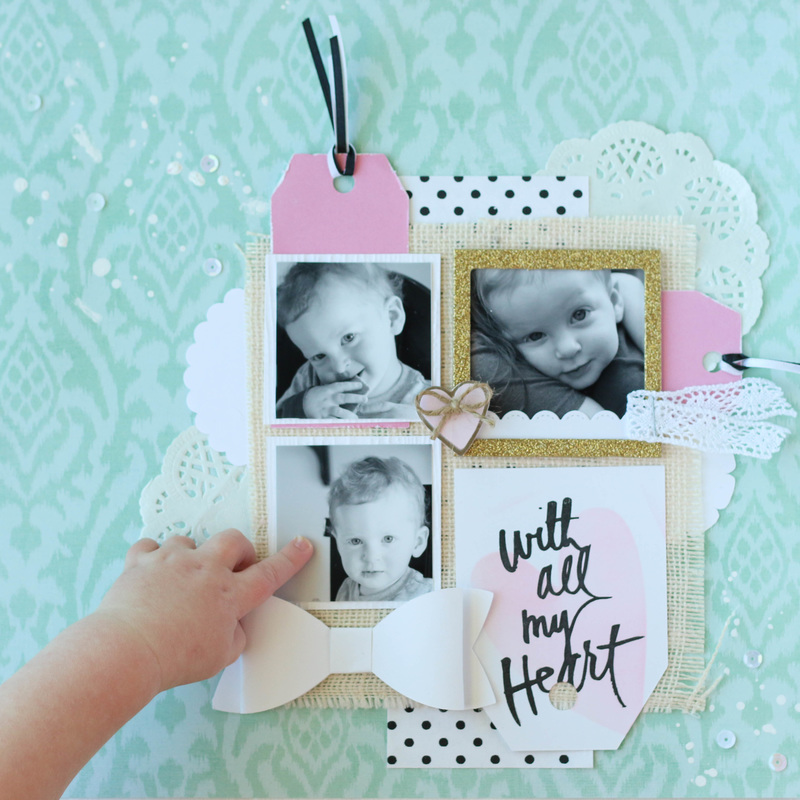
So thanks for coming by to take a look!! I hope you enjoyed the layout and if you want to watch the process, I made a video!
I'm also linking this project up with: Simon Says Stamp's Wednesday Challenge! Have a great day, and happy crafting!
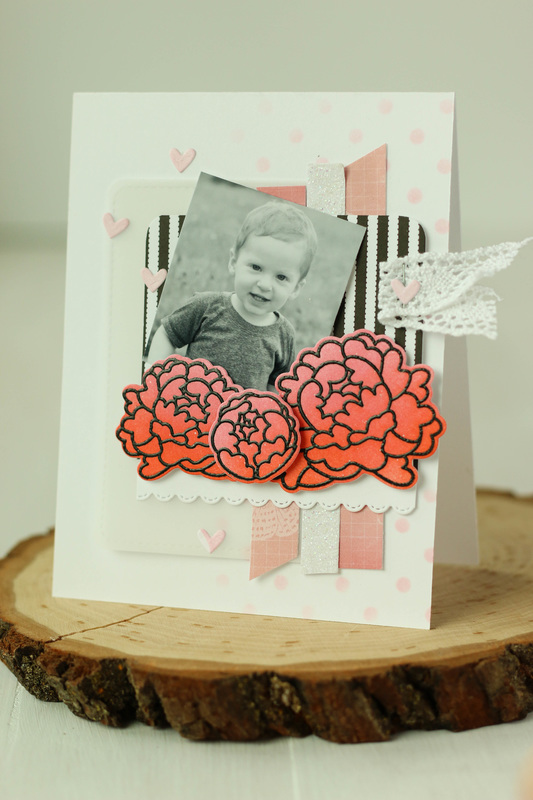
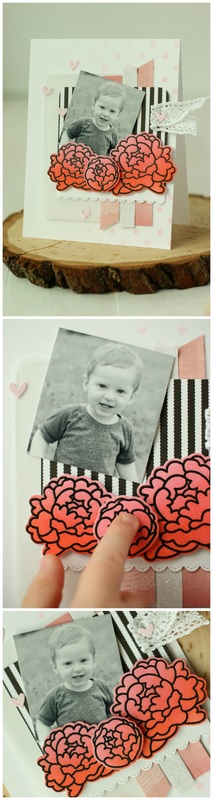
I love finding new ways to use my photographs. We seem to snap so many pictures and then leave them on our phones or our cameras. Why not print them off and use them in creative ways?
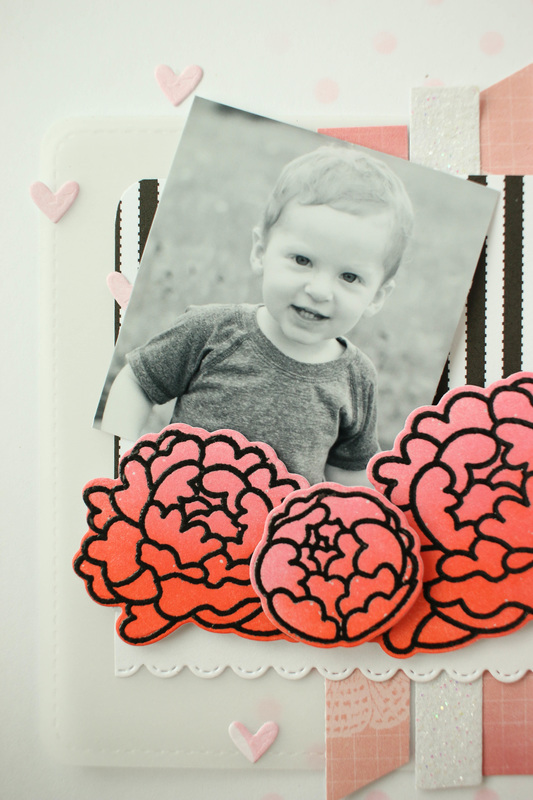
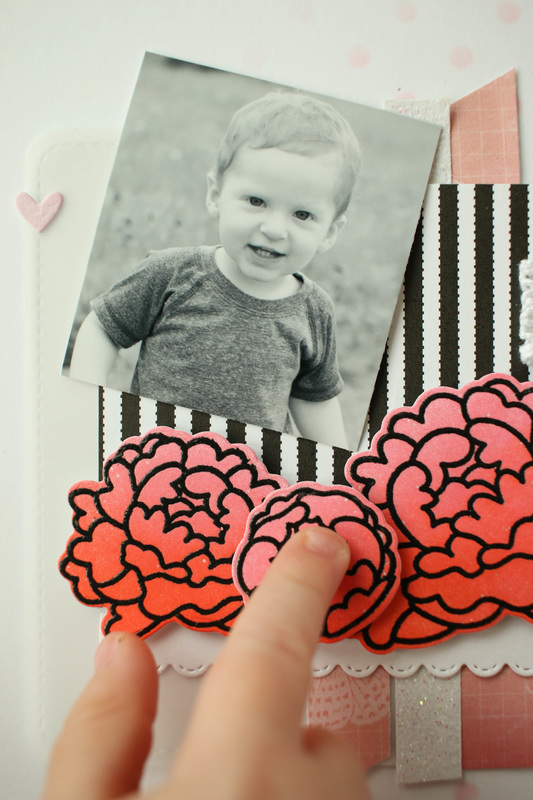
I've done scrapbooking,I've scrapped my photos in a frame, done canvases for my wall to display photos, but I have never used a photo on the front of a card until now! I've been using lots of little paper scraps from my scrap bin lately, so I continued that trend by using someRibbon Stripe paper from Canvas Corp. Then, I stamped, embossed, and colored in some peonies from Avery Elle's Peonies stamp set. I adhered the flowers to the ribbon stripe paper, and then added a scalloped border on the bottom. I stapled a bit of lace ribbon to the side, as well. 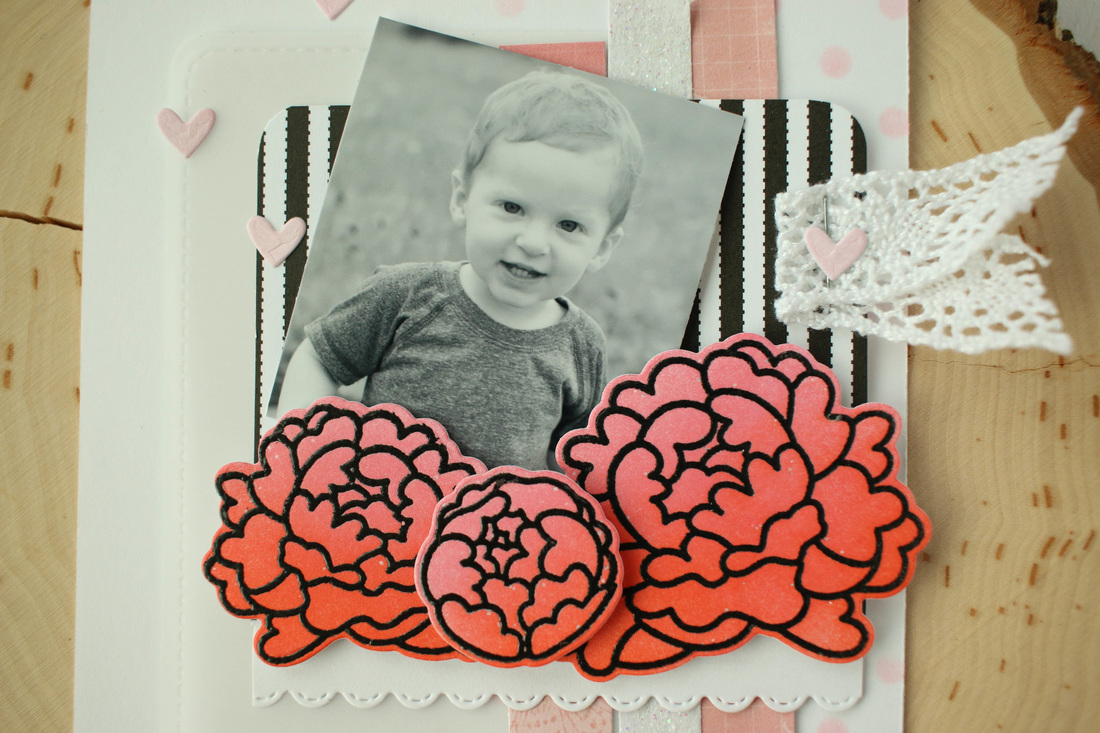
I wanted to do more layering in the background, so I found more scraps of paper and cut them into strips. I used some pink paper from my Mariposa matstack, and then a tiny bit of white glitter paper. I also cut a piece of vellum with my Stitched Journaling card die. I wanted to add a little more to the plain white background so I used a polka dot stencil from Heidi Swapp and added some dots with Spun Sugar Distress Ink. Then, I adhered everything down! To finish it off, I glued some tiny pink hearts here and there.
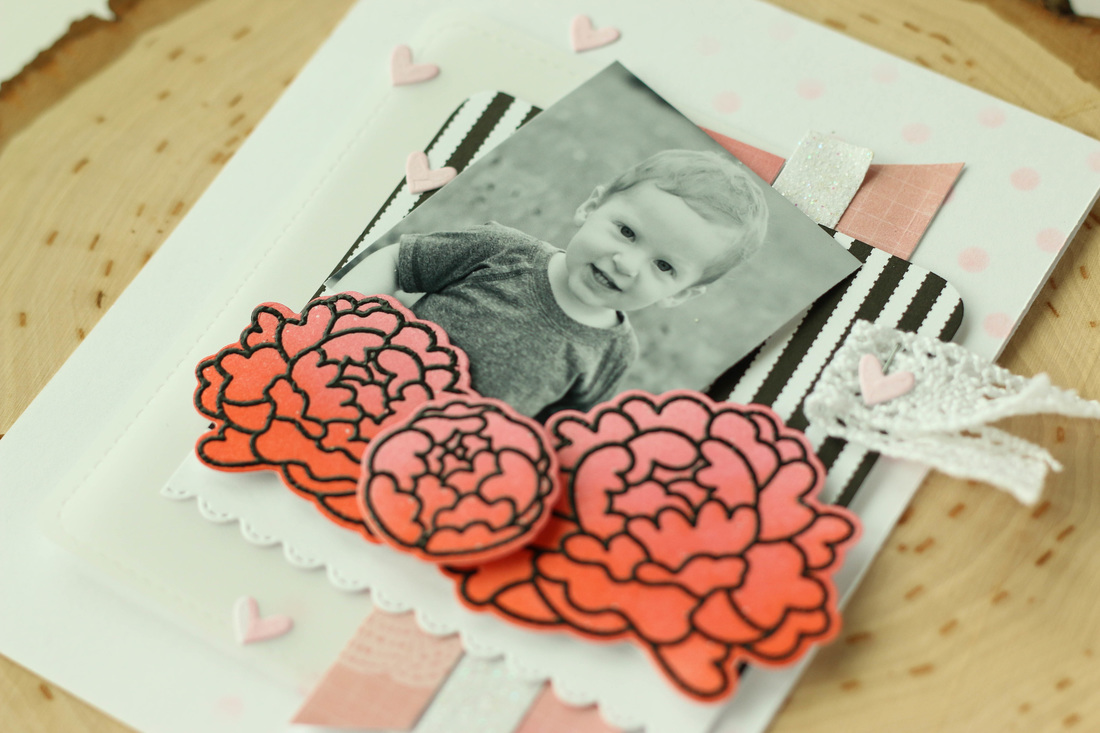
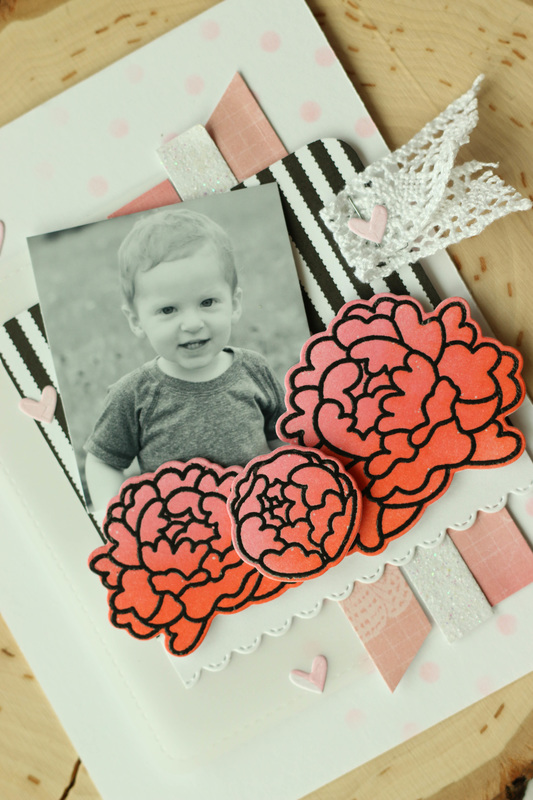
So don't be afraid to try a new way to use your photos! I think sending them this way on a card would be a wonderful way to send photos to grandparents, aunts, and uncles. I also managed to put together a quick video of this card. Enjoy!
|

Pin it!

AuthorSo glad you found me! This blog is my little space where I can share bits about my life and my latest crafting projects (mostly handmade cards). My goal is to share, inspire, and to be a positive presence in the creative community. 

Find me on Instagram!Archives
January 2018
Categories
All
Link Love
 

|


 RSS Feed
