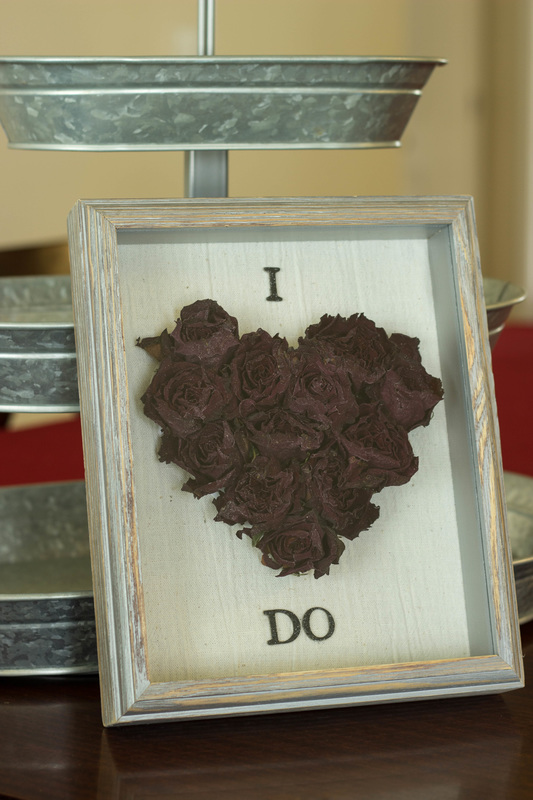
 Mother's Day of 2014 my husband got me the most gorgeous bouquet of roses. It was really special, since it was the first Mother's Day after we lost Isaac, and we had JUST found out not too much earlier that we were expecting Hayden. I love getting flowers but I hate to just throw them out, so I decided to try to dry these. I had them hanging upside down in our garage for several weeks. After they were dry I didn't know what I wanted to do with them. Since we were so busy with packing and moving at the time I thought I'd probably just end up throwing them out. Well, I never got around to throwing them away and the packers boxed them up during our move. I had a good laugh when I found them while unpacking at our new house. I figured since they survived our move maybe I should keep them after all until I thought of something to do with them. Browsing online, I saw several different variations of roses in shadowboxes and loved the idea, so I decided to attempt my own version of it. Most of the materials I had on hand already, so the only thing I really bought for this was the shadowbox itself, which I used a 40% off coupon at Hobby Lobby for. So really, this project only cost me about $8! I started out by cutting a piece of fabric to cover the backing of the shadowbox. Then, I cut out a cardstock heart to glue the flowers to. I needed some sort of template for the flowers so I didn't end up with a bunch of flowers randomly glued to fabric. 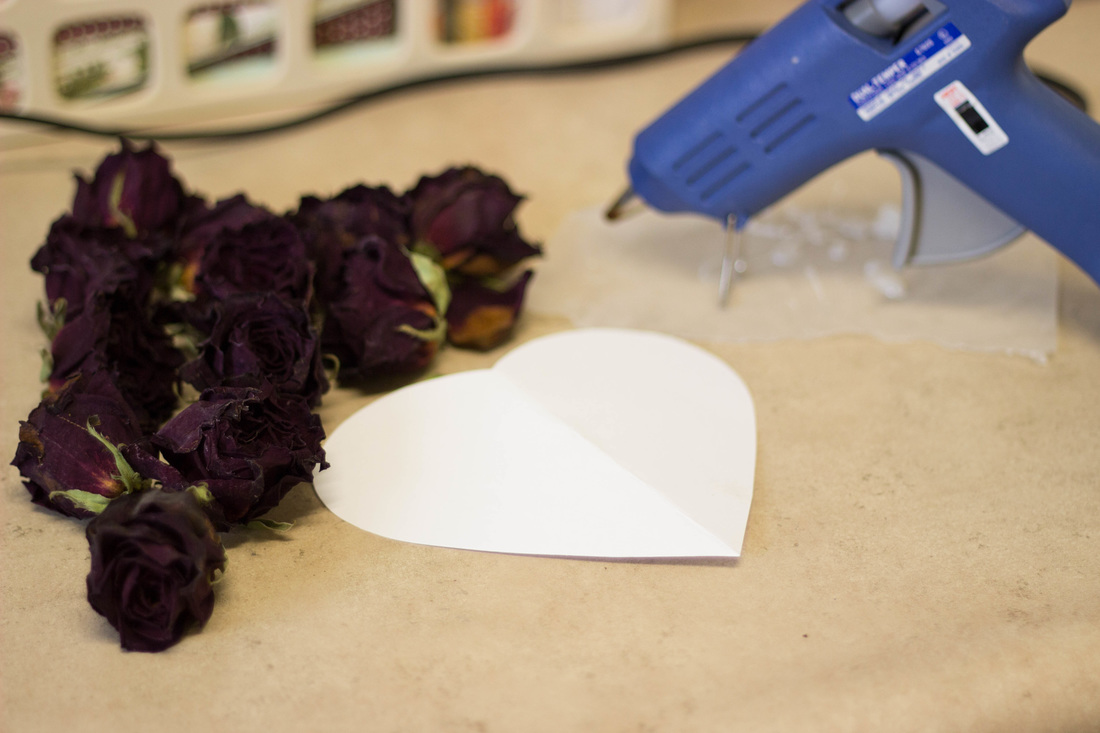 After all the flowers were glued down, I thought I'd try to "bling" them up a little. I have some shimmer and sparkle mist I wanted to try. It didn't give them quite the bold sparkle I was going for, but the roses did end up with a light shimmer. 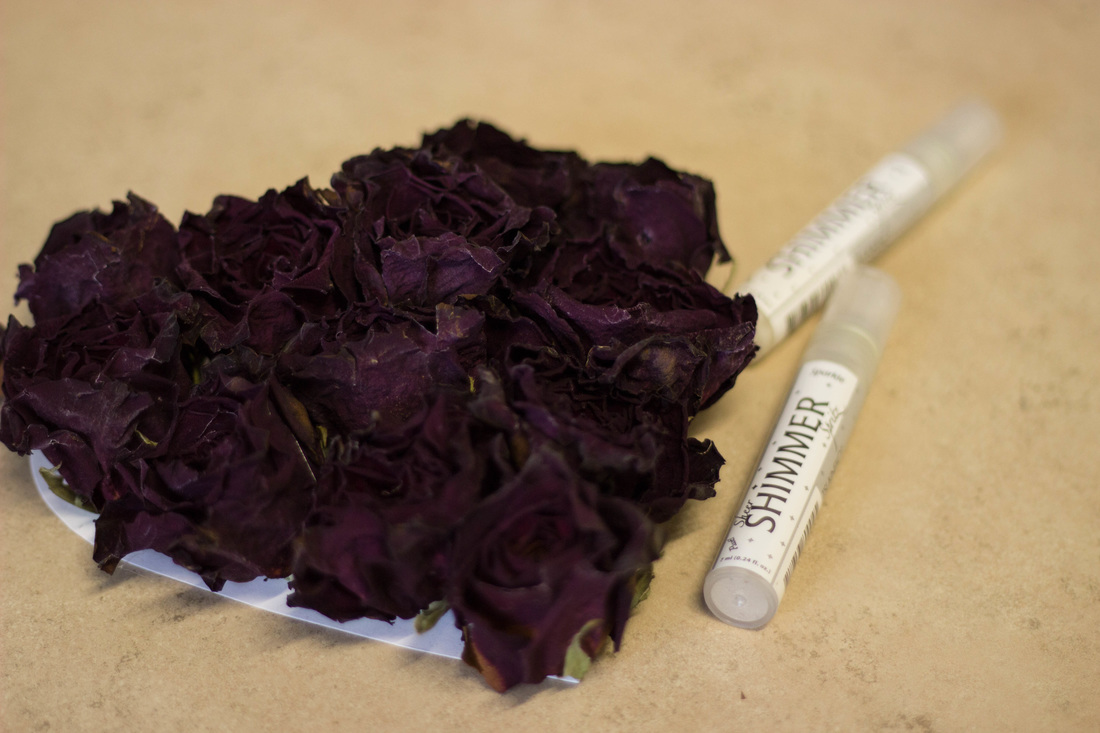 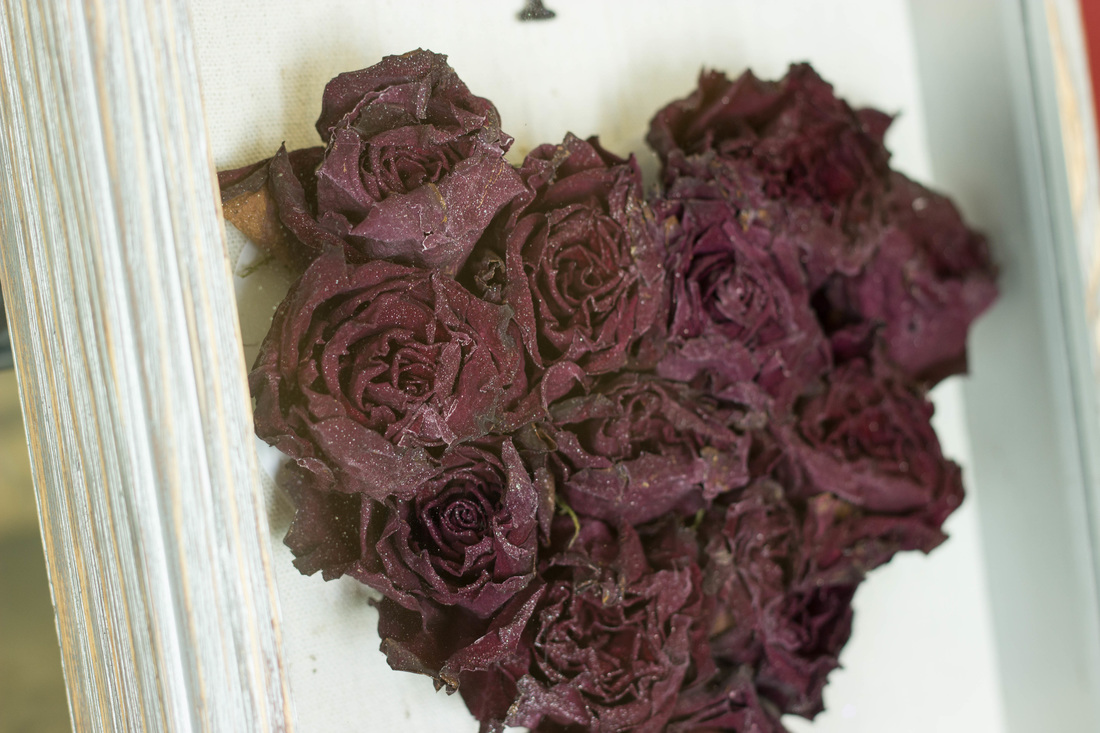 I also wanted some kind of romantic quote to go along with the flowers. I had some black glittery chipboard letters leftover from some scrapbook projects that I thought would look really nice. Rummaging through the letters, I realized I really only had a bunch of Xs and Qs left... you know, the letters you really never use. So, I realized I had to find some sort of really short quote and came up with "I Do" (I cut a Q apart to make it an O). I really like how it turned out! I plan to hang it somewhere in our bedroom along with a few of our wedding pictures.
0 Comments
Leave a Reply. |

Pin it!

AuthorSo glad you found me! This blog is my little space where I can share bits about my life and my latest crafting projects (mostly handmade cards). My goal is to share, inspire, and to be a positive presence in the creative community. 

Find me on Instagram!Archives
January 2018
Categories
All
Link Love
 

|
 RSS Feed
