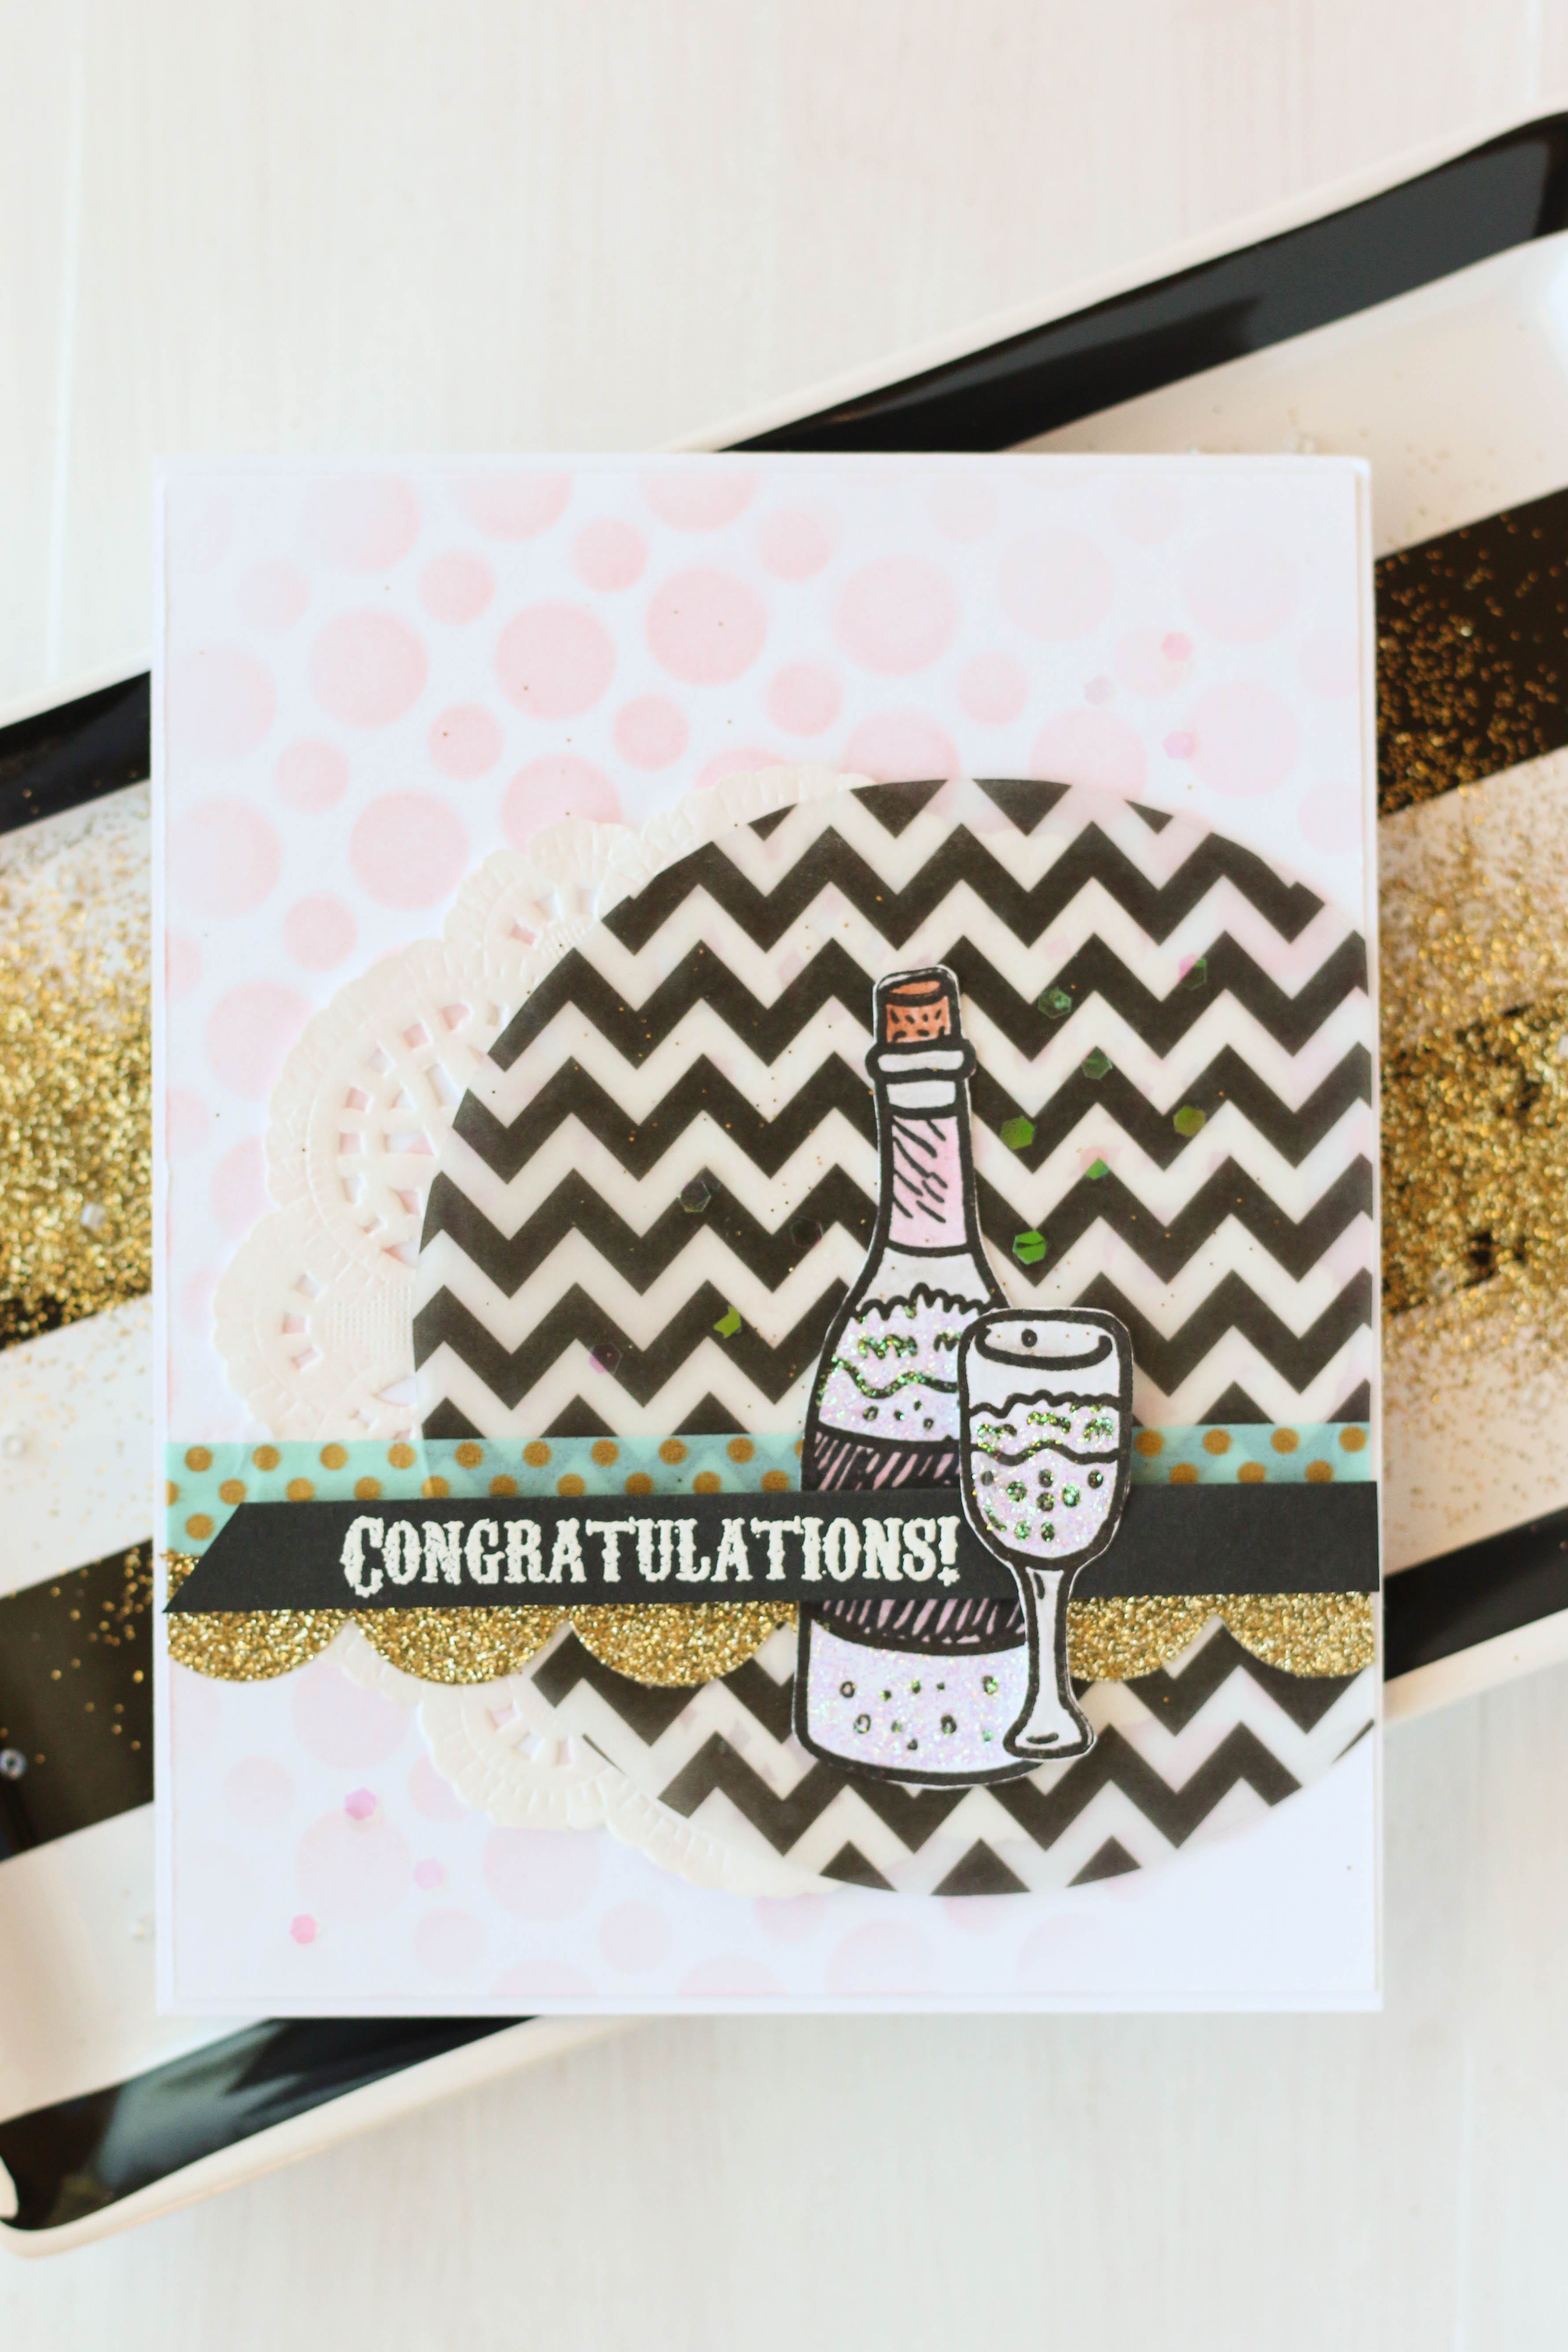
Brutus Monroe offers a great deal with the monthly Stamp Club. Each month, there is a special stamp designed by Christopher Allen and it is totally unique to the stamp club, so it wont be available in the store. December's stamp this year is this fun bottle and glass image.
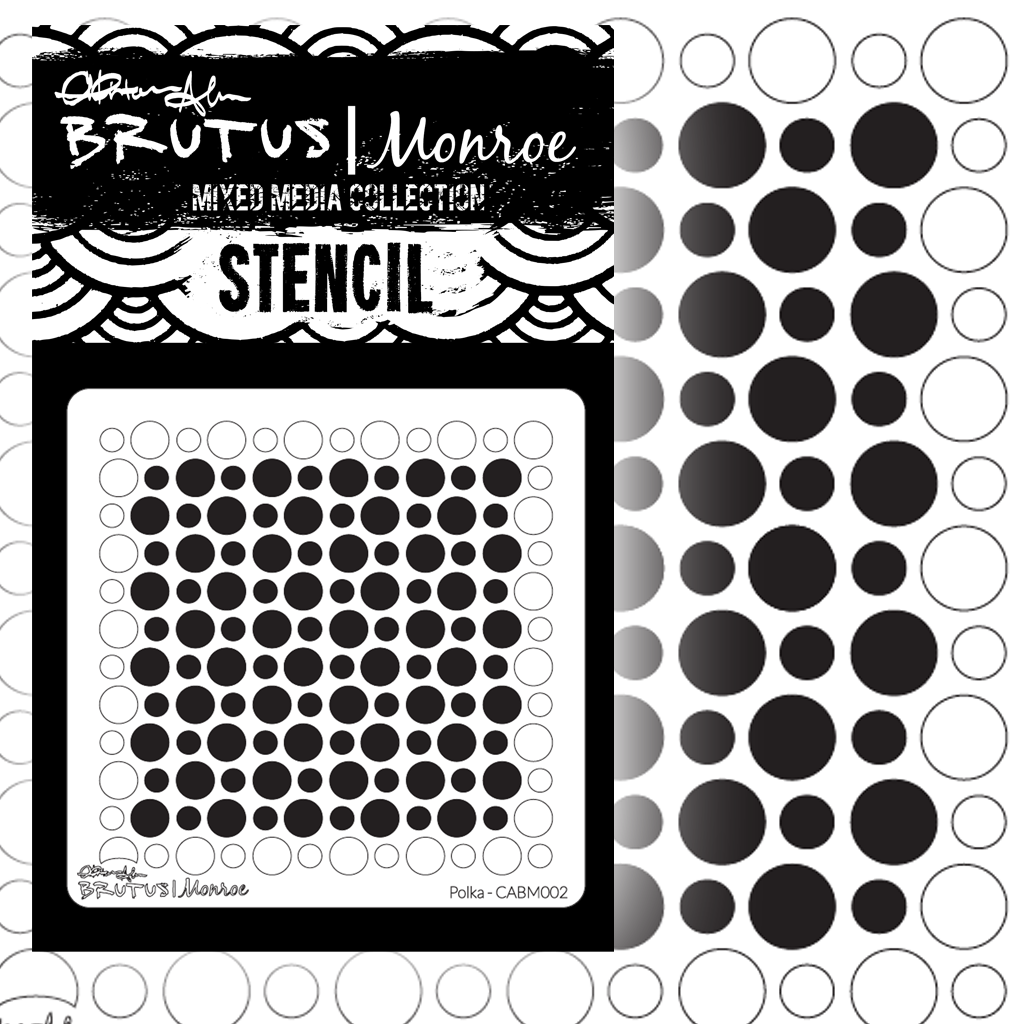
I stamped out the image, fussy cut it out, and set it aside. Then I started building the base of my card. I stenciled some light pink circles on the card base usingBrutus Monroe's Polka Mixed Media Stencil. I thought the circles kind of looked like bubbles. I then cut out a large circle from a chevron piece of vellum paper and layered it off to the side with a paper doily behind it. Then I added some fun washi tape. The gold tape I ran through my Sizzix with my Scalloped Border Die from Lawn Fawn. 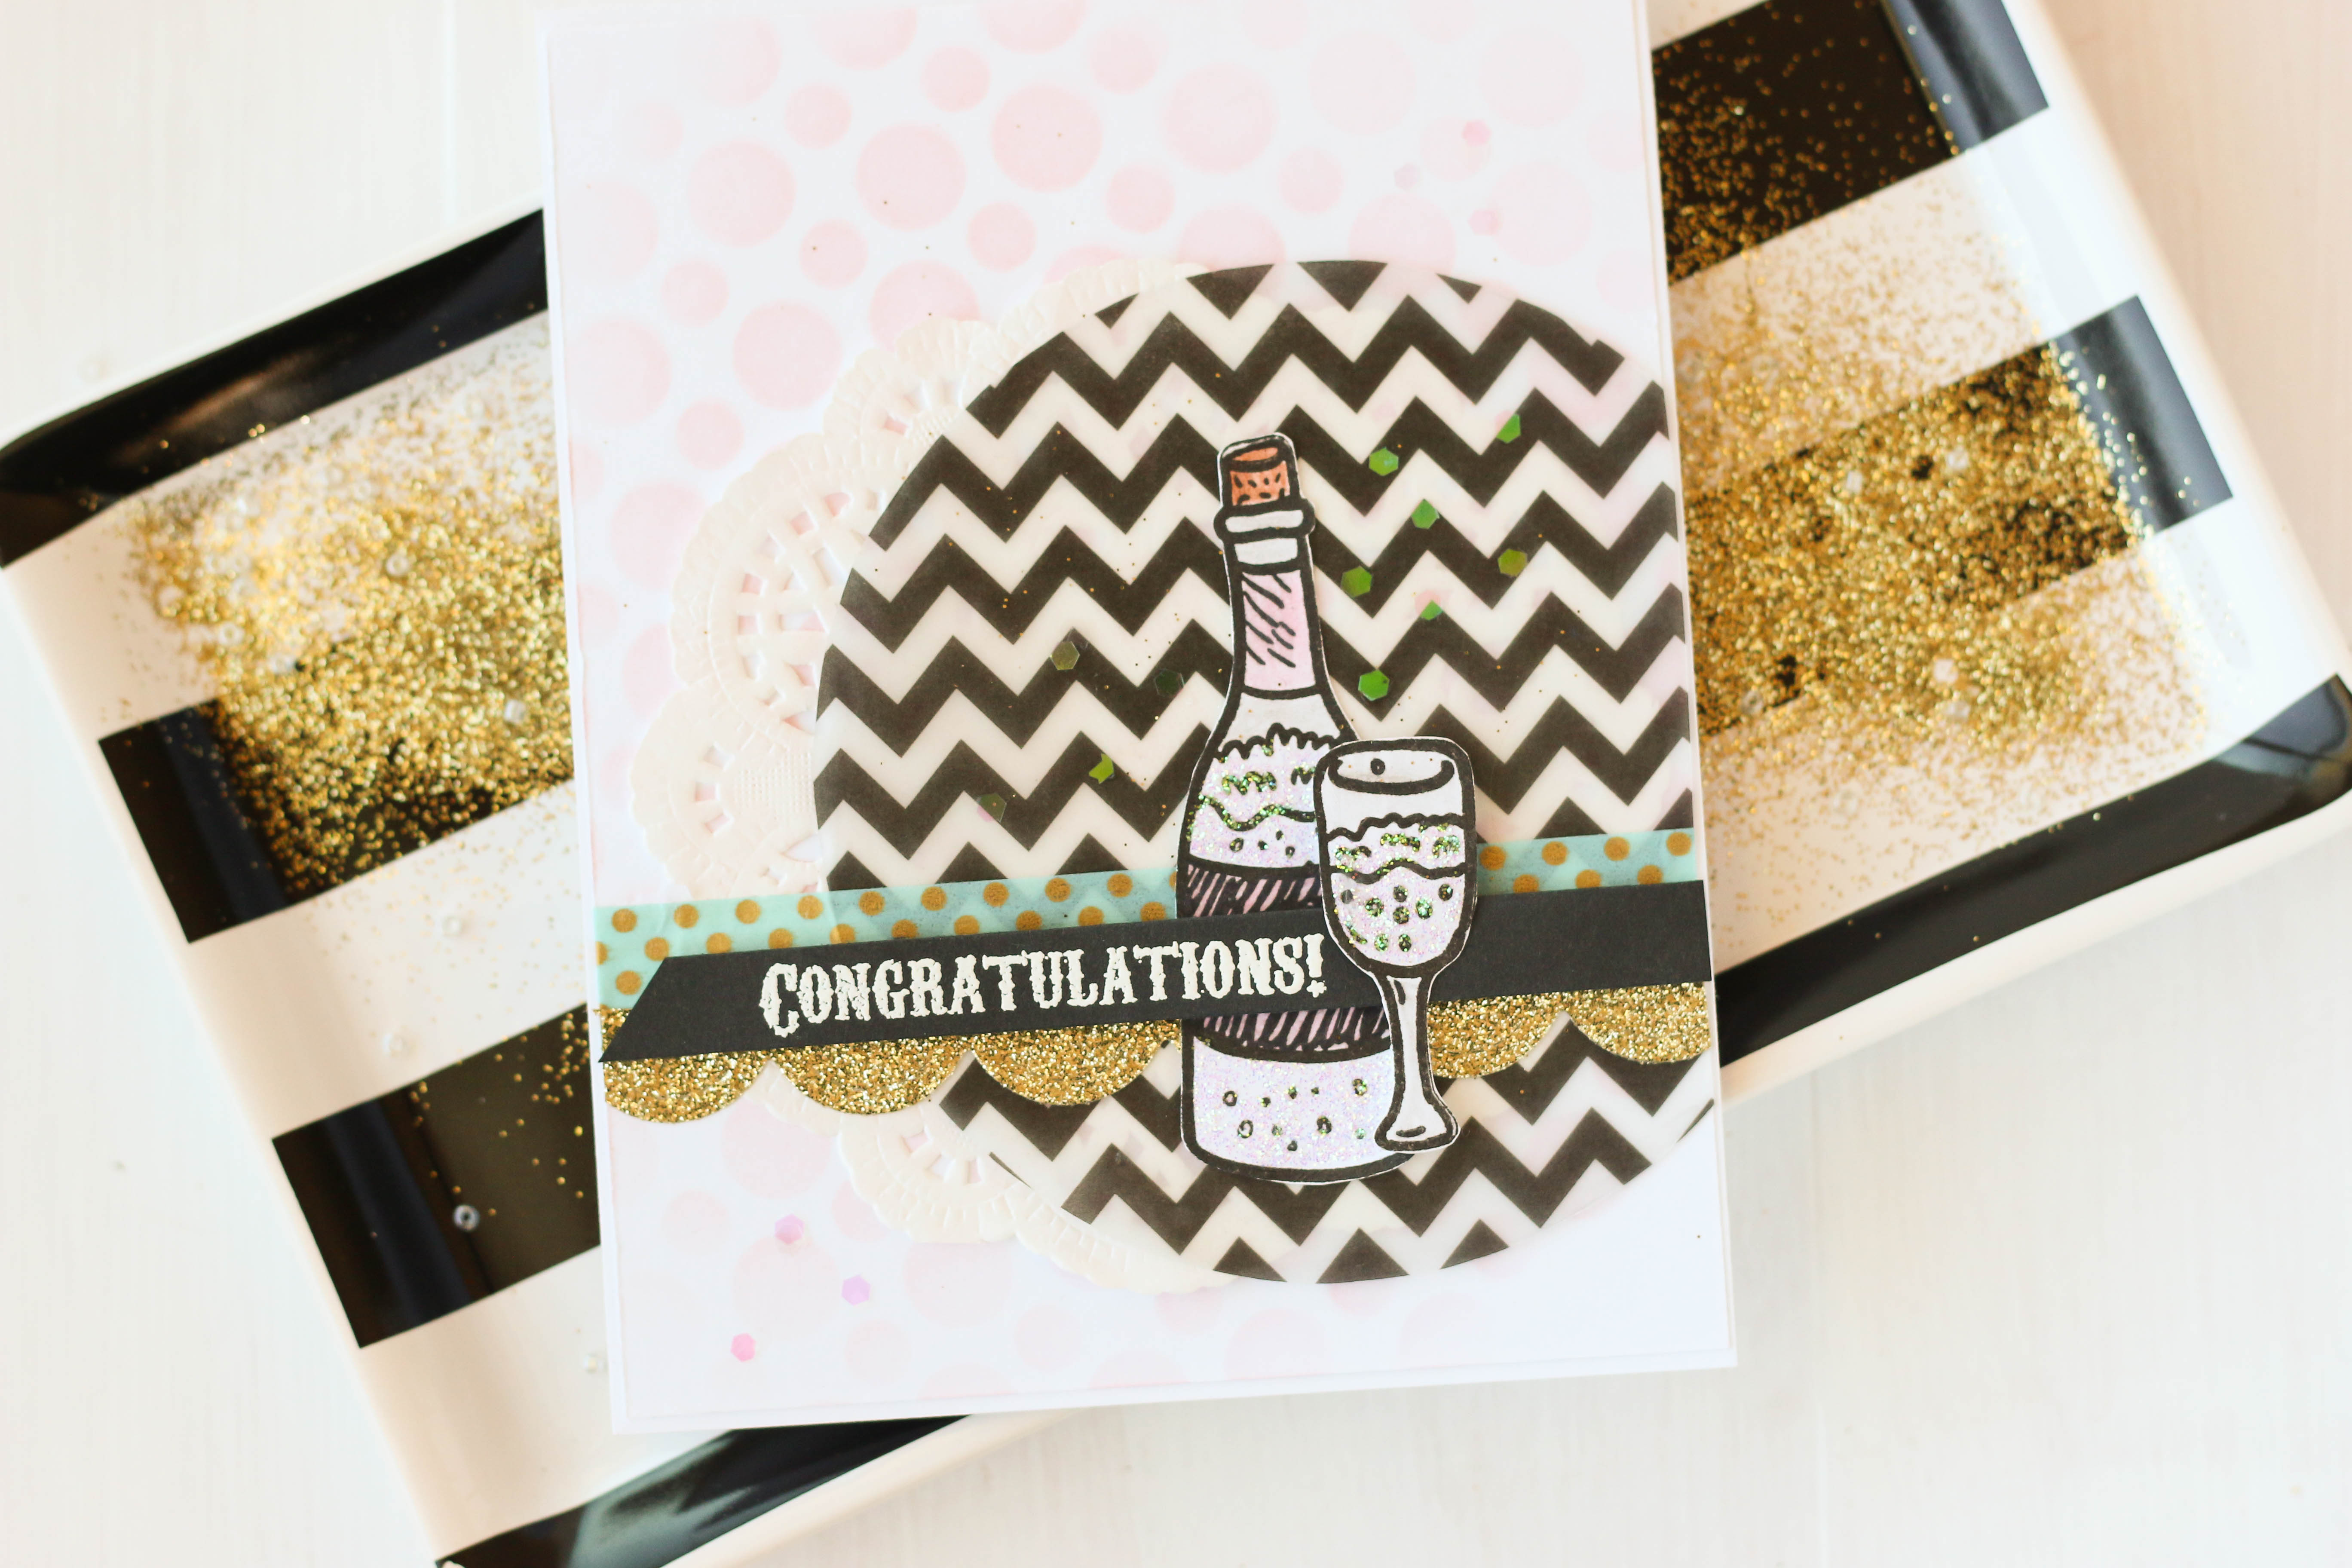
I then adhered the bottle down over the washi tape. I stamped the word "congrats" on a thin piece of black cardstock, and embossed it in white. I stuck it down over the bottle using a few pieces of foam adhesive to give it some dimension. Then, I added the glass off to the side and over the sentiment strip, again using some foam adhesive.
The very last thing I did was add some tiny pieces of iridescent glitter to the background, and I also added some Stickles to the liquid inside the bottle and the glass. 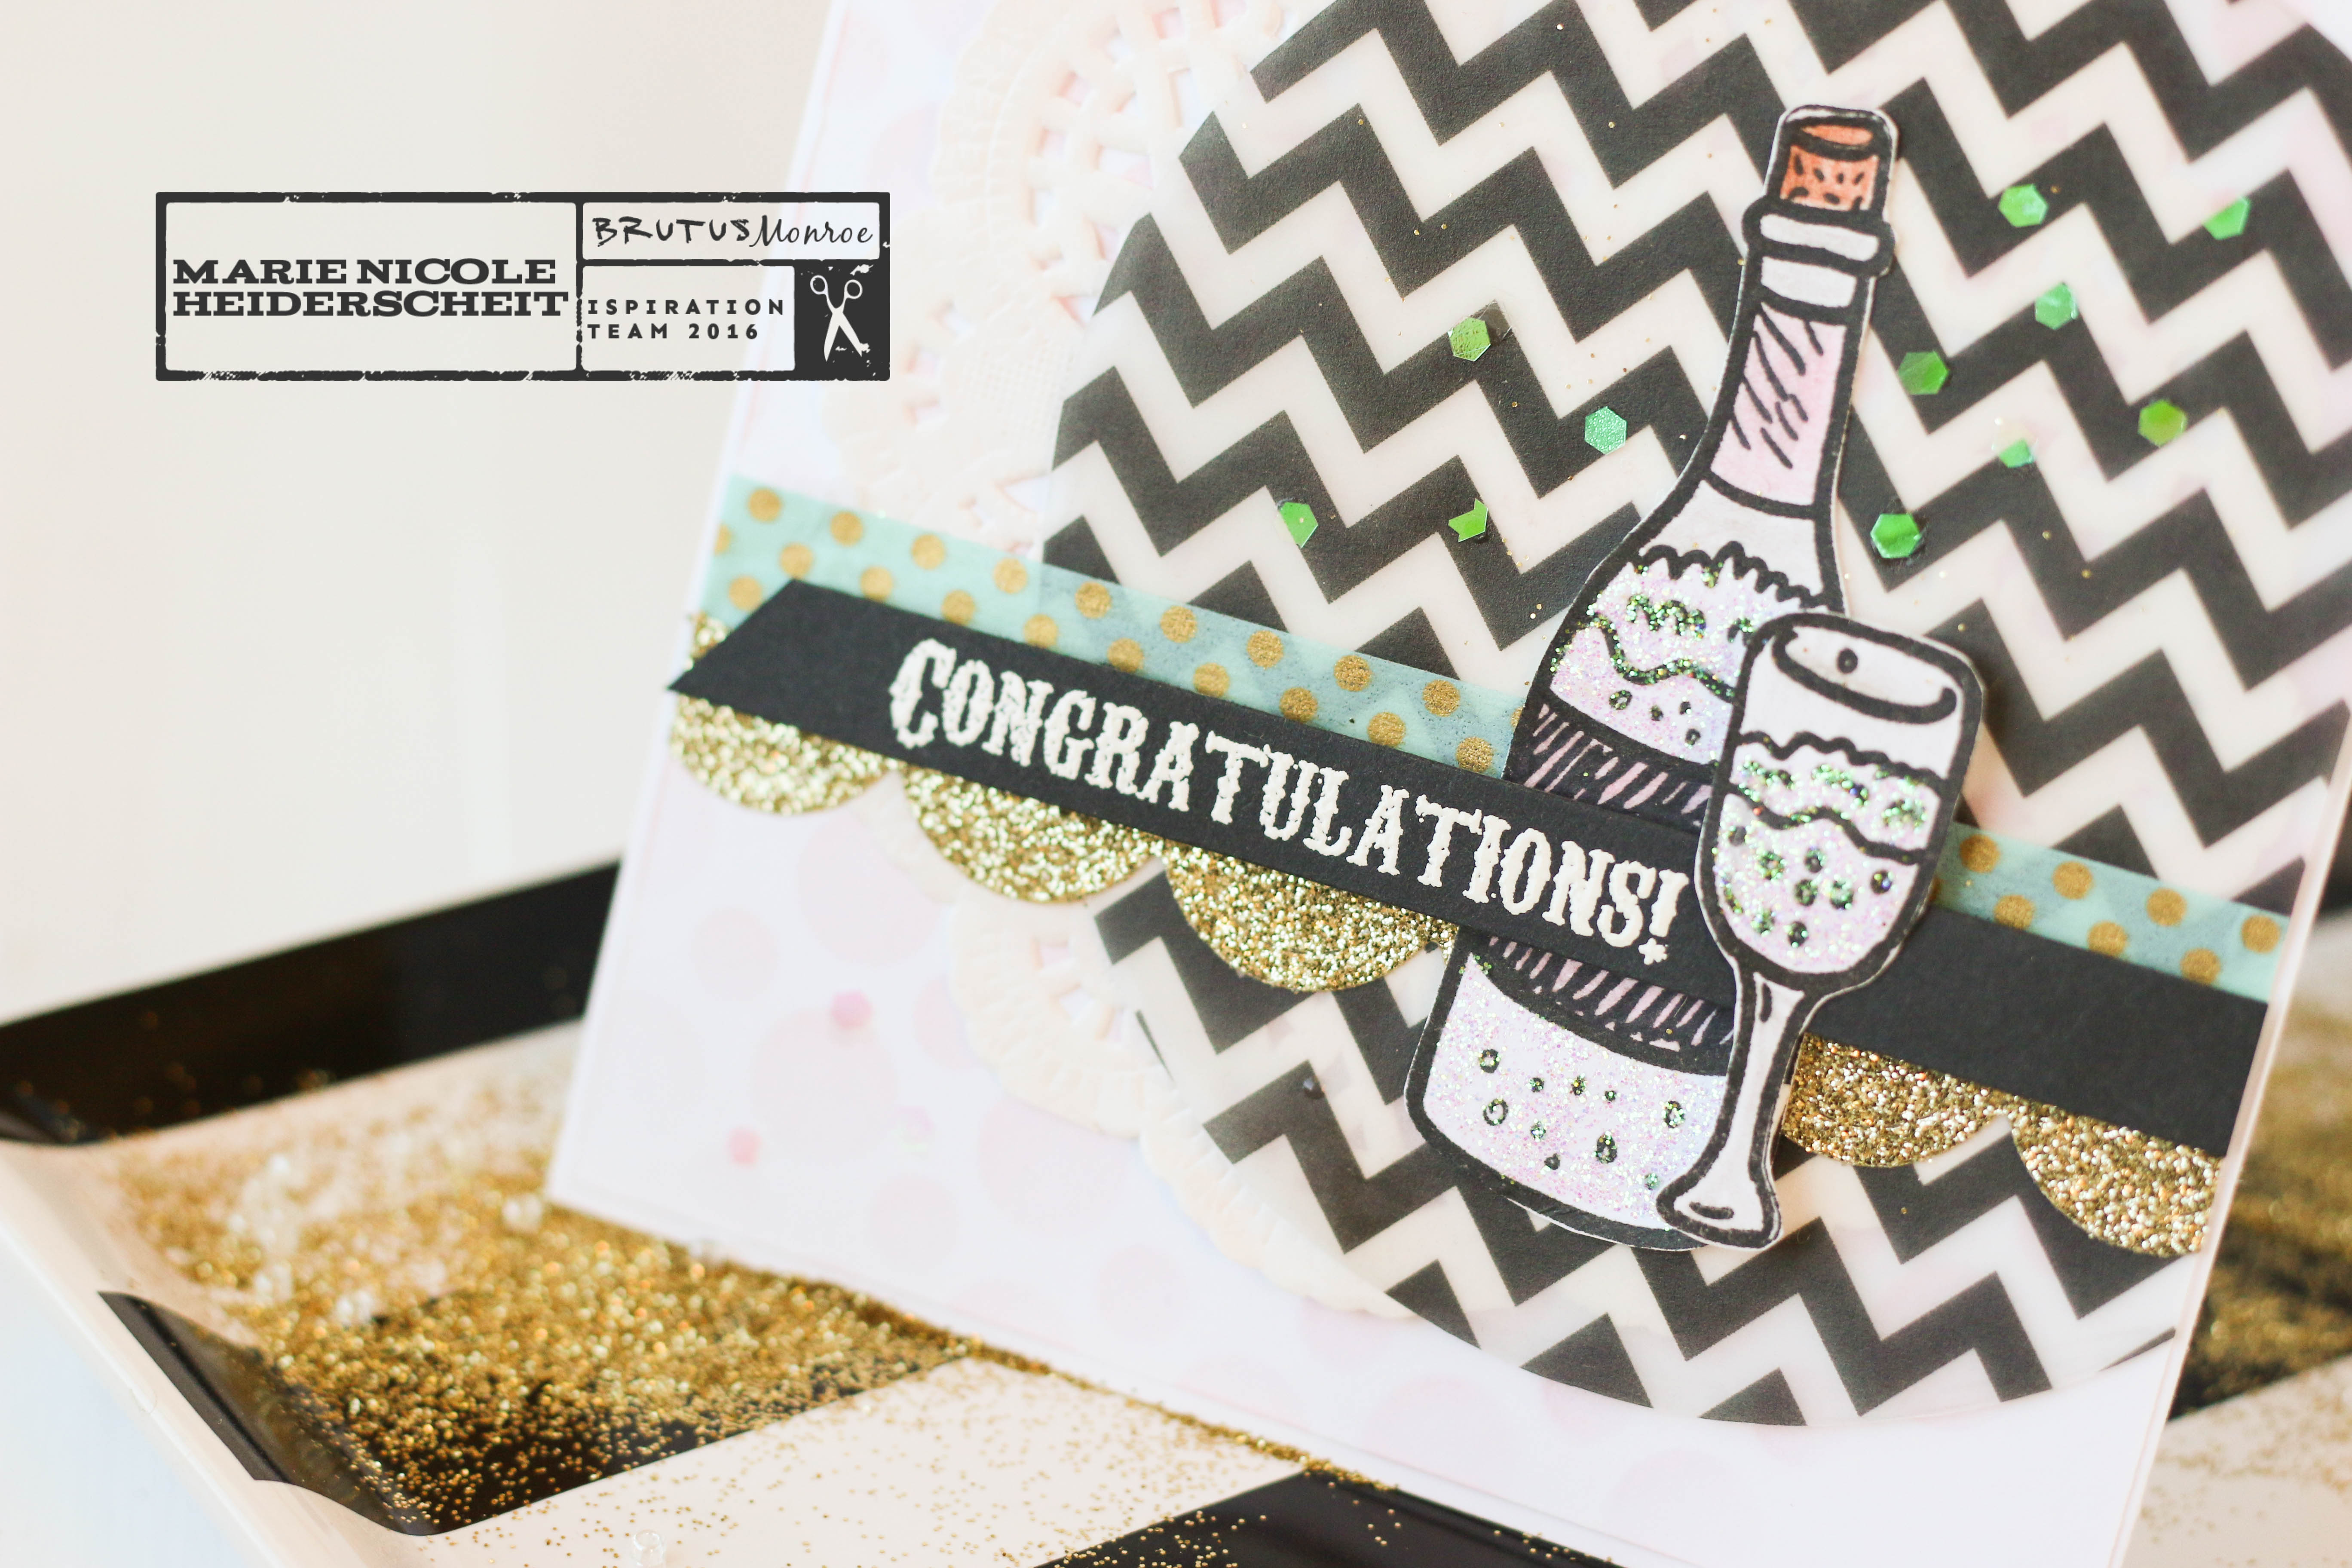
I thought this was a really fun stamp set, and not only is it perfect for New Year's, but it can also be used all year long for weddings or other events that you might want to celebrate. This card ended up having a somewhat girly feel with the light pink and the glitter, so I think it would be perfect for a bridal shower or bachelorette party! Thanks for stopping by today! Dont forget to check out the Brutus Monroe store and Stamp Club. If you are interested in any of the other items I used on this card, I have included a few links below. I'm also linking up with: Simon Says Stamp's Wednesday Challenge! Happy Crafting!!
1 Comment
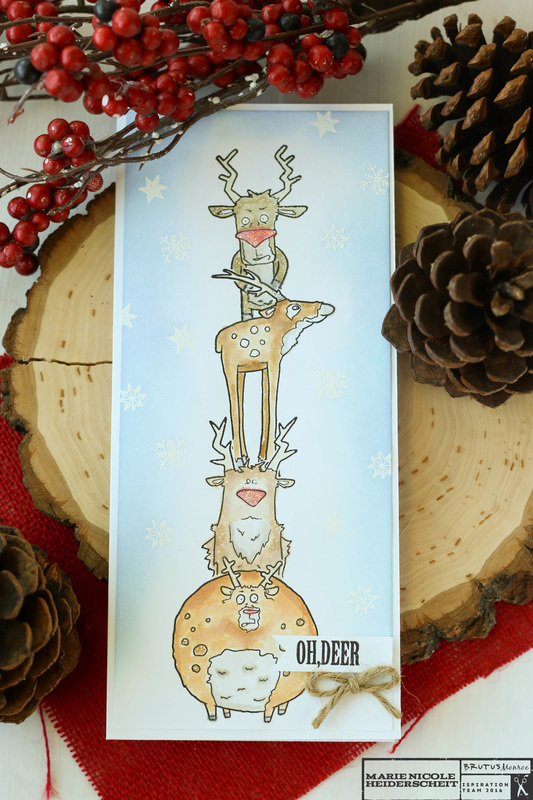
This is a card that I recently created for the Brutus Monroe blog. These reindeer stamps are in their store and when I saw them, I just knew I needed to stack them up and color them in! I started by stamping the bottom reindeer, and then I also stamped it again on a piece of thin printer paper to create a mask. When creating masks, its a good idea to use thin paper, so you can still get a good impression when stamping over it. After I had the mask cut out, I used some Tombow Removable Adhesive to adhere it over the image on my card base. With the bottom reindeer covered, I stamped the next one on top. I then repeated the process of creating masks and stamping each reindeer. 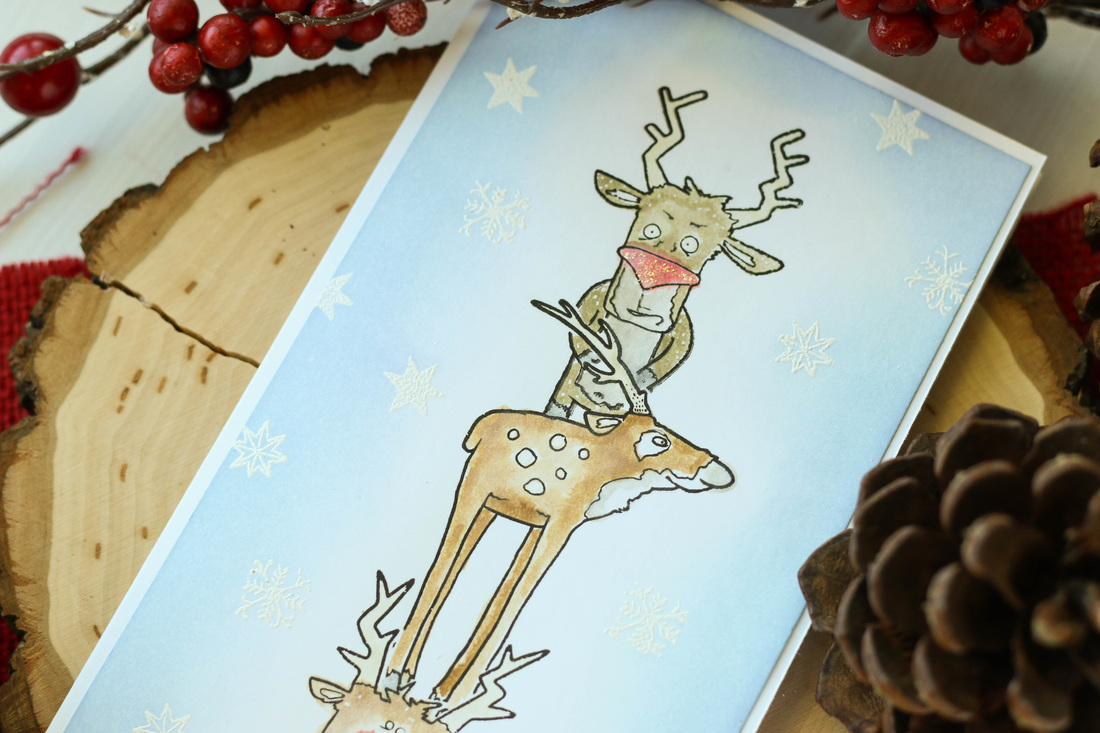
Once I had all my reindeer stamped on top of each other, I grabbed my Distress Inks and started coloring them in. I also added some embossed snowflakes and inked the edges of the card with some Tumbled Glass Distress Ink to give it a snowy background. I adhered the whole scene onto a4x9 card base from Canvas Corp. I love these long and skinny cards for creating scenes, and the unusual size makes it that much more interesting!
Im also linking this card up with :
Simon Says Stamp's Wednesday Challenge! Thanks for stopping by! If you are interested in this cute stamp set, head over to the Brutus Monroe store to place on order!
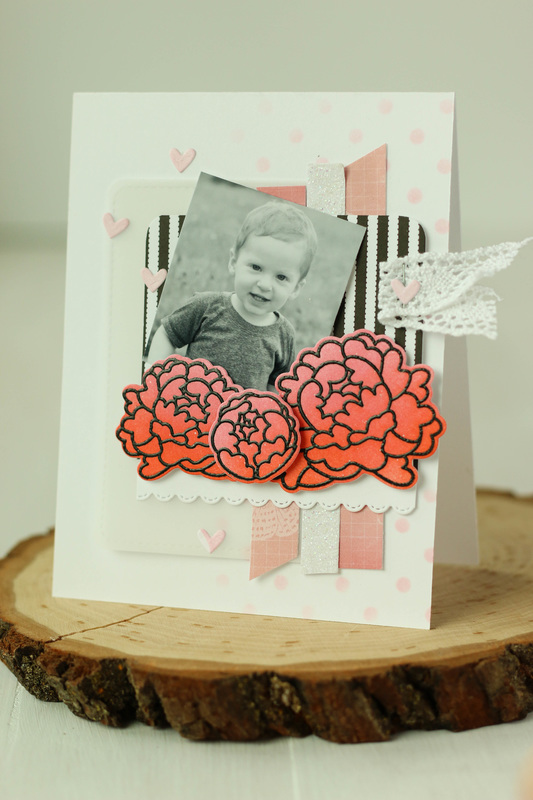
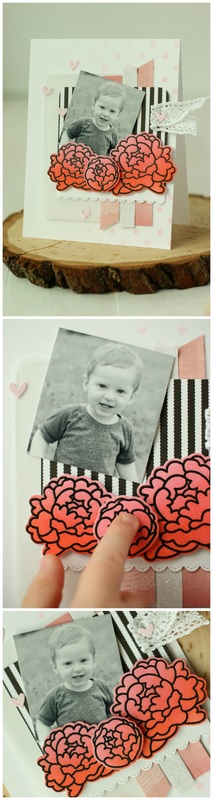
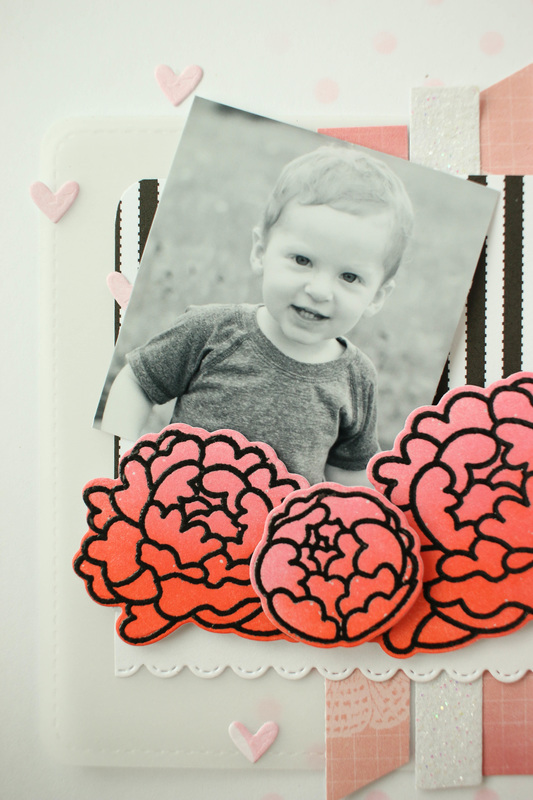
I love finding new ways to use my photographs. We seem to snap so many pictures and then leave them on our phones or our cameras. Why not print them off and use them in creative ways?
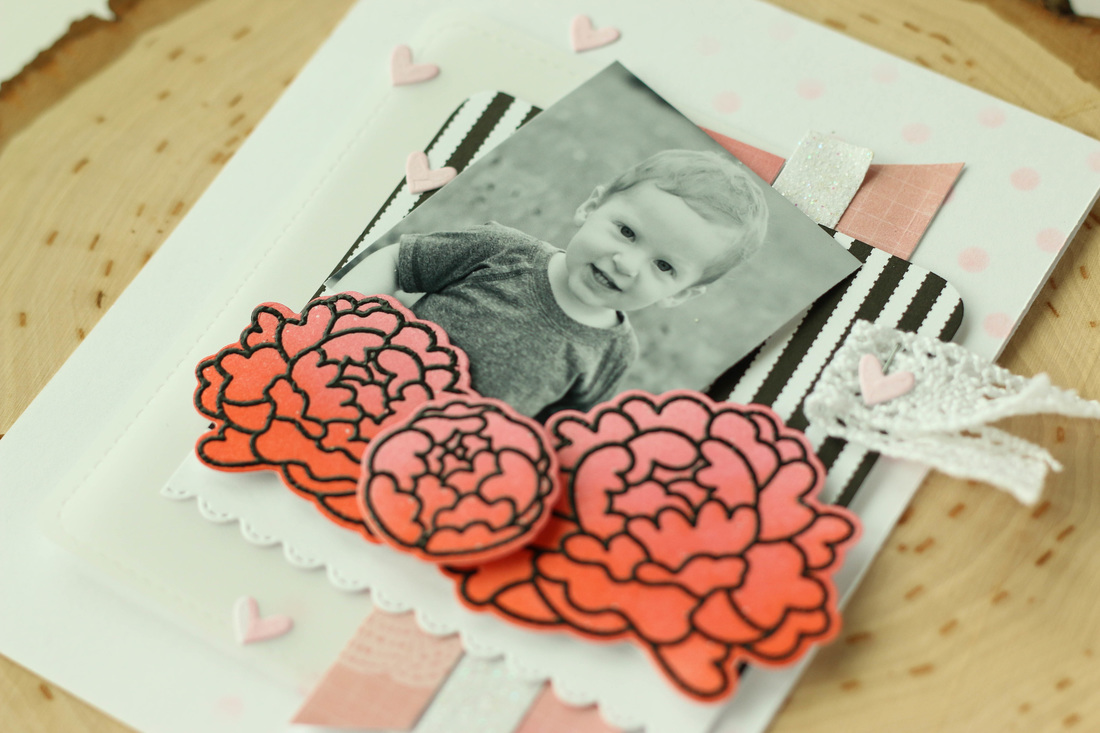
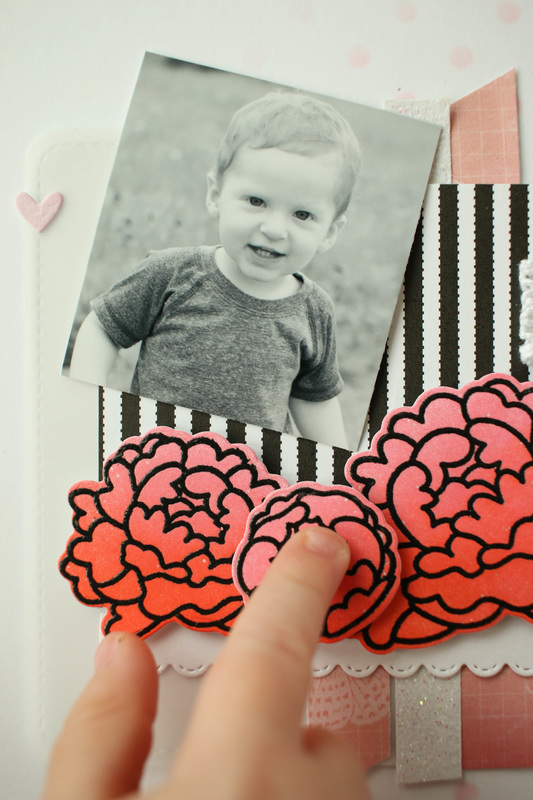
I've done scrapbooking,I've scrapped my photos in a frame, done canvases for my wall to display photos, but I have never used a photo on the front of a card until now! I've been using lots of little paper scraps from my scrap bin lately, so I continued that trend by using someRibbon Stripe paper from Canvas Corp. Then, I stamped, embossed, and colored in some peonies from Avery Elle's Peonies stamp set. I adhered the flowers to the ribbon stripe paper, and then added a scalloped border on the bottom. I stapled a bit of lace ribbon to the side, as well. 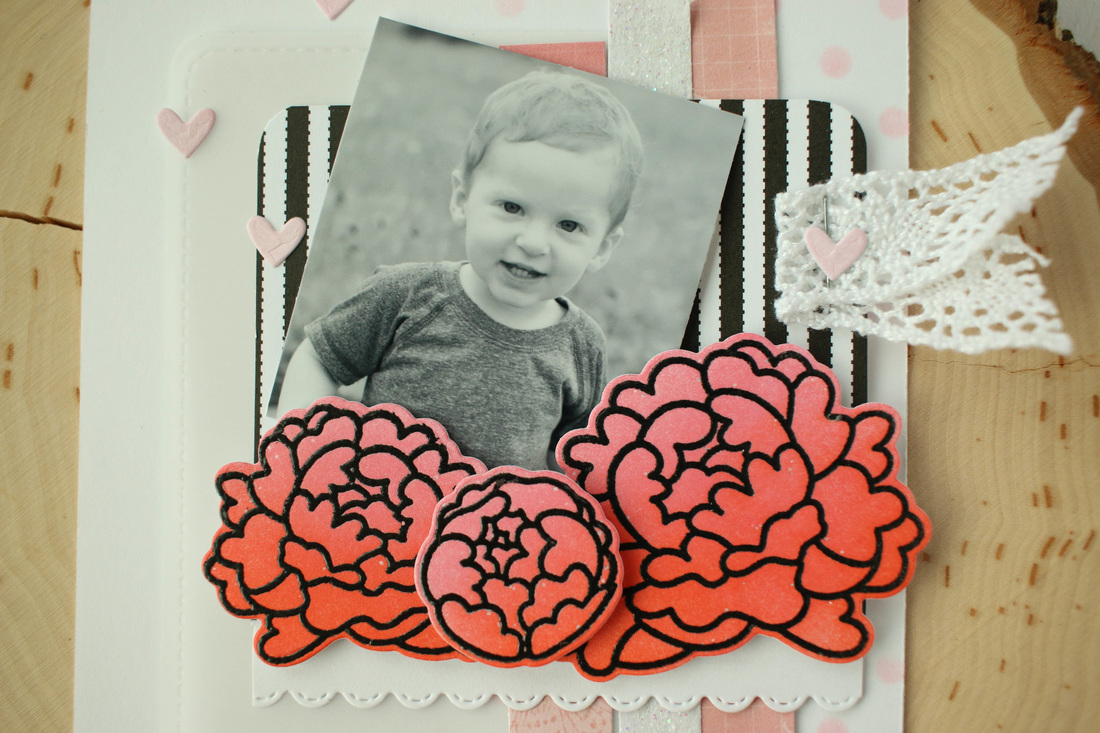
I wanted to do more layering in the background, so I found more scraps of paper and cut them into strips. I used some pink paper from my Mariposa matstack, and then a tiny bit of white glitter paper. I also cut a piece of vellum with my Stitched Journaling card die. I wanted to add a little more to the plain white background so I used a polka dot stencil from Heidi Swapp and added some dots with Spun Sugar Distress Ink. Then, I adhered everything down! To finish it off, I glued some tiny pink hearts here and there.
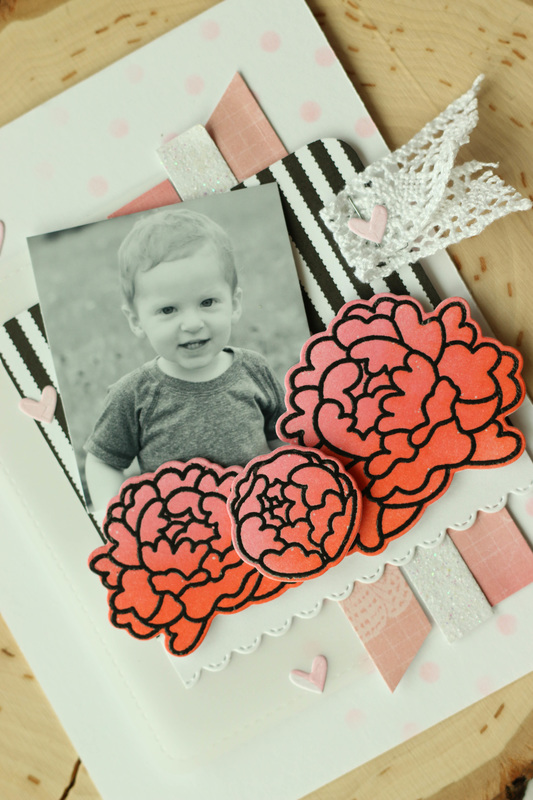
So don't be afraid to try a new way to use your photos! I think sending them this way on a card would be a wonderful way to send photos to grandparents, aunts, and uncles. I also managed to put together a quick video of this card. Enjoy!
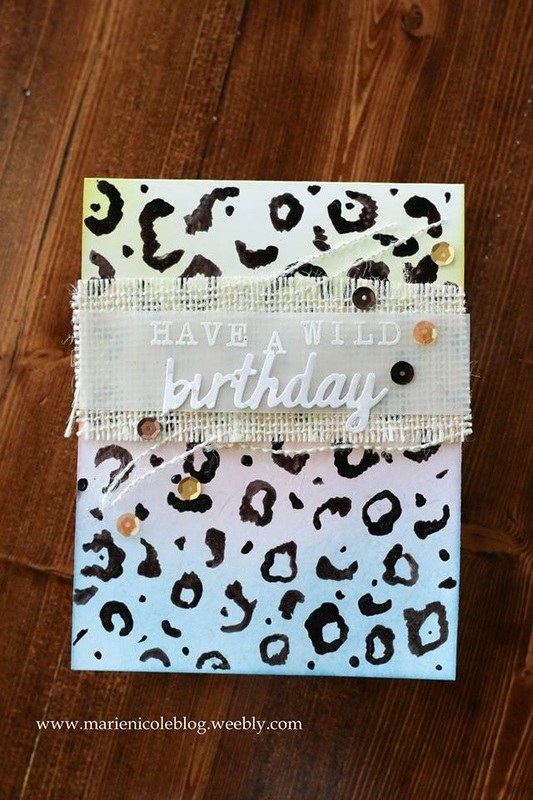
For this card I channeled my inner Lisa Frank. I remember being a girl and saving all my earnings so I could go buy that set of Lisa Frank stationary or stickers. I loved all the bright colors and fun animals! I started by blending several colors of Distress Ink on the background. I used Broken China, Spun Sugar, and Squeezed Lemonade. Then, I took some Java Glaze from Tattered Angels and painted on the cheetah print with a paintbrush. I have a cheetah print pajama top that I actually copied the print from (glamourous, I know!). When the glaze was dry, I cut a piece of CCB burlap and then embossed the sentiment in white on a piece of vellum. The word "birthday" I cut with my Sizzix and then used my Tombow Stamp Runner to adhere it down. The last step was just to embellish it using a few Doodlebug sequins! I'm linking this card up with: Simon Says Stamp's Wednesday Challenge! 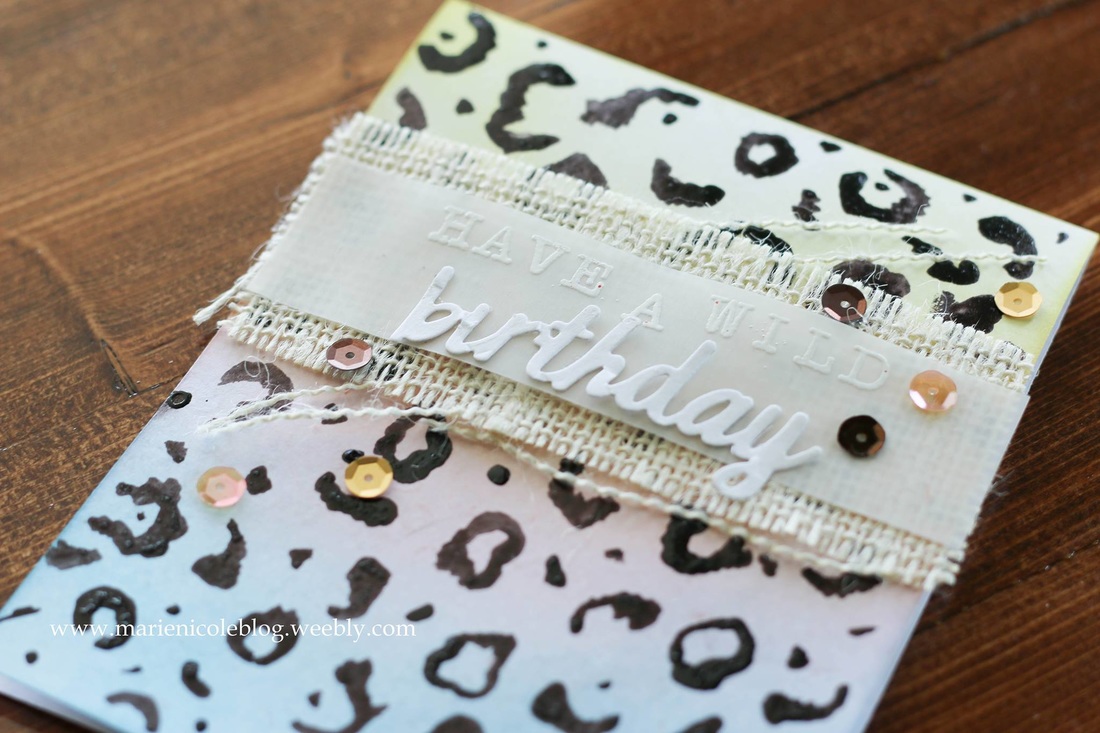
Thanks for stopping by today and if you are interested, check out some of the products I used!
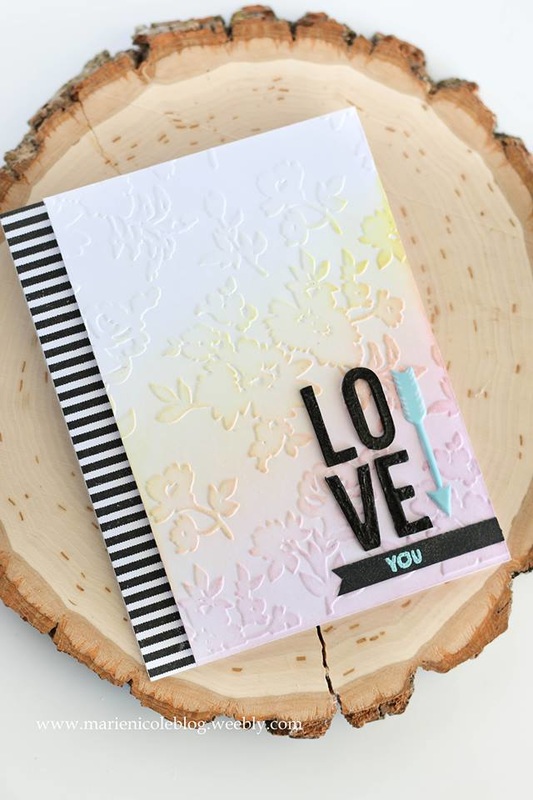
I just love the combination of stripes and florals! This card I created using an embossing folder from We R Memory Keepers. After I embossed it by running it through my Sizzix, I used several different Distress Ink colors to give the background a little color.
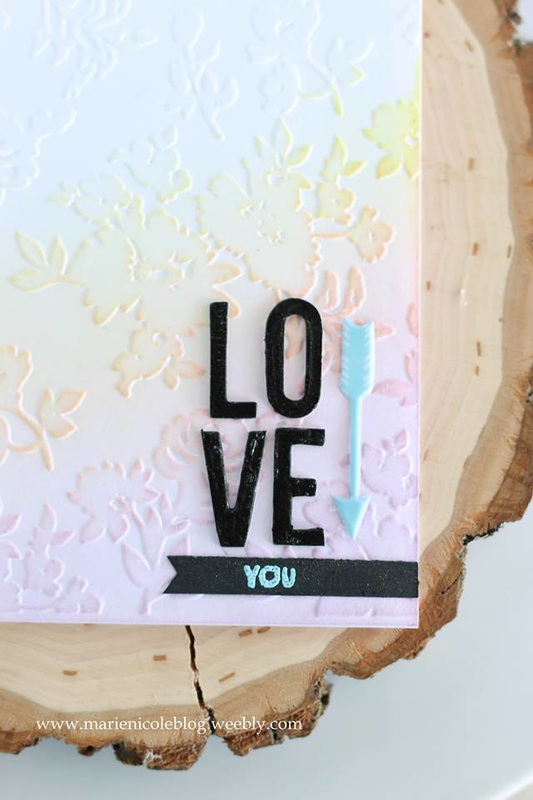
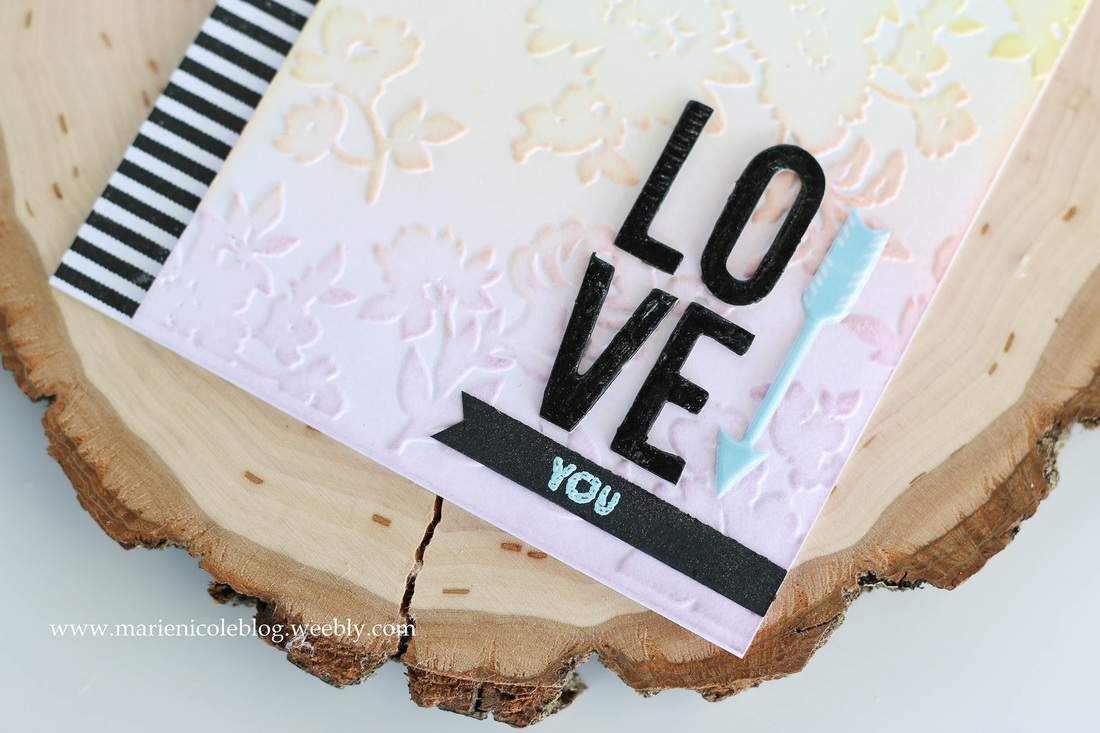
I popped the whole embossed panel up on some kids craft foam and adhered it off to the right side. On the card base below, I stamped a striped border down the side using a striped background stamp from CCB's "Be Beautiful" stamp set.
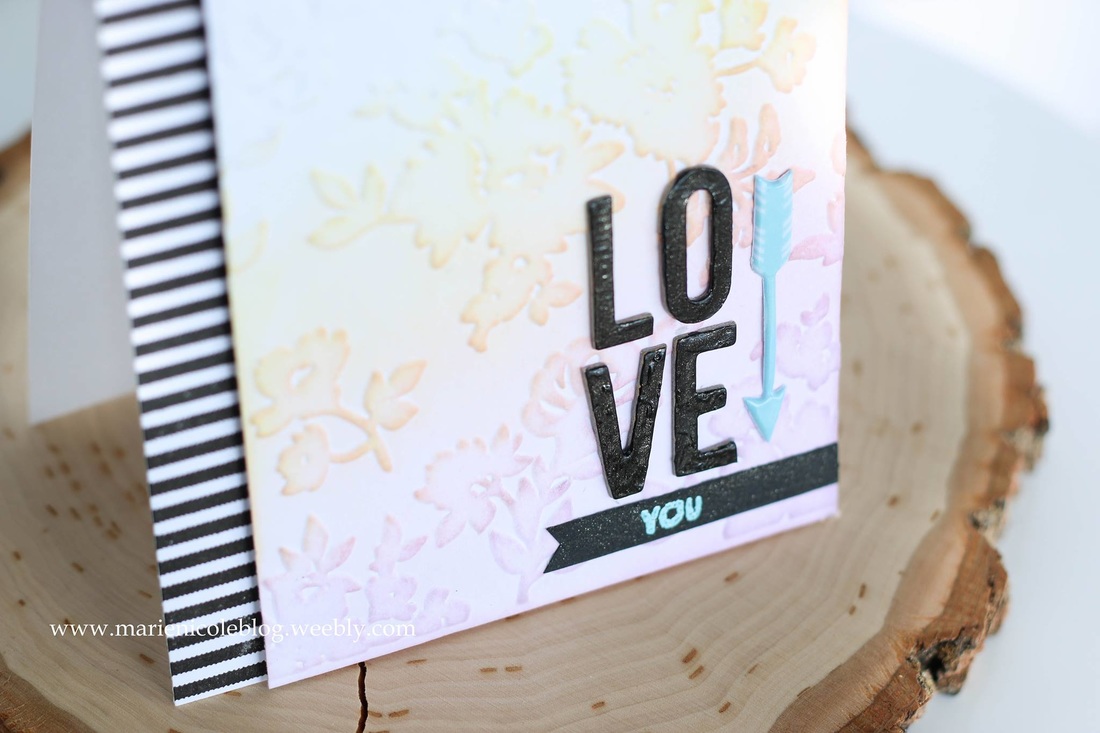
So that's the card for today! Thanks for stopping by and go ahead and watch the process video if you want to see how it all came together!
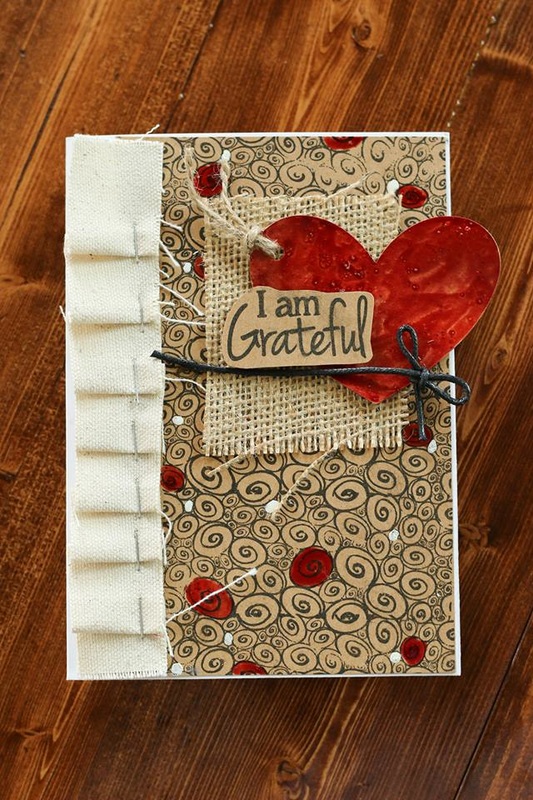
This card was really fun to do. I used all Canvas Corp products so if you'd like, you can head over to their store and put together this card for yourself! Check out the Canvas Corp Blog post HERE.
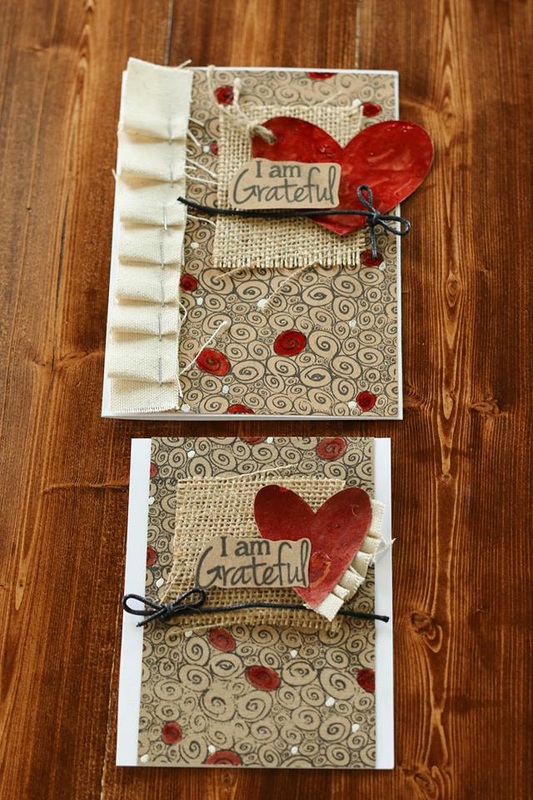
I did some stamping with the Grateful Stamp set and a little painting on the background. Then, I layered on some burlap, heart tags, and added some fun canvas ruffles. It's all very simple but comes together easily!
Happy Crafting!
Watch the video I put together to see the whole process in detail!
Here's some fun products I used:
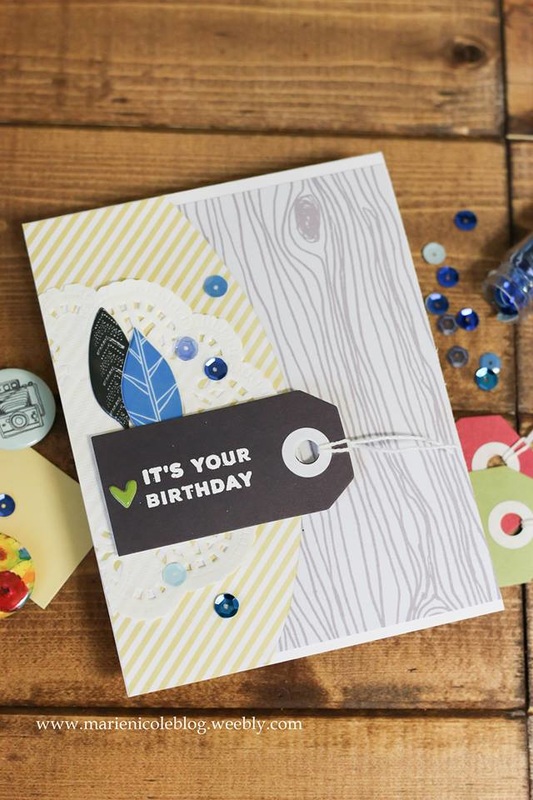
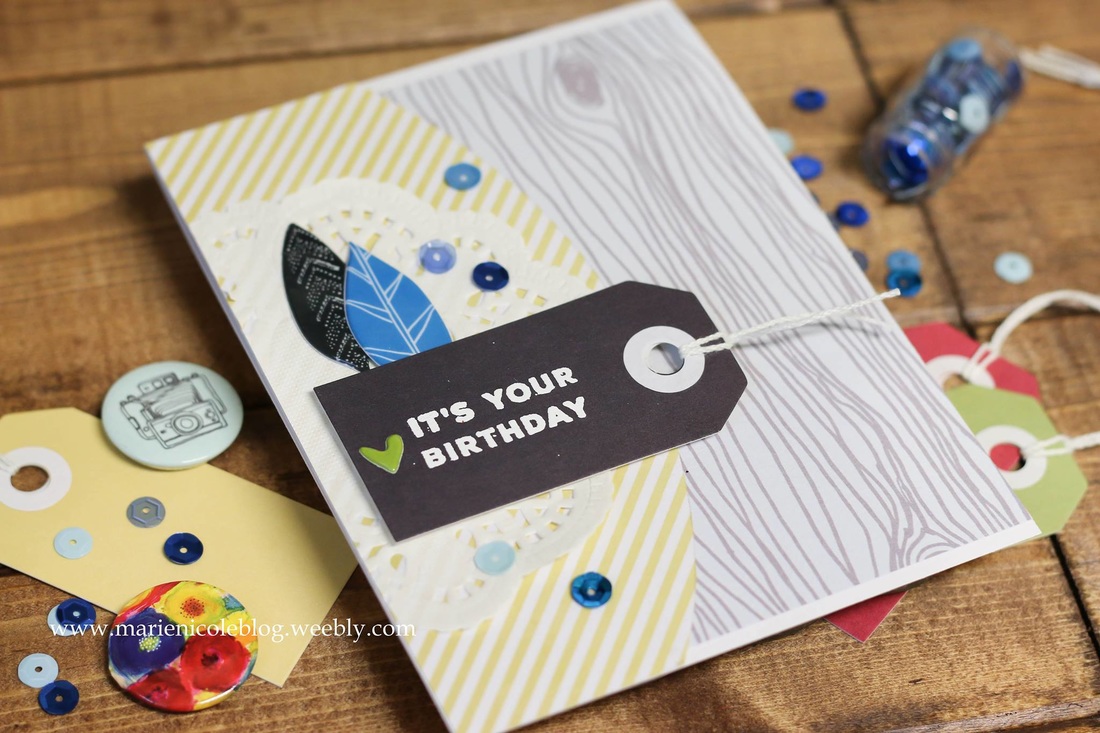
For today's card I used the Attwell collection by Fancy Pants Designs. I absolutely love this collection. It's so colorful and fun!
I used their woodgrain paper as the background, and then layered their yellow stripes on top along with a paper doily. Then, I took one of their black tags and embossed the birthday sentiment with a stamp set from Simon Says Stamp. 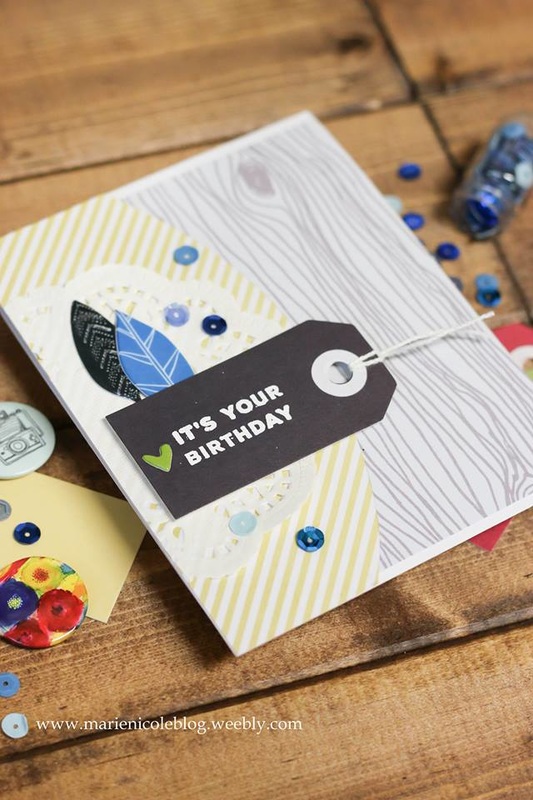
I used a few of the Attwell puffy stickers and some blue sequins by Doodlebug Designs to finish embellishing this card.
Thanks so much for stopping by!
Check out a few of the products I used!

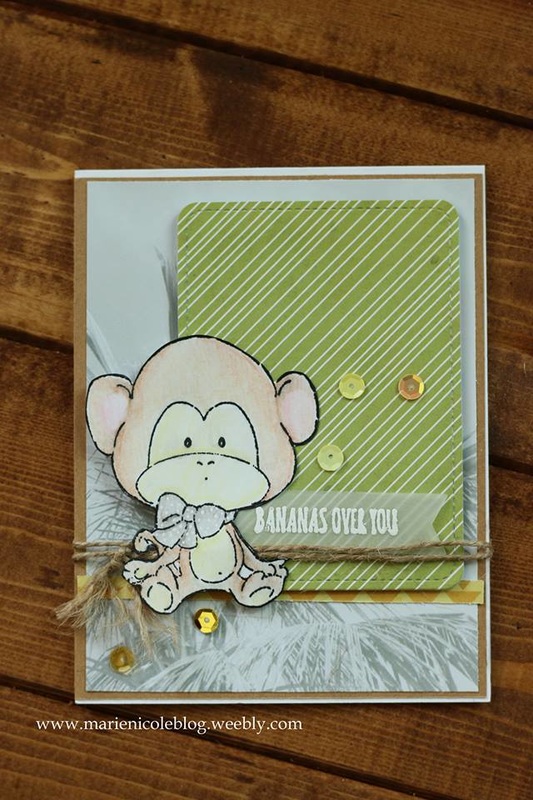
May 7th is National Scrapbook Day! Tombow teamed up with some amazing friends at Graphic 45, May Arts Ribbons, Stampendous!, Fancy Pants Designs, Art Impressions, and Simple Stories to celebrate this day. They sent me a scrapbooking care package full of goodies that I get to play with and share with you! I'll be featuring their brands this week on my blog, so keep watching my social media for new posts!
I knew immediately that I wanted to get my hands on this adorable little monkey stamp. You can find this stamp at Art Impressions' online store here. I stamped him and then colored him in using Tombow's Irojiten Coloring Set in Tranquil. I then fussy cut him out and set him aside to work on the background of my card. I used the You Are Here papers from Simple Stories. These papers are so bright and cheery, they just make me want to go on vacation! I layered all the papers together and added some CCB Twine and sequins as embellishments. 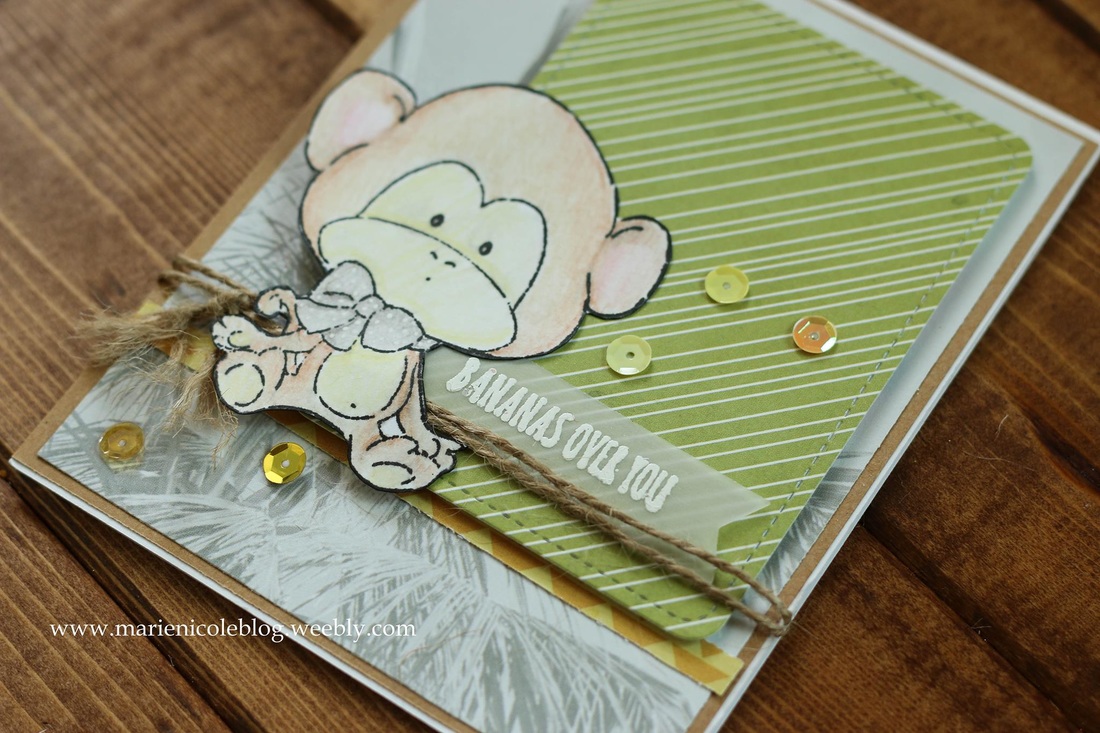
Thanks so much for stopping by! I did manage to put together a process video, so check that out if you want more detail into how I put this together.
Dont forget! Ill be posting more fun projects this week from some amazing brands! Happy Crafting! Some of the fun products I used:
Tombow has teamed up with some amazing companies to bring you some fun inspiration in honor of National Scrapbook Day! This whole week I'll be sharing projects and fun products from some amazing craft and scrapping companies that include:
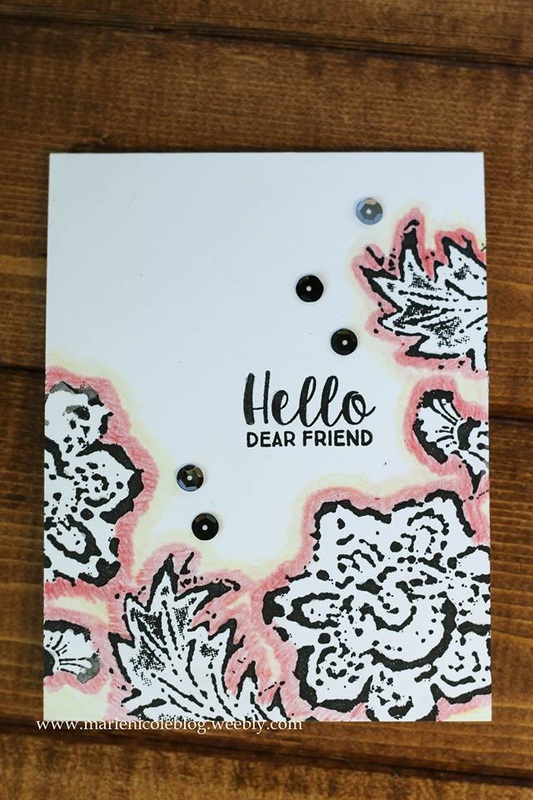
Tombow USA Graphic 45 Stampendous! Fancy Pants Designs Art Impressions Simple Stories Canvas Corp Brands For this card I used Stampendous! Fiesta Stamp set and added color using Tombow's Irojiten Tranquil Coloring Set. First I used the stamps to create a fun border around the bottom of this card. Then, I took Tombow's Crimson colored pencil, and their Straw Yellow colors to color around the outside of the stamped images. Then all that was left was to stamp the sentiment and add some black sequins! I did also brush on some silver Wink of Stella to add some shimmer. Thanks so much for stopping by!! I managed to put together a process video, so please watch and enjoy. Happy Crafting!!
Check out some fun products I used!
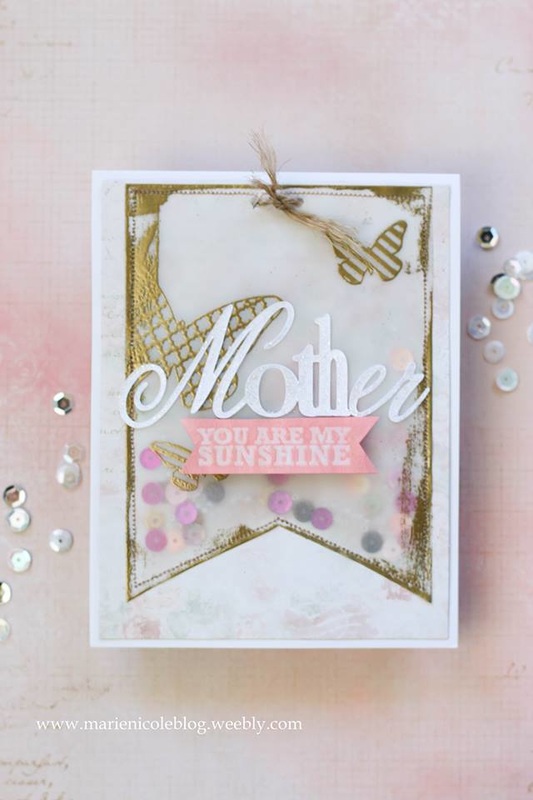
There's nothing more fun than shaker cards! However, the amount of foam adhesive that traditional shaker cards use makes it a little tricky to pull one off. This is a simple way to make a shaker card without messing with the adhesive!
First, I cut a piece of patterned paper down to slightly smaller than my card base and adhered it down. Next, I took a piece of vellum and cut it into a flag shape. I stamped and embossed some butterflies in gold embossing powder, and then also embossed around the edges. I used a little tape adhesive to adhere the flag down on top of the background paper. BUT I DID NOT PUT ADHESIVE ON THE TOP OF THE VELLUM FLAG. This is important, because you need to leave the top open in order to fill the pocket with your shaker goodies. I then ran the card through my sewing machine to sew down the sides of the flag pocket, again leaving the top open. Then I filled the pocket with several colors of sequins and some tiny clear beads. After your pocket is filled, go ahead and sew the top shut. 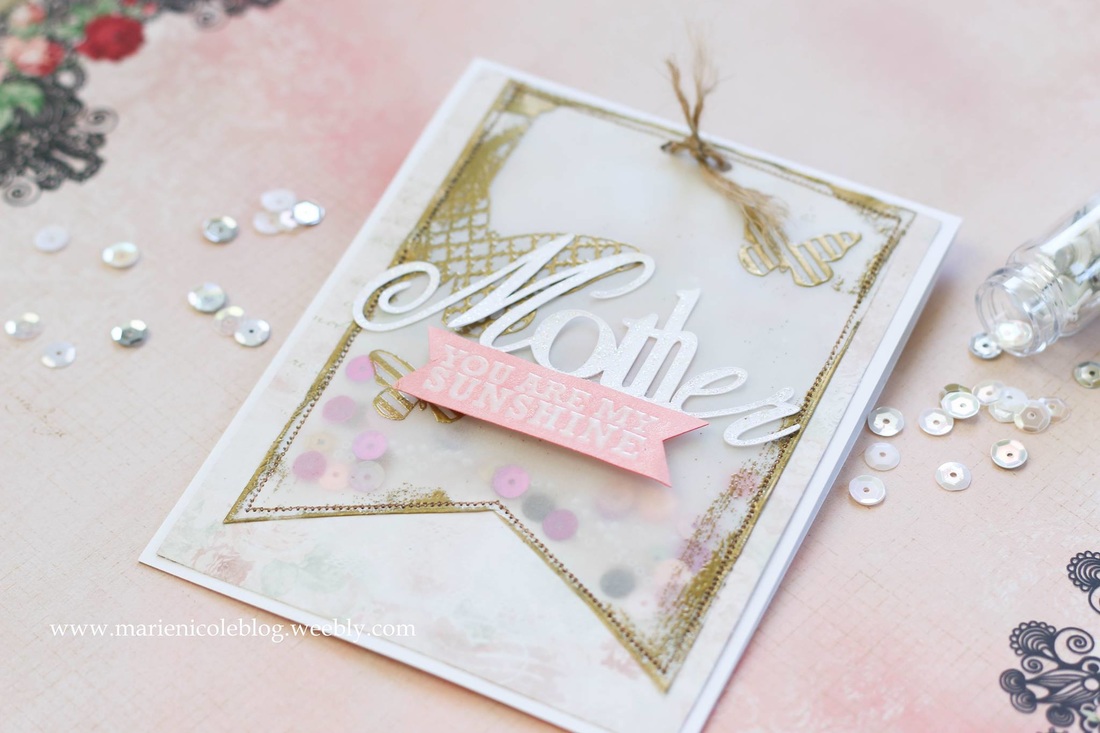
You;ve just made a fun shaker pocket card! I added a die cut "mother" to the front, and stamped and embossed the rest of the sentiment and adhered it below.
I hope you take a look at the process video to see how I did this in more detail! Thanks for stopping by and Happy Crafting!
I am also linking this card up with
Simon Says Stamps Monday Challenge Simon Says Stamps Wednesday Challenge
|

Pin it!

AuthorSo glad you found me! This blog is my little space where I can share bits about my life and my latest crafting projects (mostly handmade cards). My goal is to share, inspire, and to be a positive presence in the creative community. 

Find me on Instagram!Archives
January 2018
Categories
All
Link Love
 

|


 RSS Feed
