Happy National Scrapbook Day! Tombow has teamed up with some amazing companies like Graphic 45, May Arts Ribbon, Stampendous!, Fancy Pants Designs, Art Impressions, and Simple Stories to celebrate this fun day. They sent me a box stuffed full of goodies to play with and share with you!
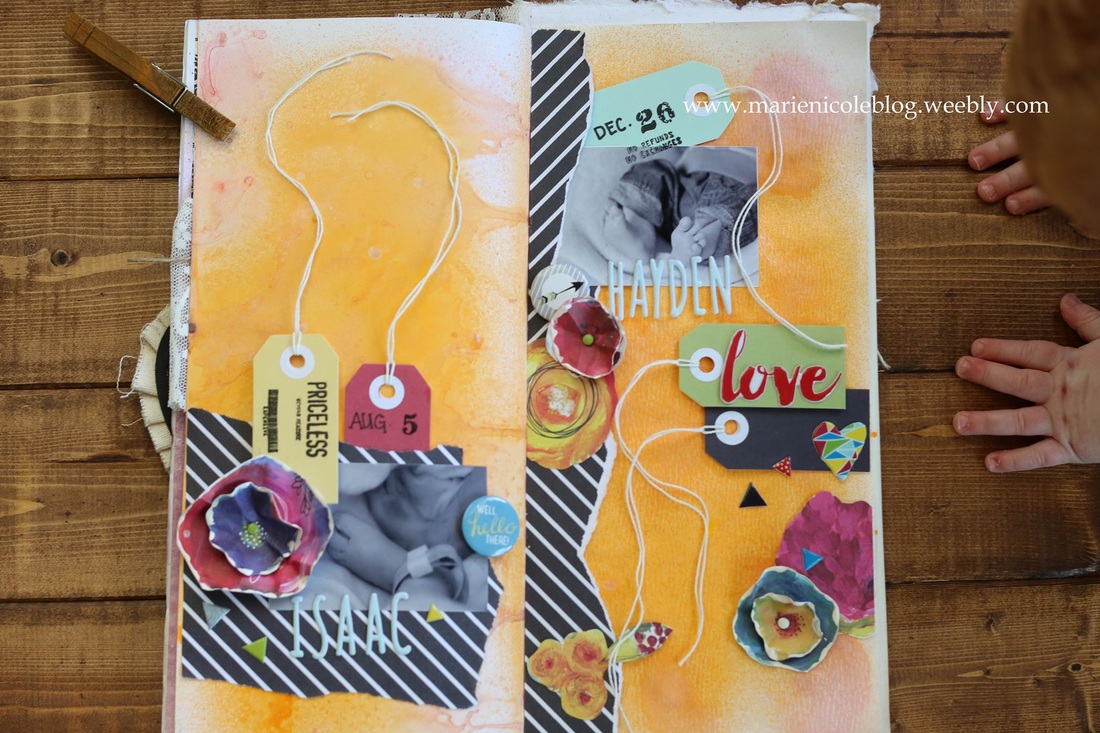
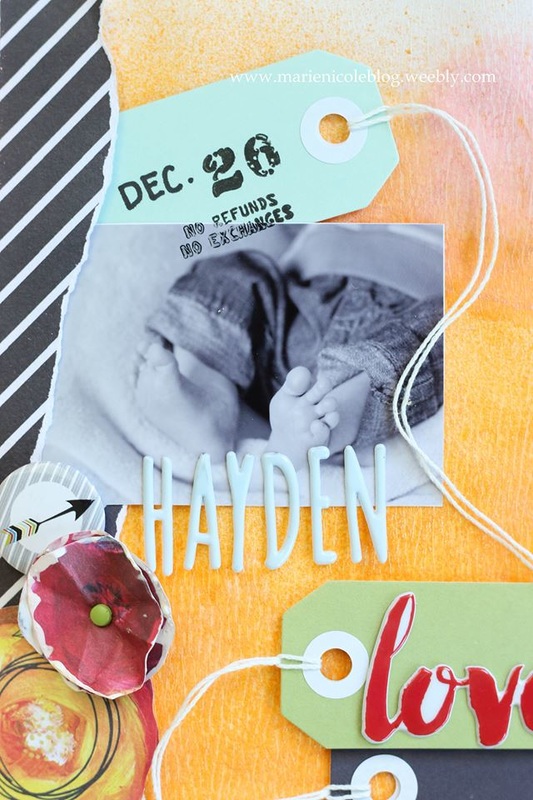
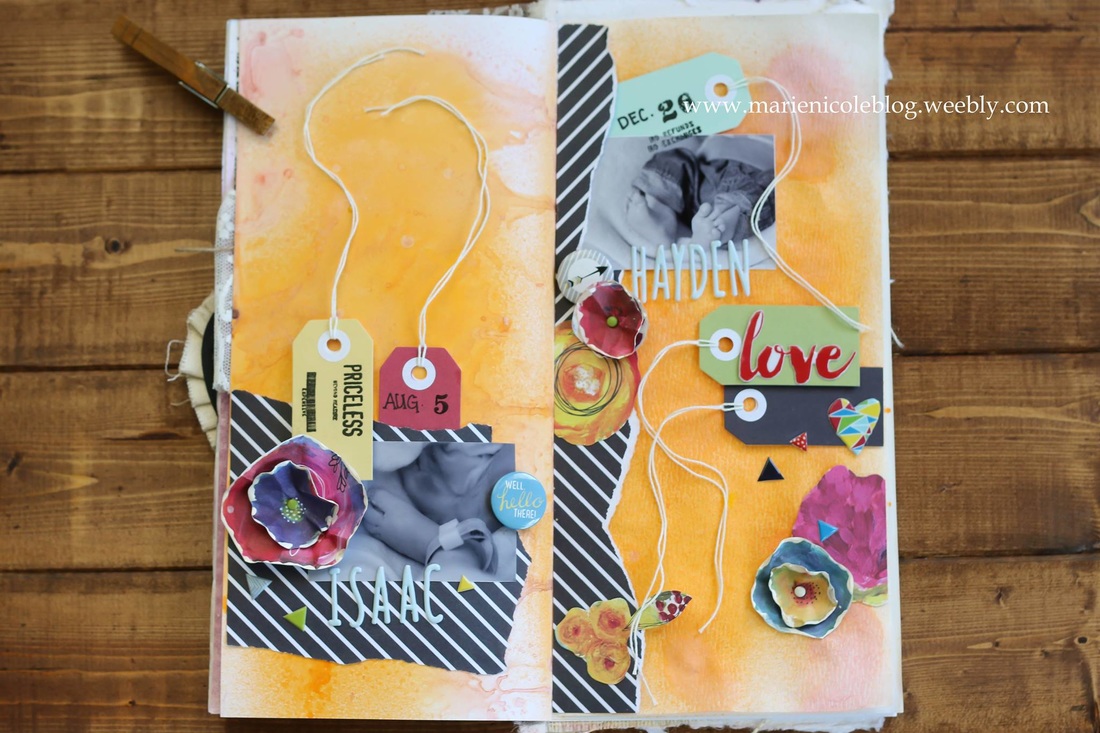
I have been slowly filling up my Recollections Mixed Media Journal that I titled, "Things I Love". This is the third layout in my journal. Here is how I did the COVER and then my WEDDING THEMED page. For the page I am sharing with you today, I used the Attwell collection from Fancy Pants Designs to create a page dedicated to my two sons, Isaac and Hayden. 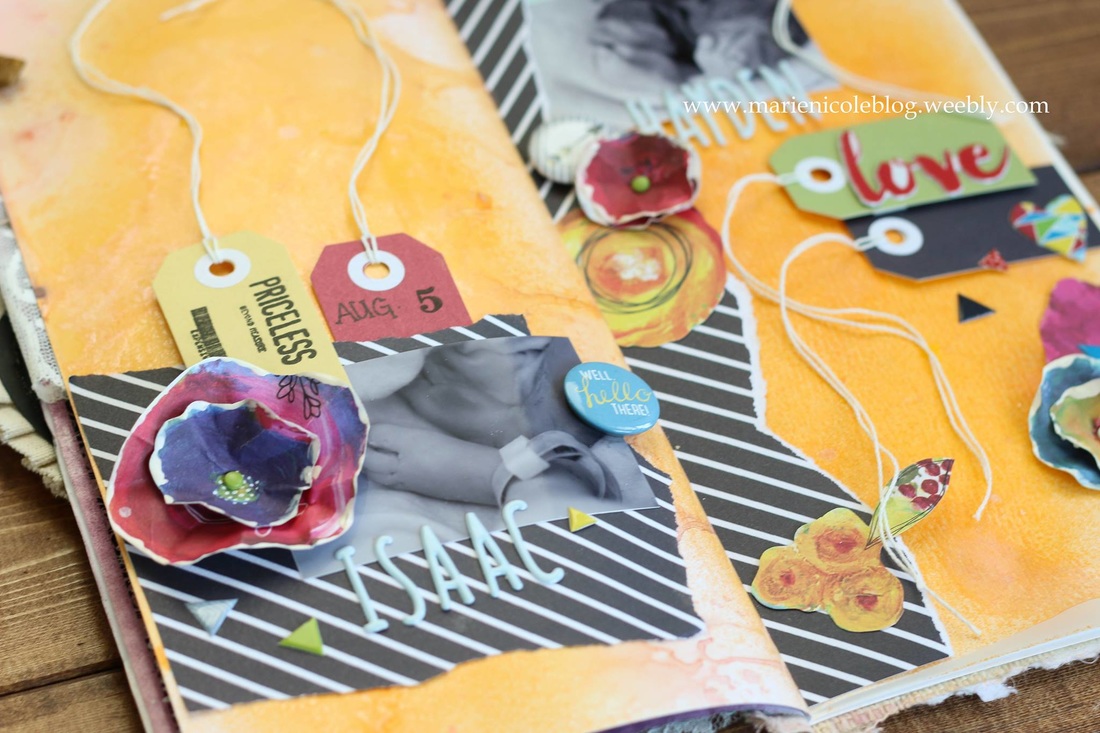
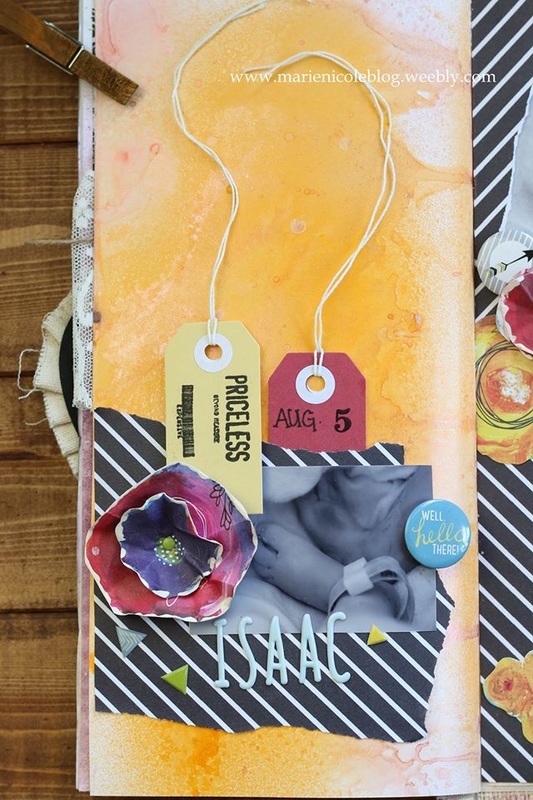
Let me tell you a little bit about our first son, Isaac. We were thrilled when we found out we were expecting him, but at our very first ultrasound we discovered that he had serious complications that would not allow him to live past childbirth. In fact, we didn't even know if we would make it to full term.
We went ahead with the pregnancy because we believe all life is precious, and we wanted to give Isaac the best shot at life we could. God was gracious, and allowed him to grow to 34 weeks and 4 days. Our short time with him was precious, and I treasure the few photos we have of him. If you want to hear his whole story in detail, CLICK HERE, 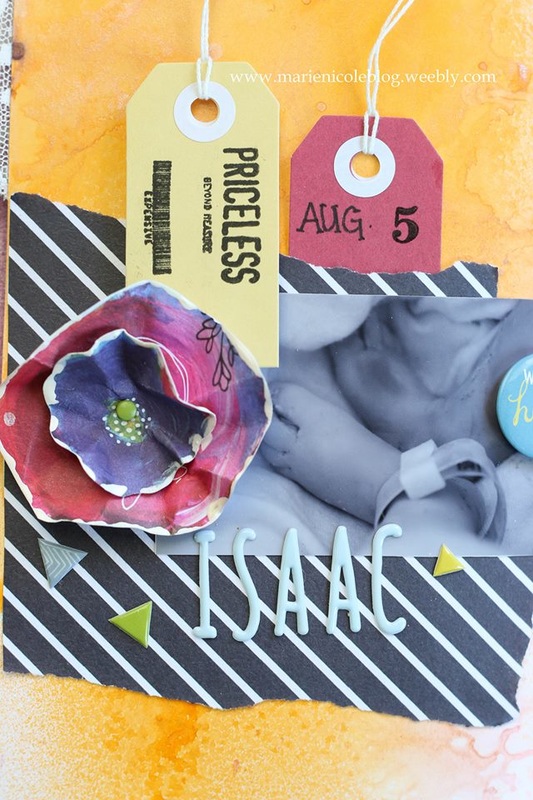
About 8 months after we lost Isaac, Hayden's story began! The colorful theme of this layout really fits since Hayden is our rainbow baby.
We treasure each day we have with Hayden. Losing a child brought on a lot of different emotions, and I sometimes still have days where I feel all those emotions. But going through that pain also helps me put into perspective how precious Hayden- and EVERY child- is. 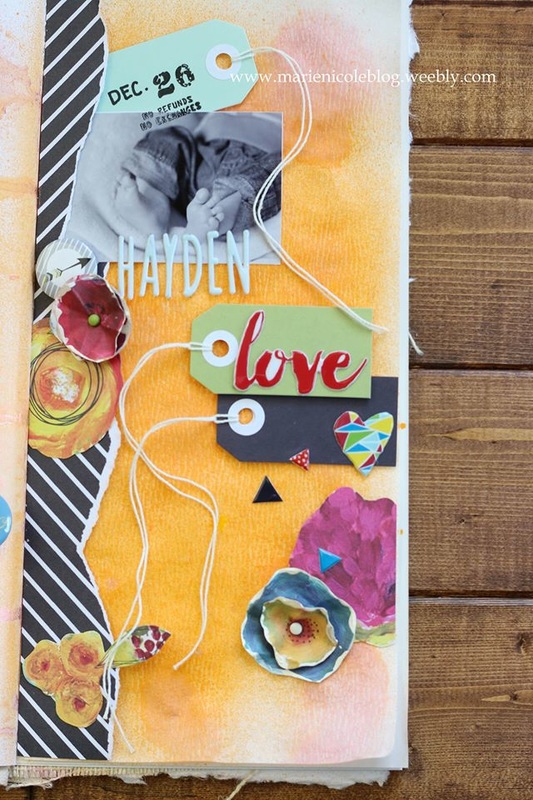

So thank you so much for taking the time to stop by, hear a little bit of our story, and (hopefully) appreciate how scrapbooking can help preserve your precious memories.
If you like what you see from Fancy Pants Designs, follow them on social media!
Fancy Pants Designs: Instagram- @fancypantsdesigns Facebook- Fancy Pants Designs Twitter- fancypantsd Pinterest- https://www.pinterest.com/fancypantsdsgns Blog- http://blog.fancypantsdesigns.com/ Check out some fun products I used!
6 Comments
National Scrapbook Day 2016 is just a few more days away! I also have a few more fun projects to show you!
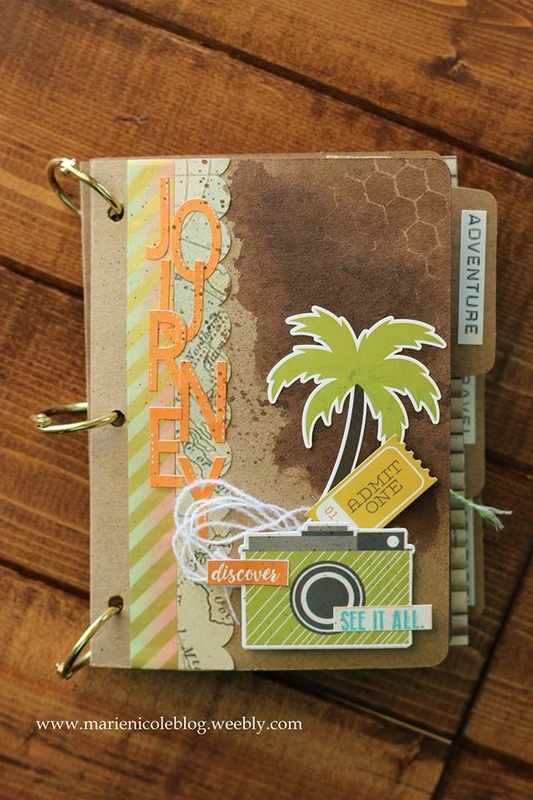
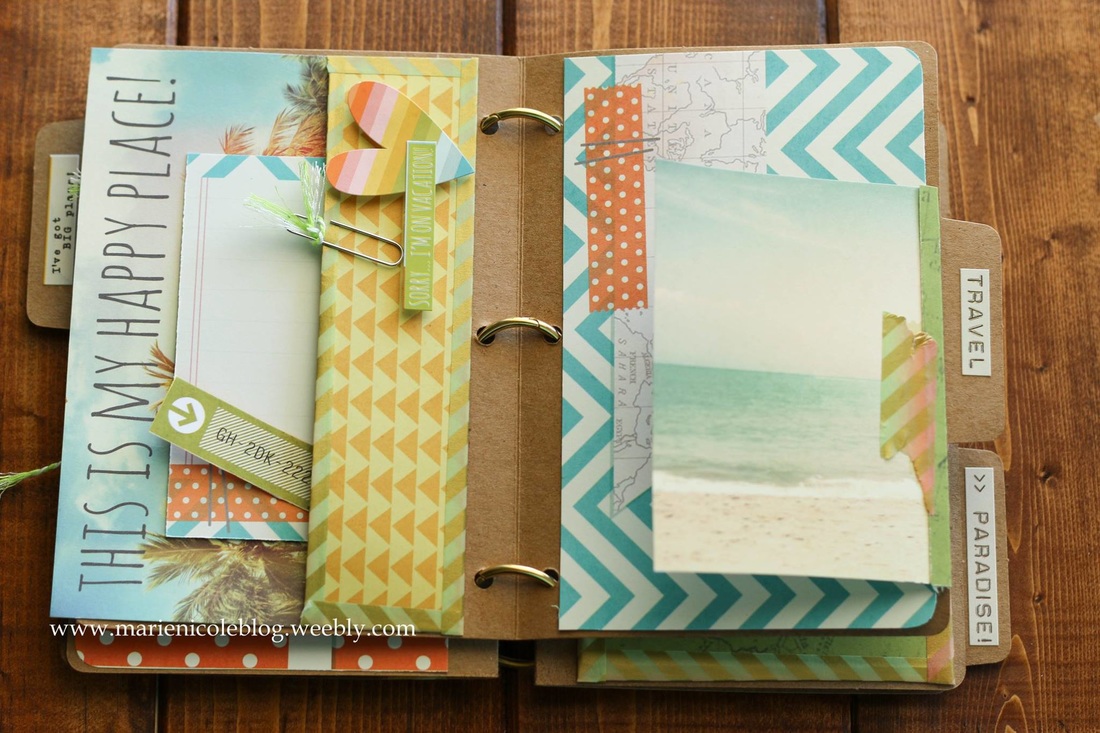
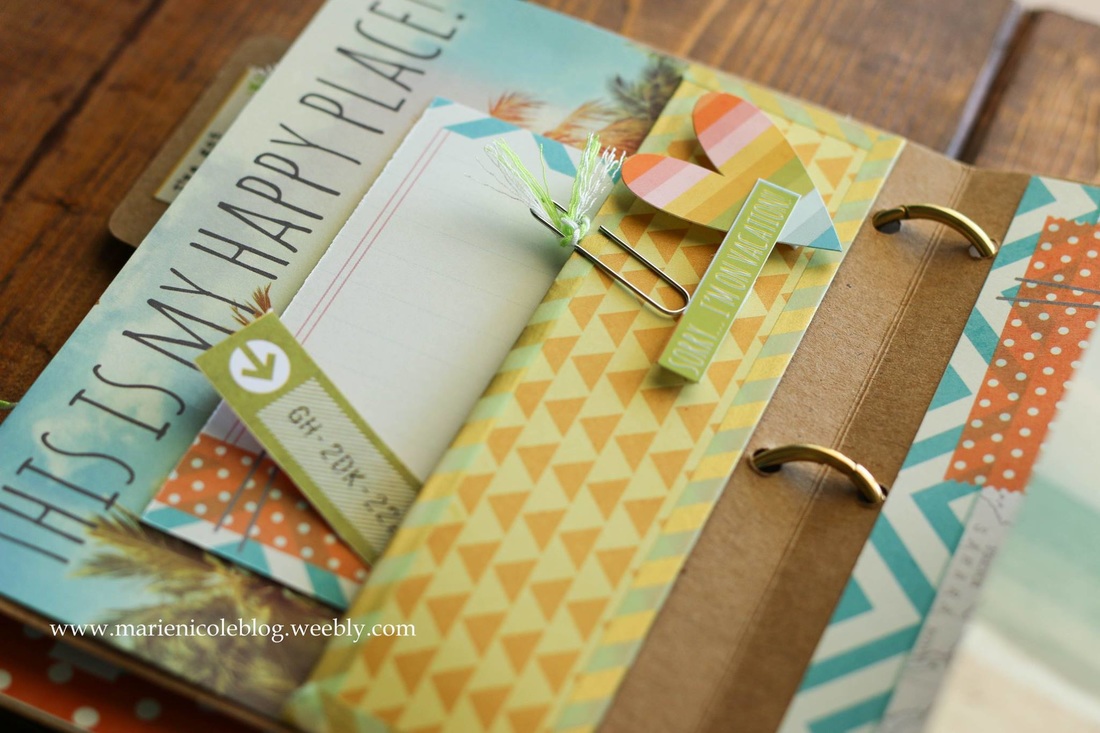
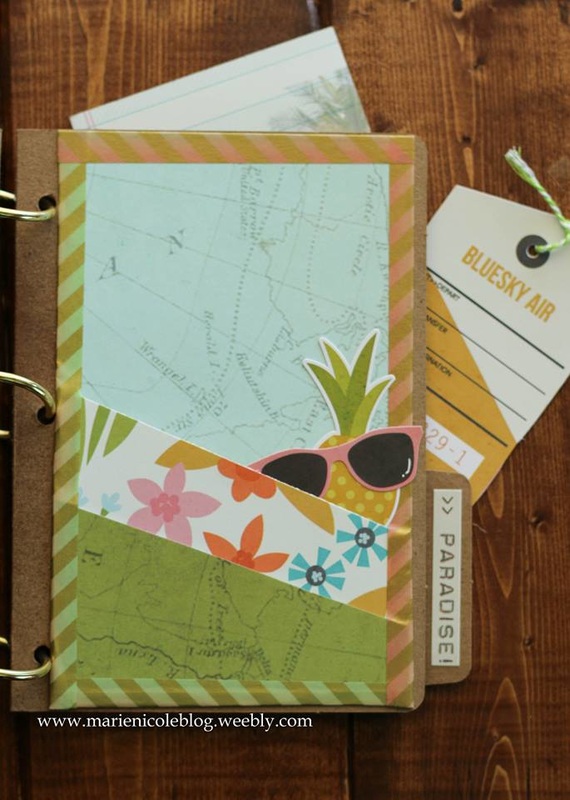
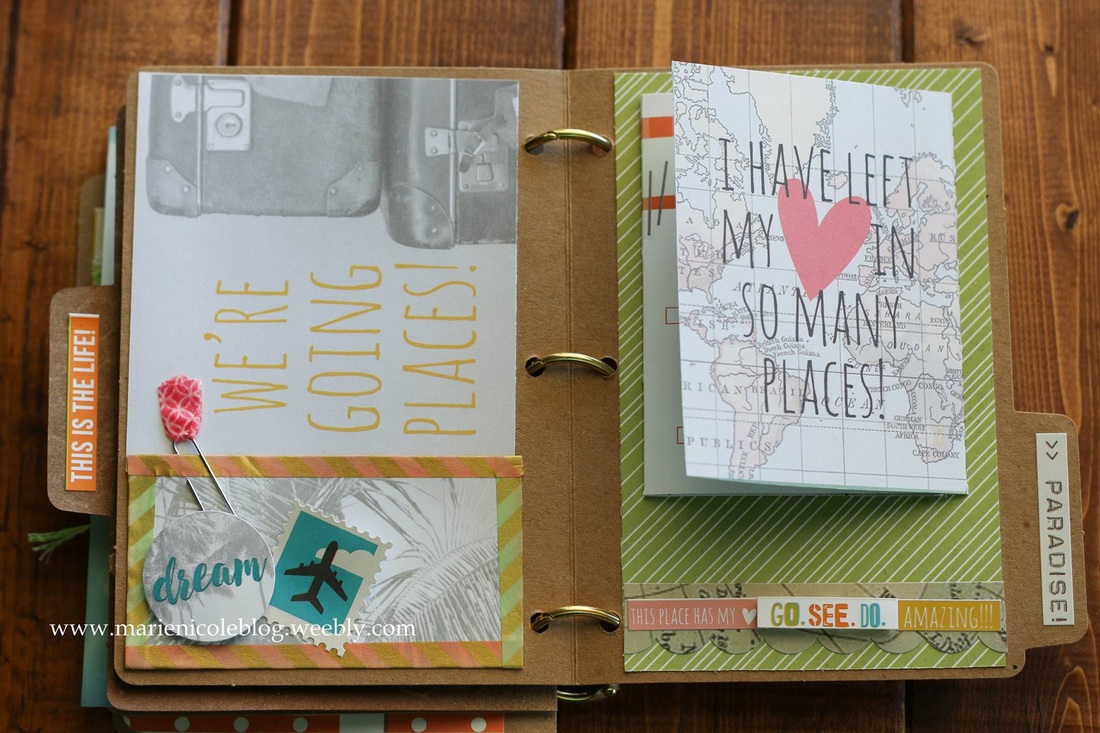
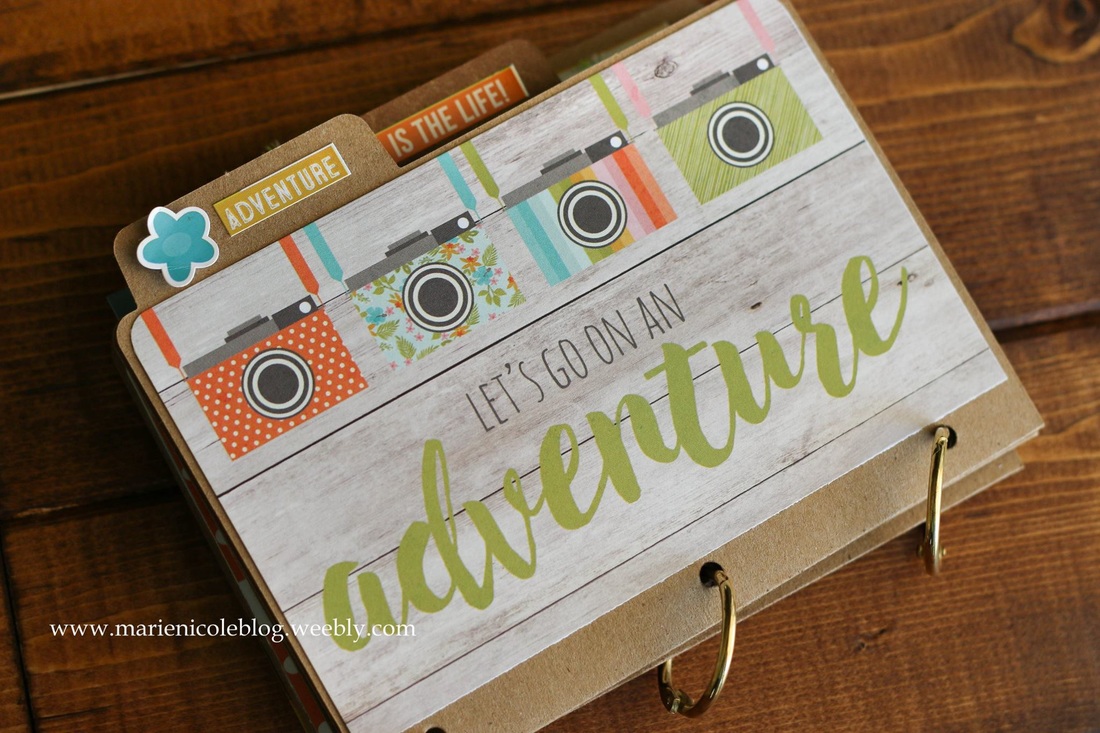
Today Im showing this mini file folder album featuring Simple Stories papers. I have the travel themed papers and they are so much fun. I put together this cute little travel journal/album using the papers and some mini file folders from Canvas Corp Brands. All I had to do was punch holes in the sides of the files and then bind them together using some 1" album rings from The Paper Studio. I've put together a video walk-through of the album, and Ill post some photos as well. 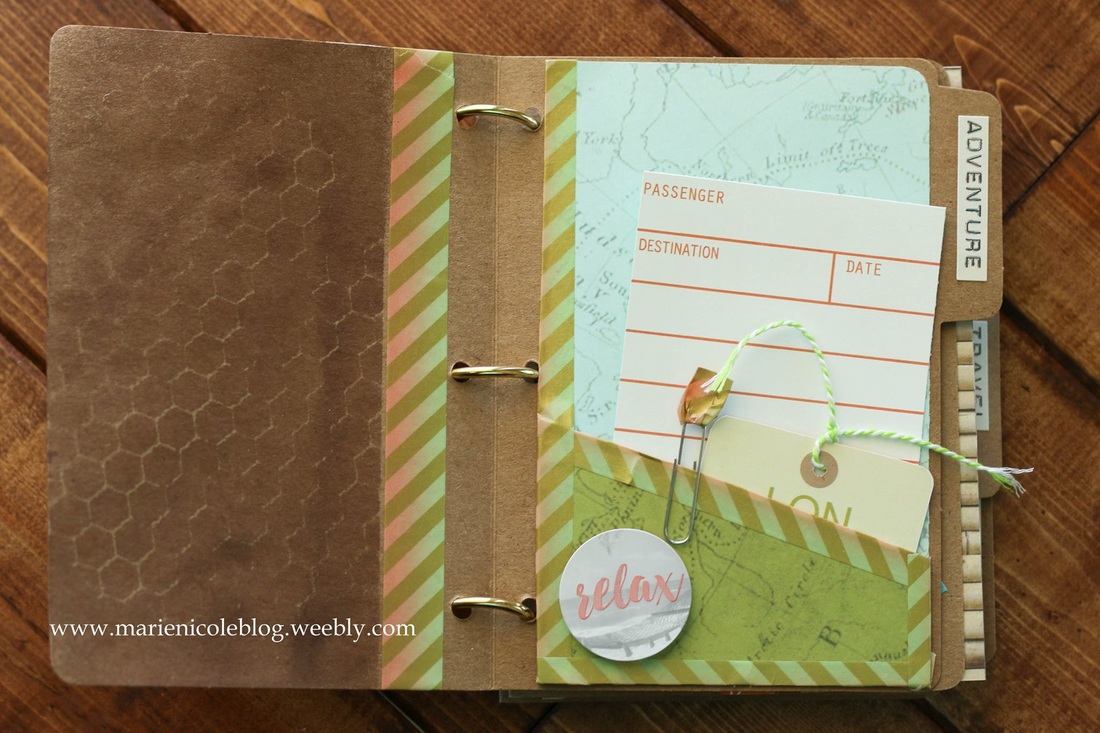
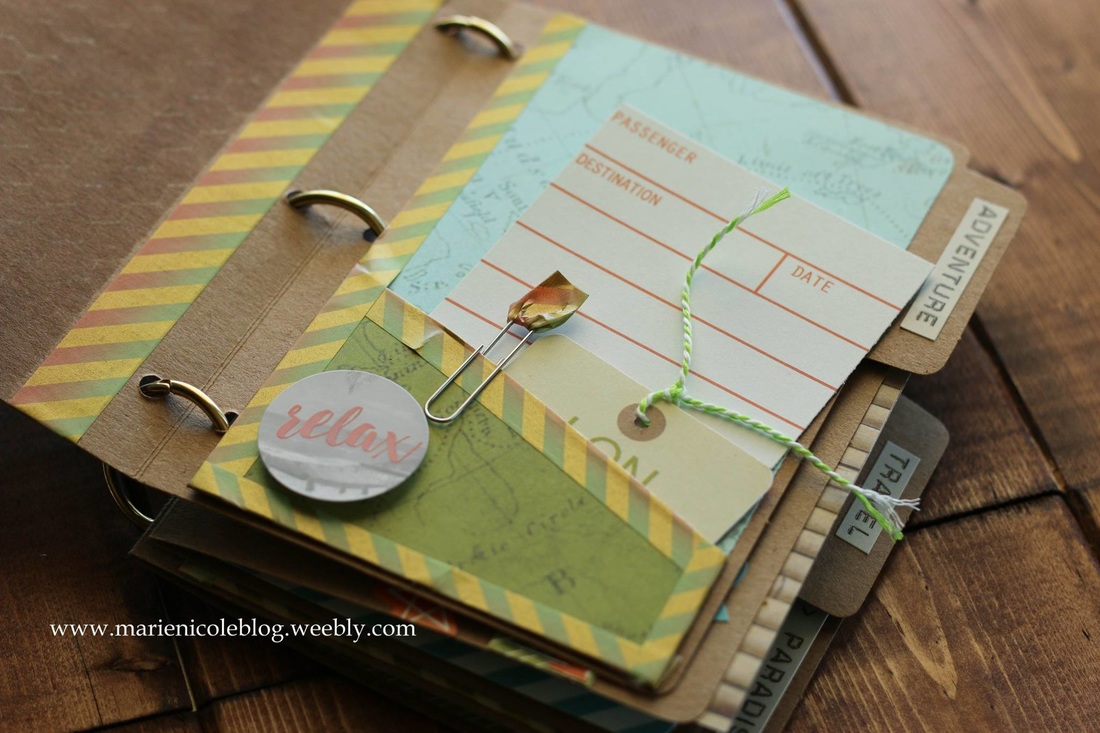
I wanted to include lots of pockets, journal notes and tags so it would be quick and easy to collect and store vacation trinkets, memories, and photos. 

I also did a little misting using TCW's Mini Chicken Wire stencil and Tattered Angel's Tattered Leather Glimmer Mist on a few pages. 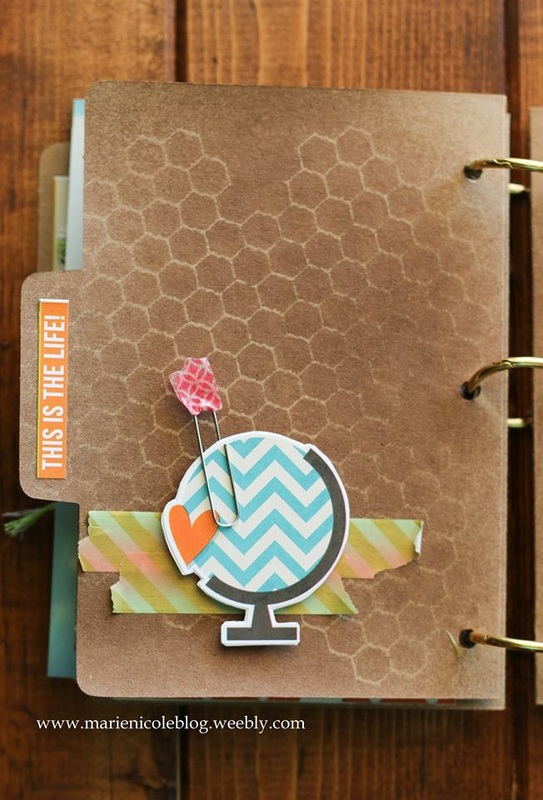
Go ahead and check out the video for the "official" album tour and more info on how I put this together. Also, THANKS to Tombow for teaming up with Simple Stories and helping to get these amazing products out there! Follow Simple Stories on their social media! Simple Stories: Instagram- simplestories_ Facebook-@simplestories Blog- https://www.simplestories.com/blog Happy National Scrapbook Day!
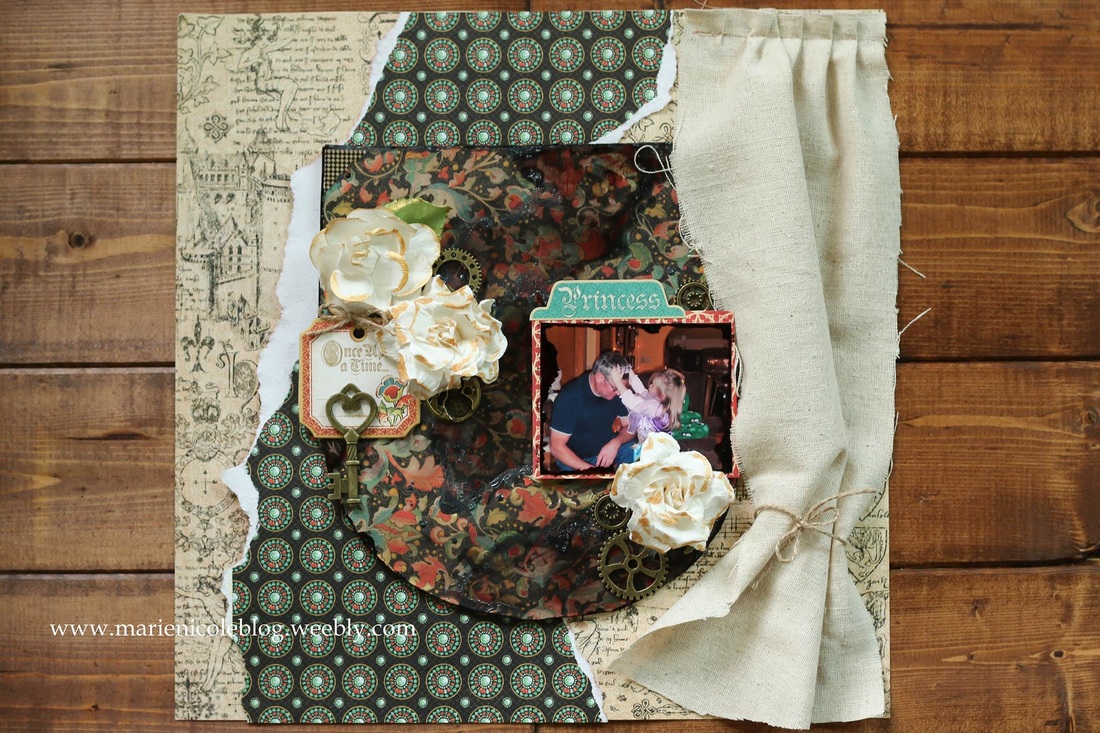
Graphic 45 sent me some of their new Enchanted Forest products. I received their 12x12 paper pad, stickers, and chipboard pieces. These papers are GORGEOUS! It's a medieval theme, so lots of princesses, knights in shining armour, a few dragons, and some amazing patterns!
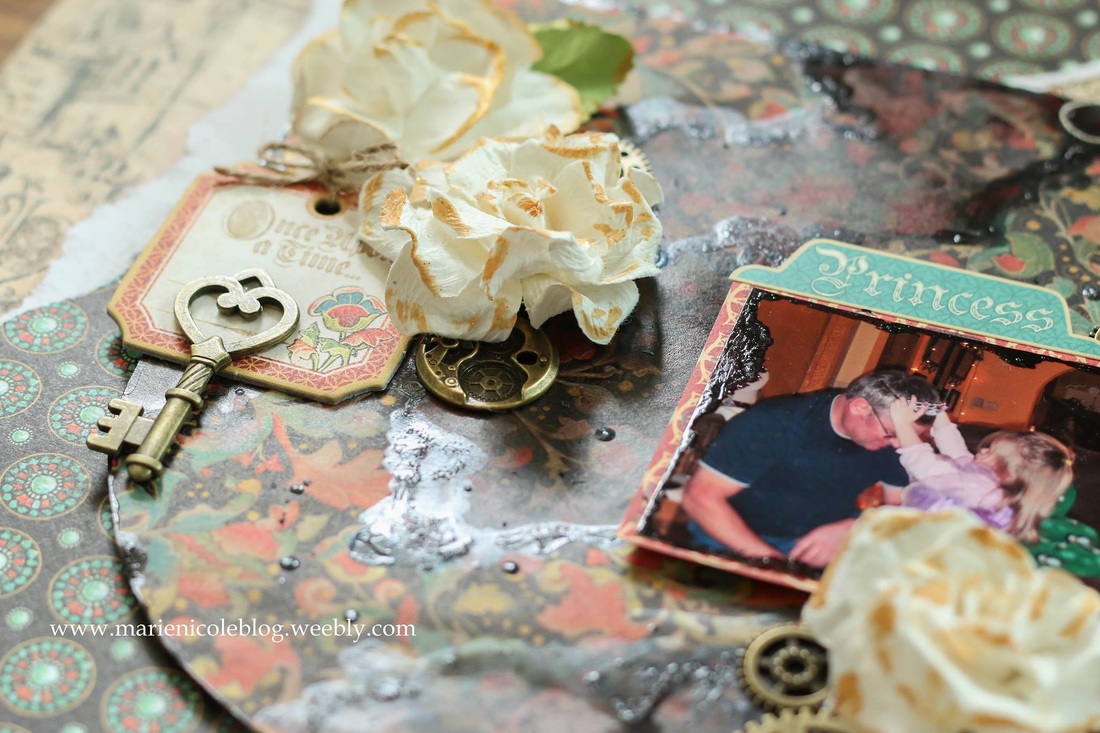
I thought the theme was perfect for a little princess so it immediately made me think of my niece. She loves dress-up, and I used a photo of her "crowning" her grandpa. I was inspired by the shields in the papers. I wanted to make a larger shield to display the photo and some embellishments on, so I cut a shield shape from a cardboard box and covered it with some of the patterned paper. Over the paper on the shield I added some Tattered Angels Java Glaze and some glimmer mist in the color of Tattered Leather. It achieved the aged look I was going for. Then, I also added a touch of Tattered Angel's Pewter glaze, as well. That really gave a metallic look in a few areas. 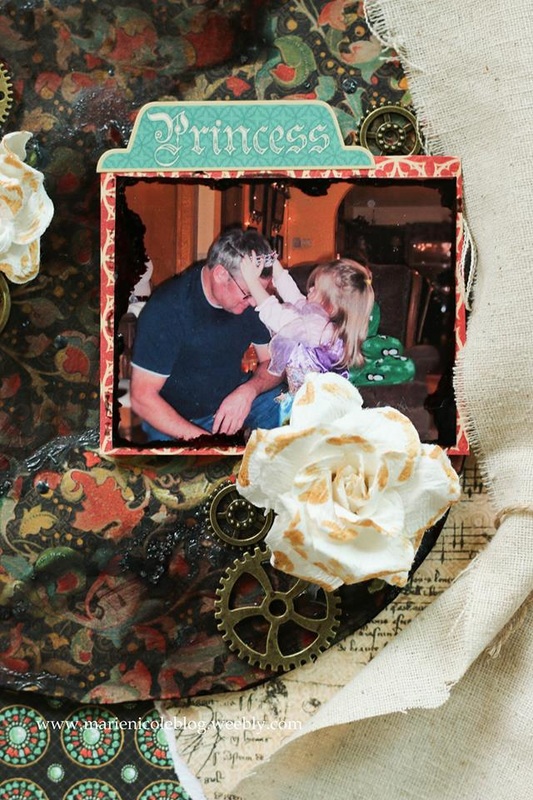
I also used a few embellishments I had on hand. These white roses are from Michael's dollar bin. I adhered them using Tombow's Mono Multi Liquid Glue, and then painted on some gold with some Camel Glimmer Glam. The gears I found on Amazon.
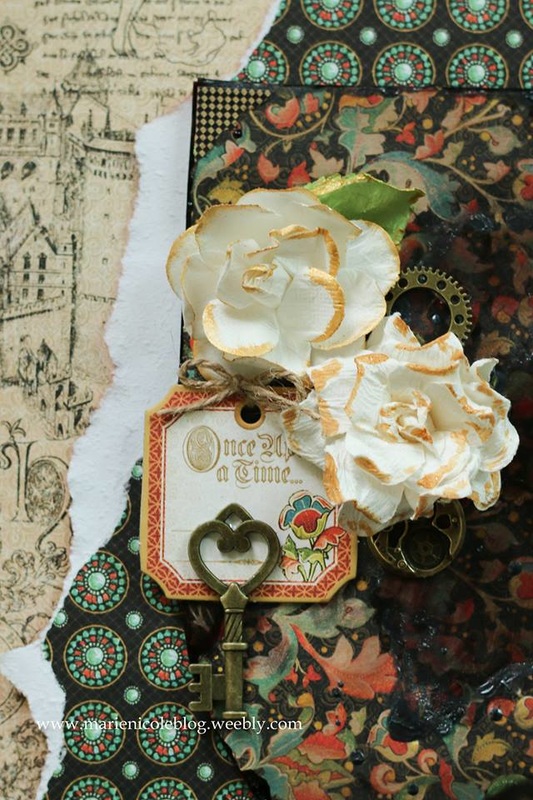
I also added a key from Michael's, and one of the chipboard pieces from the Enchanted Forest collection.
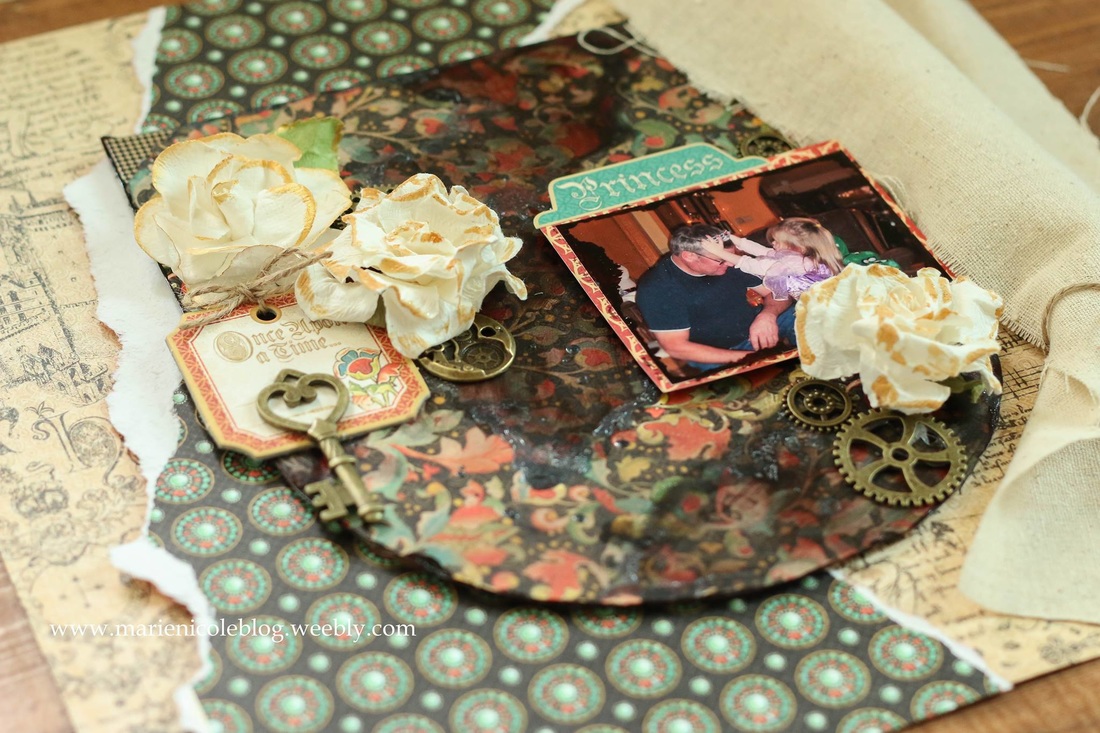
For the background I took a piece of the patterned paper and tore it, and then placed it behind the shield. Then, off to the right side of the shield, I attached some fabric to make it look like a curtain. I sewed just the top of the curtain down using my sewing machine.
I made a process video of this layout. I hope it gives you more detail into how I put this together. Some of these last minute touches I did off camera, but most of the process is there in the video. Thank you so much for your interest in this layout! Also, don't forget to check out Graphic 45 on their Facebook and Instagram accounts! Graphic 45: Instagram- Graphic45 Facebook- Graphic45 Here's a few of the products I used:
I previously shared a post on this Recollections Mixed Media Journal. I decorated the cover, and if you are interested in seeing it check out my post here.
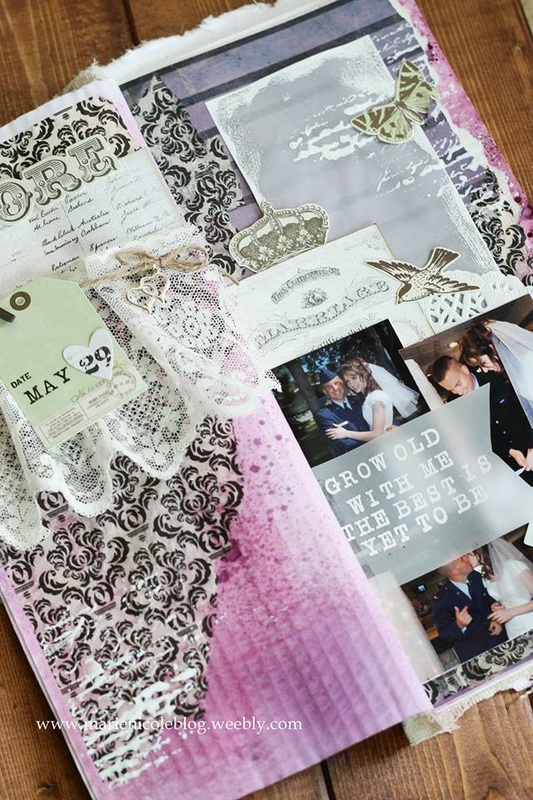
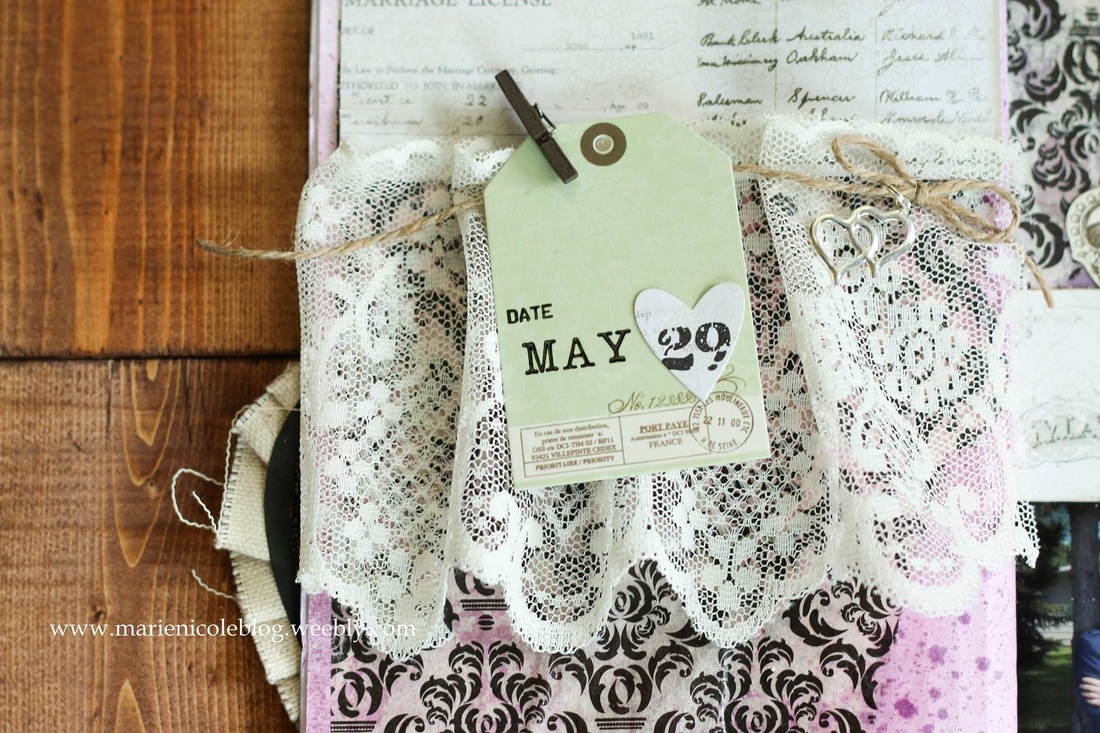
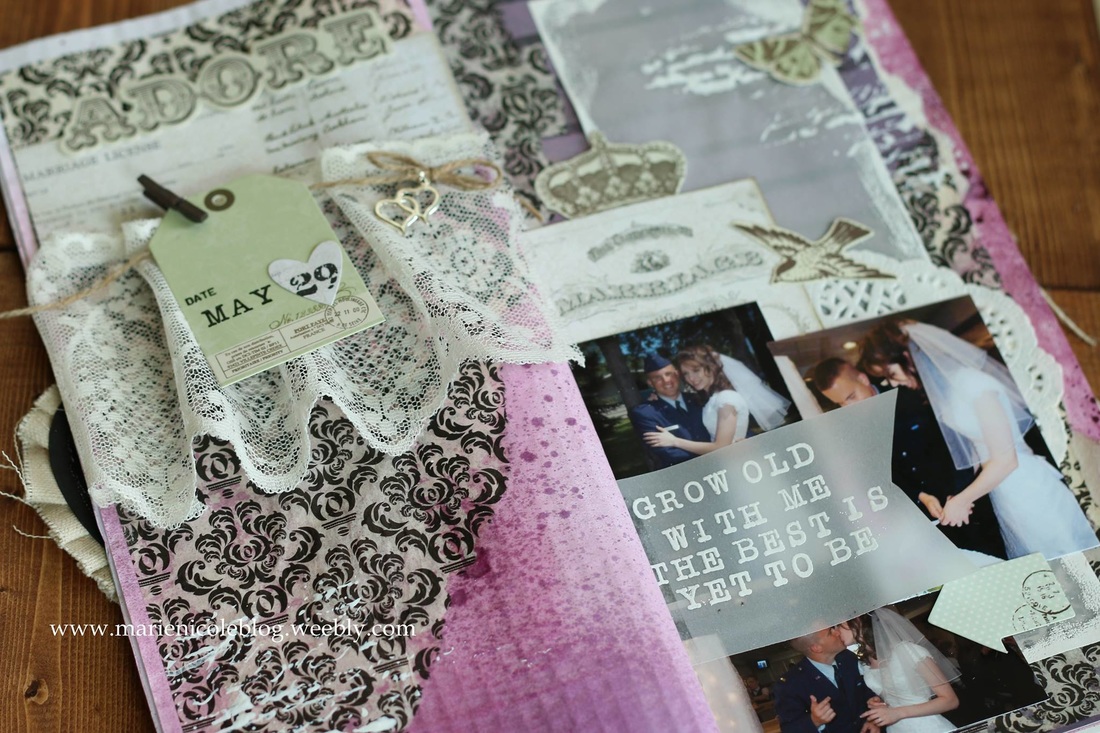
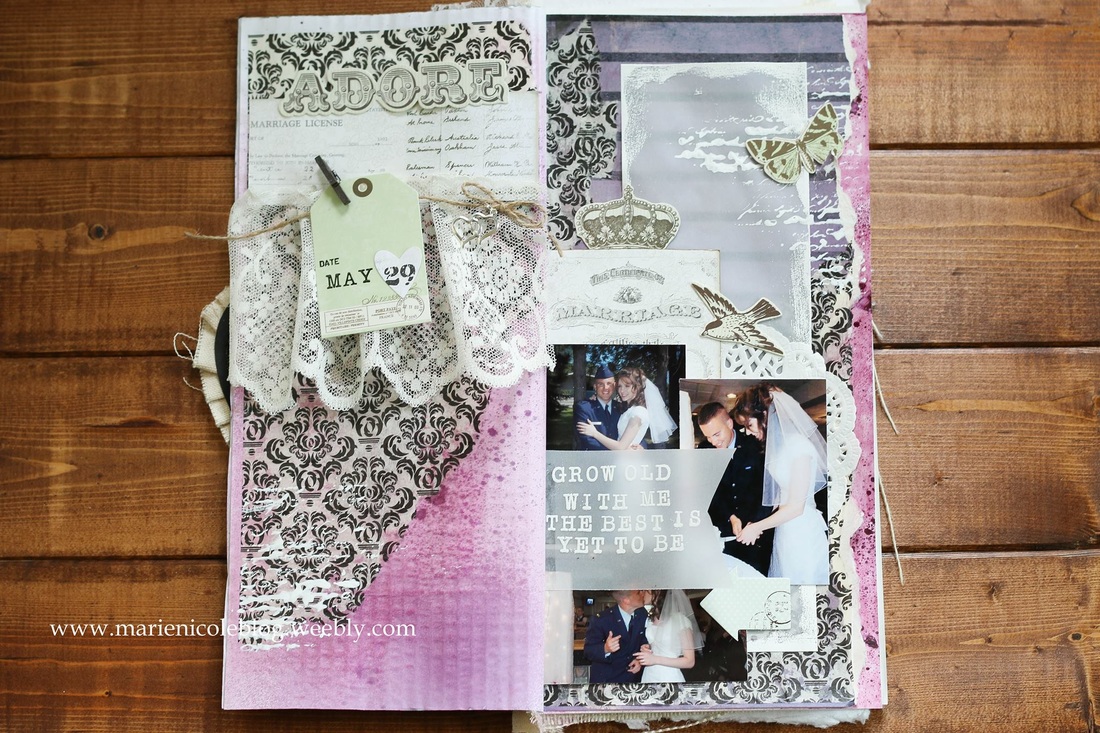
With the cover finished, I moved on to the first inside page. I decided to make it a page remembering my husband's and my wedding day. The first thing I did was take a few of my Tattered Angel's paints and apply them to the background. I used the colors Lilac Rose and Black Orchid, which are both chalkboard glimmer mists. Next, I took some Damask Tissuestock from CCB and tore it into several pieces. I applied it to the background by painting some Clear Glimmer Glam over the top and then letting it dry. 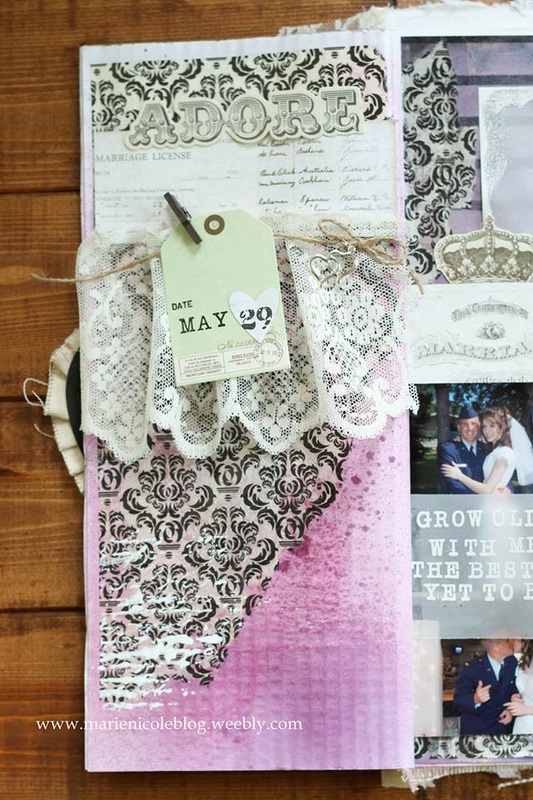
My next step was to take a coordinating piece of paper from a Recollections paper pack and I tore it so it would fit on the left page. Over that I placed a strip of vellum that I heat embossed some white embossing paste around the edges of.
I used my faded text background stamp next with some white gesso to add some stamping to some places on the paper.
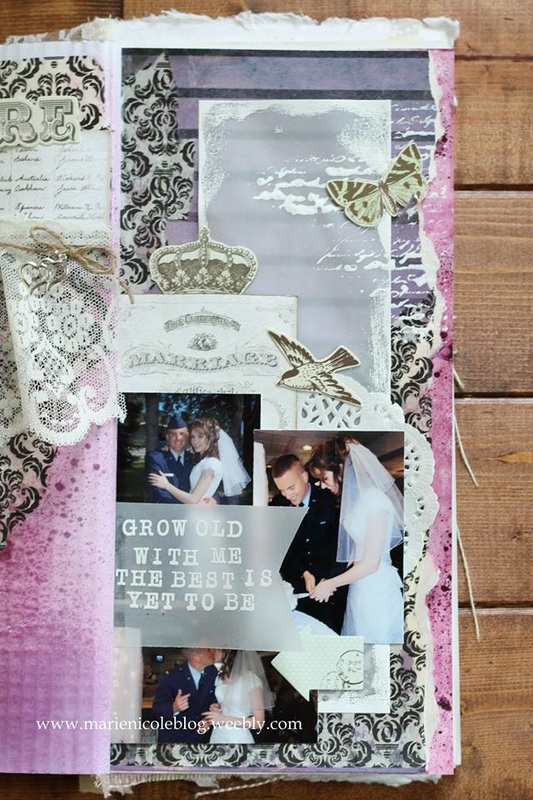
Then, I started to add my embellishments and my photos. I printed off three photos from our wedding and arranged them in a cluster on the bottom left page. Then, I used some die cuts from Kaiser Craft, 7 Gypsies lace, and some 7 Gypsies Harmony papers to embellish around them. The last thing I did was to stamp and heat emboss a quote on some vellum. 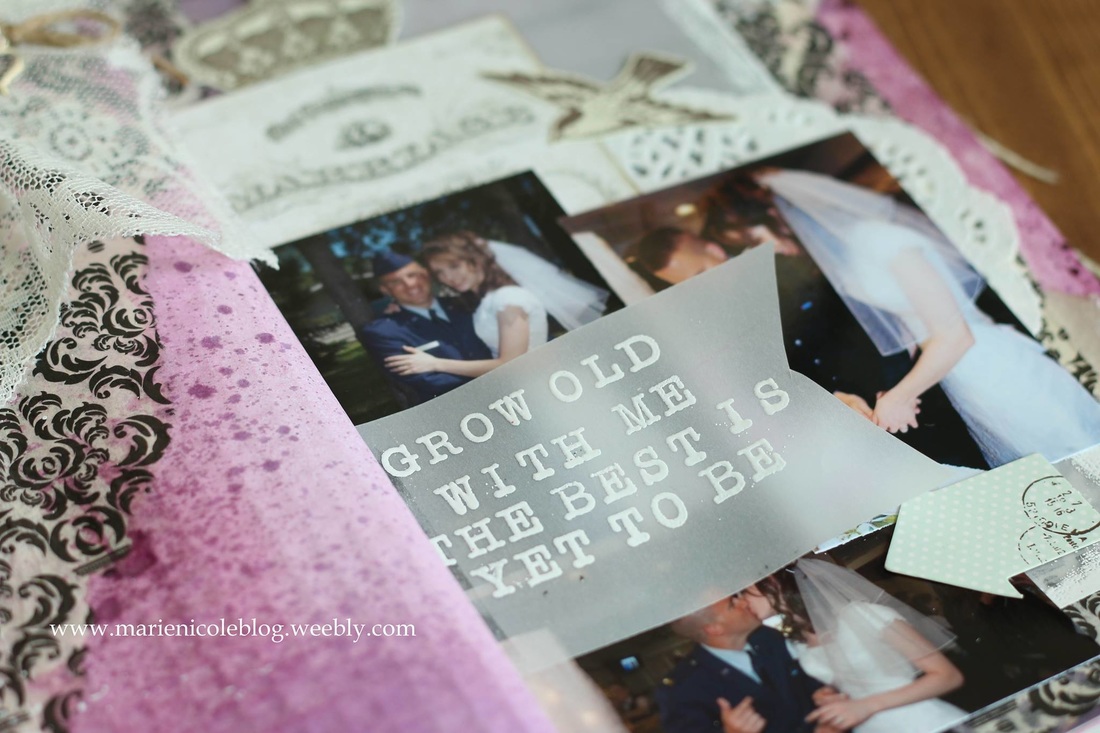
Thanks so much for taking the time to check out my mixed media journal. I plan to post about the other pages I am yet to create. I hope you will join me on my mixed media journey!
This journal layout was also featured on CBB's Blog. They have a family themed challenge going on right now with a fantastic GIVEAWAY!! Go over and check it out! Here's some fun products I used! Not all products can be found on Amazon, but Michaels craft stores carries the Recollection brands.
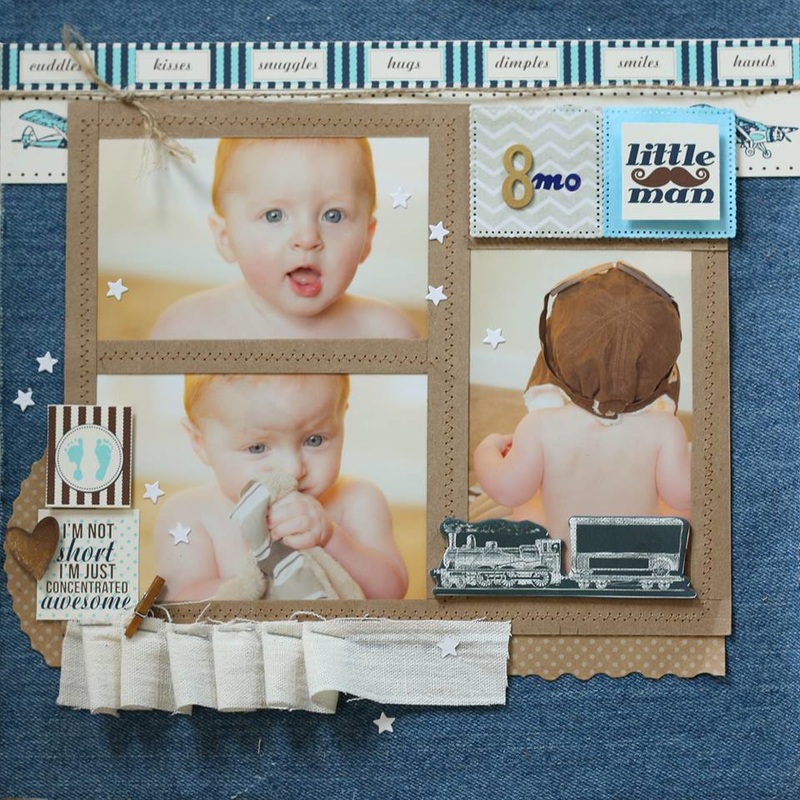
Finishing all of Hayden's first 12 months has been going slow, but I managed to finish this 8 month page recently!
I don't think there is anything that says "boy" better than some denim. I decided to use Canvas Corp's denim 12x12 sheet as the background for this page. I printed out three 4x6 photos for this page, and then framed them using strips of kraft cardstock. I also sewed a zig zag stitch around the border. I die cut a few squares for the top right corner, and then added some embellishments here and there. I think my favorite part of this (other than the pictures) is the little canvas ruffle on the bottom left. I just took a strip of canvas and folded and stapled. 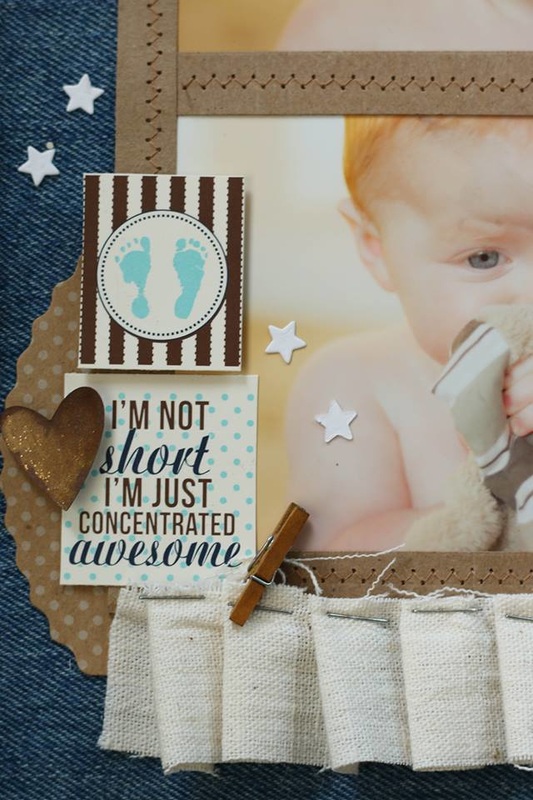
Pretty much all the papers except for a few bits are from Canvas Corp. I used the Snips and Snails paper pad. It has so many cute papers, quotes, tags, and cut outs you can use for a little boy themed scrapbook or cards. The train I added isn't actually a part of the scrapbook. I just placed it for the photo so I wouldn't be showing the world my little boy's bum (you are welcome, teenager Hayden). 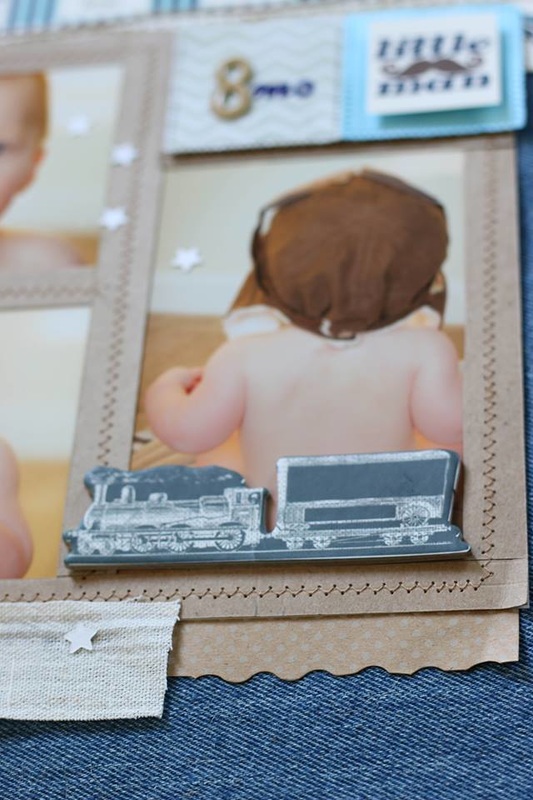
I hope to get the next few pages done soon to complete all 12!
Thanks for stopping by and happy crafting!!
This project was also featured on CCB's Denim Roundup!
I am linking this up with: Simon Says Stamp's Monday Challenge Simon Says Stamp's Wednesday Challenge 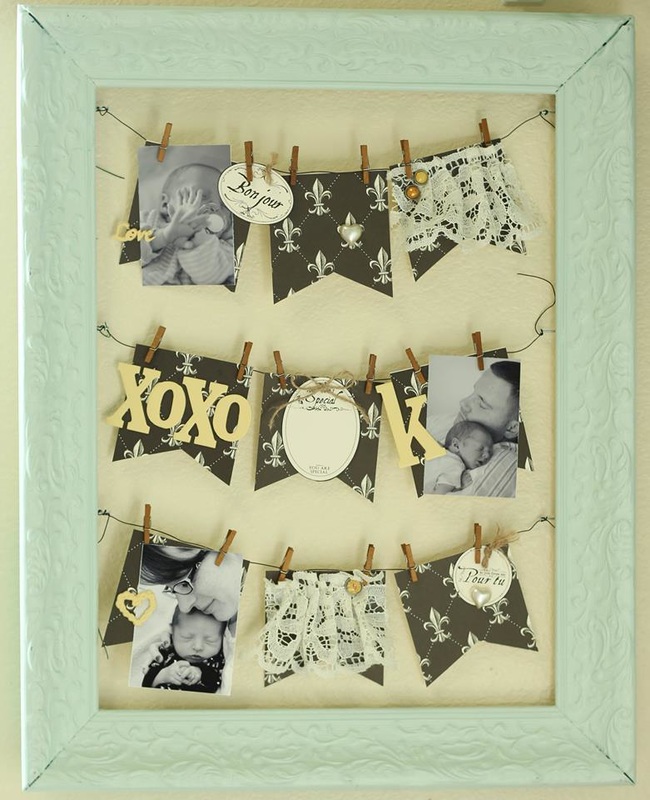
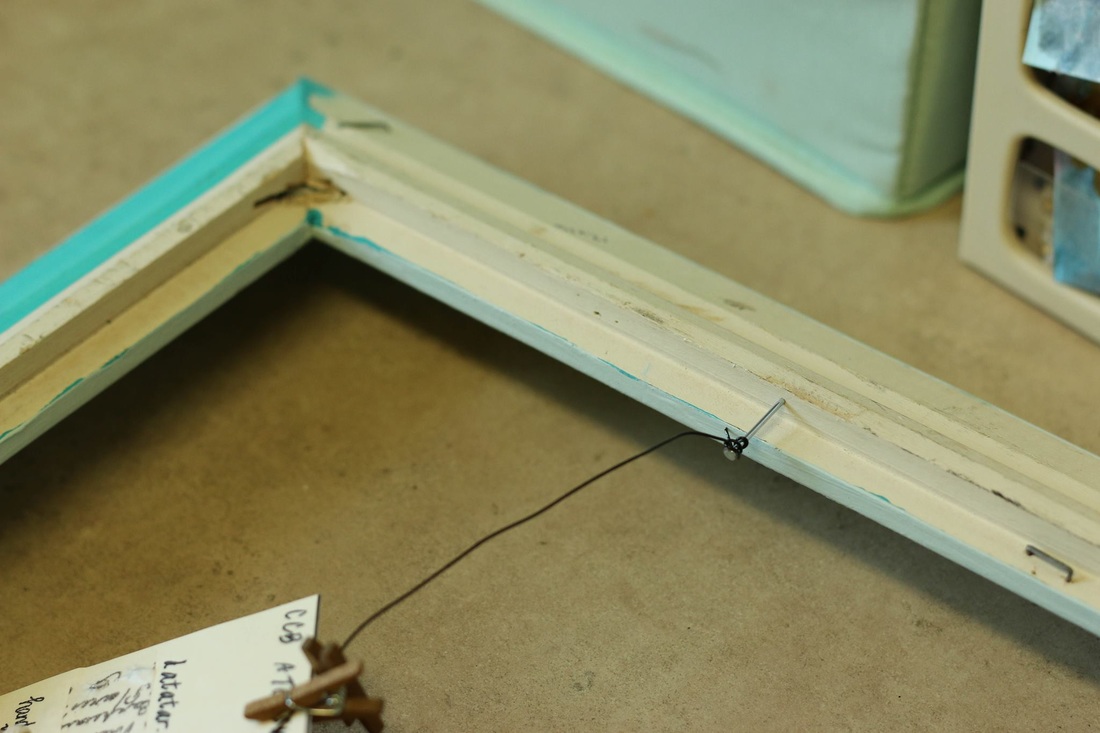
Several years ago my husband and I took a weekend getaway to the Washington coast. It was beautiful, but it rained the whole time so we didn't get a lot of beach time in. Thankfully, the hotel we were staying in was hosting a vintage sale right on their property! We decided to check it out and I was able to find two of these beautiful but beat up frames for $1.
My husband turned one of the frames into a shelf for my craft room. I absolutely love it! For now it is housing all my Tattered Angels paints. For this frame, I turned it into a banner and photo display. 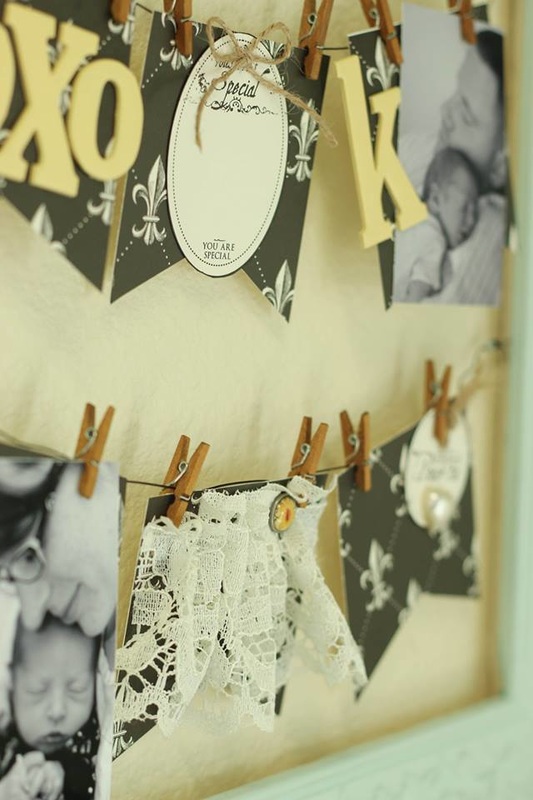
First, I painted it in a color that coordinates with my craft room. Then, I turned it over to the backside and nailed in three nails on each side. I then wrapped some floral wire around the nails to create three lines to pin my banner on.
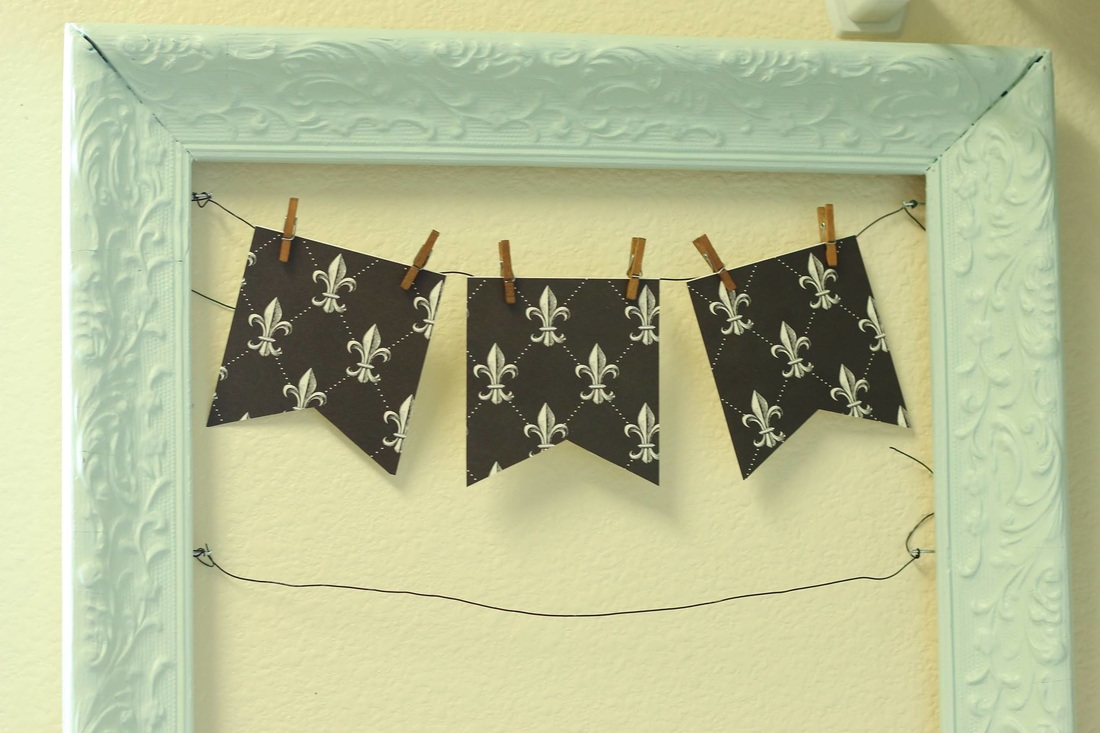
I used Canvas Corp's Fleur di Lis paper to create my banner flags. I cut them into 3x3 squares and then cut the little triangle out of the bottom to create the flag shape.
Then I laid all 9 flags out on my craft counter. I thought this would be the easiest way to visualize where my photos and embellishments would go. 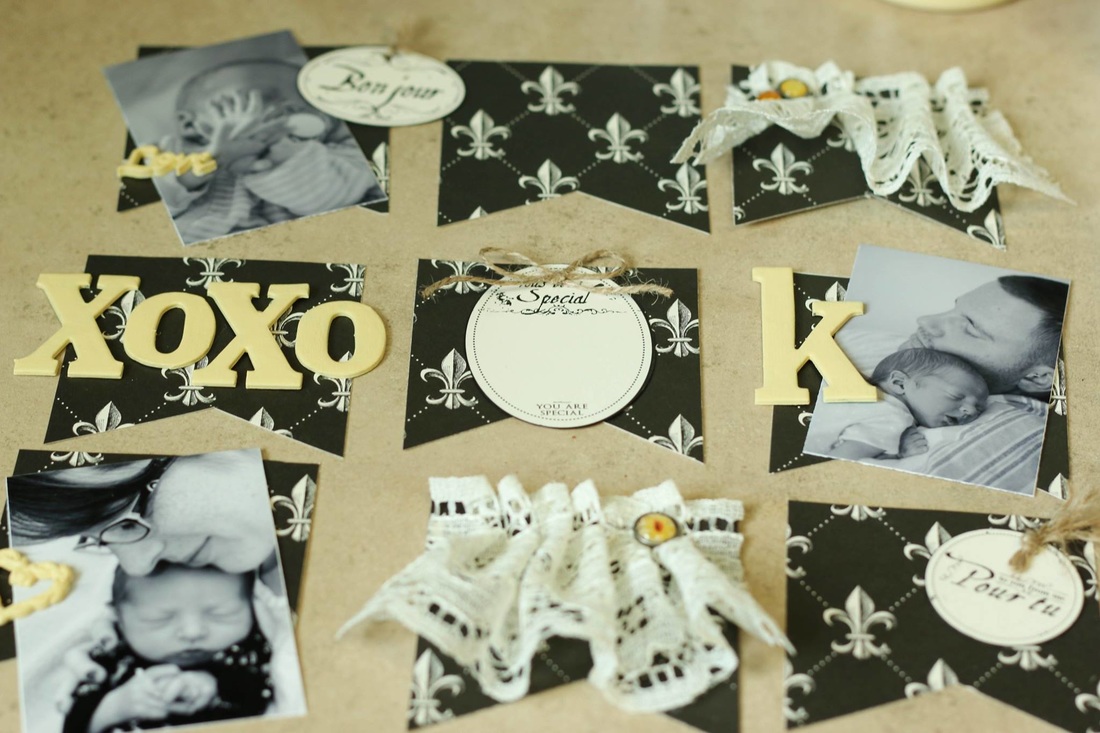
I had some old chipboard letters in my stash that didn't match at all, so I took some Decor and DIY Paint from Tattered Angels and painted them. I used Chamois, which is a light yellow color and absolutely gorgeous.
I also used some 7 Gypsies lace trimmings to create some ruffles on a few of the flags. I just laid down some adhesive tape and applied the lace, ruffling it along. 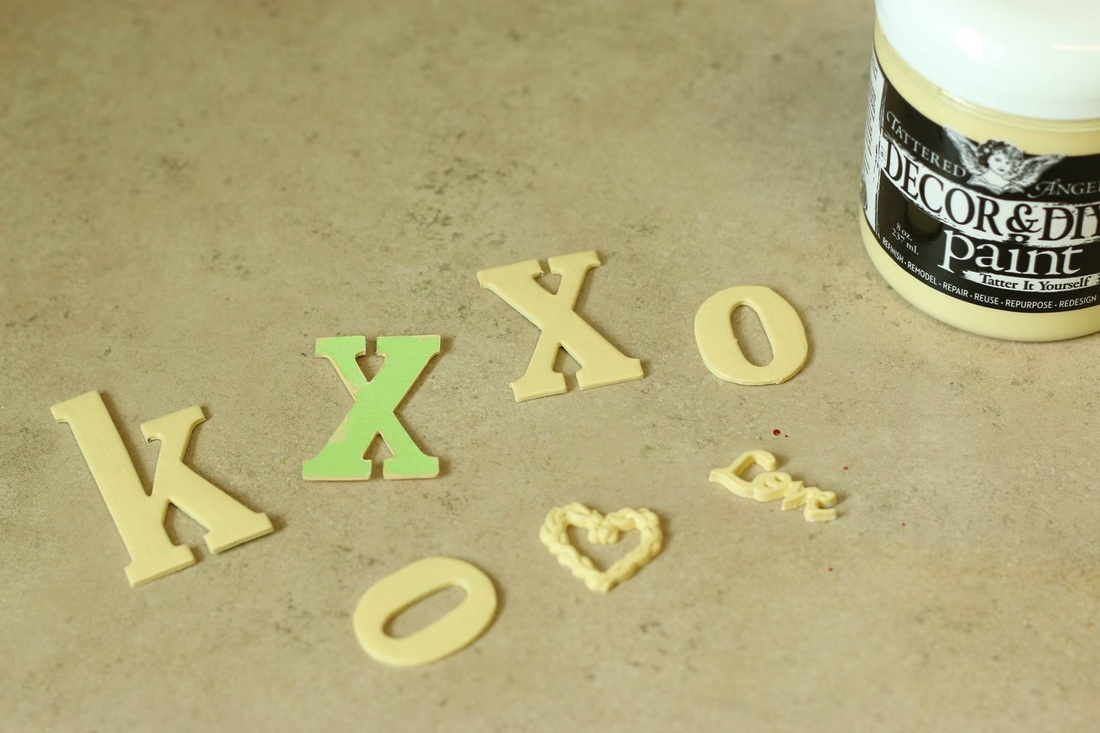
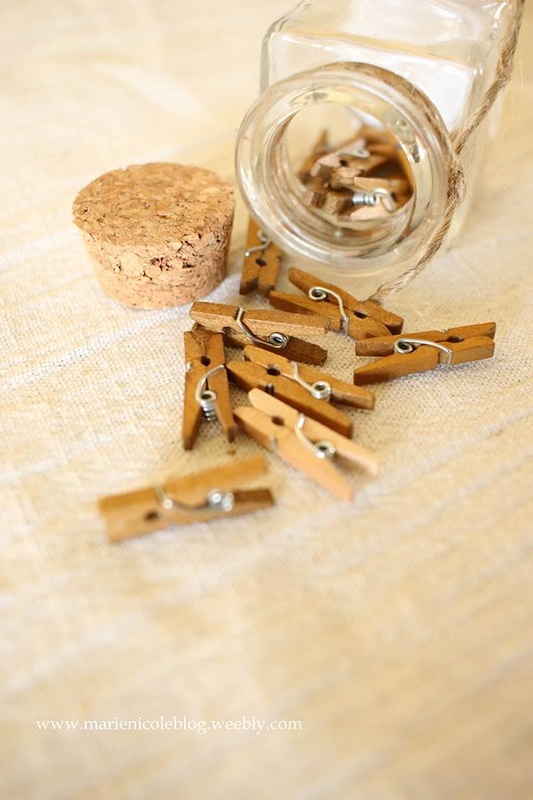
Once I was satisfied with all the embellishments, I just hung up the flags using Canvas Corp's Jacobean mini clothespins.
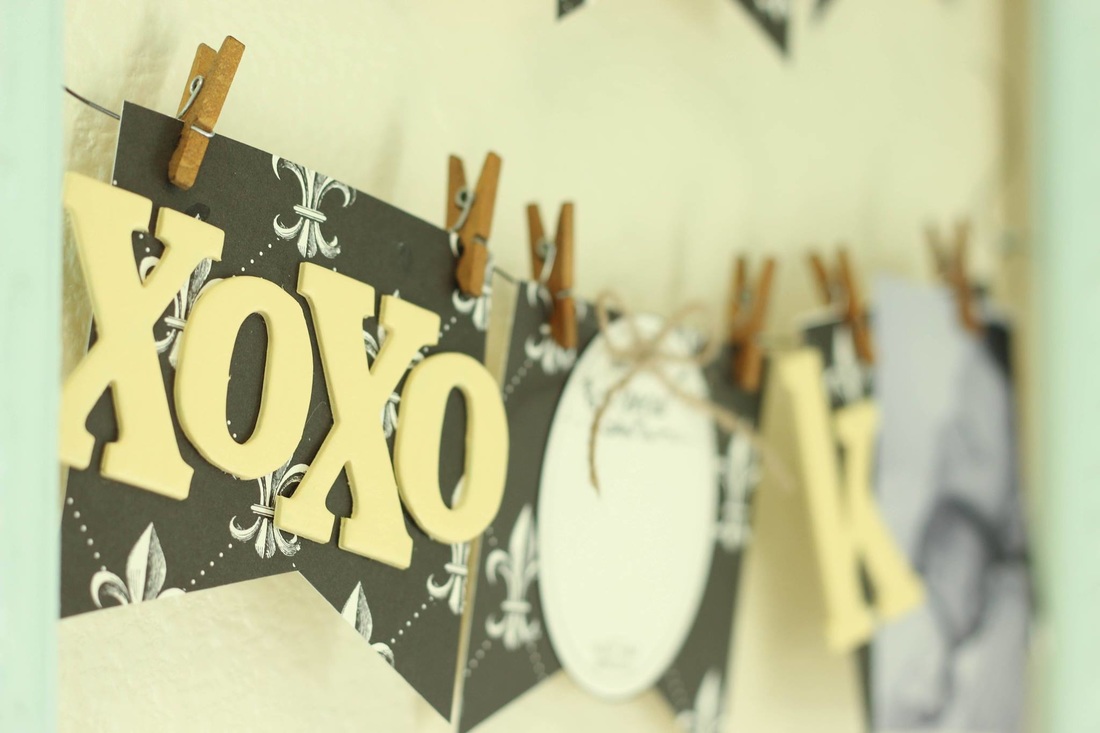
I love the way it turned out and its a welcomed display in my craft room now! The pictures I used are from when my son was just a few days old and they are so special to me! I love having them showcased in this beautiful way.
This project was also featured on Canvas Corp's Blog, so head on over there to check it out as well if you are interested! Thanks for stopping by and happy crafting! Here's a few of the supplies I used!
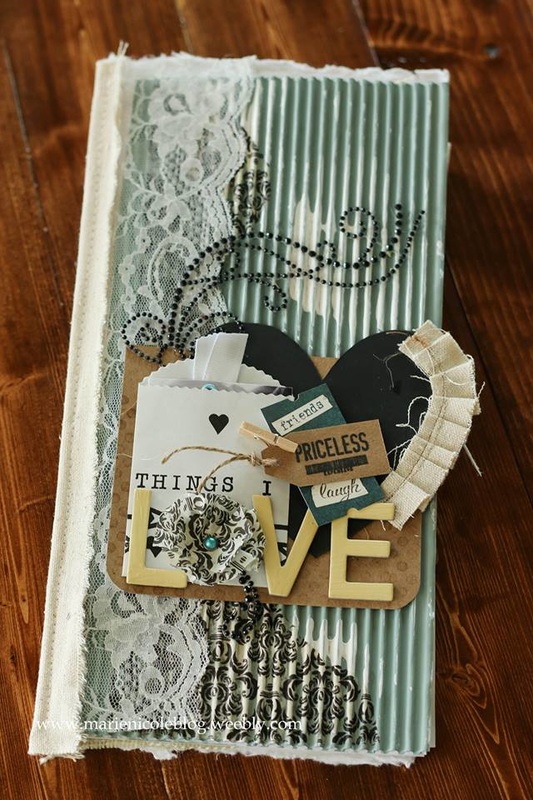
I recently got a few fun items from Michael's Recollections collection. You can find these things at Michaels and they have so many more fun products as well. I got this beautiful mixed media journal and went ahead and decorated the cover of it. I am new to mixed media so I kept it simple. 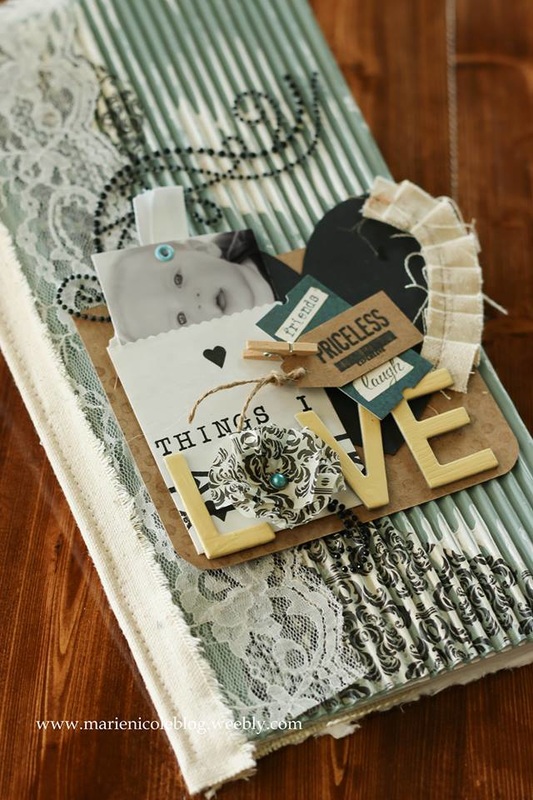
First I went ahead and painted the background with Tattered Angels' DIY and Decor paint in the color Mankato. Its a gorgeous greenish-blue color. Then, I took some white gesso and scraped it on in random places. When all that was dry, I tore a few pieces of CCB tissue paper and painted it on with some Clear Glimmer Glam.
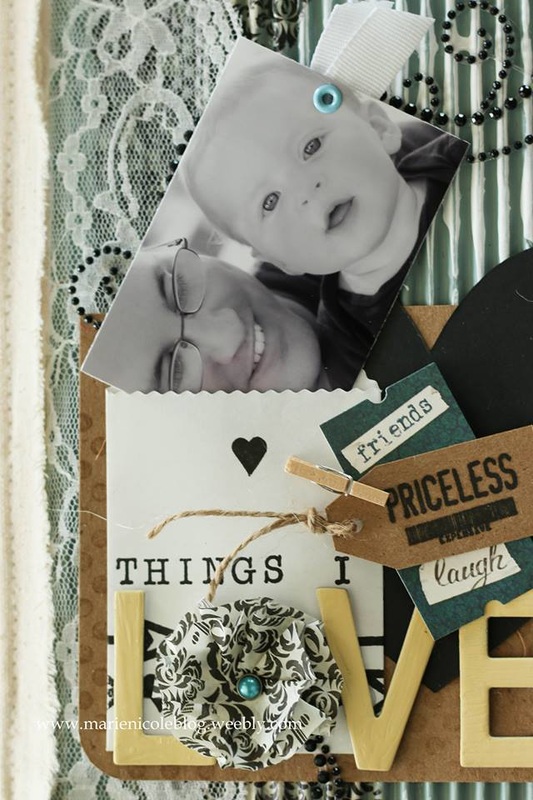
The background was finished so I went on to build some embellishments on top of it. I took a piece of kraft cardstock and stamped some polka dots in VersaMark ink. Over that I placed a heart that I sewed a canvas ruffle onto.
Canvas Corp also has these cute little treat bags that I stamped and tucked a wallet-sized black and white photo into. I painted some 7 Gypsies chipboard pieces with Tattered Angel's DIY and Decor paint the the color Chamois. 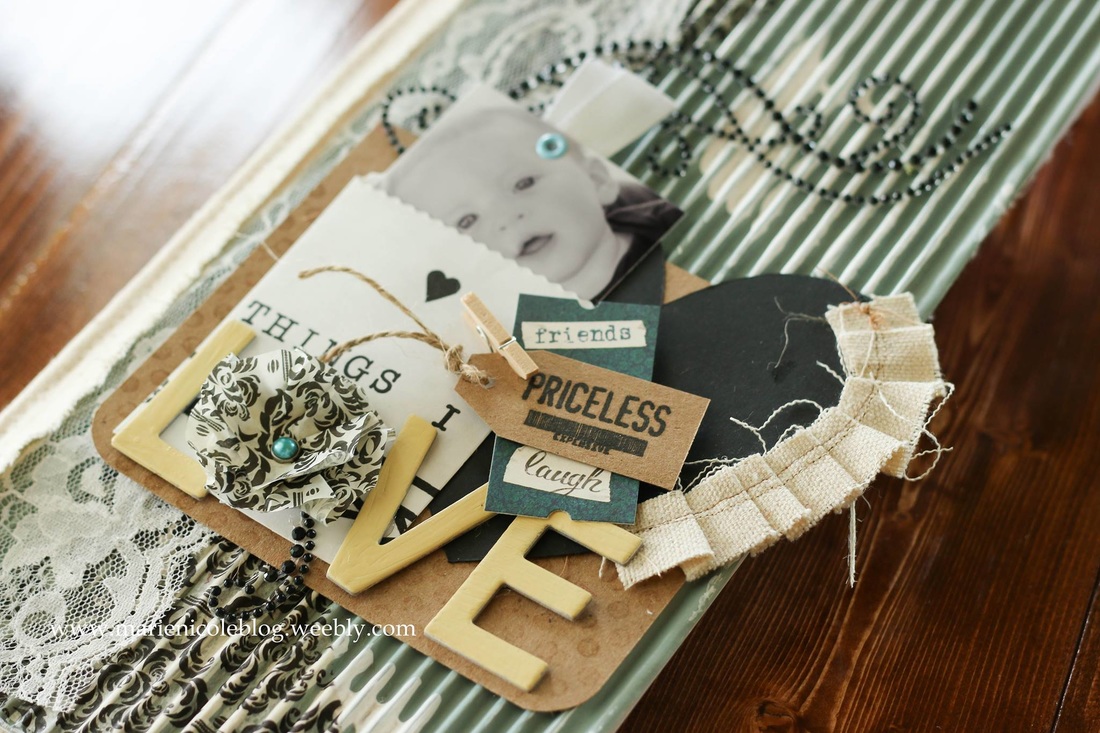
To see the process in more detail I hope you'll watch the video!
Thanks for stopping by! I have included links to a few of the products I used for this.
Happy Crafting!
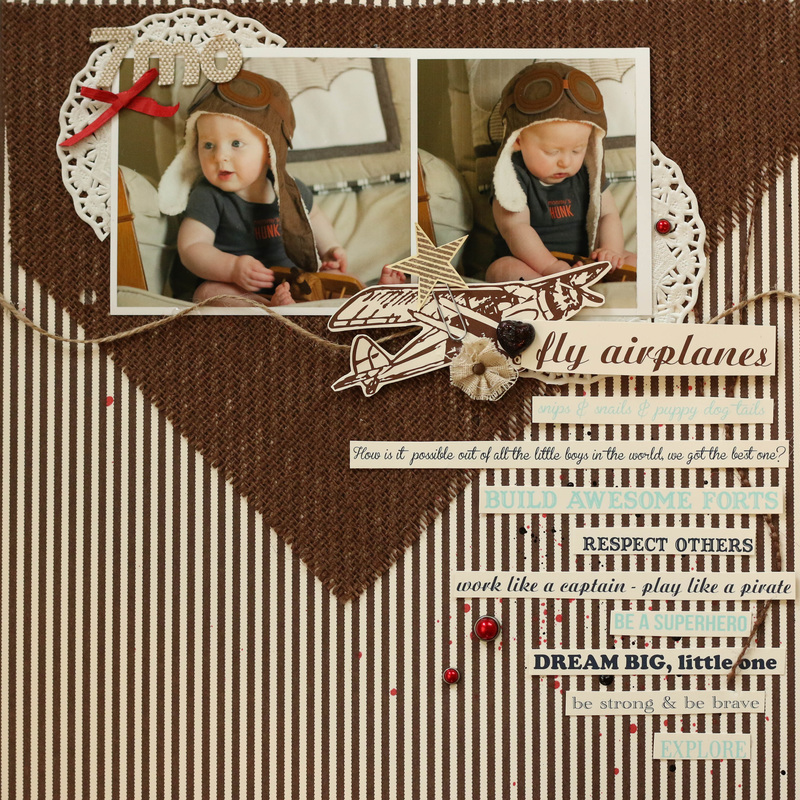
Go me! Done with page 7 of Hayden's monthly layouts! Its been a slow process but I am officially past the halfway point! I started this layout by using papers from CCB's Snips n Snails paper pad. Then I arranged his photos at the top, and began embellishing around them. I fussy cut the airplane and all the word strips from the Snips n Snails as well. 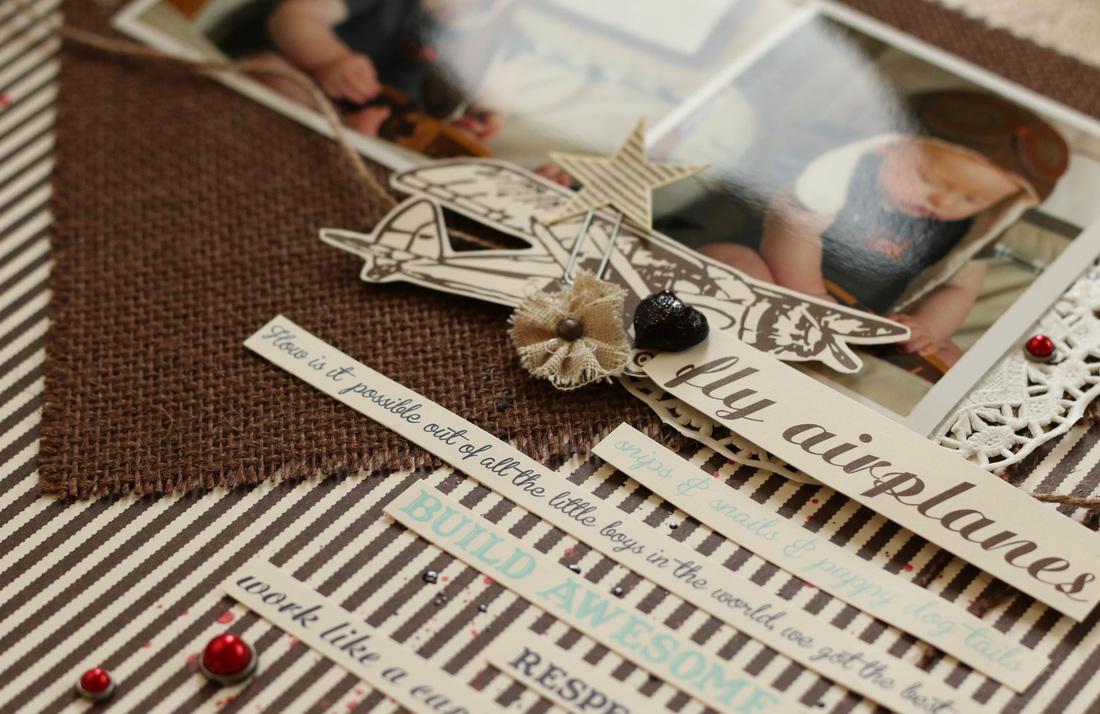
Around the photos I added a few paper doilies, as well as some Jute Cord from CCB as well. I found some bright red brads in my stash that matched perfectly with the raffia that I used for a bow. 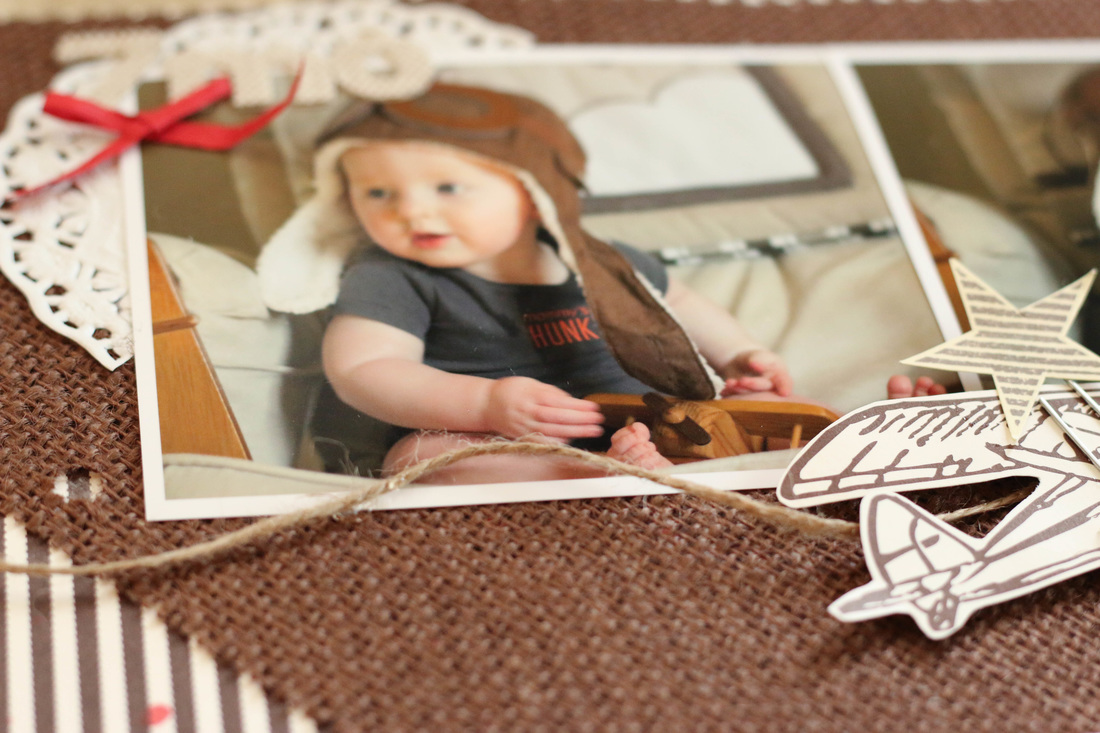
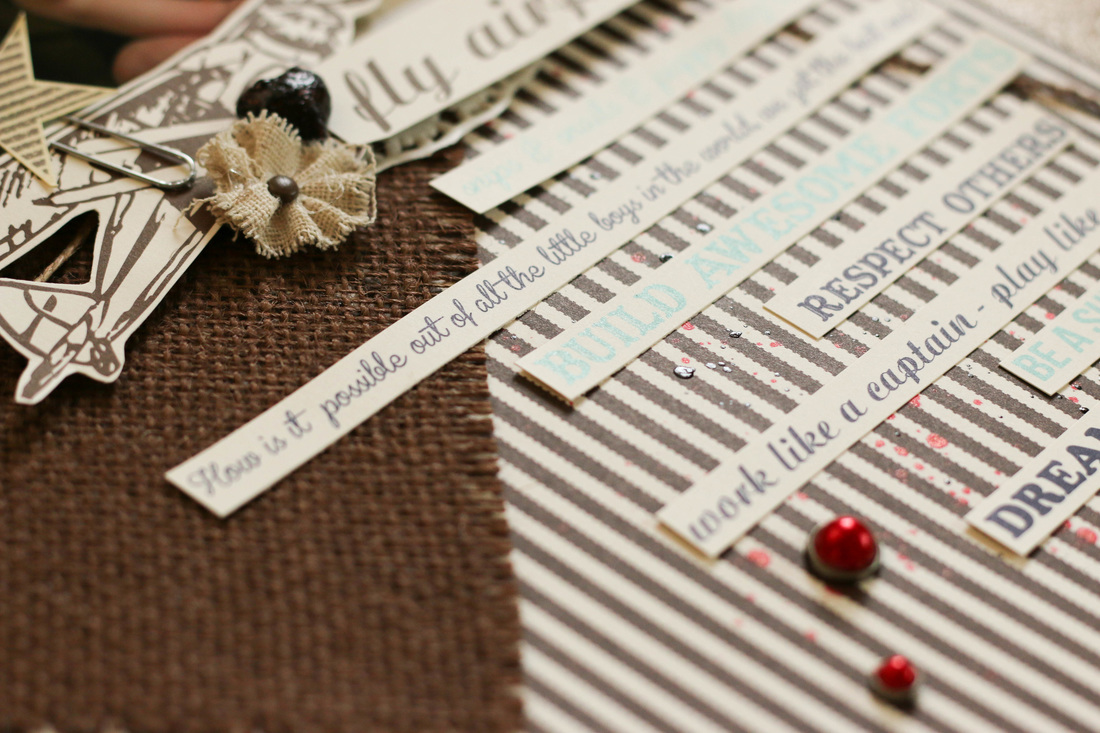
After I knew all the embellishments I wanted to use as well as where I wanted them to lay on the paper, I removed everything and added some splatter marks to the background paper. I used Tattered Angel's Lobster Glimmer Mist and Java Glaze for this. I hit the splatters with my heat tool and when they were dry, I adhered everything down. 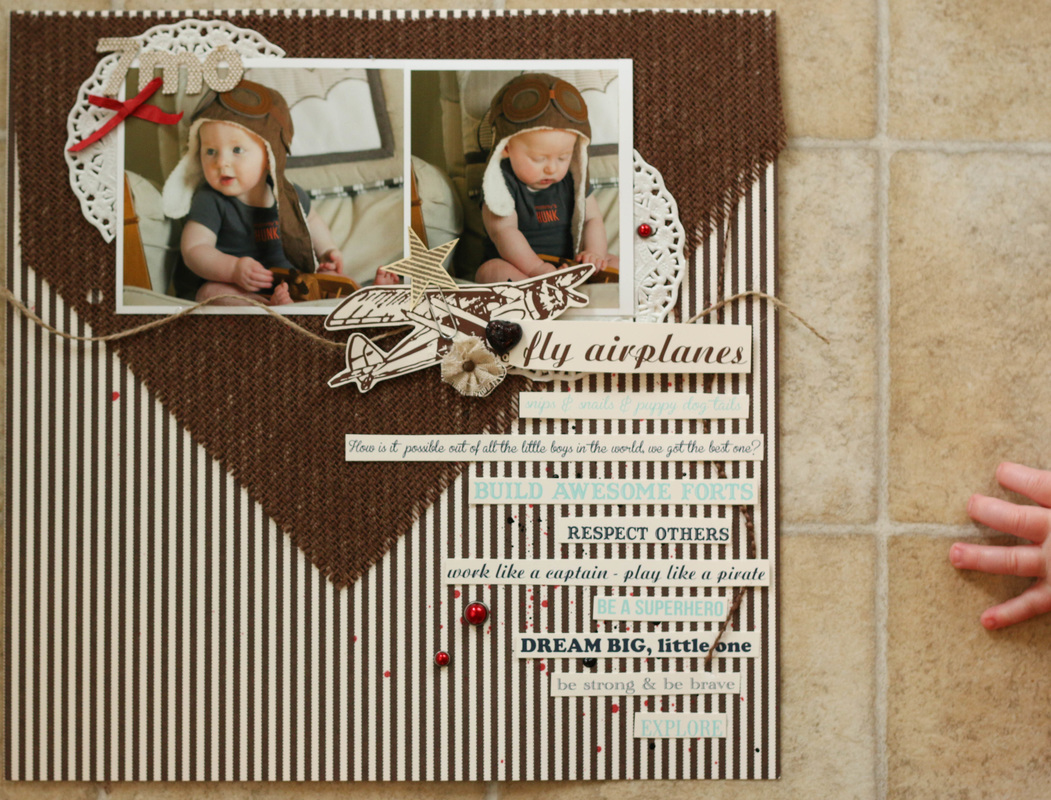
...and as you can see, SOMEONE thought he could get his grubby hands on my layout while I was photographing it. Gotta work quickly with this little guy!! I managed to put together a video of the process as well. Hope you enjoy it! Here's a few fun products I used!
I'm about half way done with Hayden's monthly scrapbook pages!!
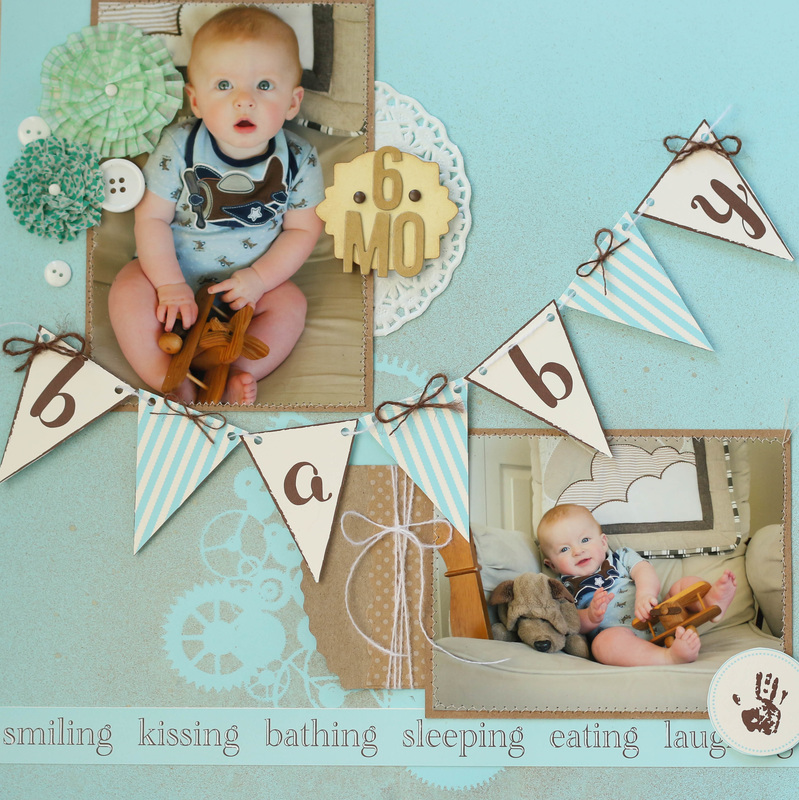
For this page, I used mainly Canvas Corp Brands' scrapbook papers. This paper pad is the Snips and Snails. So many cute papers and patterns!! First, I took the blue background paper, laid TCW's Mini Gears stencil down, and spritzed it with Tattered Angel's Kraft Glimmer Mist. It created a really subtle background which is what I was going for. I took my two pictures and mounted them on some kraft cardstock, and then sewed a little zig-zag border around them. The "baby" banner was also from the Snips and Snails paper pad, as was the little hand print and the text border strip along the bottom. I added a little paper pocket behind the bottom picture that I plan to place a tag in and journal some memories on. The top picture I embellished with some washi tape flowers, buttons, and chipboard letters that spell "6 mo". I really LOVE the color blue on the papers and it coordinated perfectly with the colors in the pictures. Here's a few fun products I used!

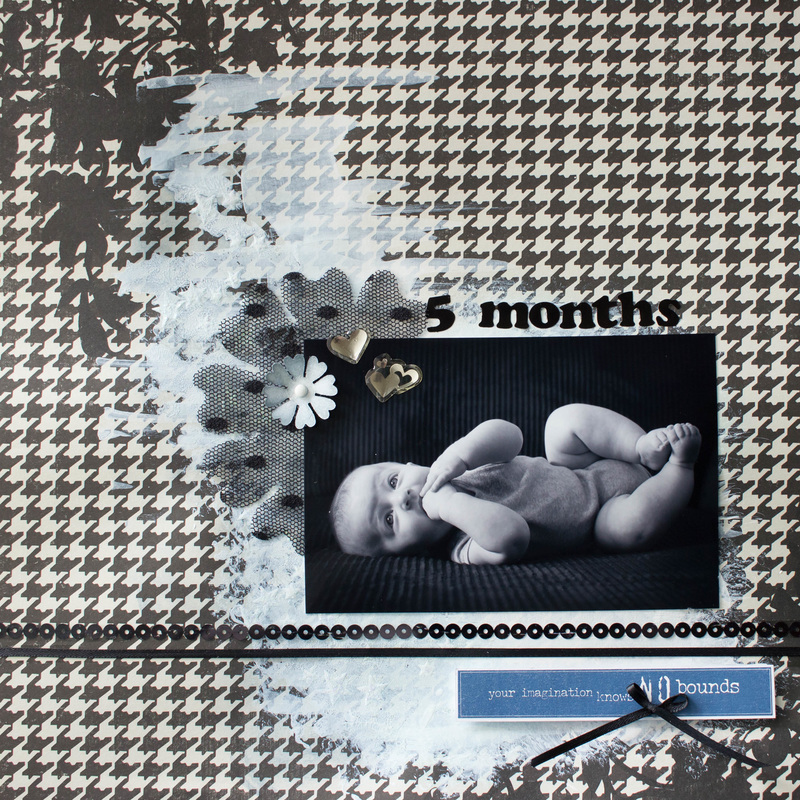 I managed another scrapbook page today! I had to run to the craft store the other day for some envelopes so I could get my Christmas cards out, and while I was there I picked up a jar of gesso. I had never used it before, but I've seen it used by others and was excited to give it a try. After playing around with in a few different ways, I decided to try to use it to create sort of a background on this page. I started by scraping on some gesso with a plastic scraper tool. Then, I went back over with Heidi Swapp's confetti stencil and added some stars. They kinda blend in which is what I was going for, but they are hard to see on the photo above. When the gesso was dry, I lightly applied some Stormy Sky Distress Ink on just the left side. I thought it would be nice to keep this layout mostly black and white to match the photo, but I added a little pop of blue for interest. After the gesso was dry I pretty much just added an assortment of embellishments. Some stickers for the "5 months", another sticker for the quote underneath, some bits of ribbon and a few hearts and such. Im not at all disappointed with how the gesso turned out, but I definitely need more practice! I'm linking this project up with: Simon Says Stamp's Monday Challenge! (my pinch of something is gesso, if you didn't already guess!) 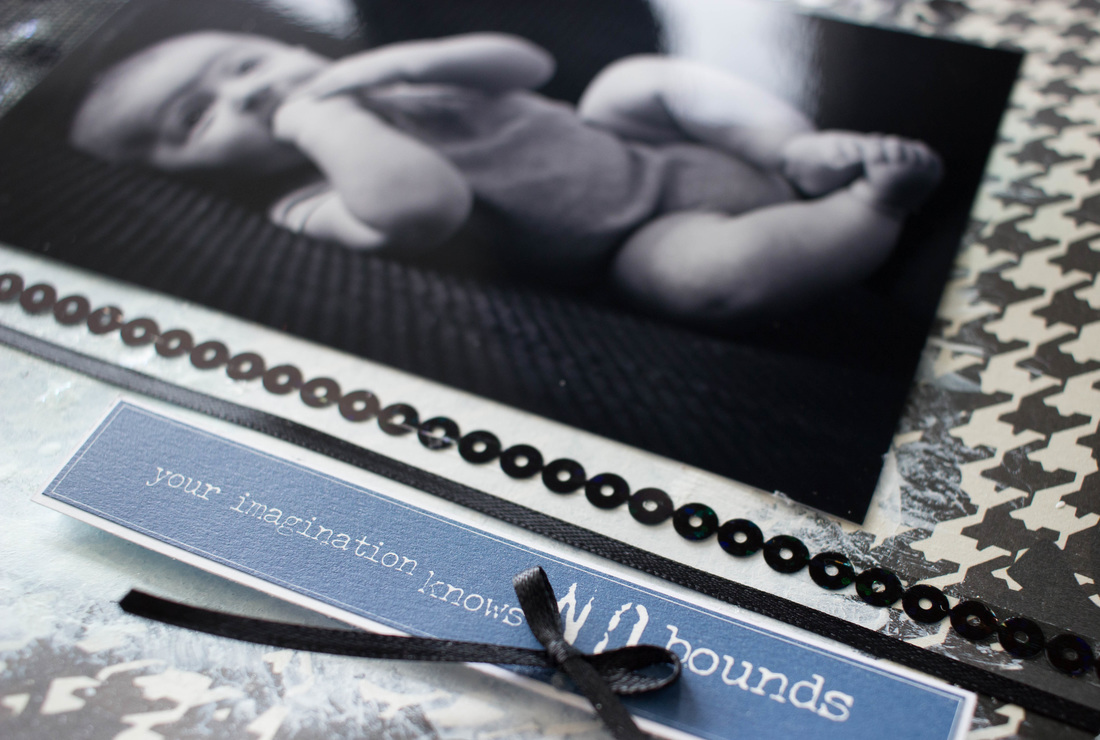 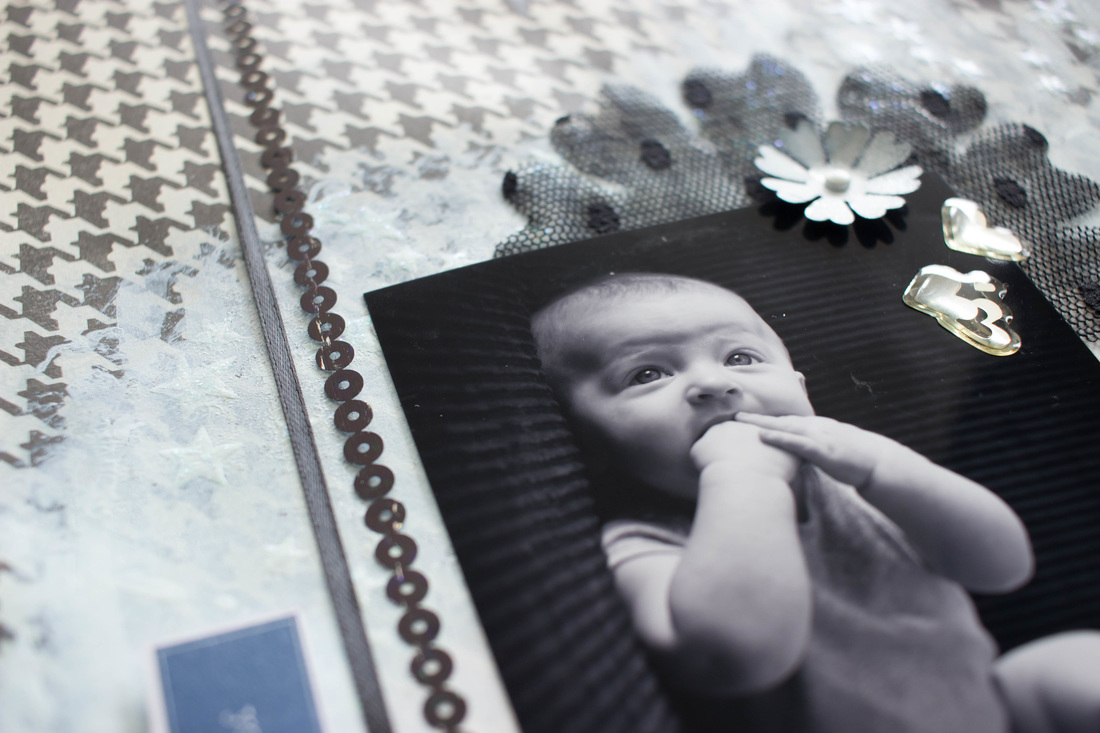 |

Pin it!

AuthorSo glad you found me! This blog is my little space where I can share bits about my life and my latest crafting projects (mostly handmade cards). My goal is to share, inspire, and to be a positive presence in the creative community. 

Find me on Instagram!Archives
January 2018
Categories
All
Link Love
 

|


 RSS Feed
